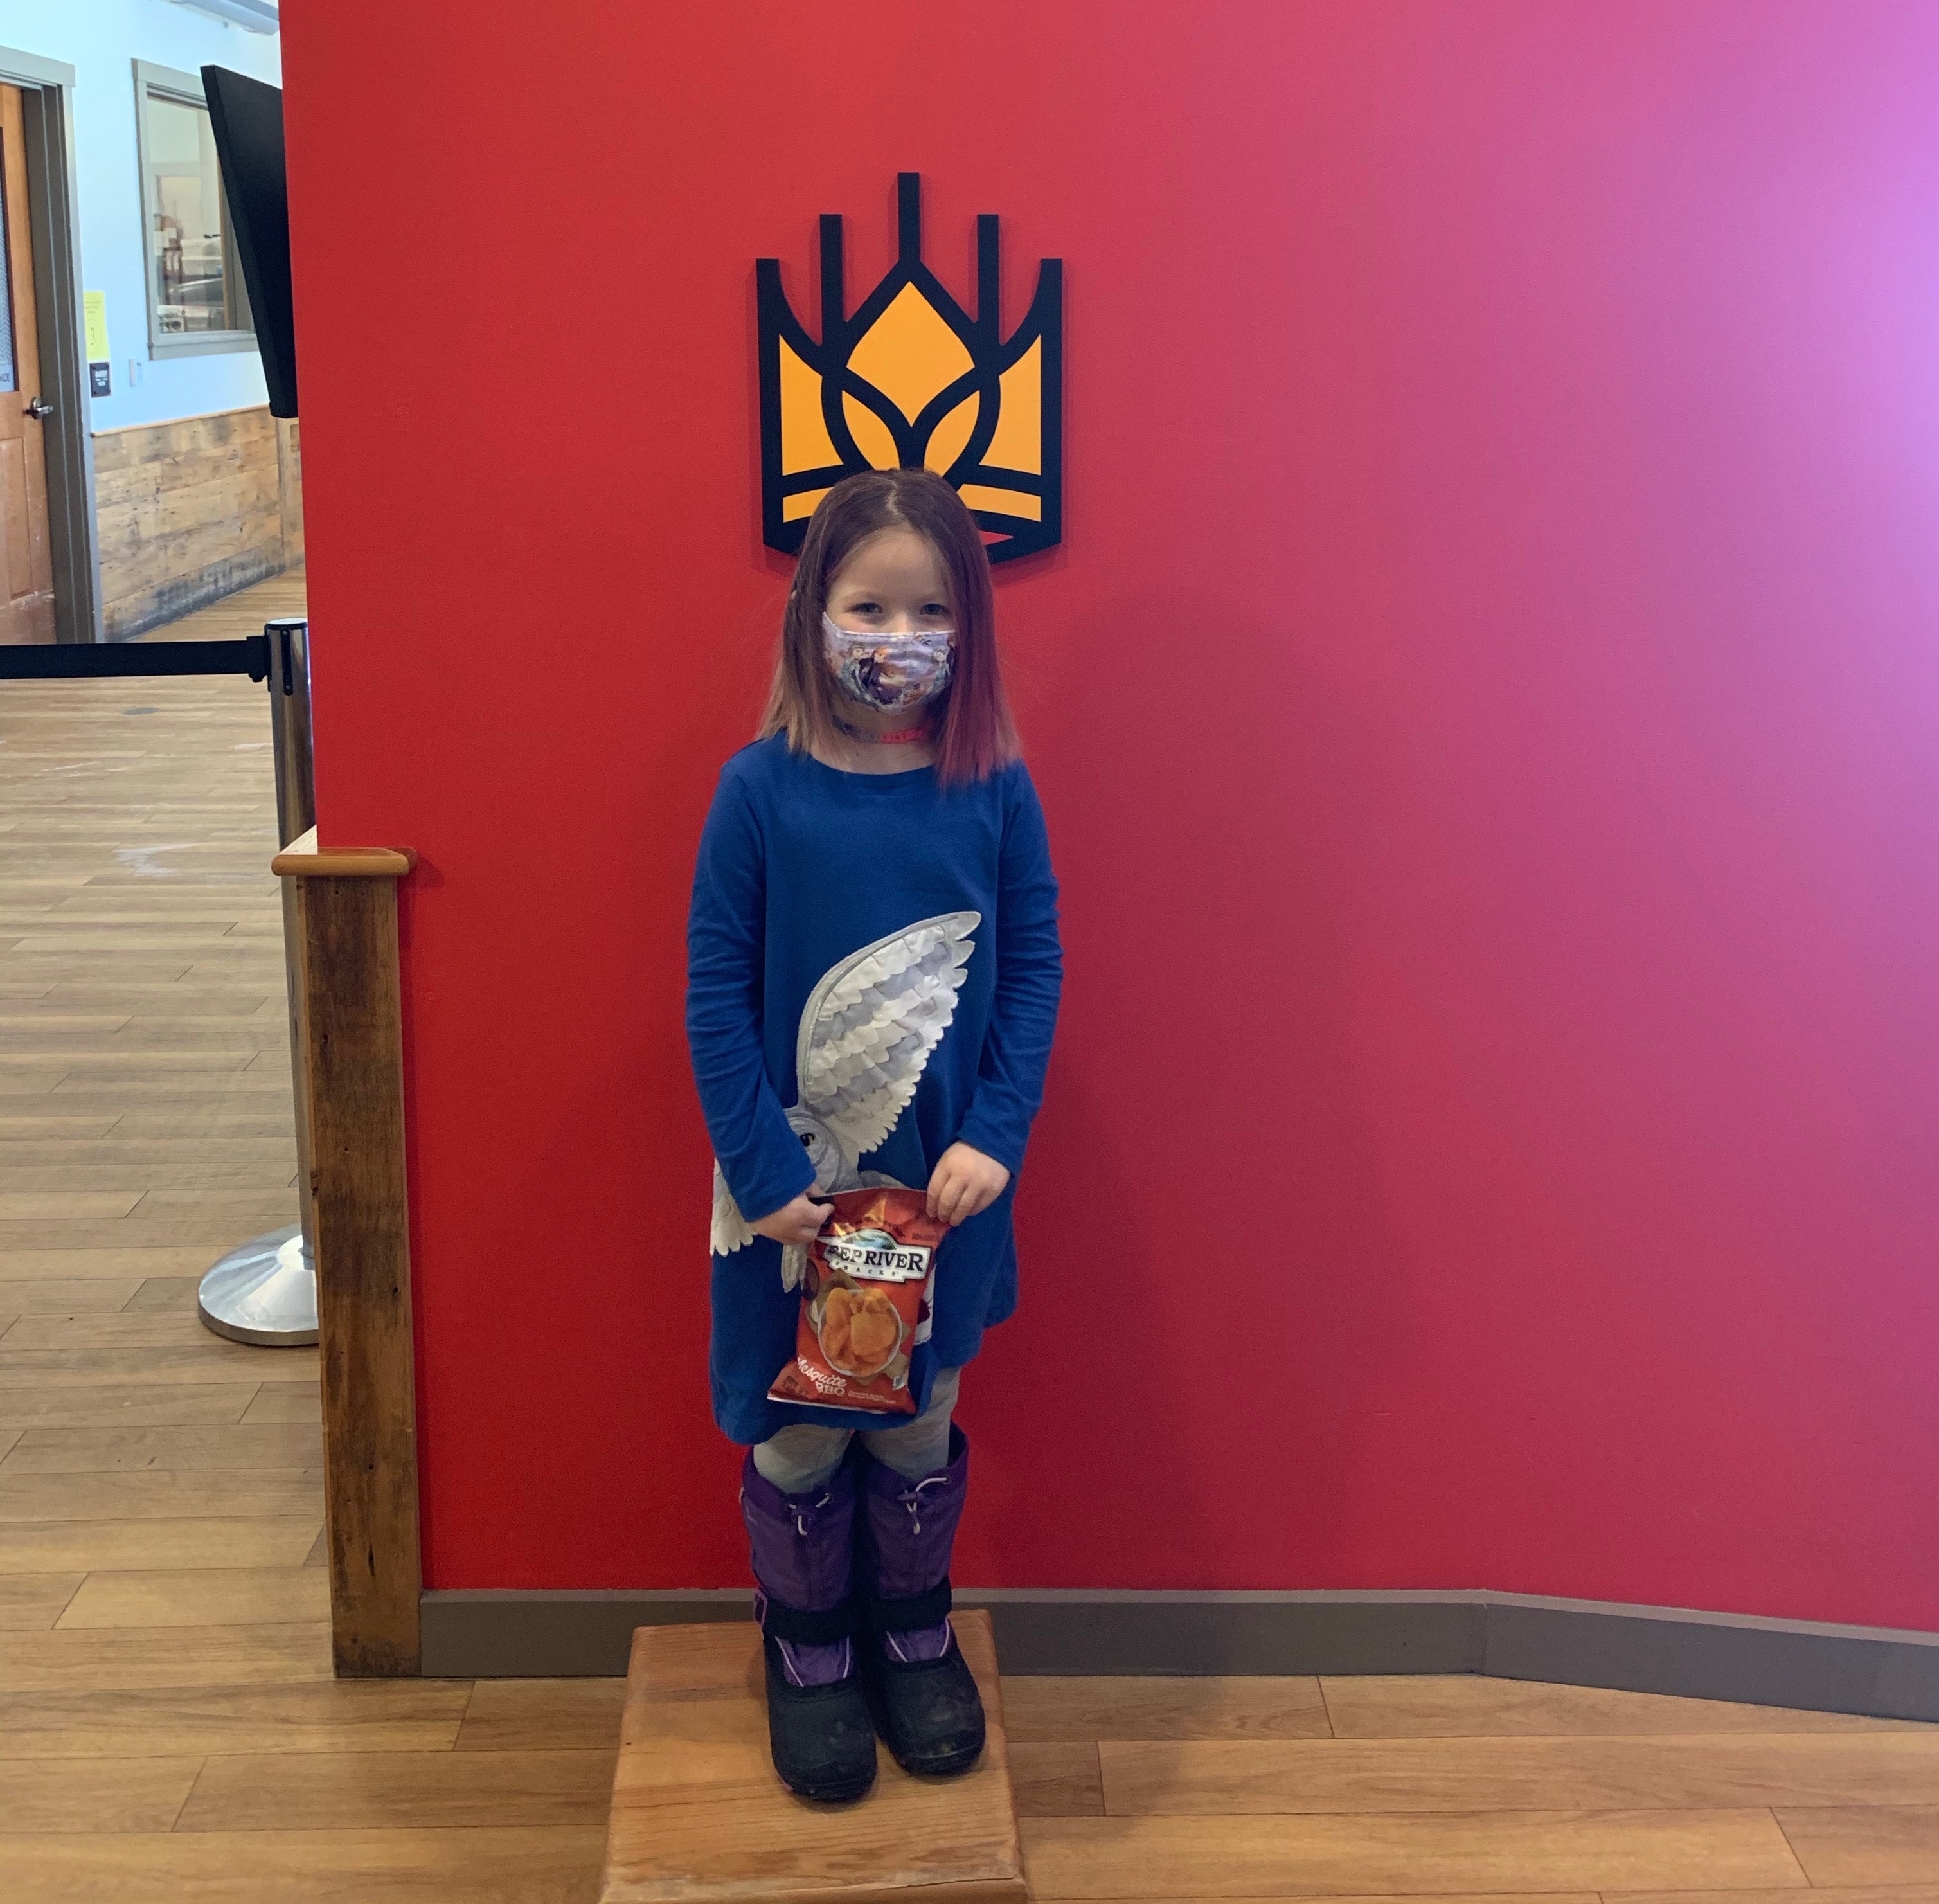
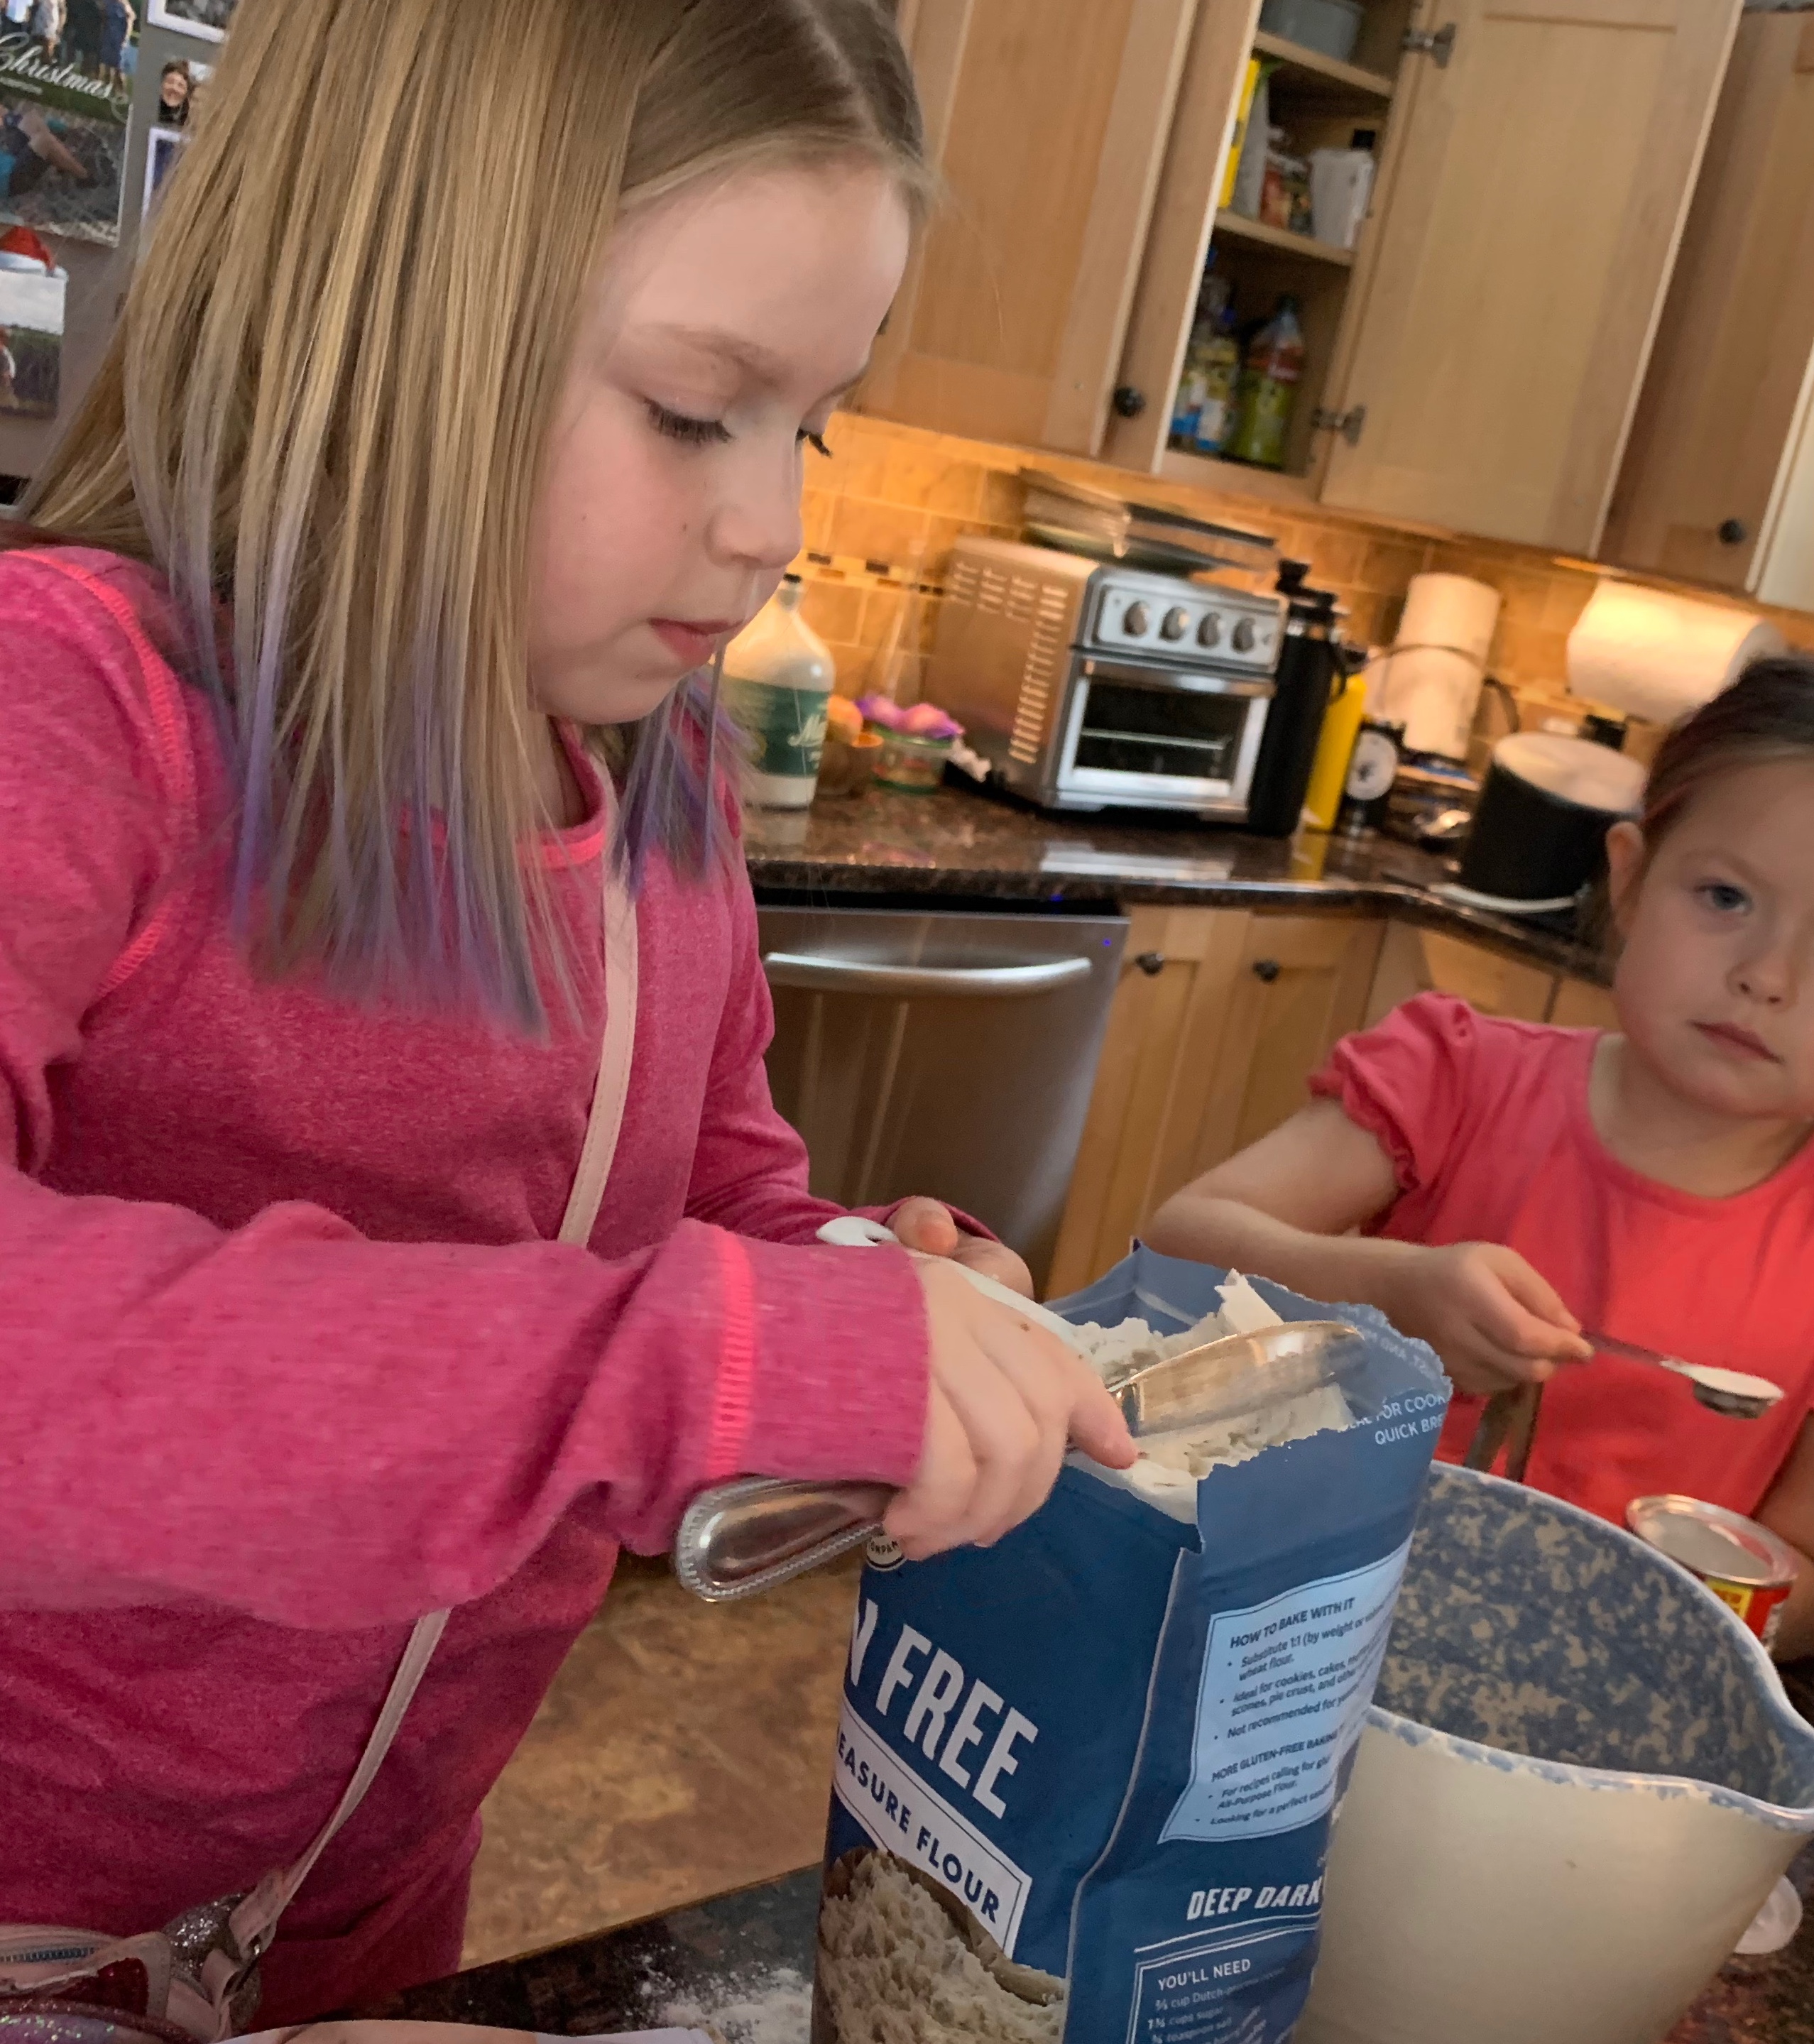
Back to the grind, kind of. We’re easing back in to schooling this week, doing a bit each day, which leaves us with some extra time for fun! Tuesday was brutally cold, we’re talking low teens for a high with wind chills well below 0. Now, we’re Vermonters, so we’re hearty, but even we have our limits, so when we needed to get out of the house to save our sanity we jumped into the car and drove to one of our favorite places…King Arthur Baking! We are SO lucky to have this gem less then 2 hours away in our home state. If you haven’t had the pleasure of visiting KAB it is an EXPERIENCE! My favorite times to visit are December (the Christmas decorations and spirit there are unmatched, plus you can stock up on ALL THE GOODIES for Christmas baking) and summer. In the summer the patio (which is large) has tables to sit at and eat your goodies from the café, which is of course DELICIOUS, there is a hill to run up and down, and a trail to explore. Under usual circumstances it can get pretty busy in the summer, but I’ve never been when it felt too crowded to enjoy. Currently they are seriously limiting the number of people allowed into the store and café due to state guidelines and regulations which made this Covid cautious mom feel great bringing her kids in with her! They are also taking temperatures of all who enter the store so be prepared for that if you’re a Vermonter looking to head there soon!
Harry Potter dresses and King Arthur Baking crowns! It was a good day for these kids!
Well, after a lovely drive (it may have been freezing cold but it was sunny and Vermont knows how to put on a show in nature) with some epic music choices from the littles we arrived. It was super quiet there (Tuesday mid day and all) so we got right in and got to work filling our cart…yes, CART. We had certain things on our list, like our favorite cocoa powder (3 bags later!!!), flour, and sparkling sugar, but found some unexpected delights as well! We all walked out with some new KAB swag, but the best find of the day must go to the Salted Caramel Chips. Which leads me to our next bake…
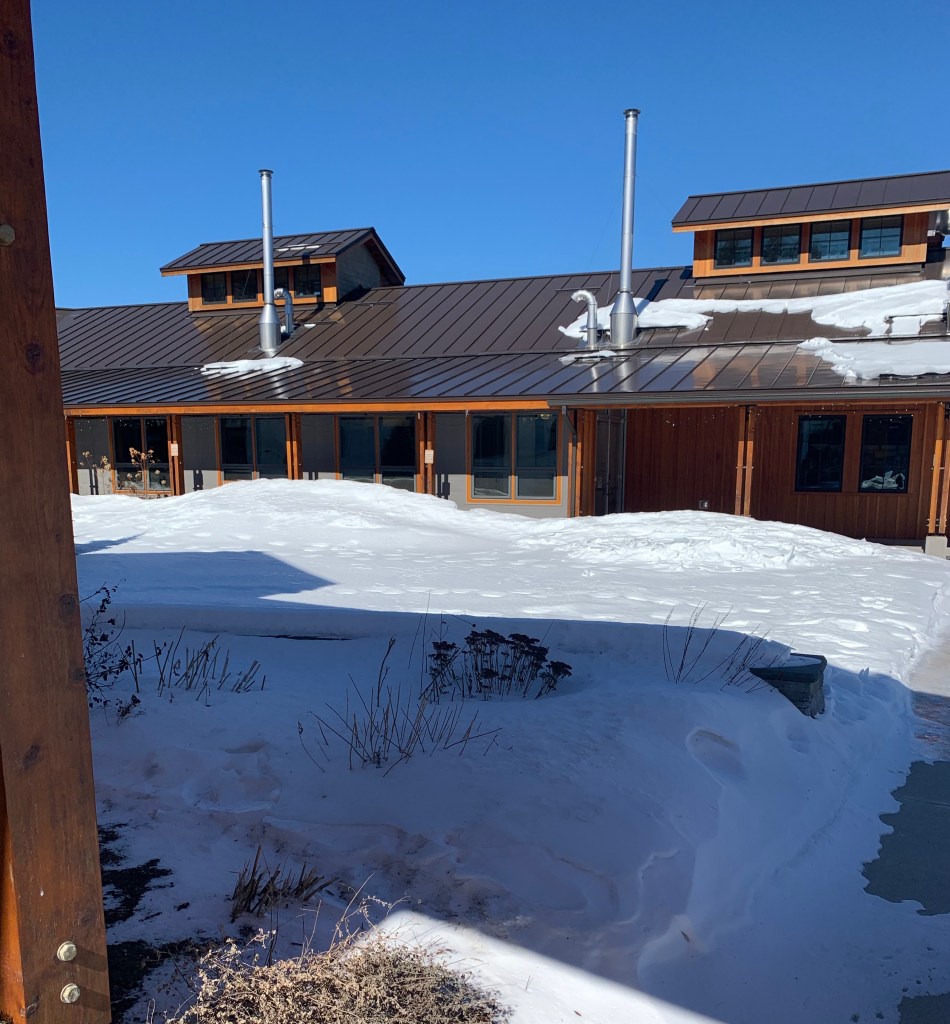
The patio all covered in snow!
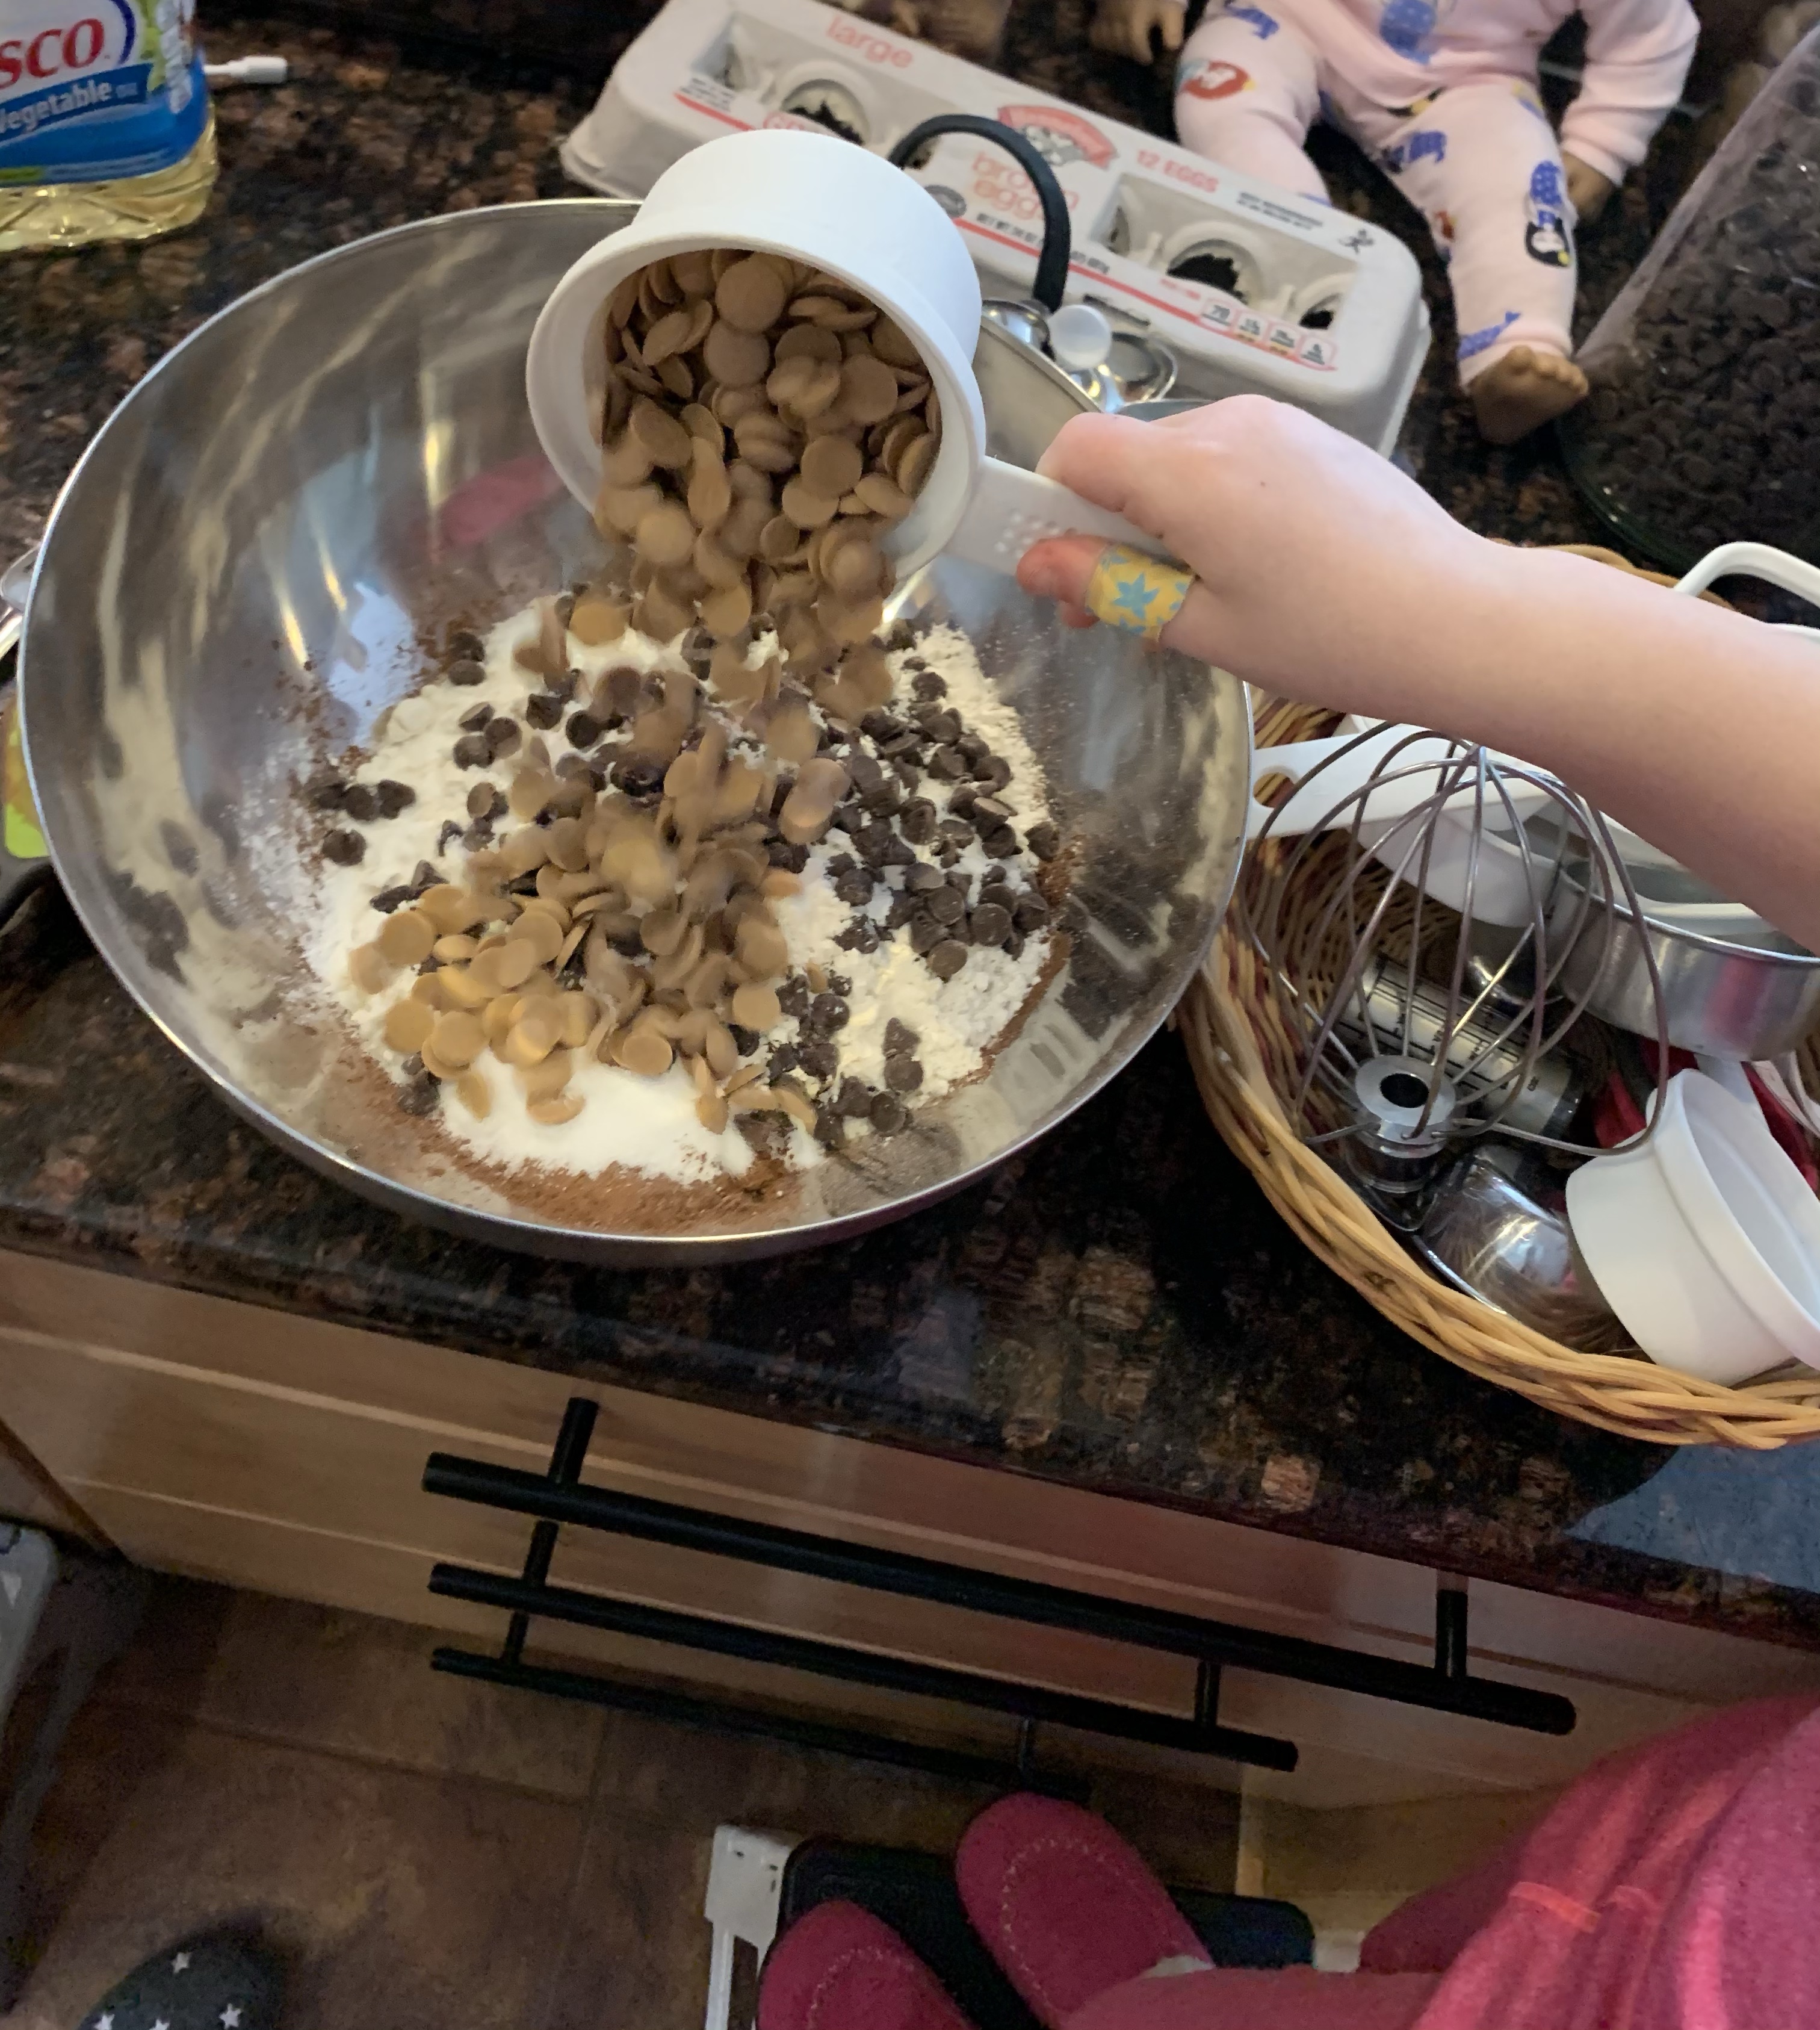
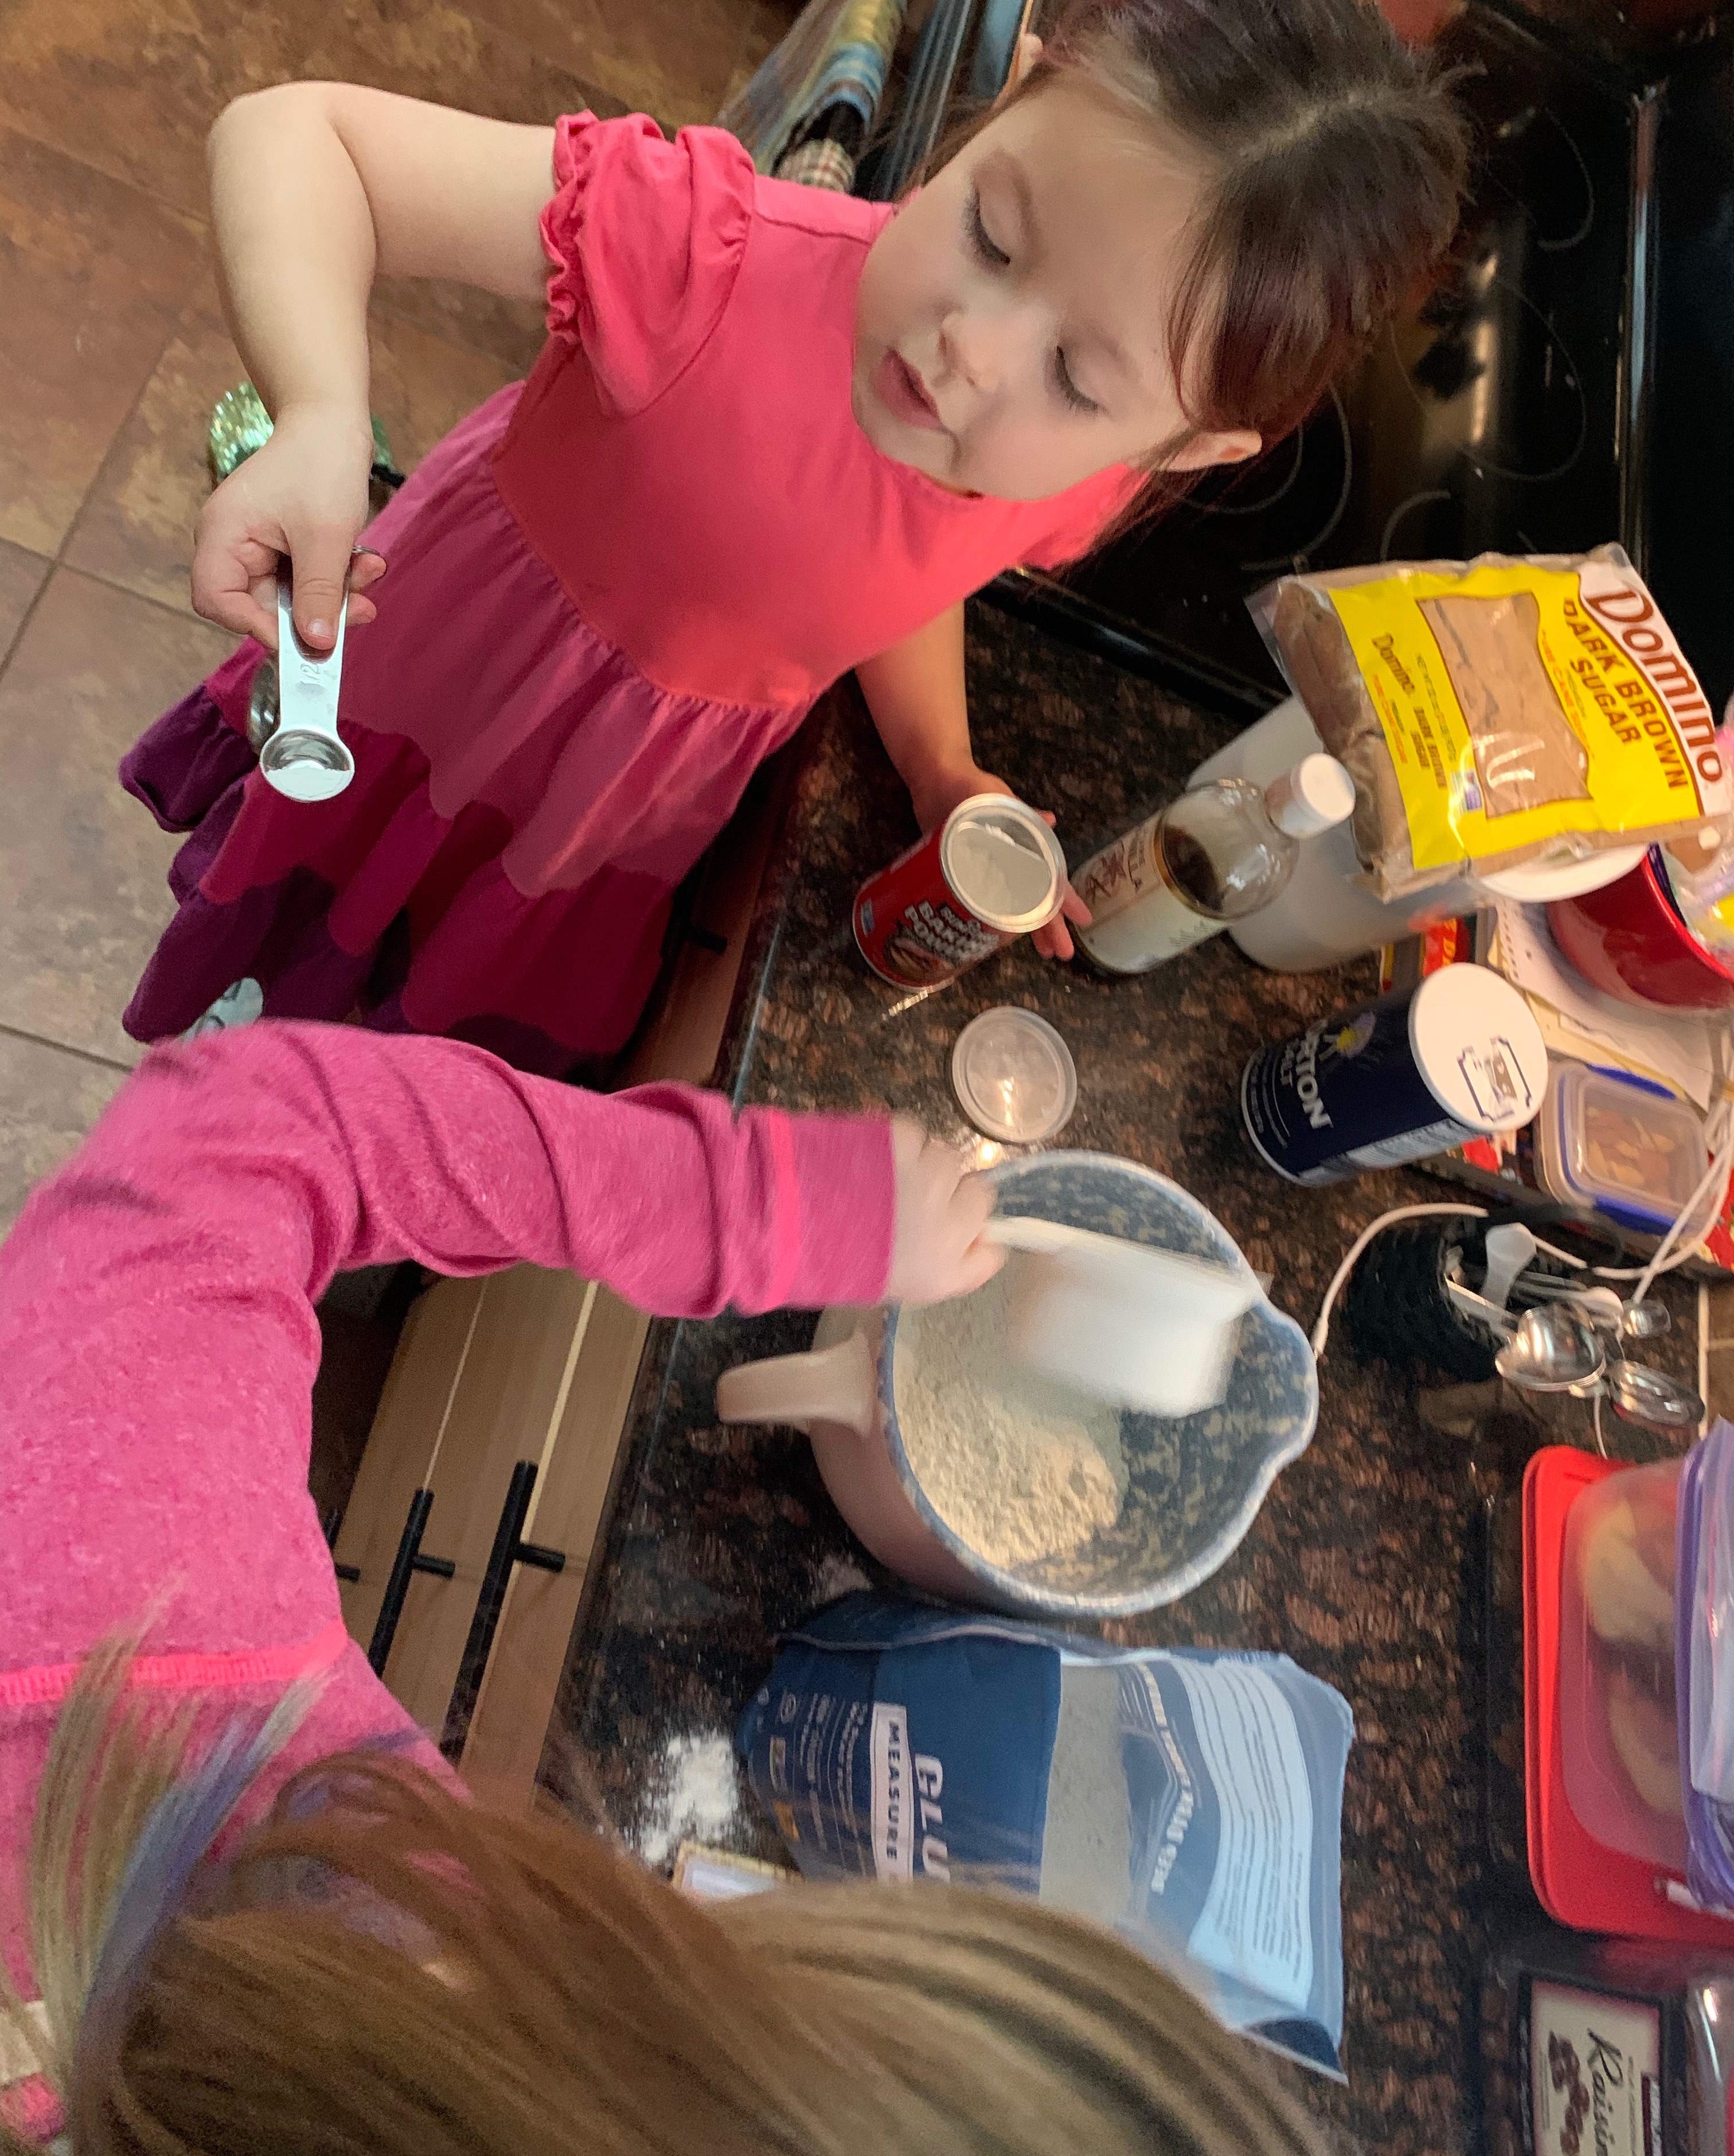
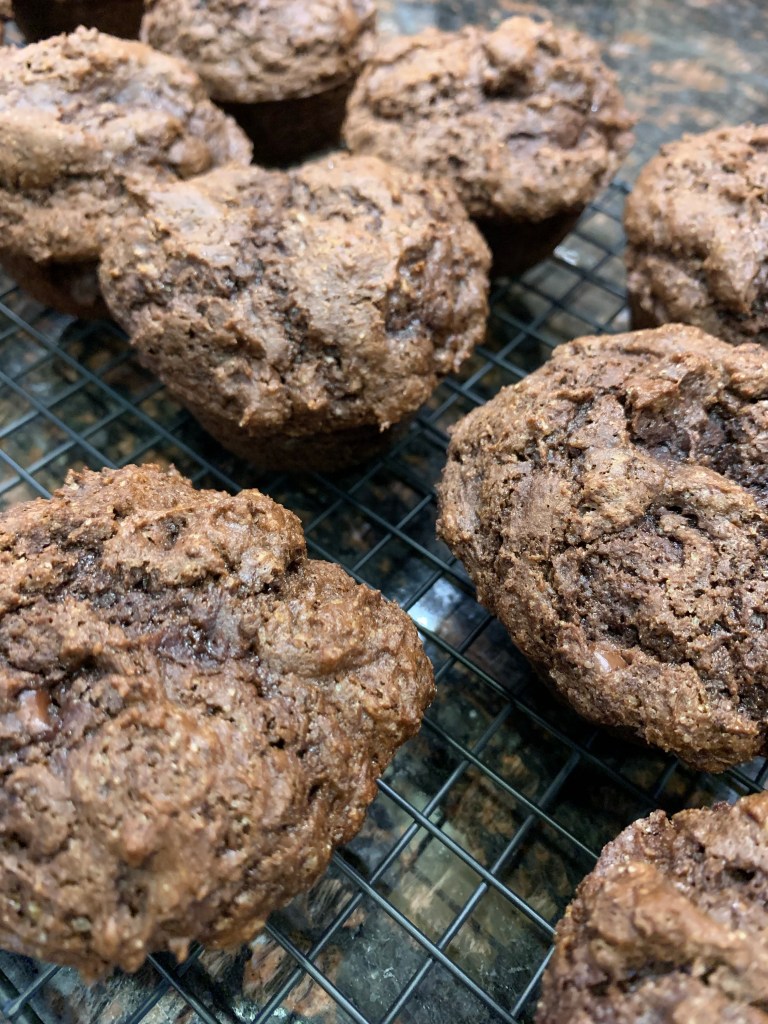
Today (the day after our road trip) is a big day for our family as we will be welcoming 2 new cousins! We are beyond excited about the twins arrival, and when we’re excited about something we bake. We wanted something a little quicker to make and we REALLY wanted to use our new Salted Caramel Chips so we added them to our favorite brownie recipe…also from King Arthur Baking.
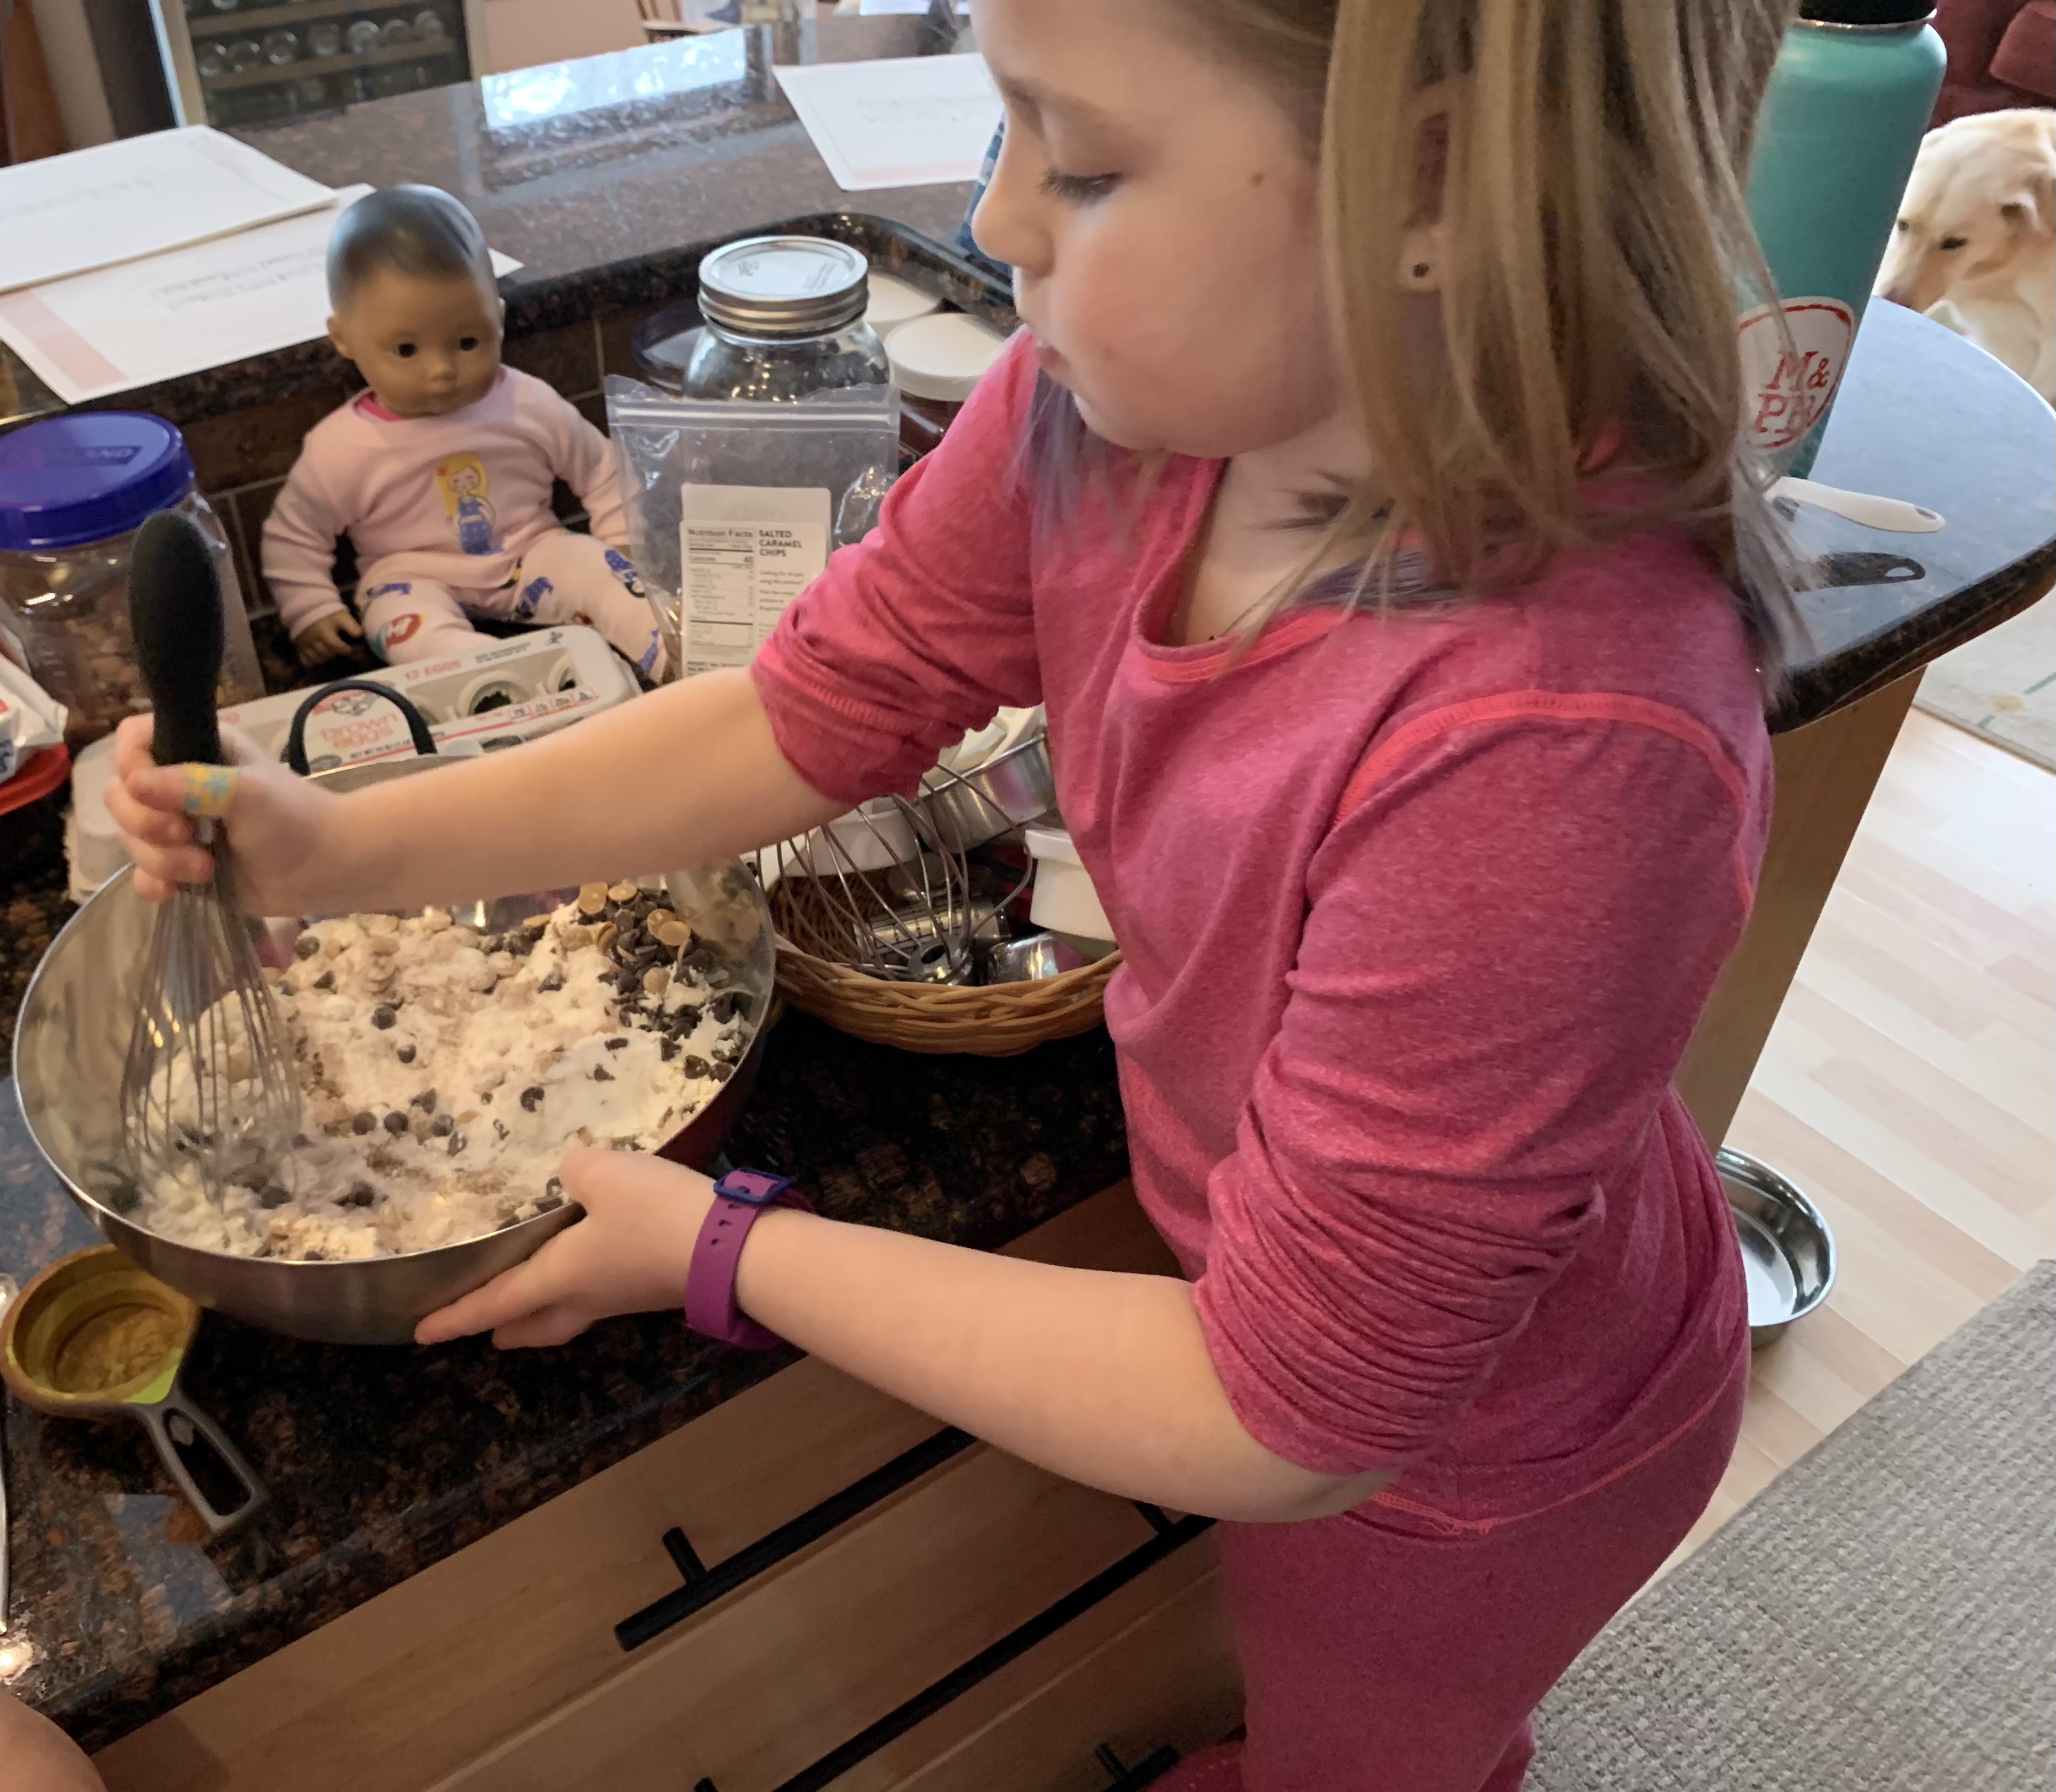
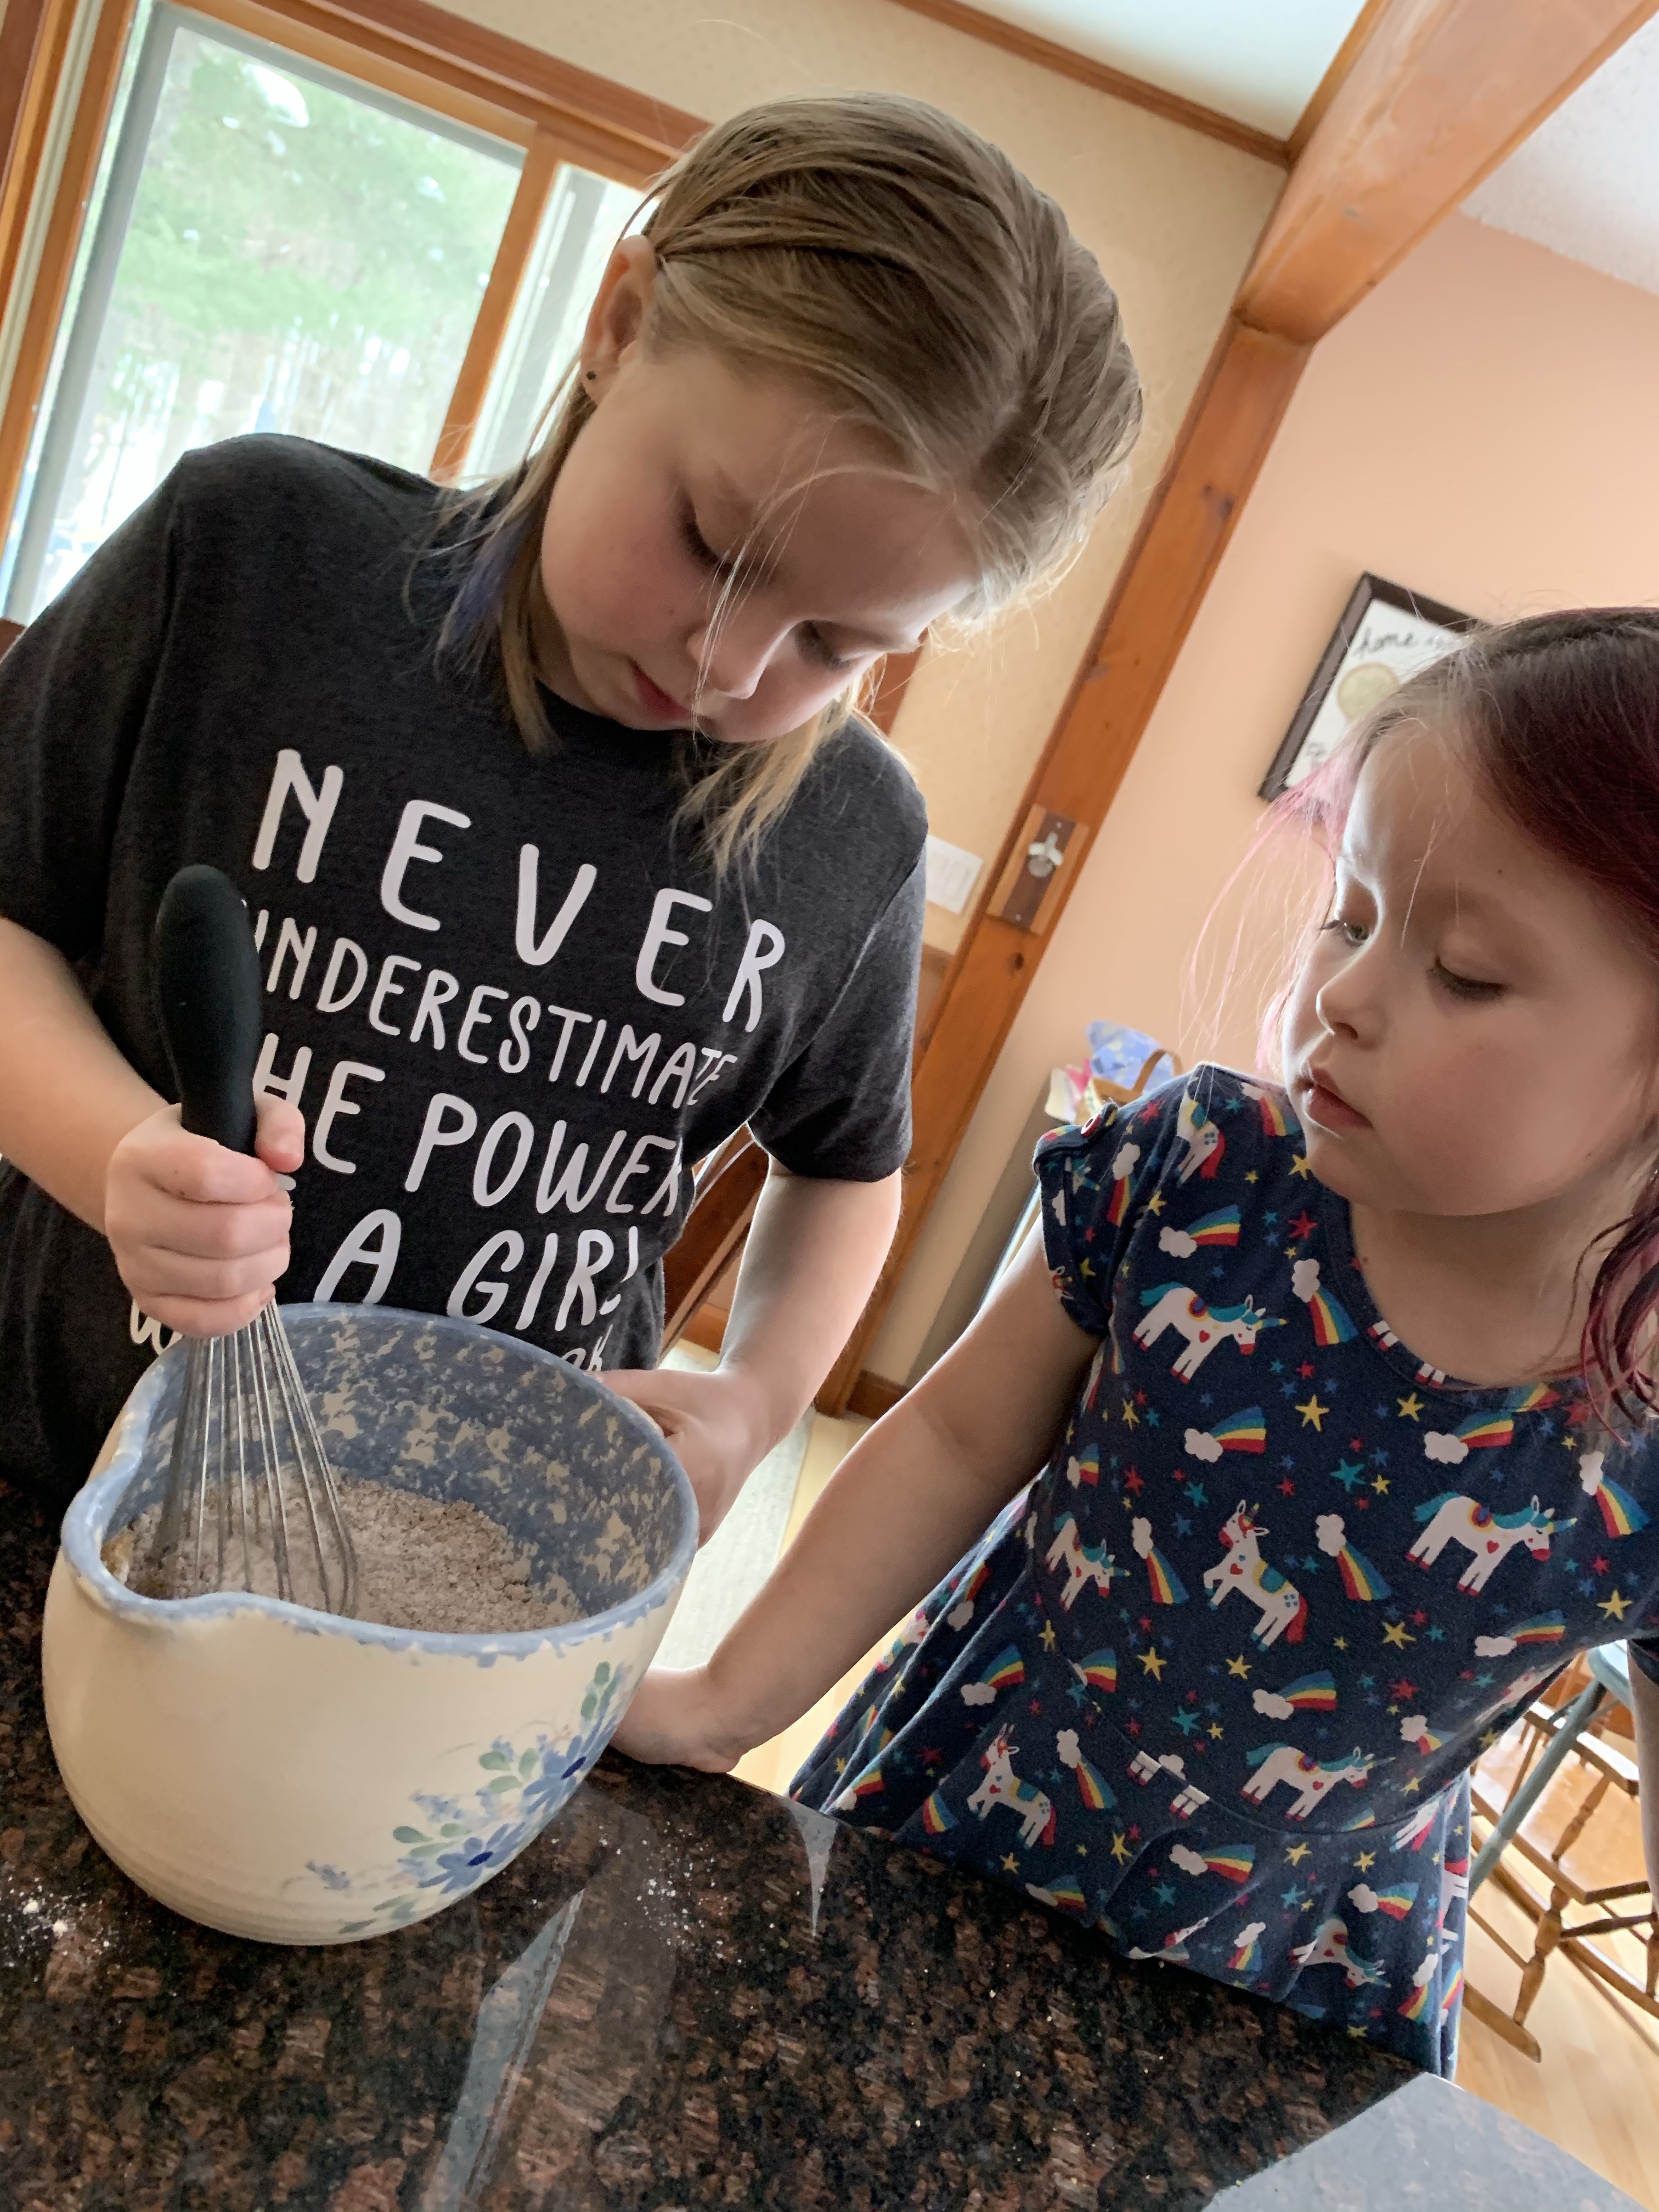
On Wednesday’s we bake with dolls 😂
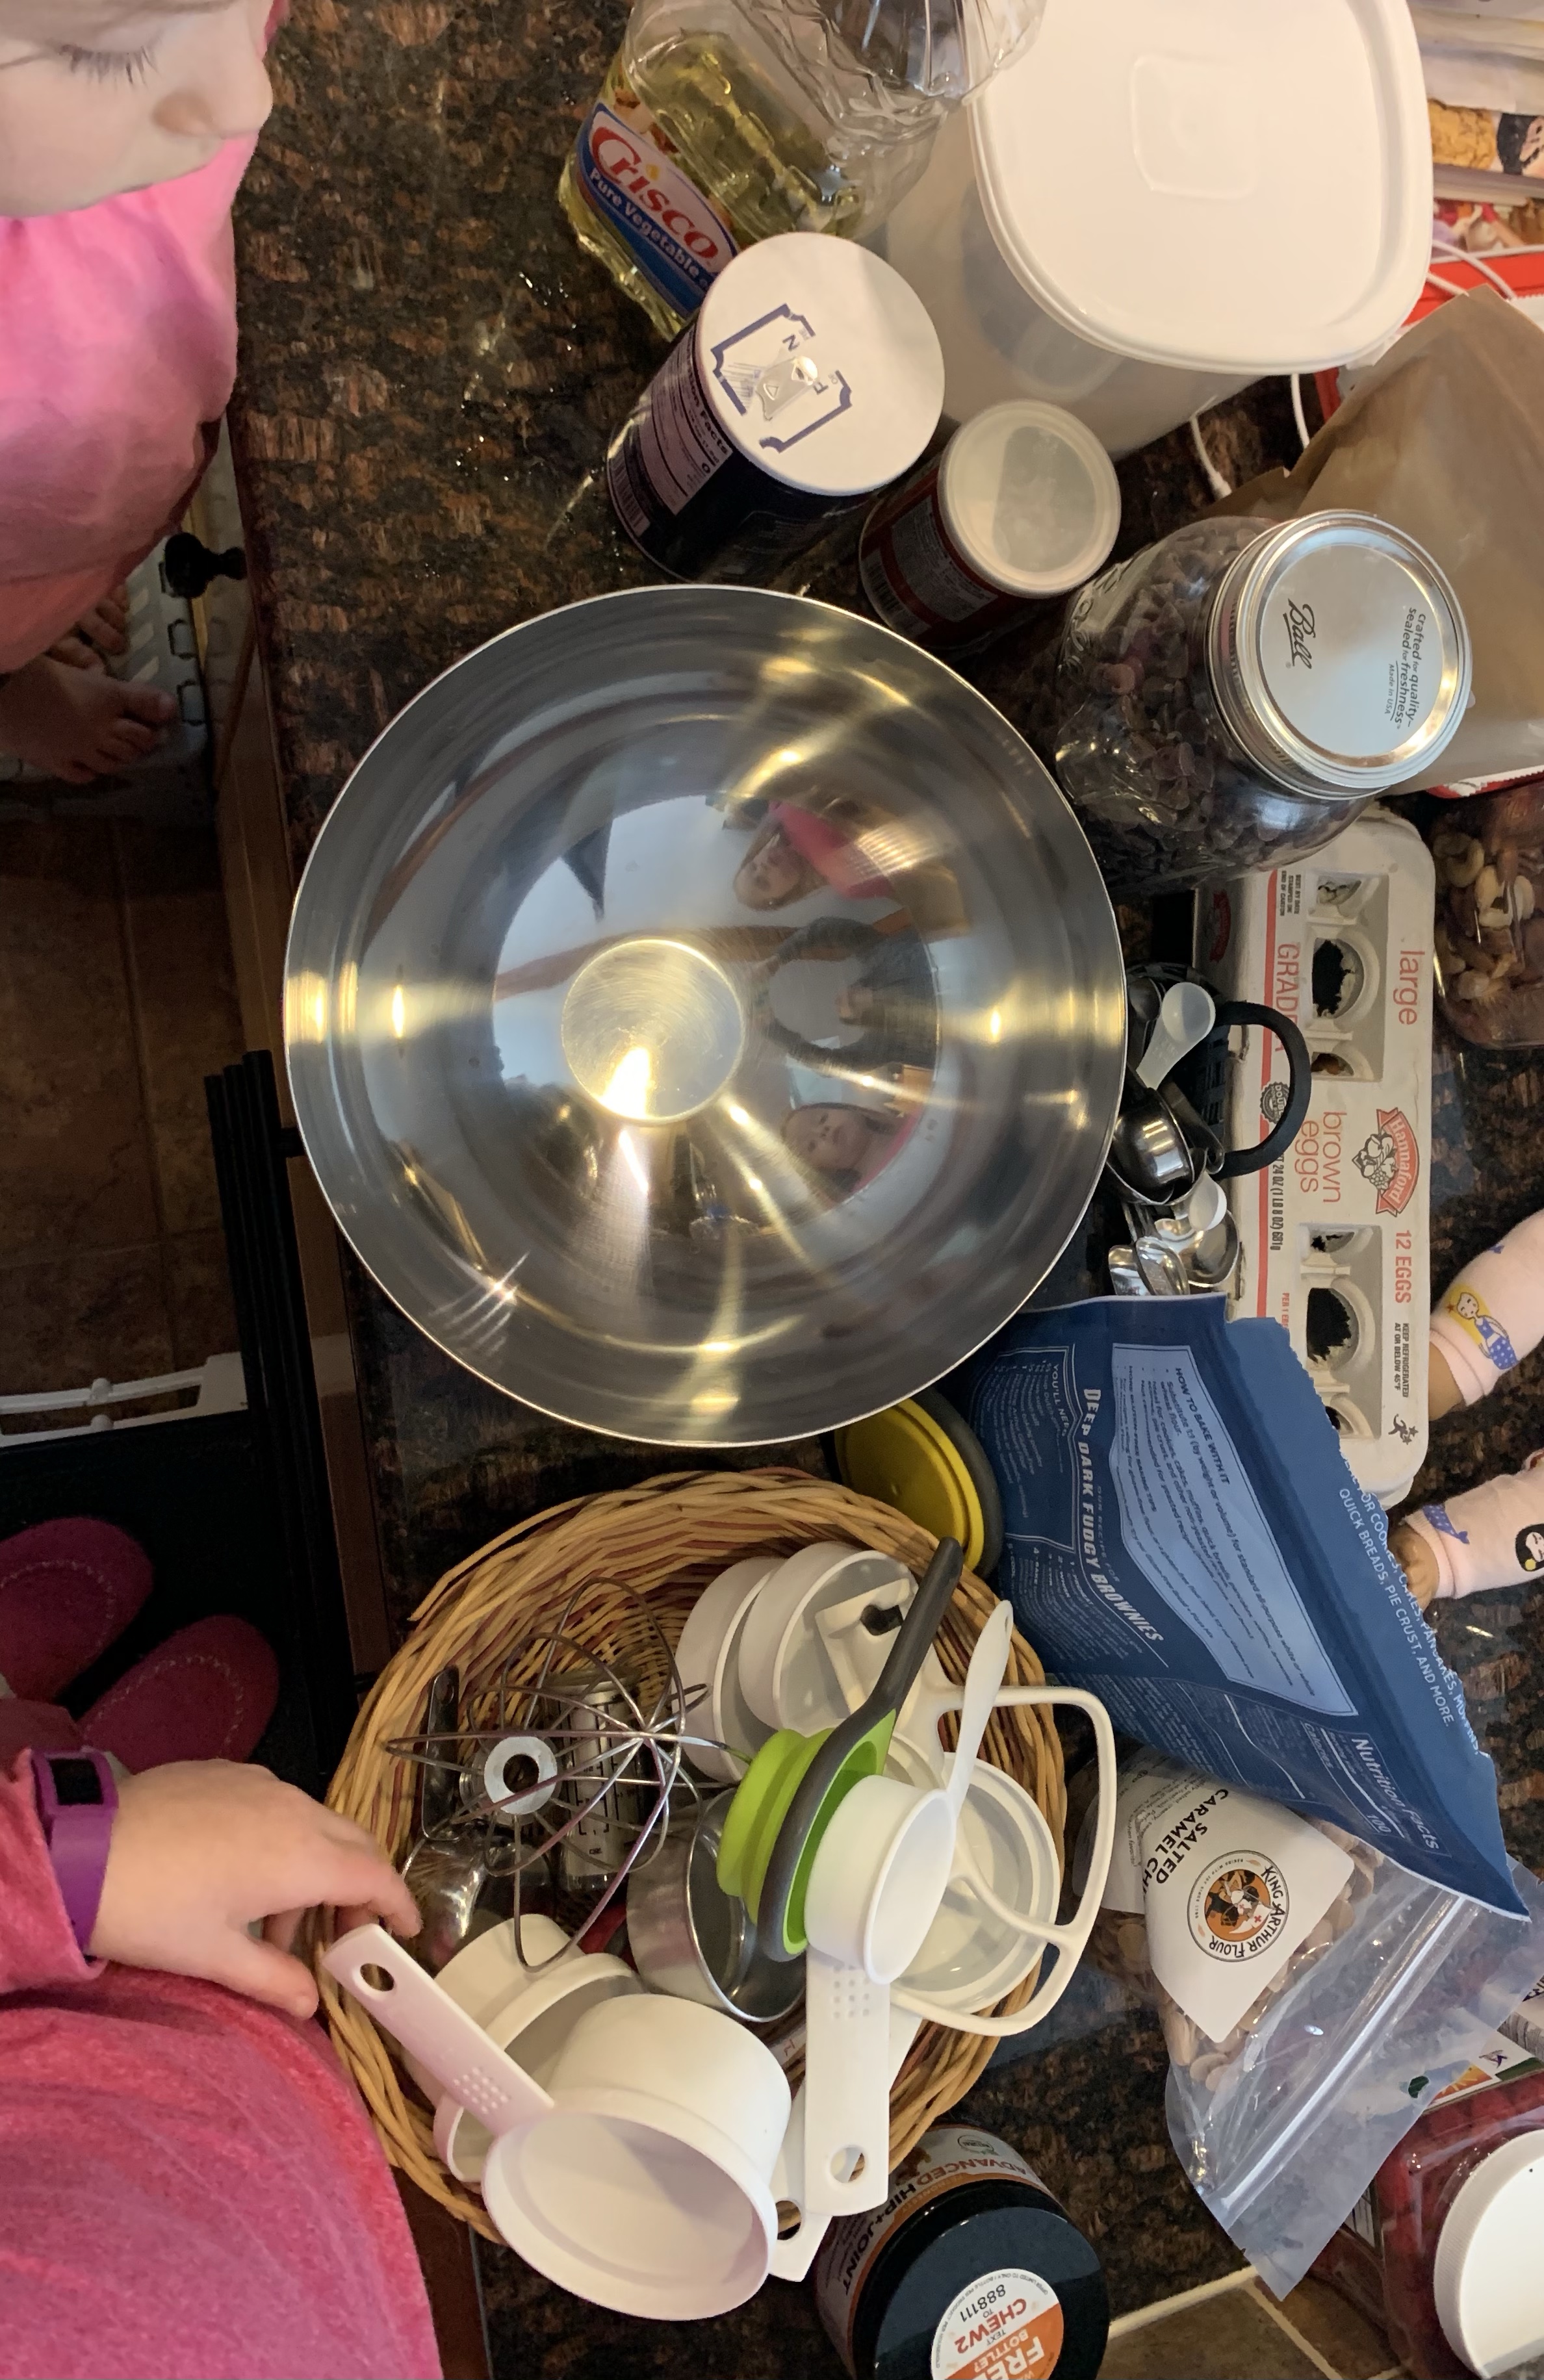
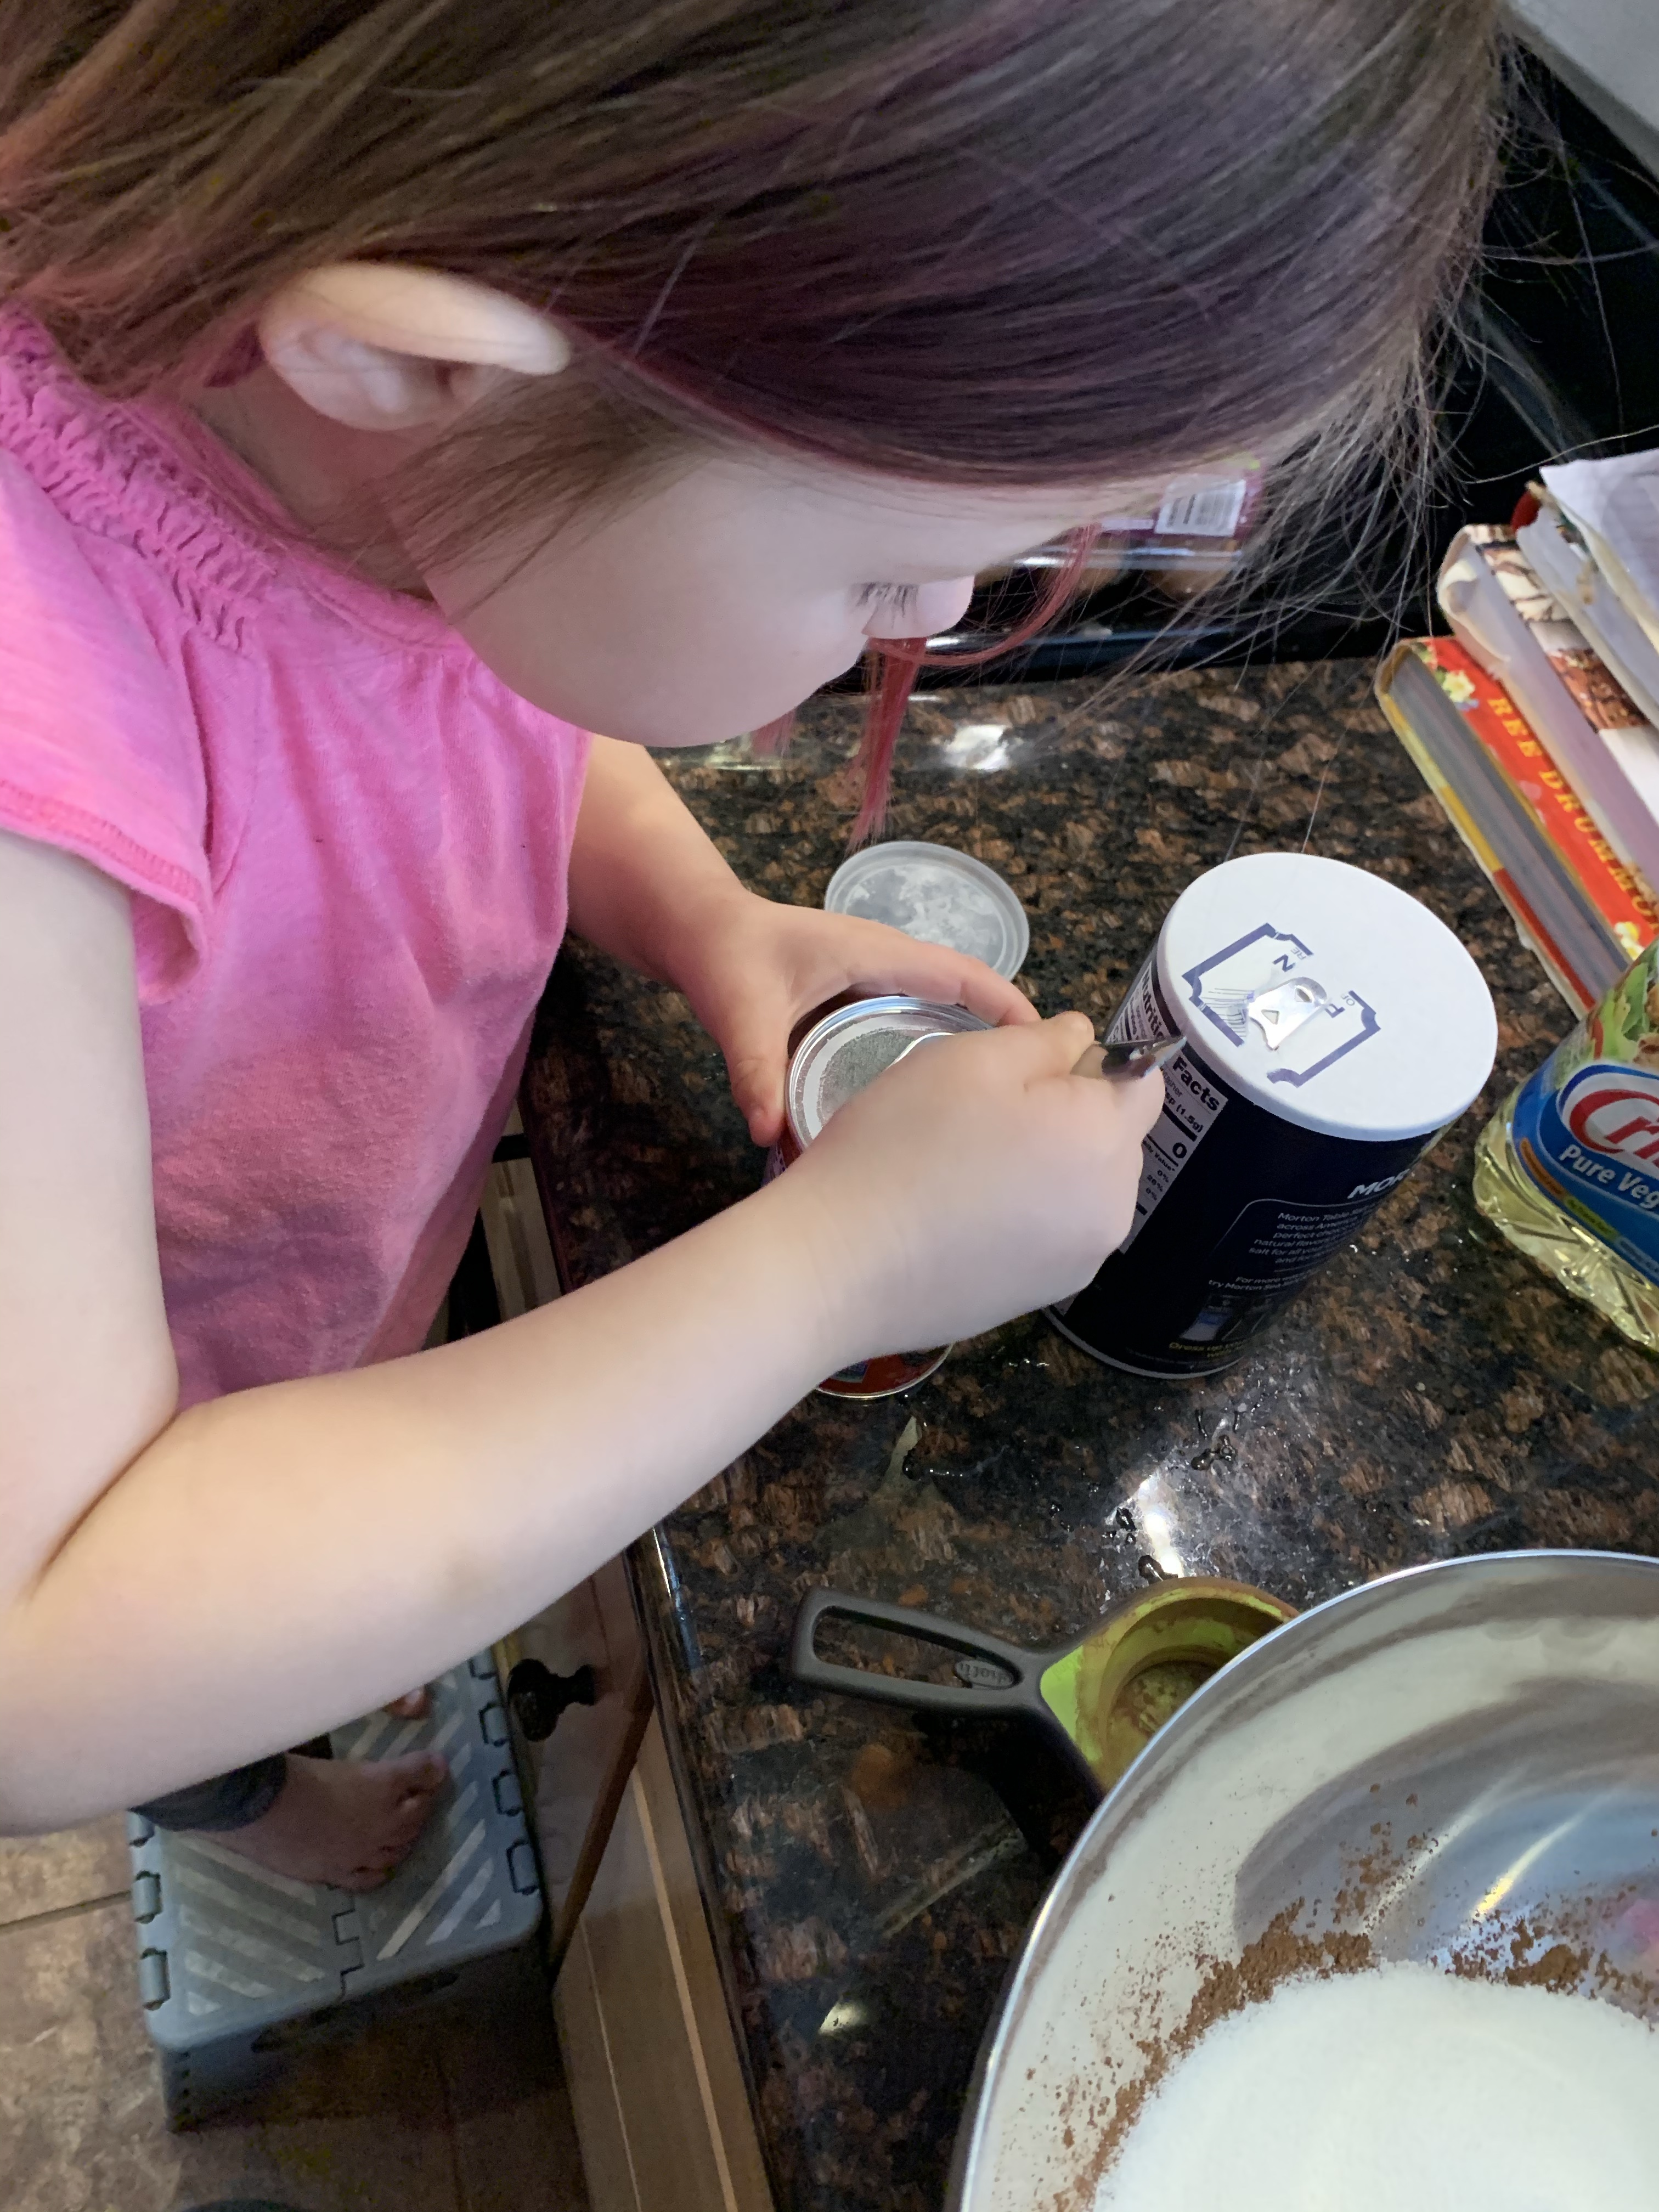
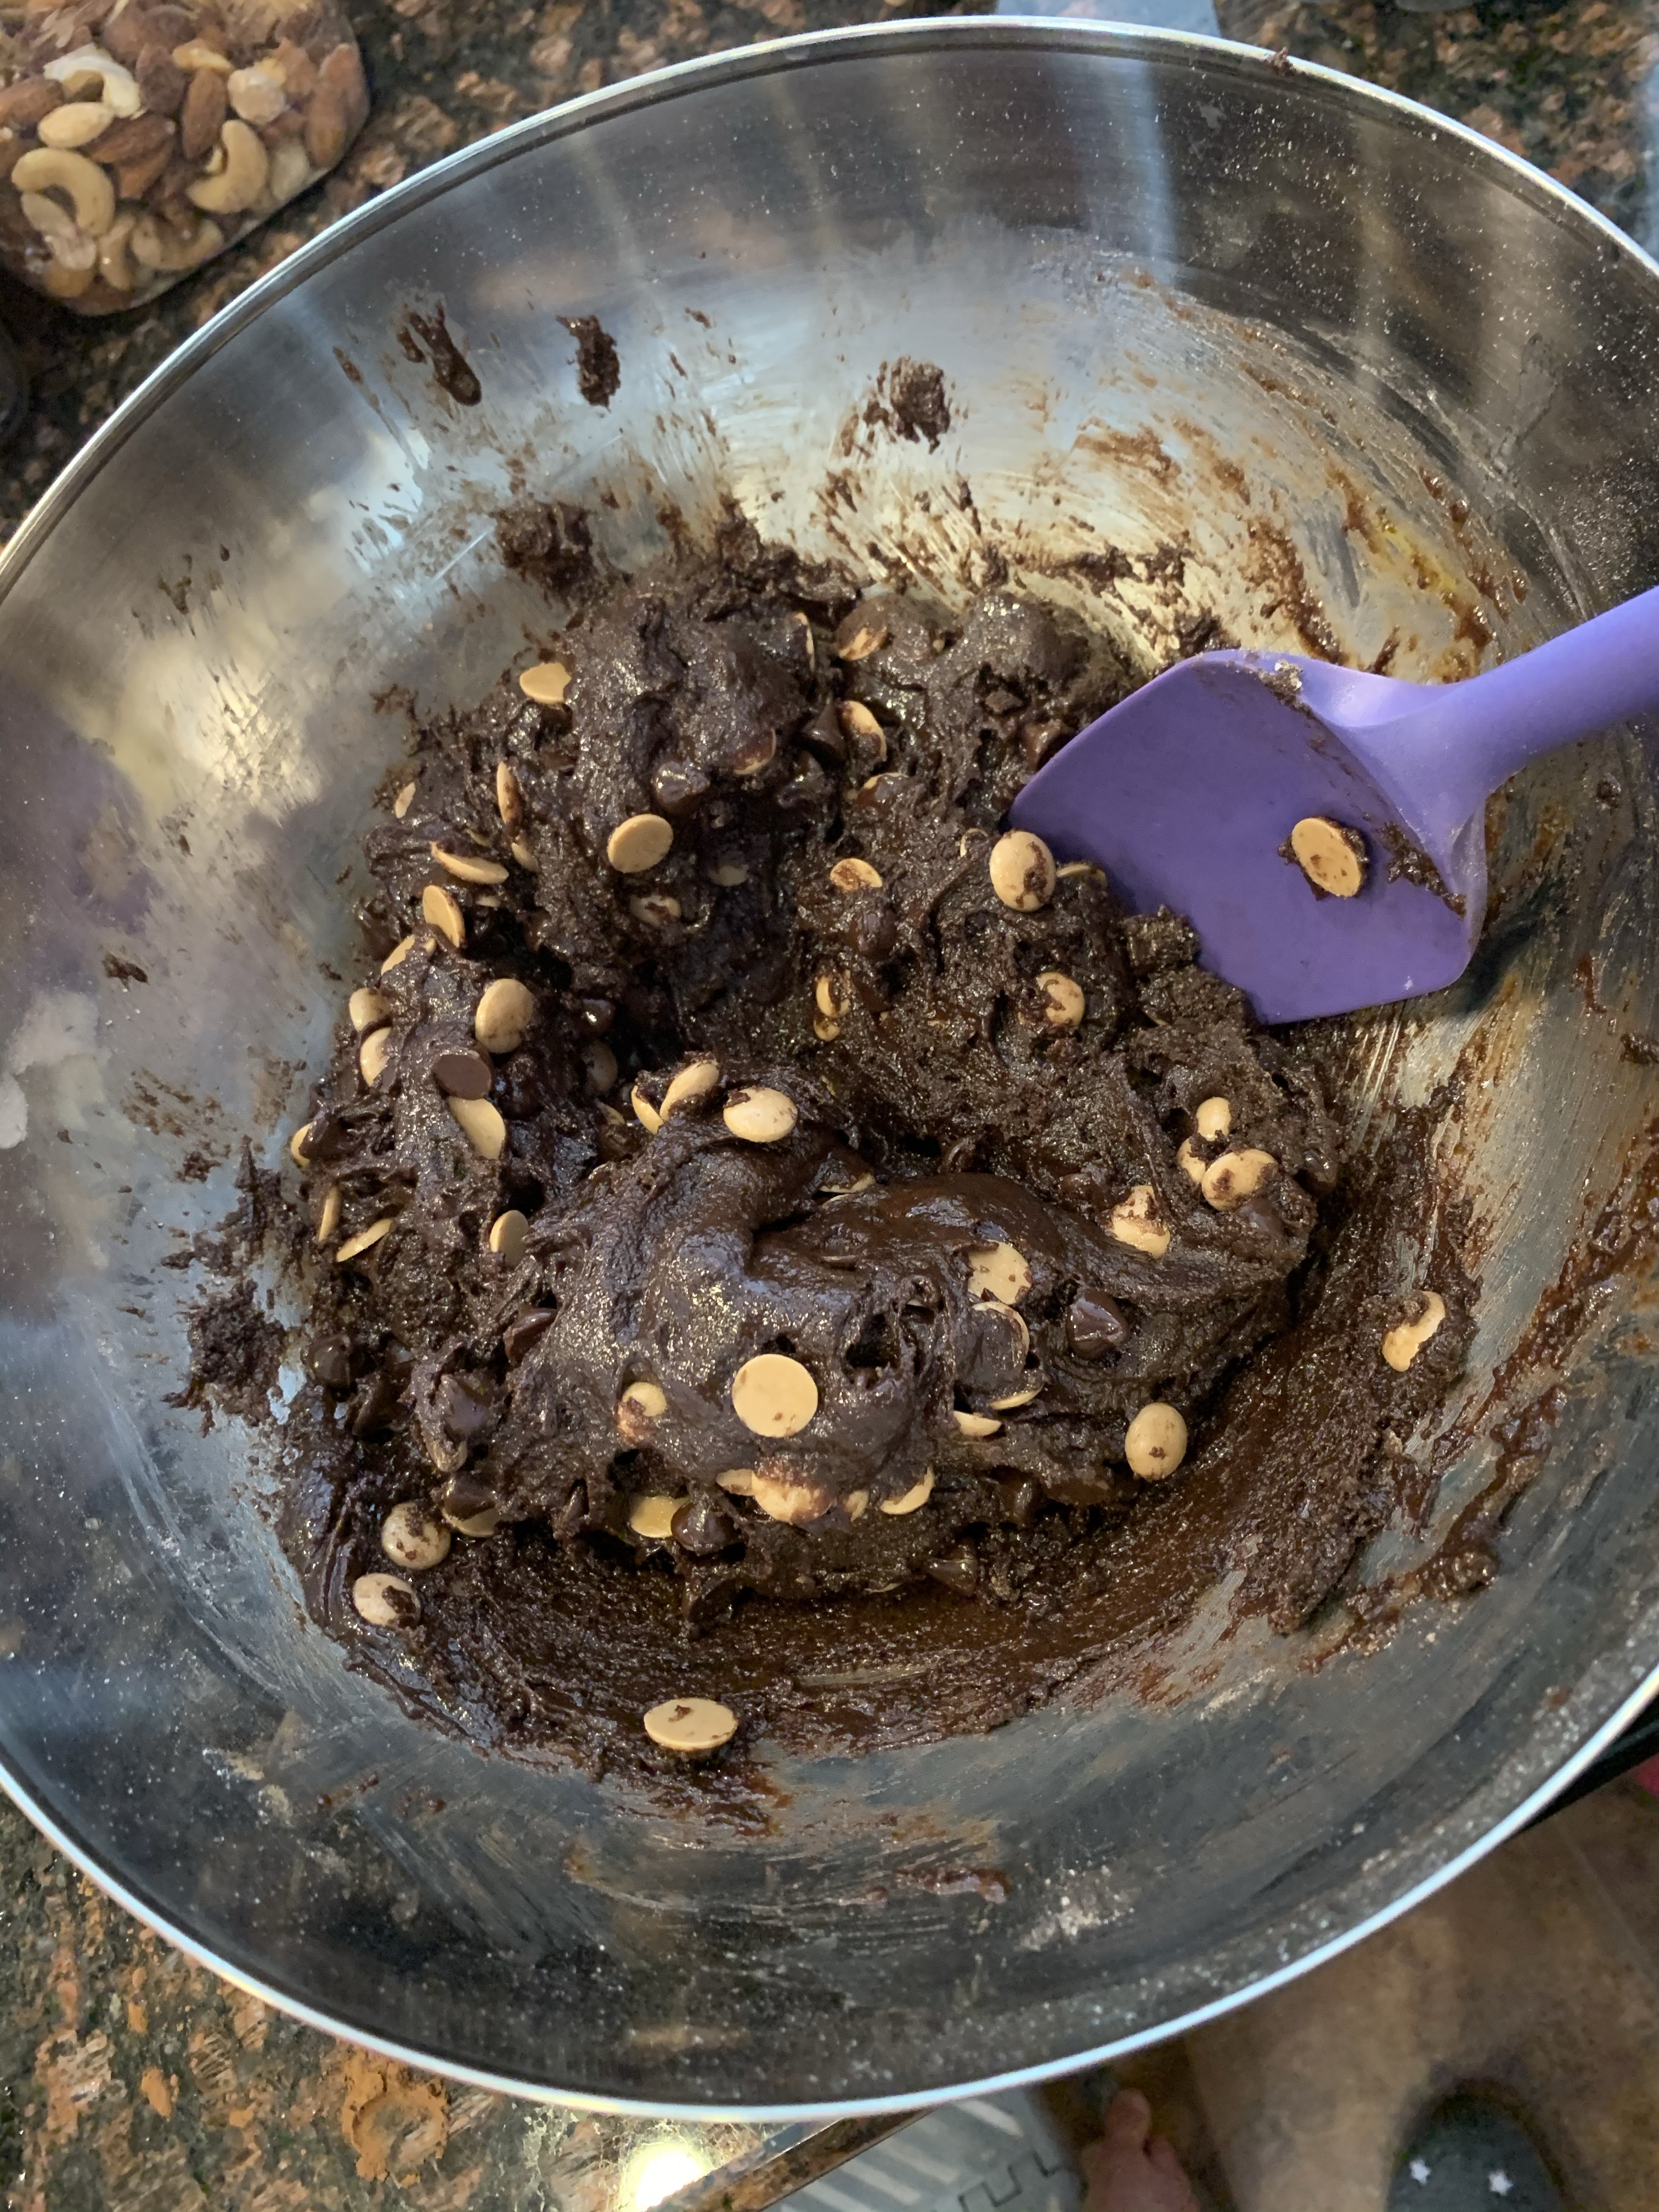
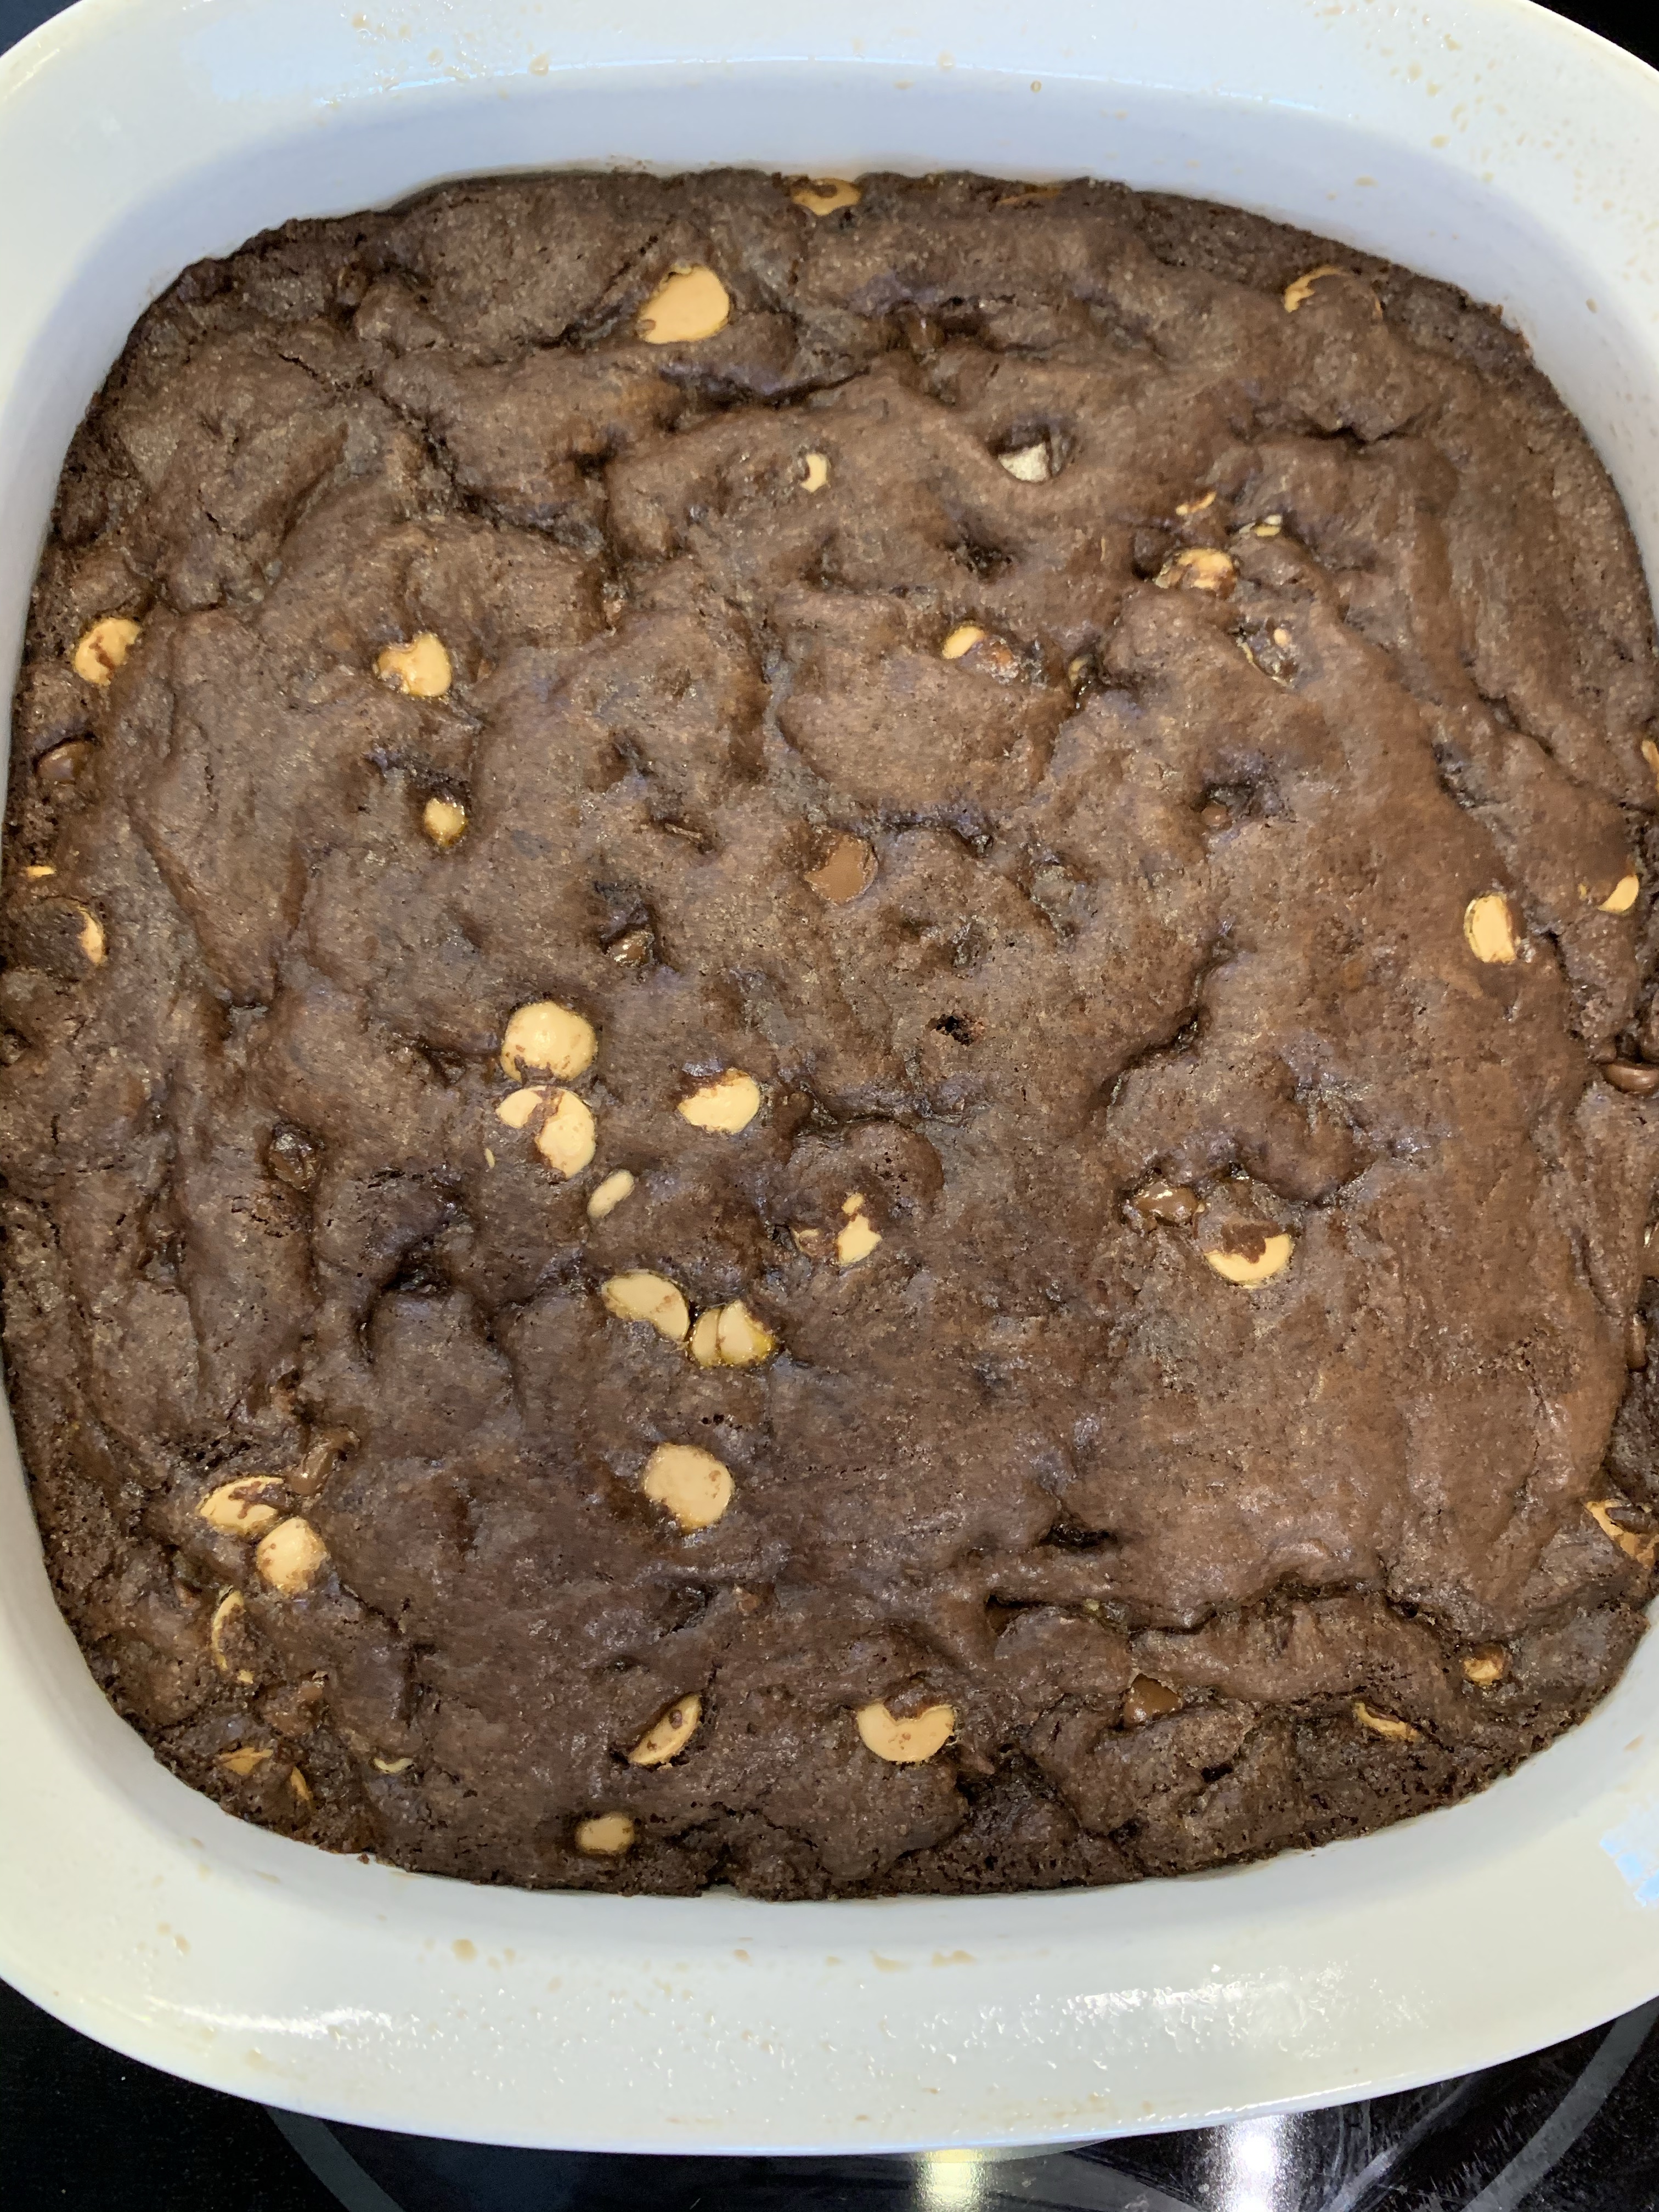
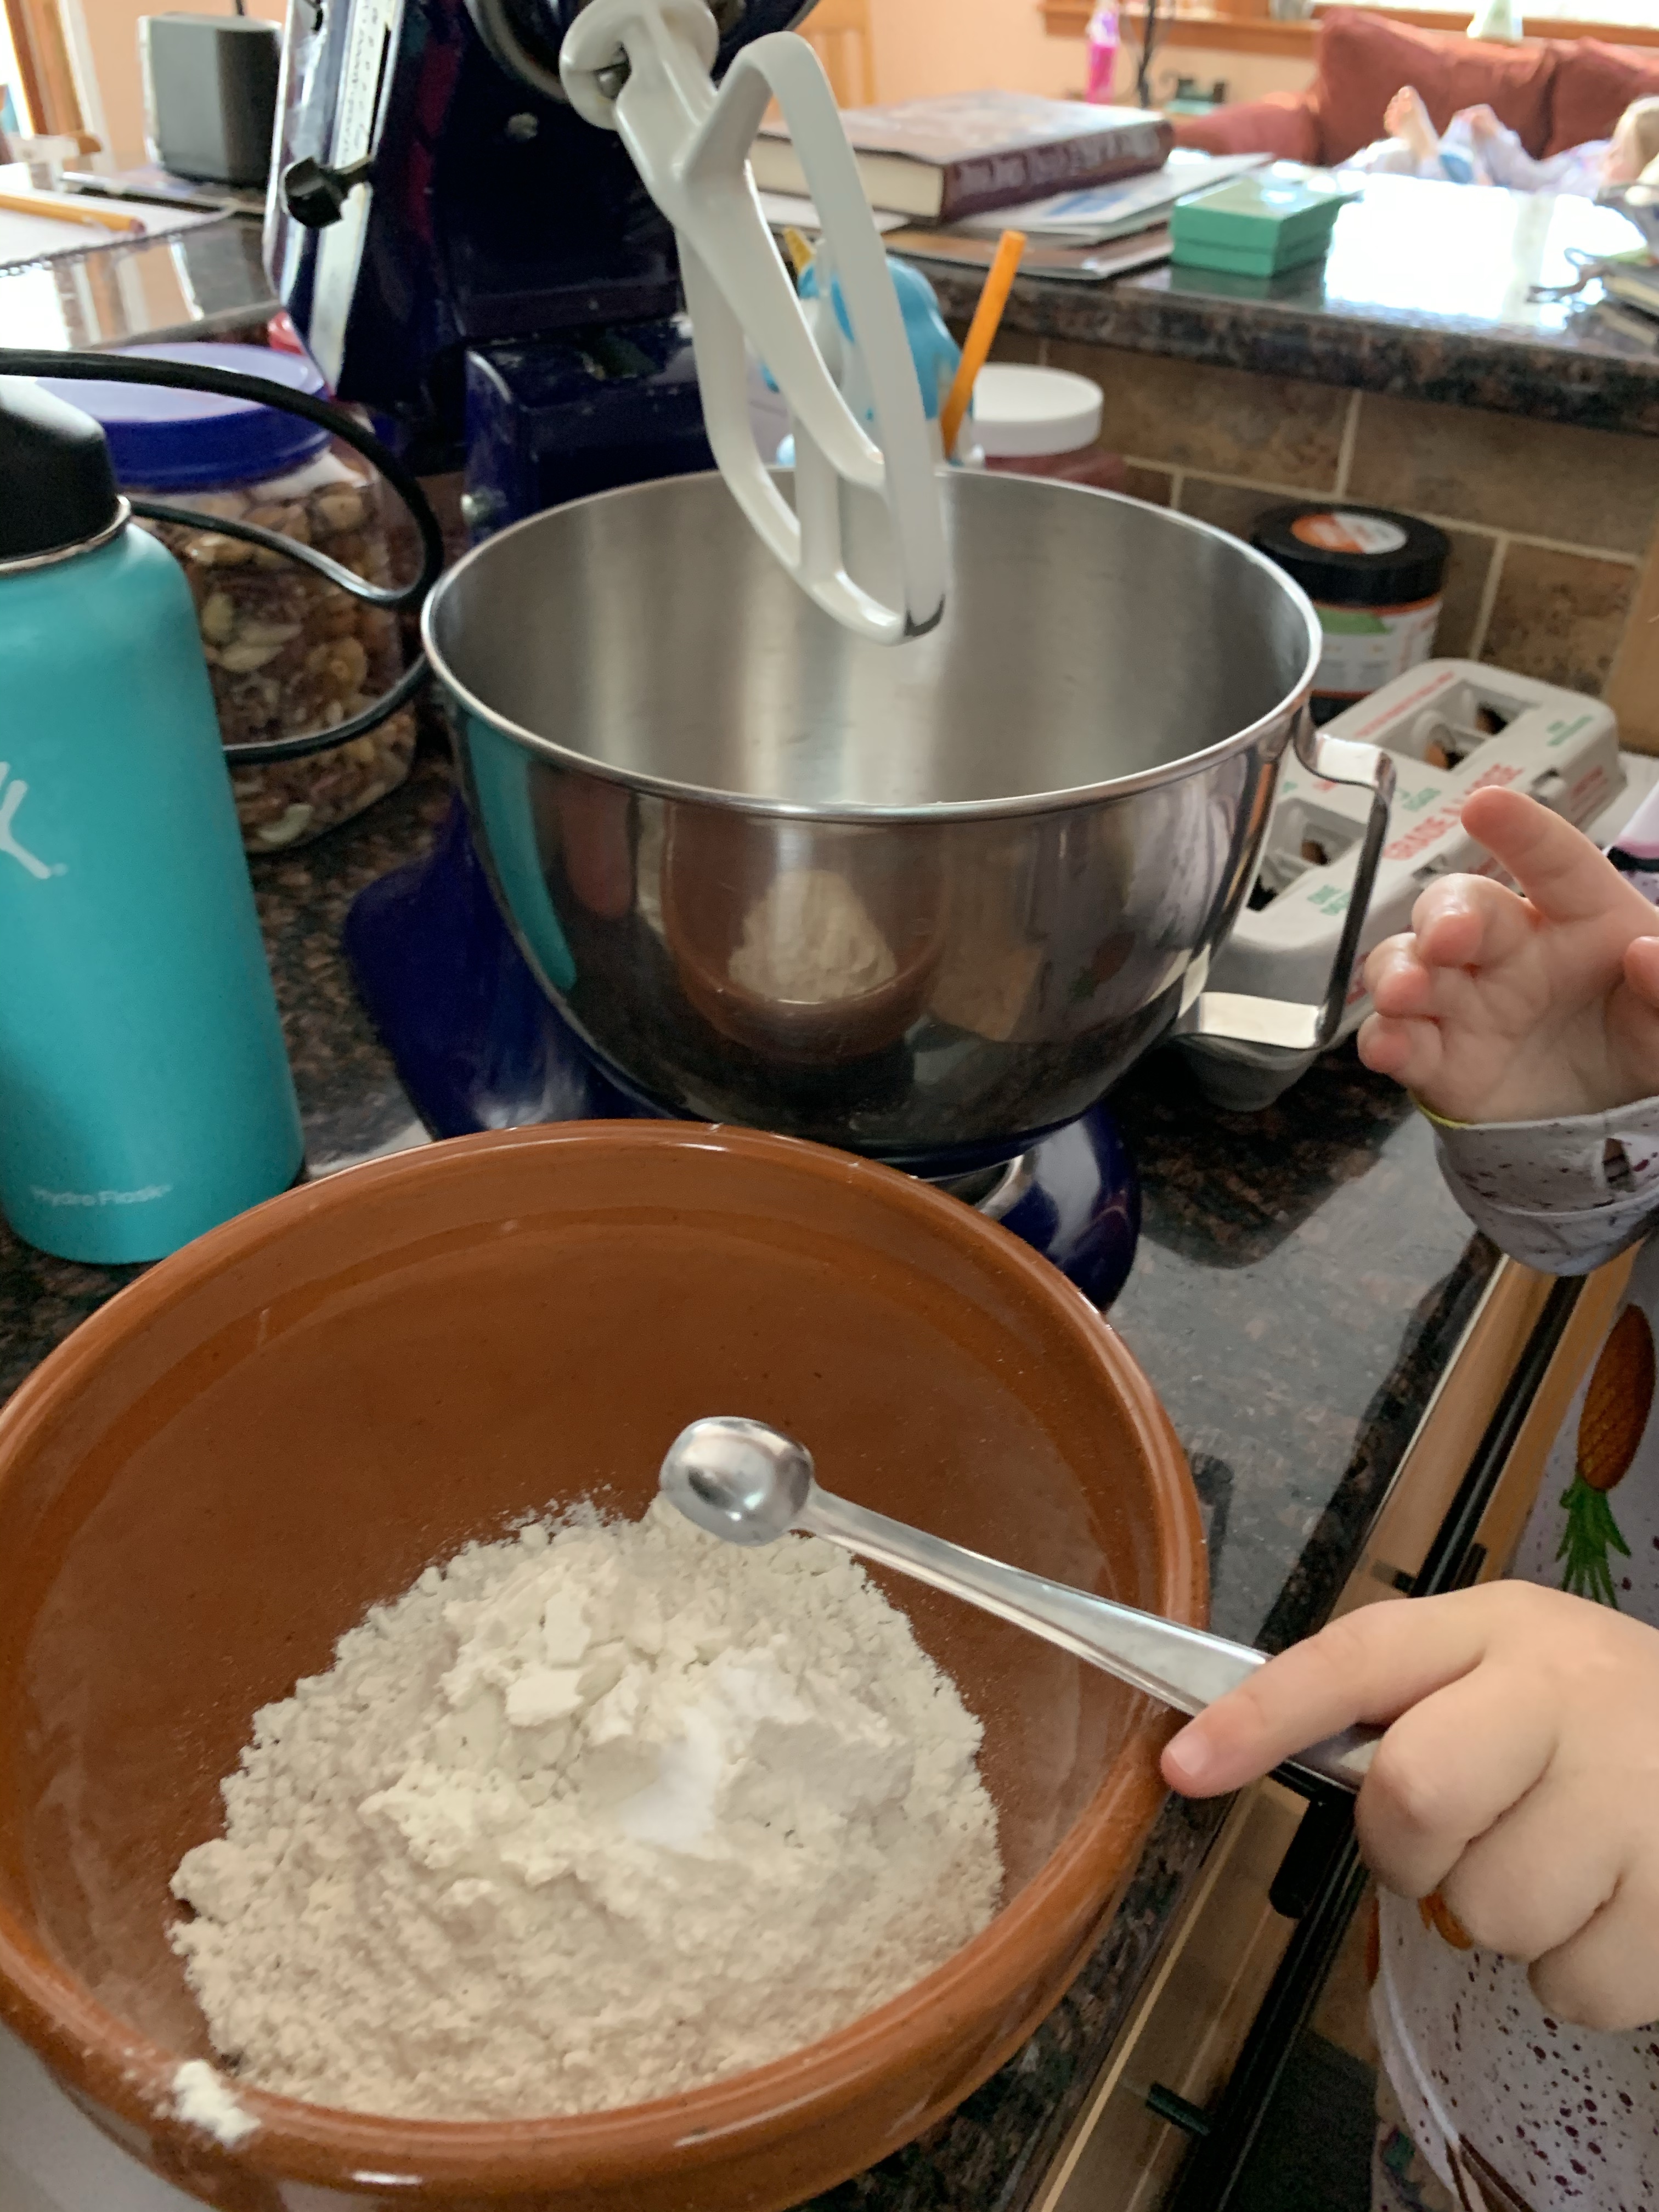
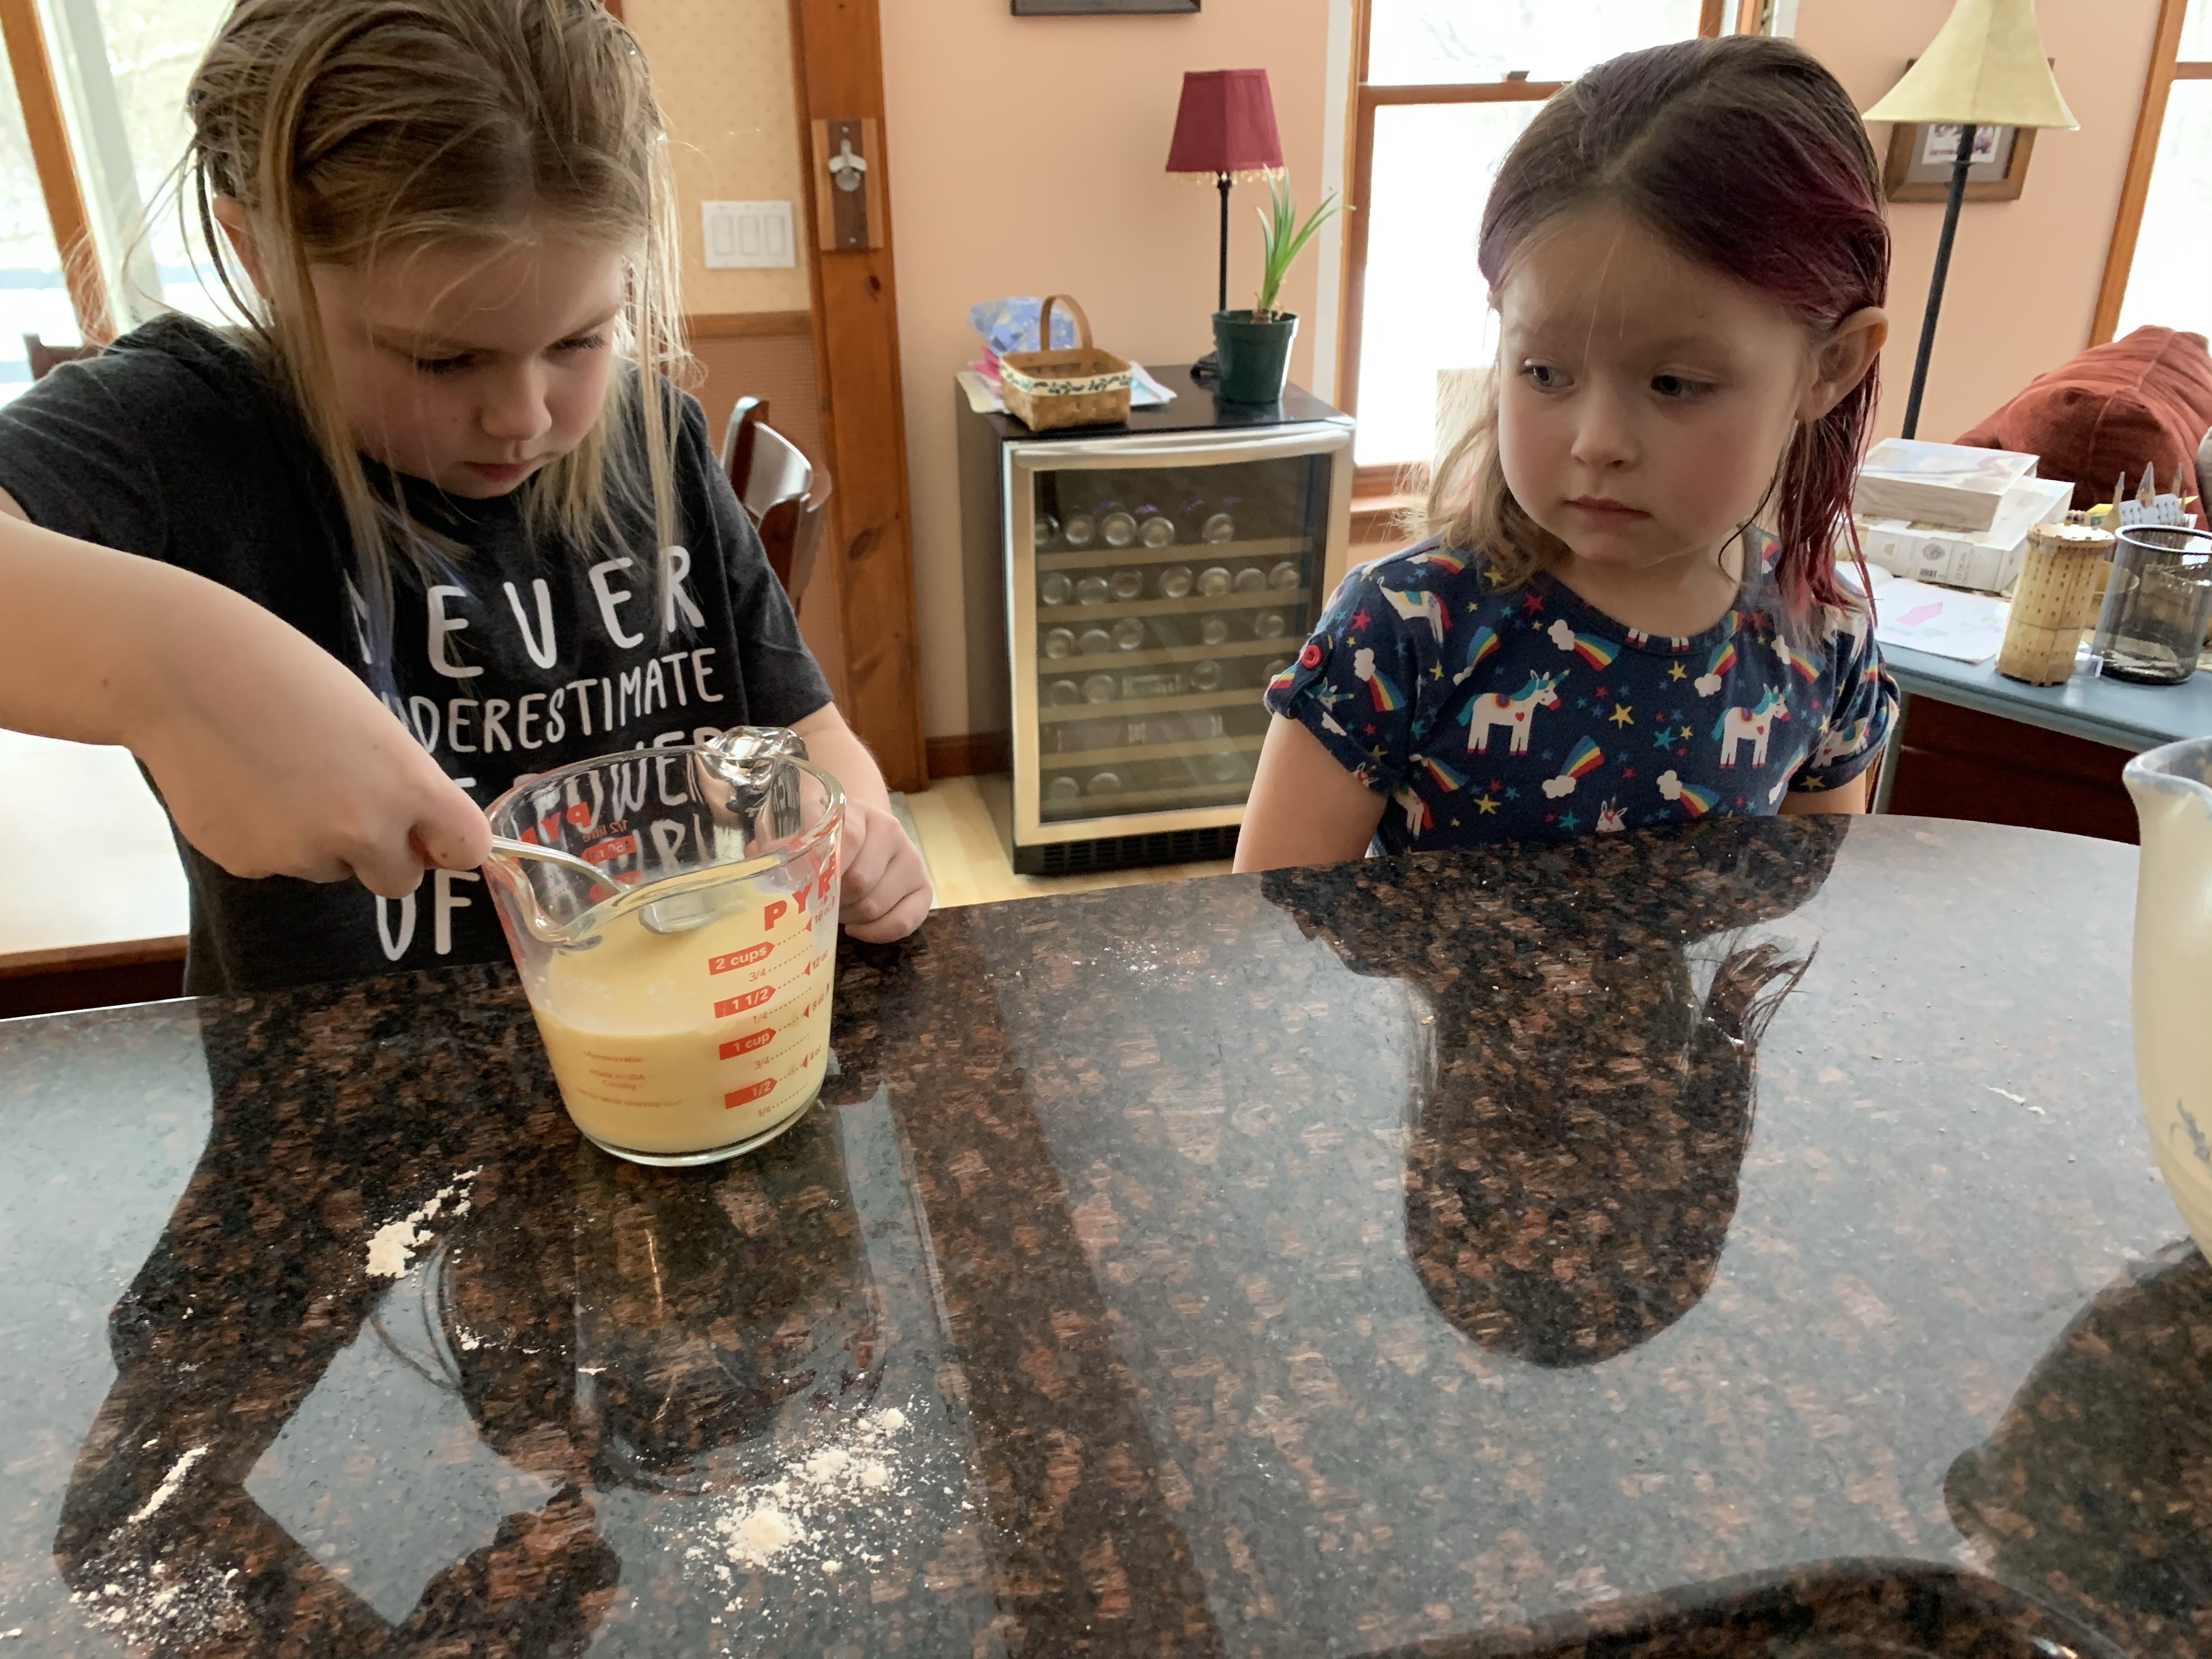
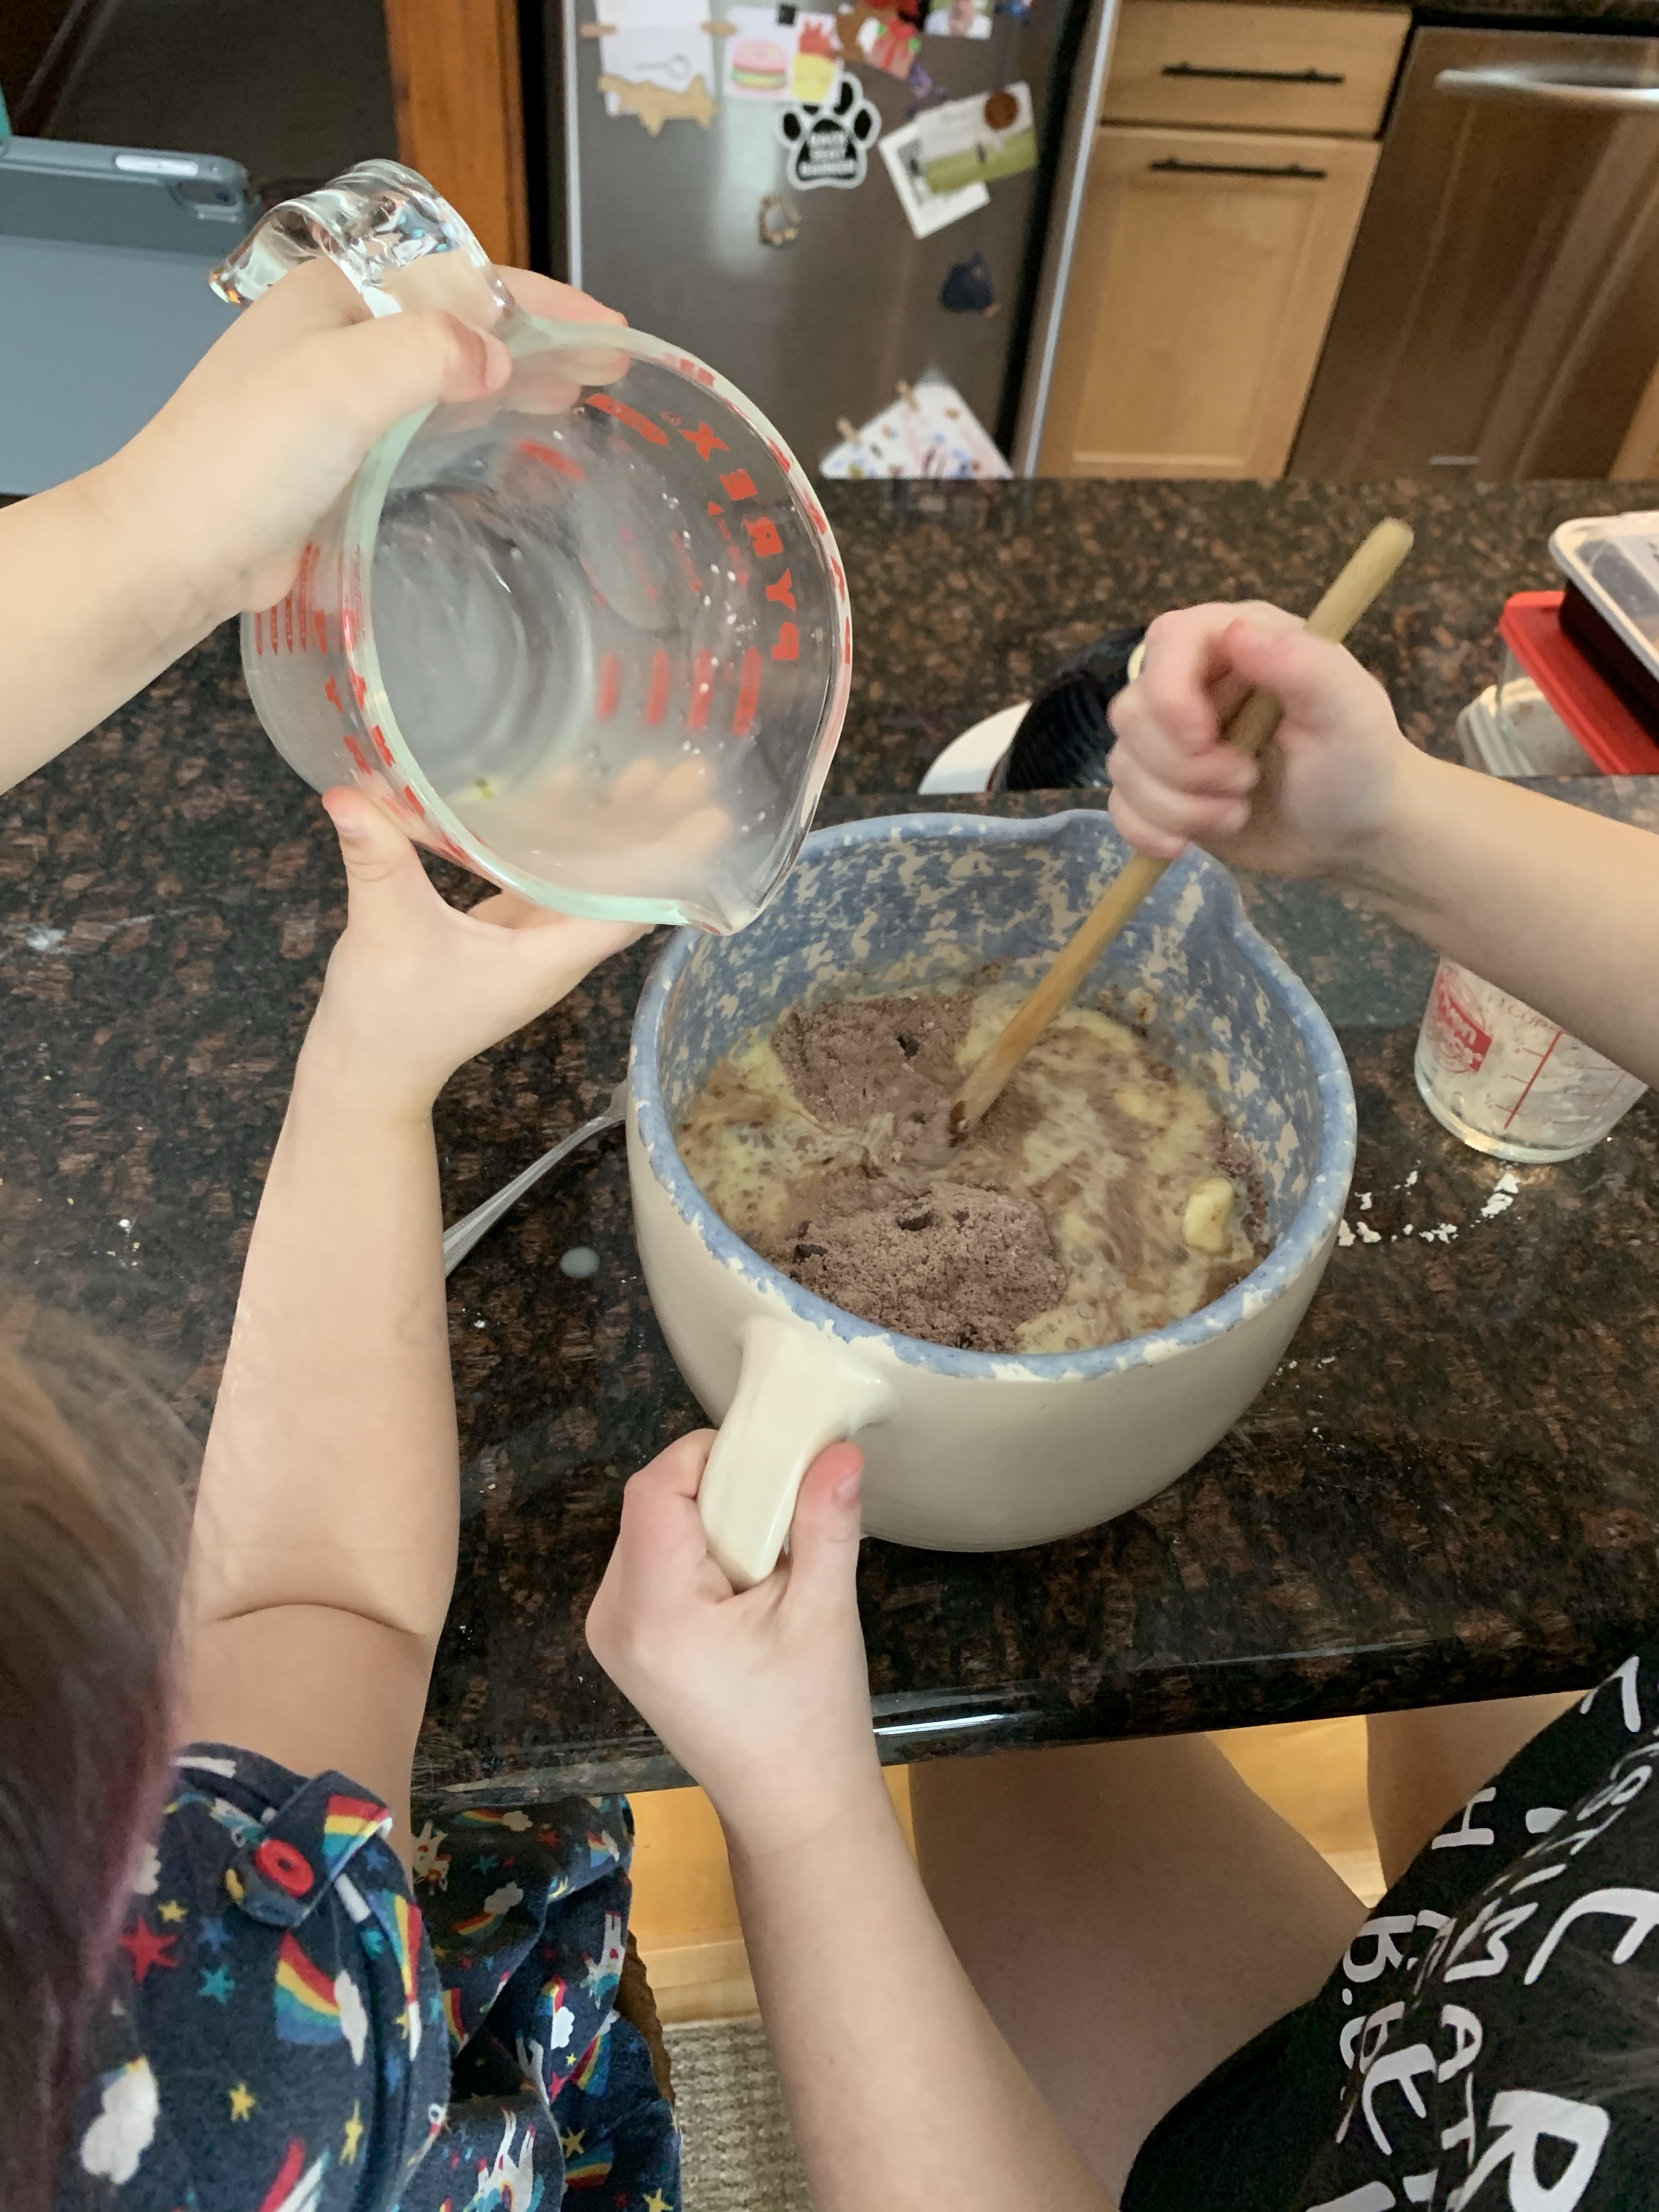
We make this recipe pretty regularly so the kids are well versed in it. As usual we got out all of the ingredients and set to work. Unlike a lot of brownie recipes this can be made in ONE bowl, which makes clean up so much easier. The girls were in charge of pretty much everything except the eggs, they always make me do the eggs! We followed the recipe exactly except instead of adding nuts we added the Salted Caramel Chips. They’re currently in the oven and they smell AMAZING!
Um, yes please!
Want to know how they taste? Check out our Instagram @100daysofbakingwithkids or on Facebook at 100 days of baking with kids. Happy baking friends!
We happened upon our 6th baking day by accident. We were having a lazy morning, it was that grey that only the end of February can be and we just couldn’t motivate to do much. After lunch I suggested we all get ready to outside, then we looked out the window and it was pouring. Not raining, literally sheets of cold Vermont rain were streaming from the sky. It was like someone had left on the shower. At the suggestion of the 8 year old we decided to switch gears and choose a new recipe.
We got out out new book, 100 cookies by Sarah Kieffer ( https://www.thevanillabeanblog.com/100-cookies seriously, go buy it, you can thank me later) and thumbed through it. We finally settled on Cinnamon Roll Blondies and WOW!!!!! While they took some time (which was fine with us because of the aforementioned rain) and were a few extra steps they were SO worth it! Soft, chewy, and bursting with cinnamon flavor, we will certainly add these into our regular rotation.
It’s always amazing to me how well they can work together in the kitchen…and NO WHERE ELSE!
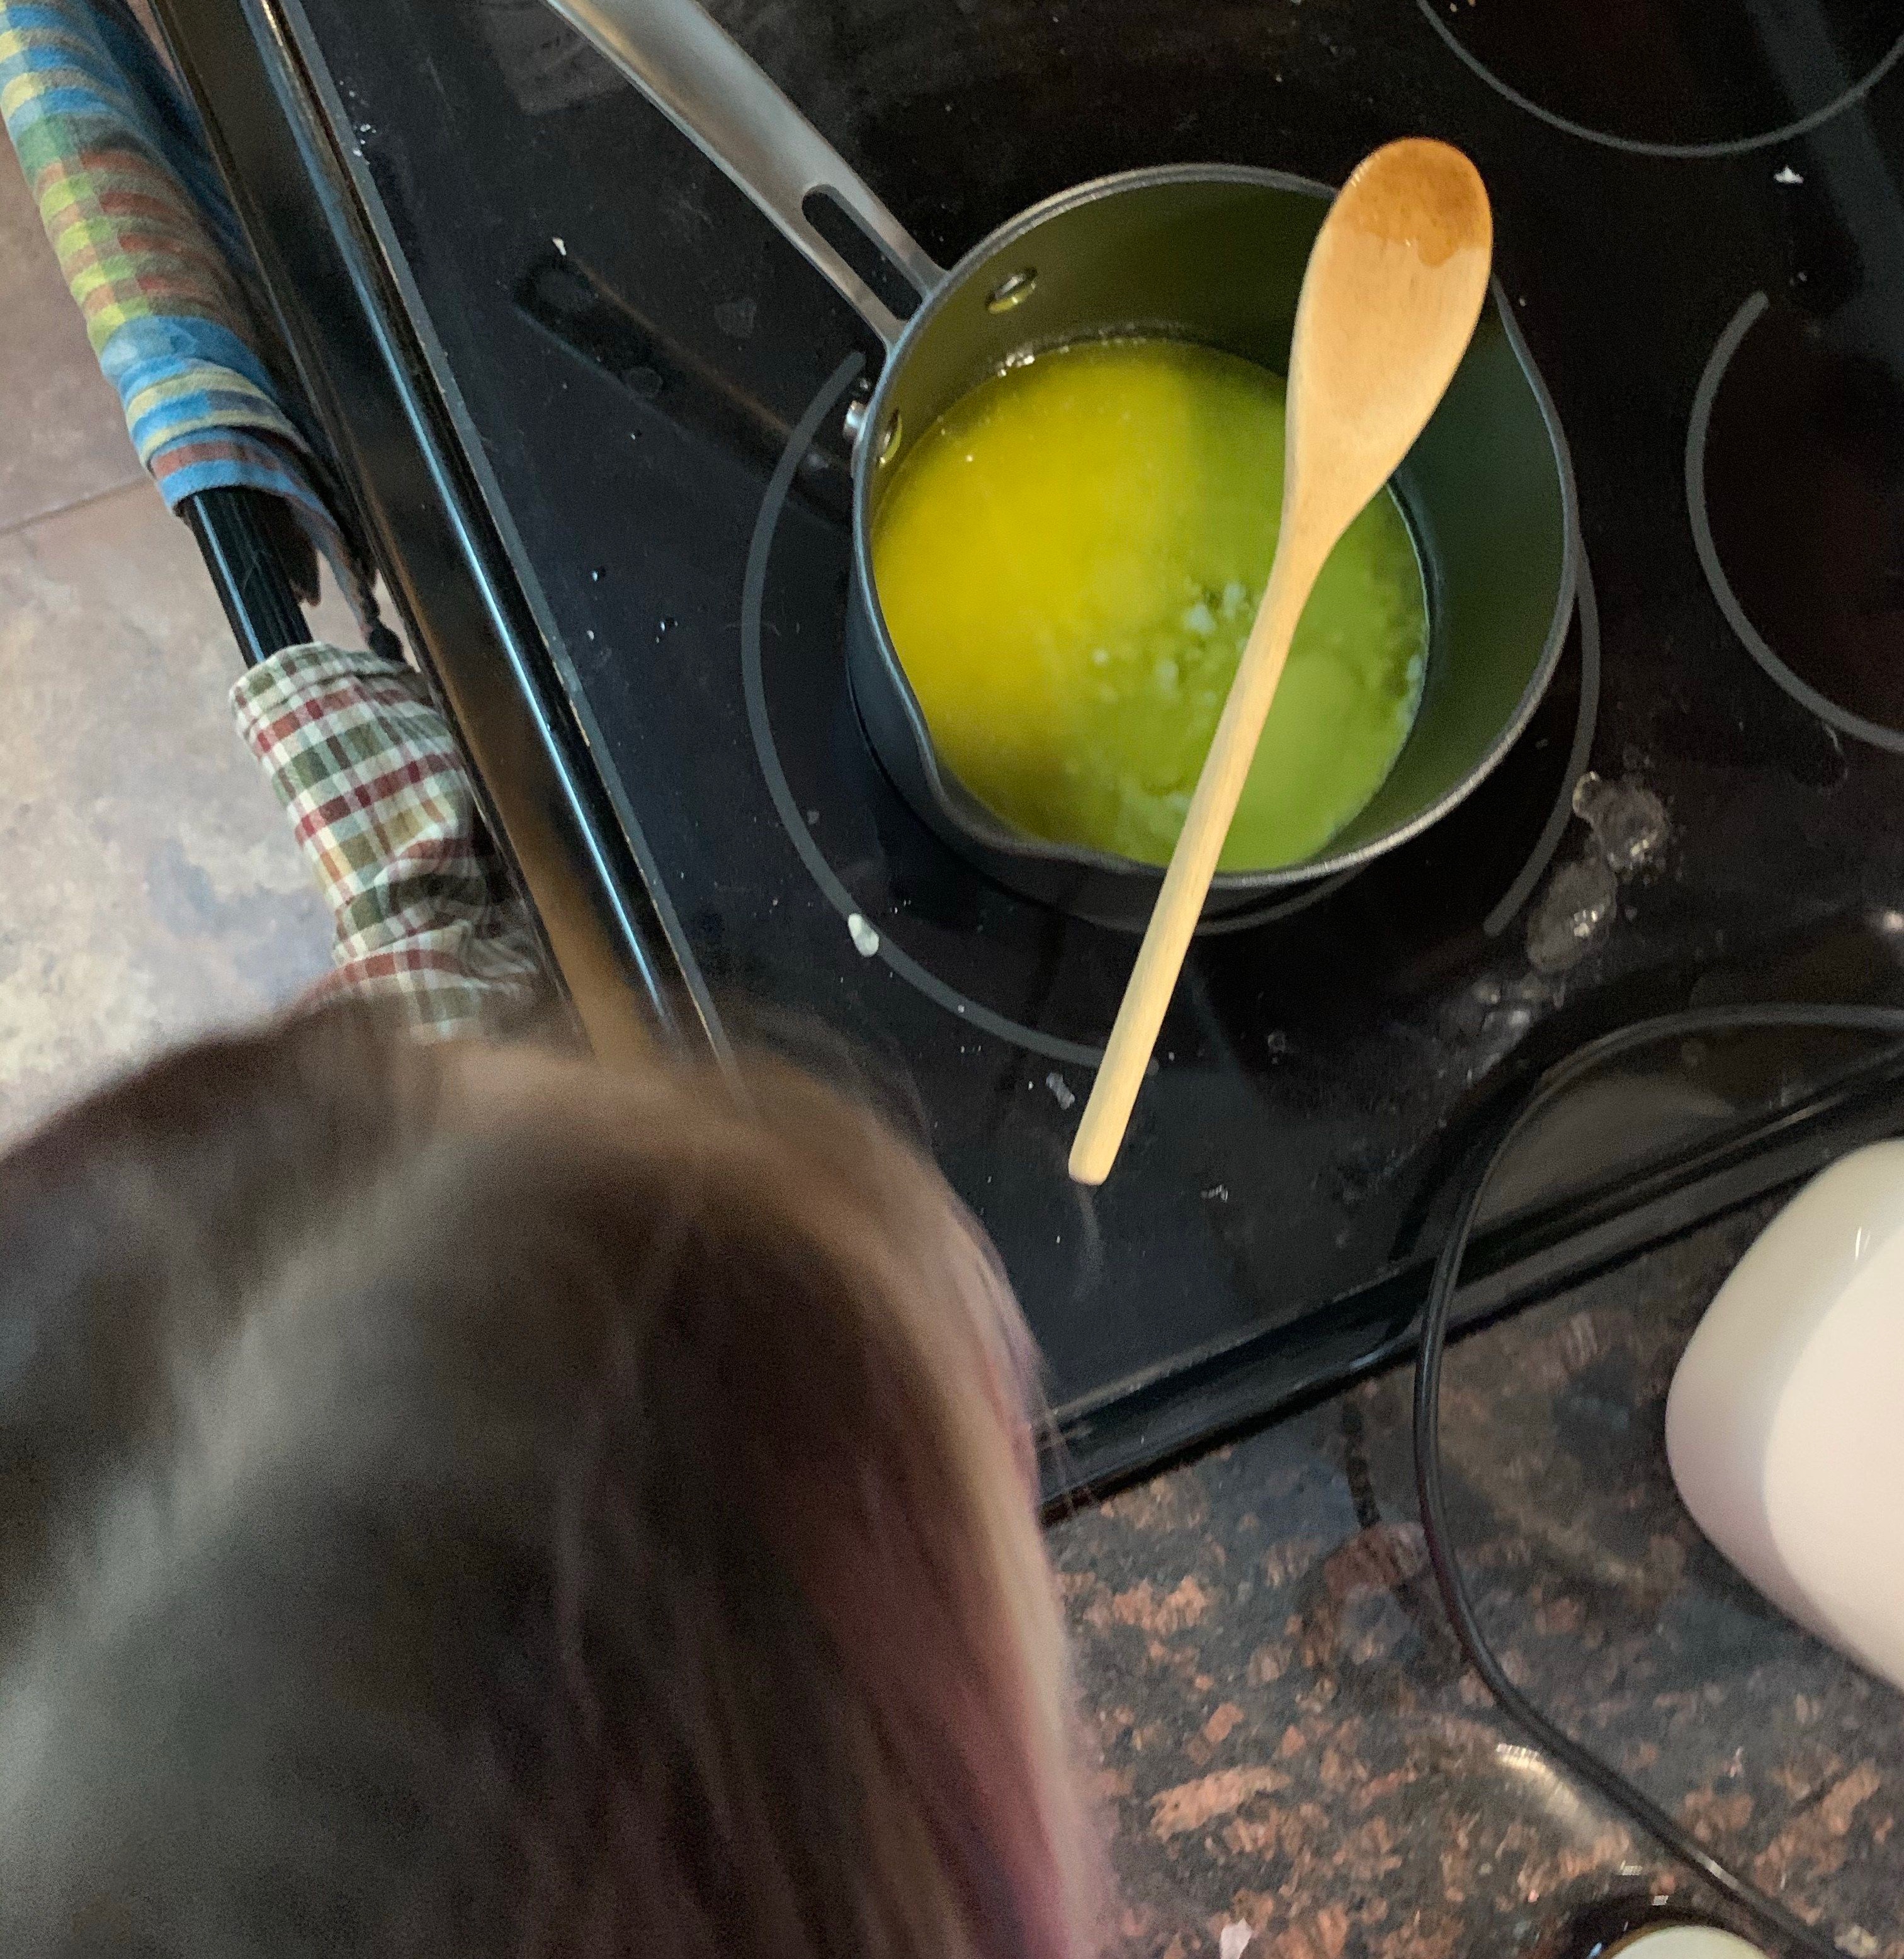
For these beauties we needed to brown some butter so unlike a lot of the recipes I use with the kids we had to use the stove top. My oldest has some experience here as she likes to help make hot chocolate (I’m going to add my hot chocolate recipe to this post because it’s so yummy it doesn’t make sense not to share) and often helps with dinner. My youngest on the other hand has only worked on the stovetop a handful of times so I took this opportunity to get her a little more comfortable and talk about some safety. She stood by the pot while we melted the butter and kept a close eye on it, then helped to add the sugars and stir them in the pot, all the while I’m talking casually about how to be safe, where to hold the pot, what is ok to touch and what will burn her. I don’t know about your kids but if I make a big deal about it they turn off, so I just keep it casual and keep repeating as we chat along the way.
She was so careful and such a great listener…which is really off brand for this kid. It’s amazing what baking can accomplish!
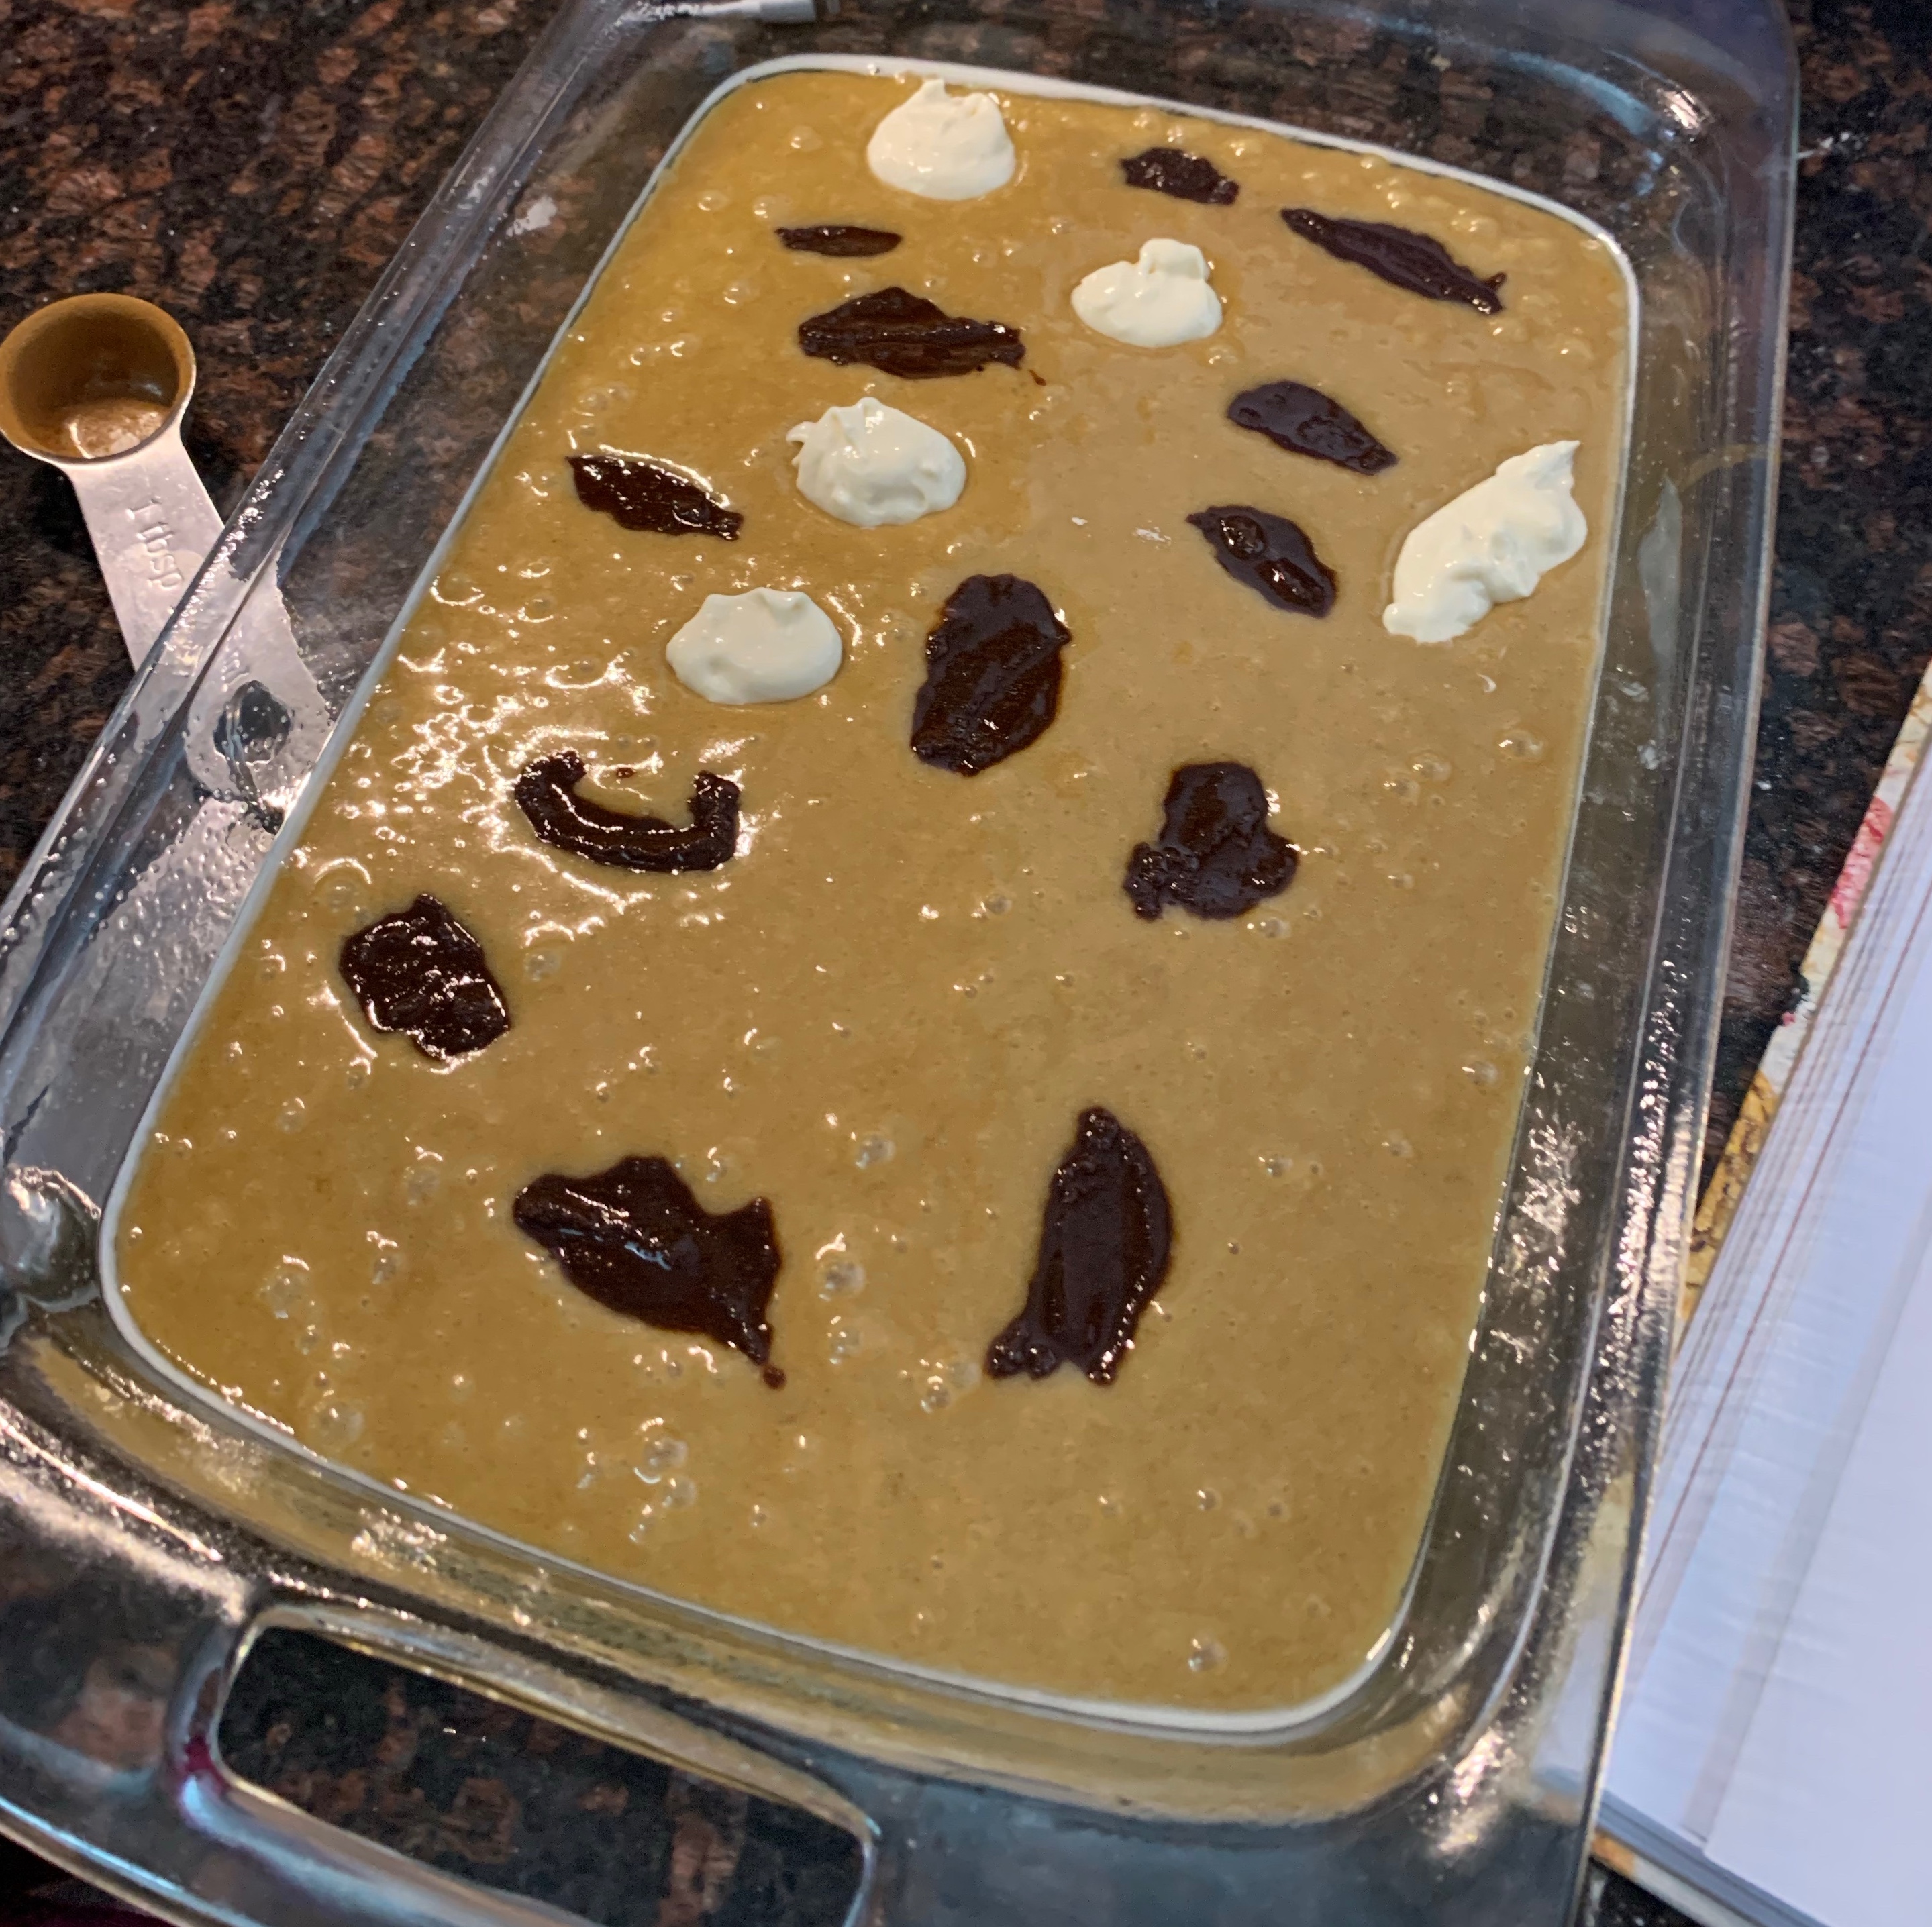
Once we had the butter browned and the sugars mixed in we had to let that mixture come down to room temperature. We took this down time to get to work on the additions to make these cinnamon roll blondies, mixing up the cream cheese mixture and the cinnamon mixture.
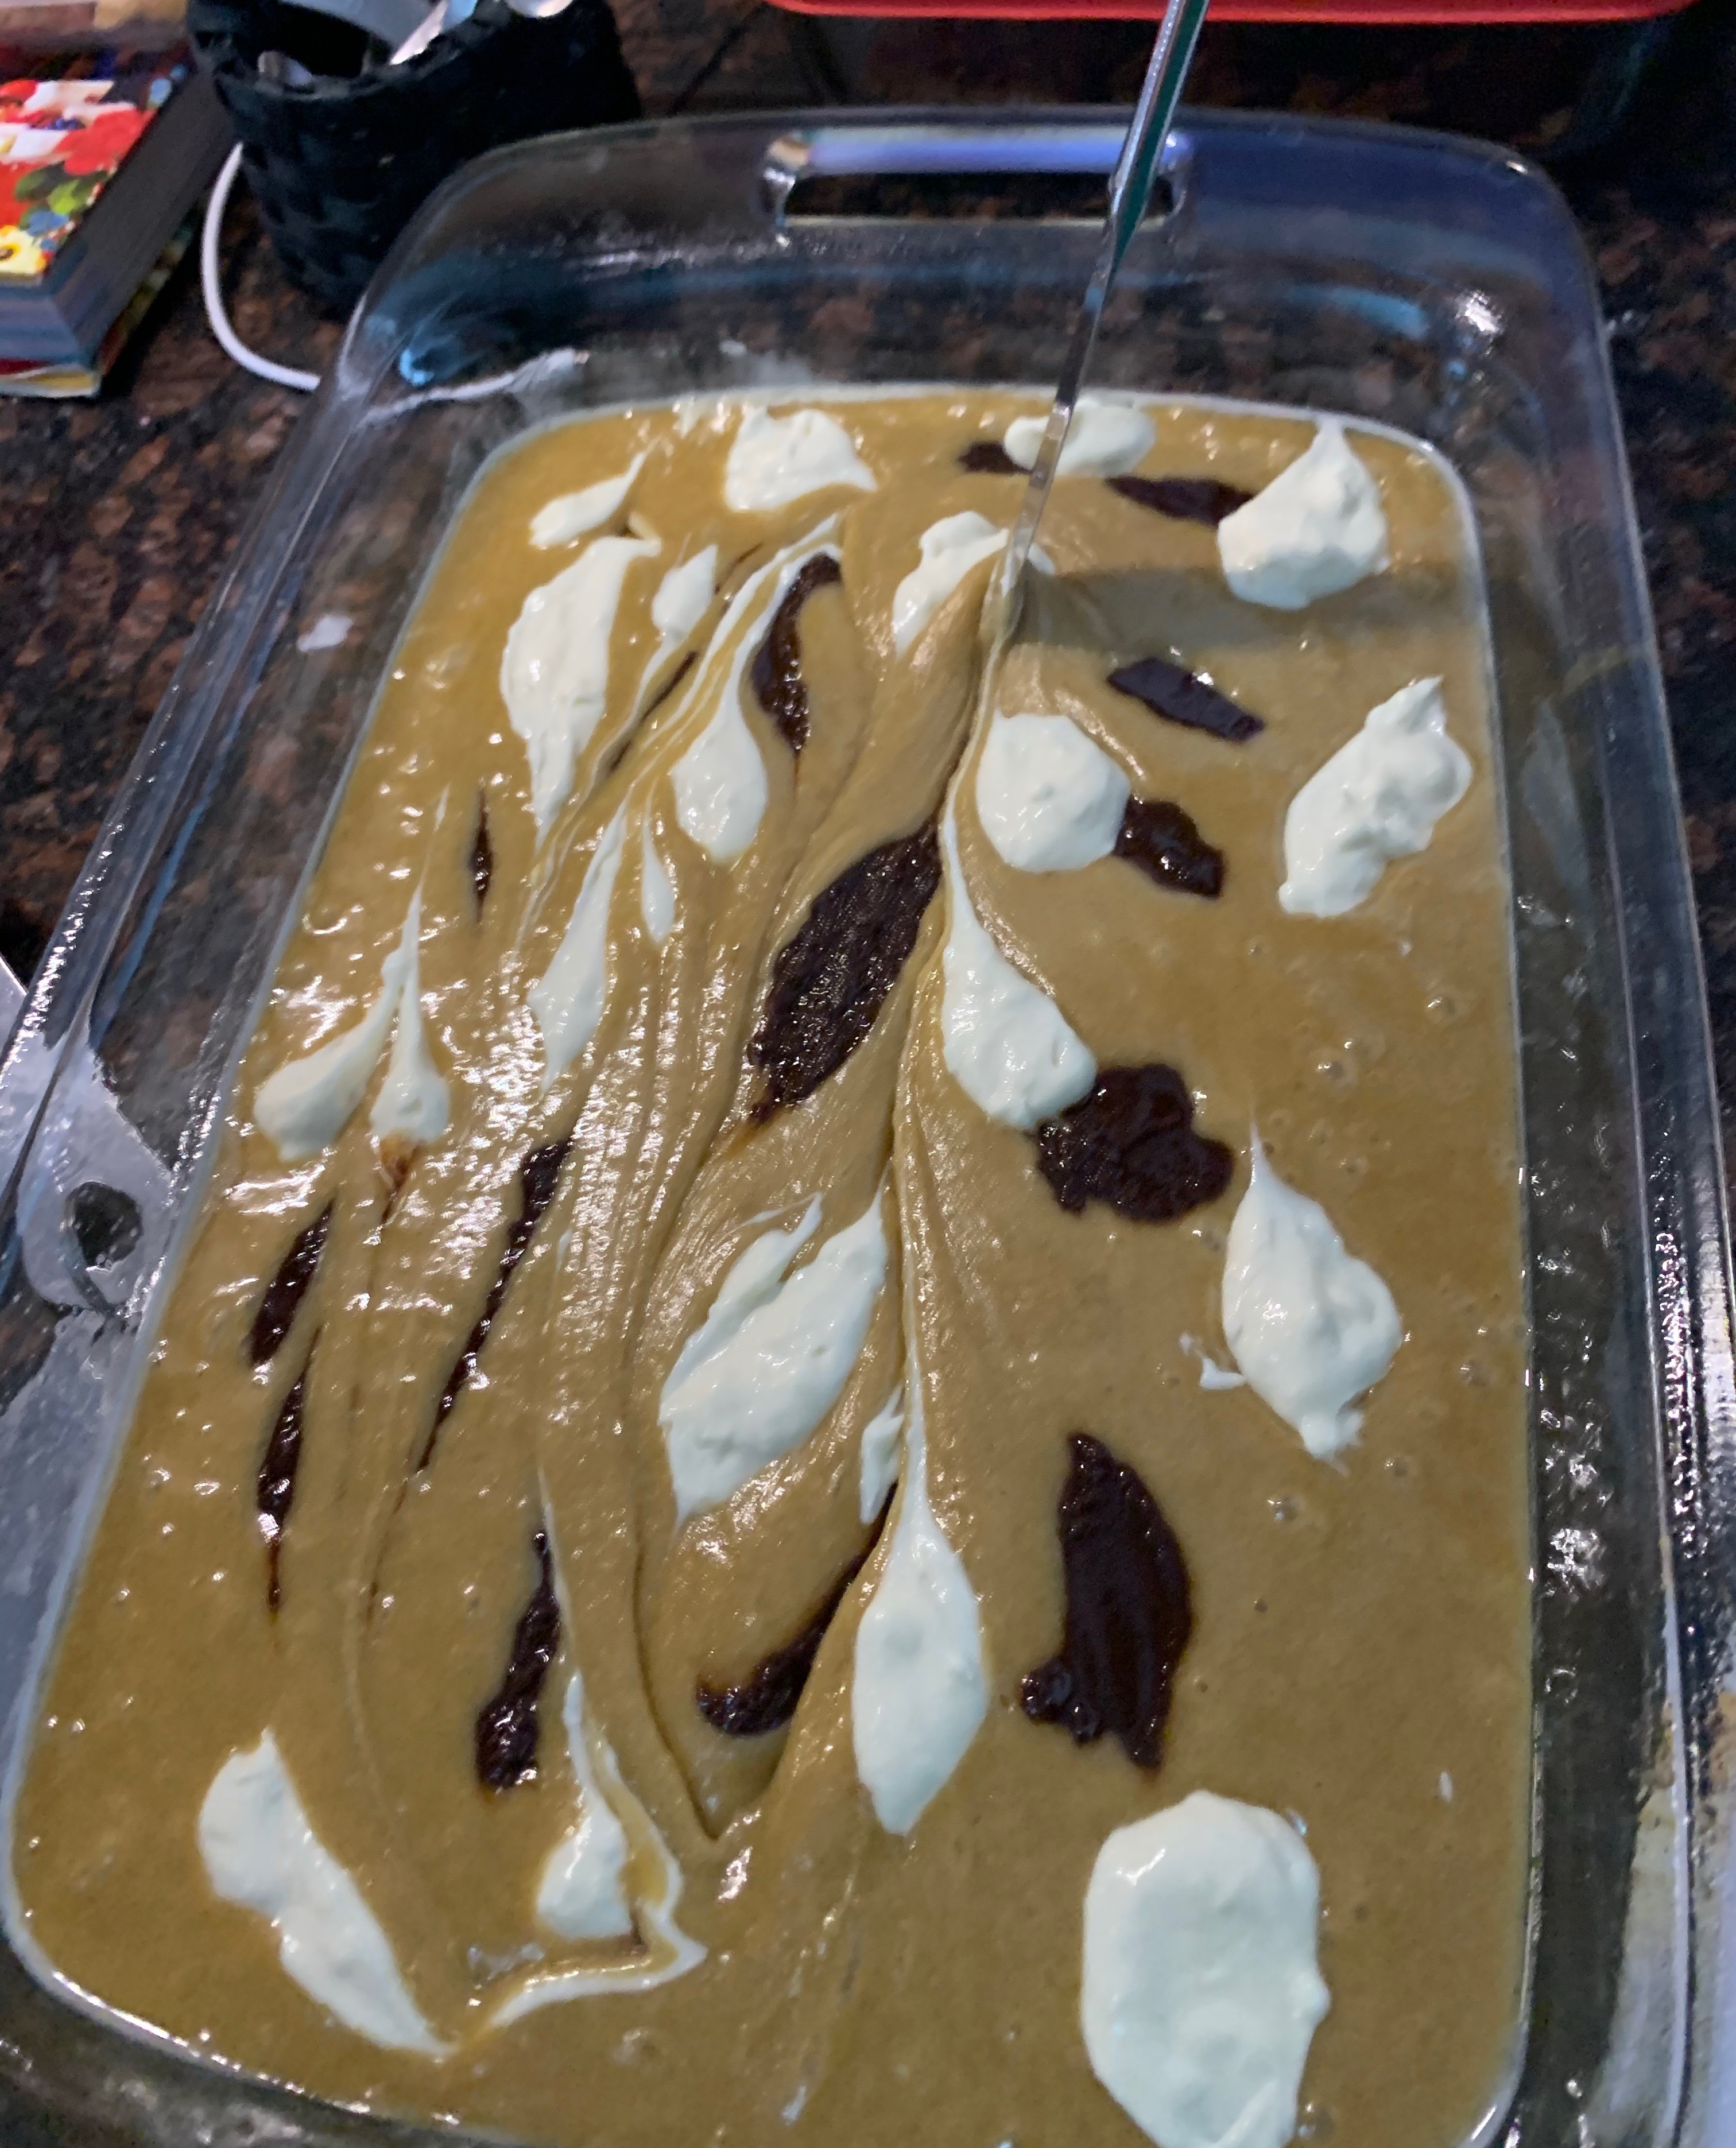
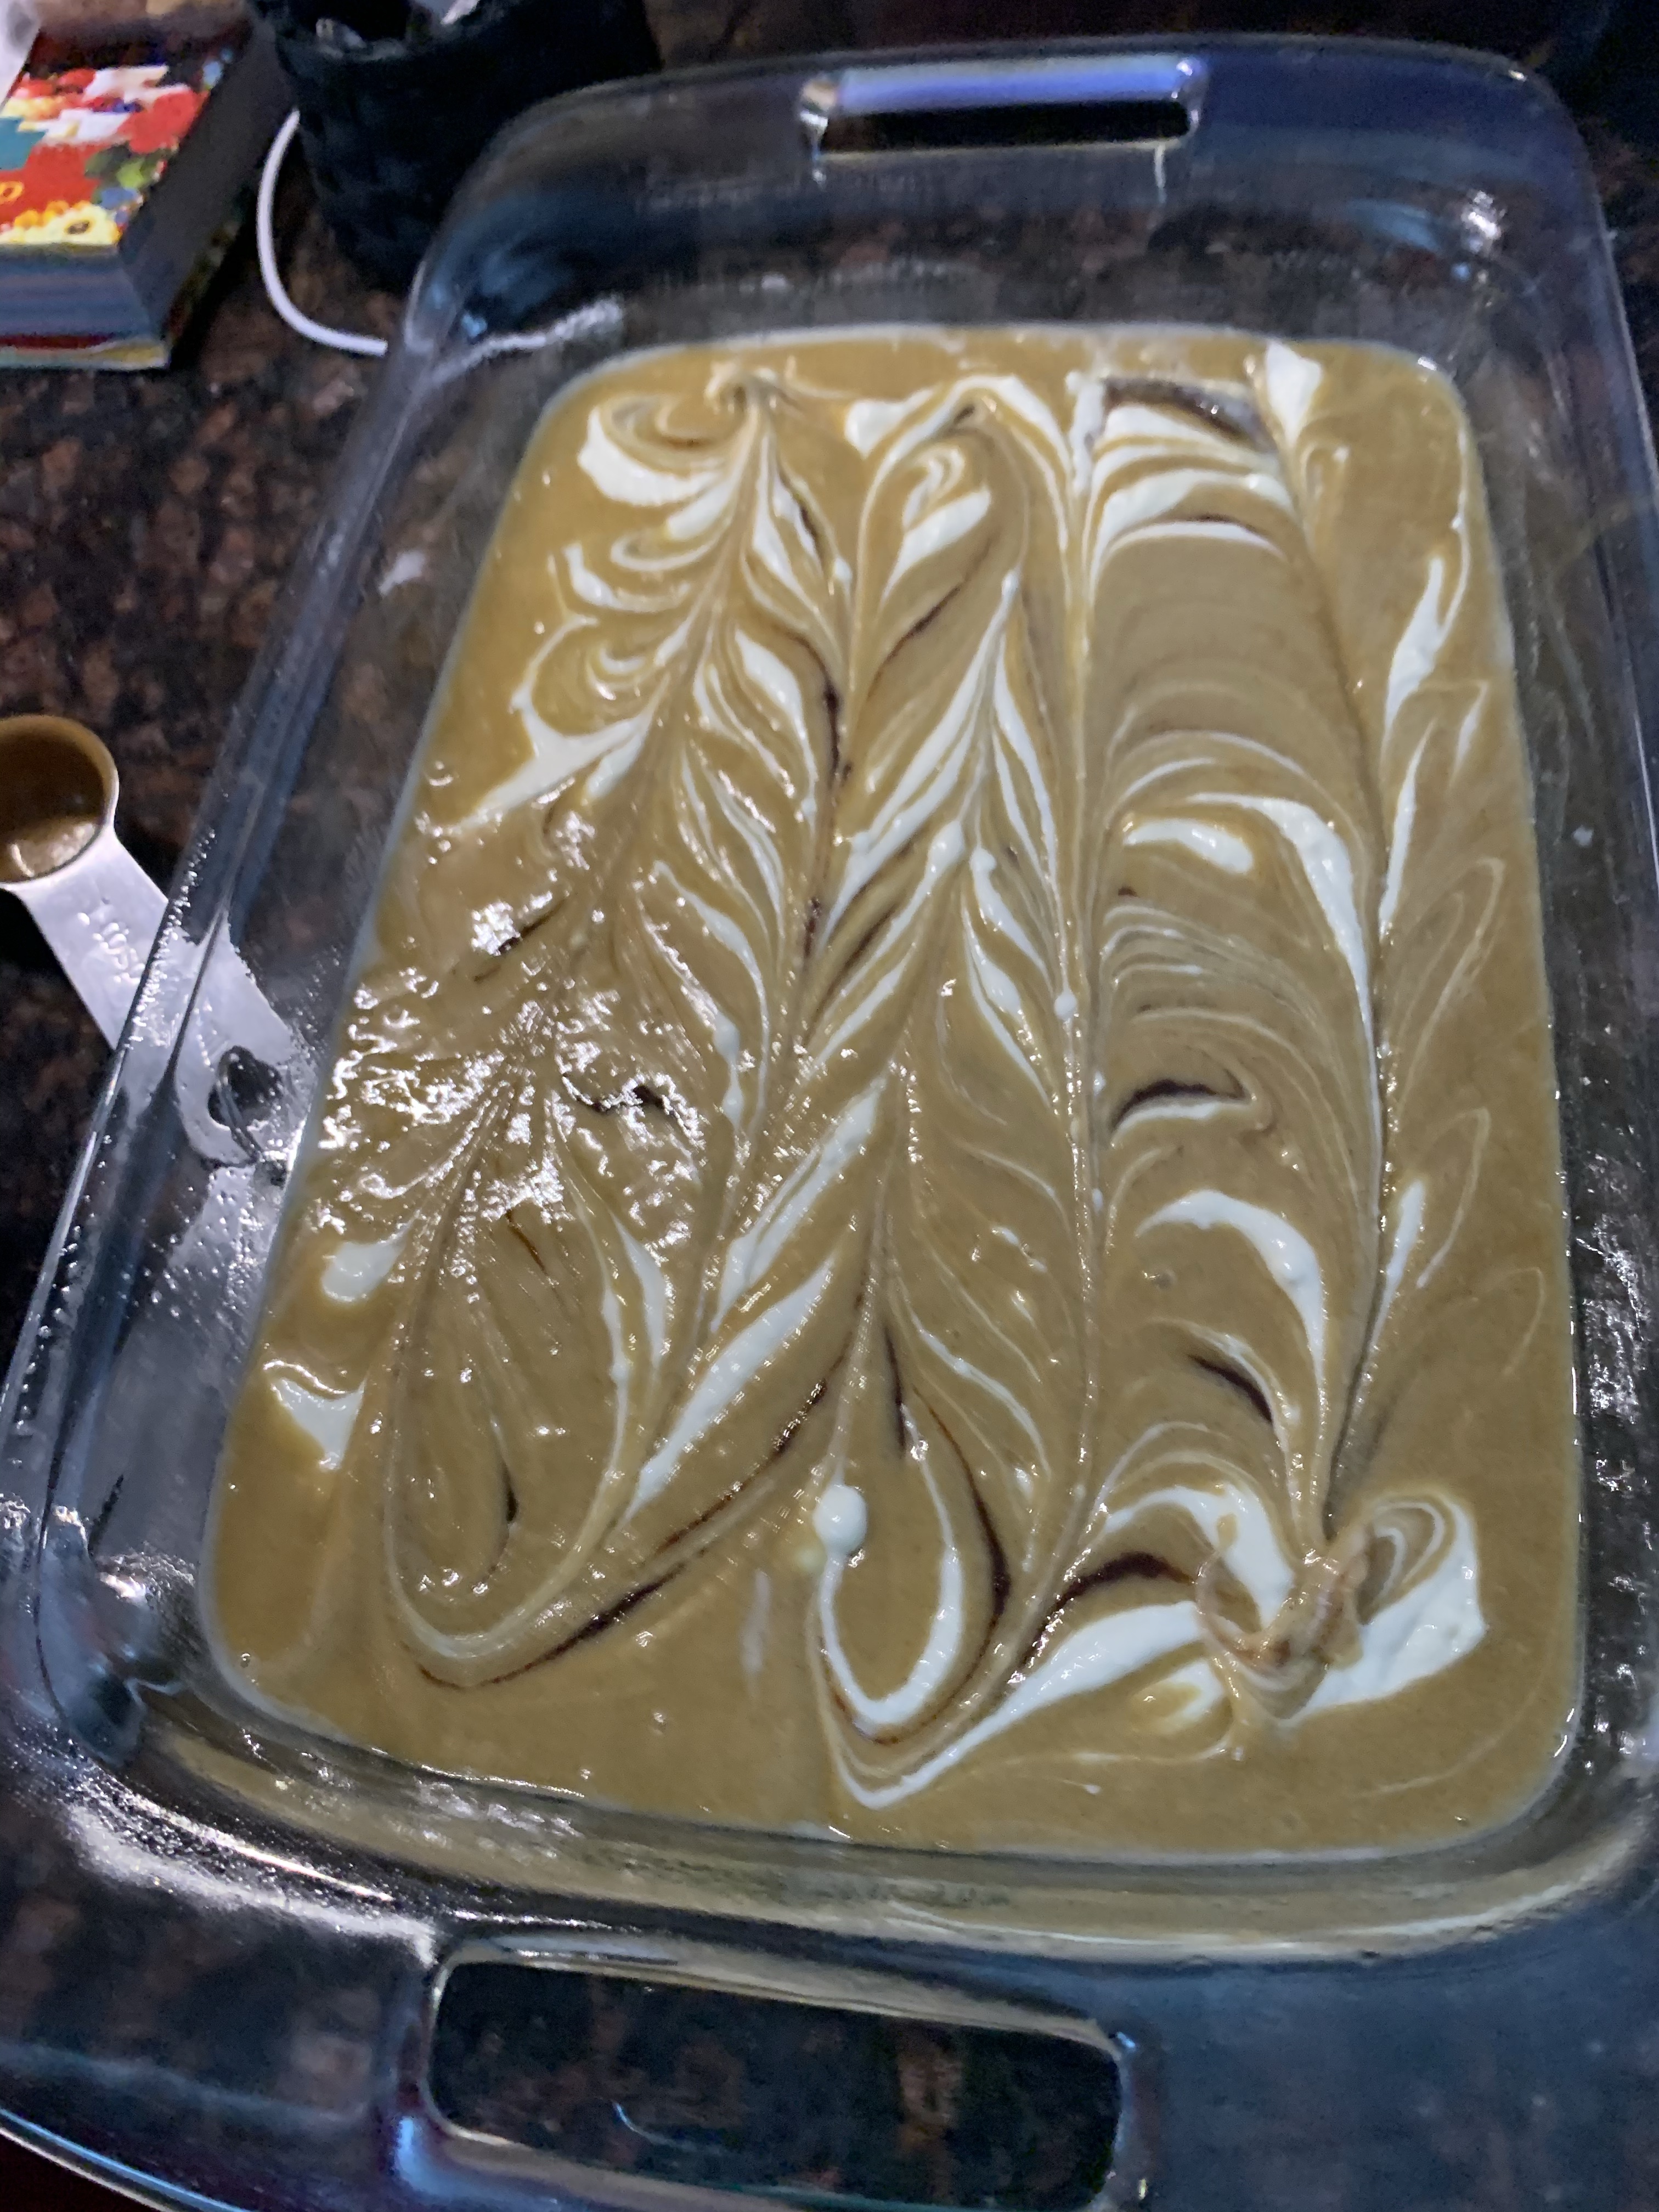
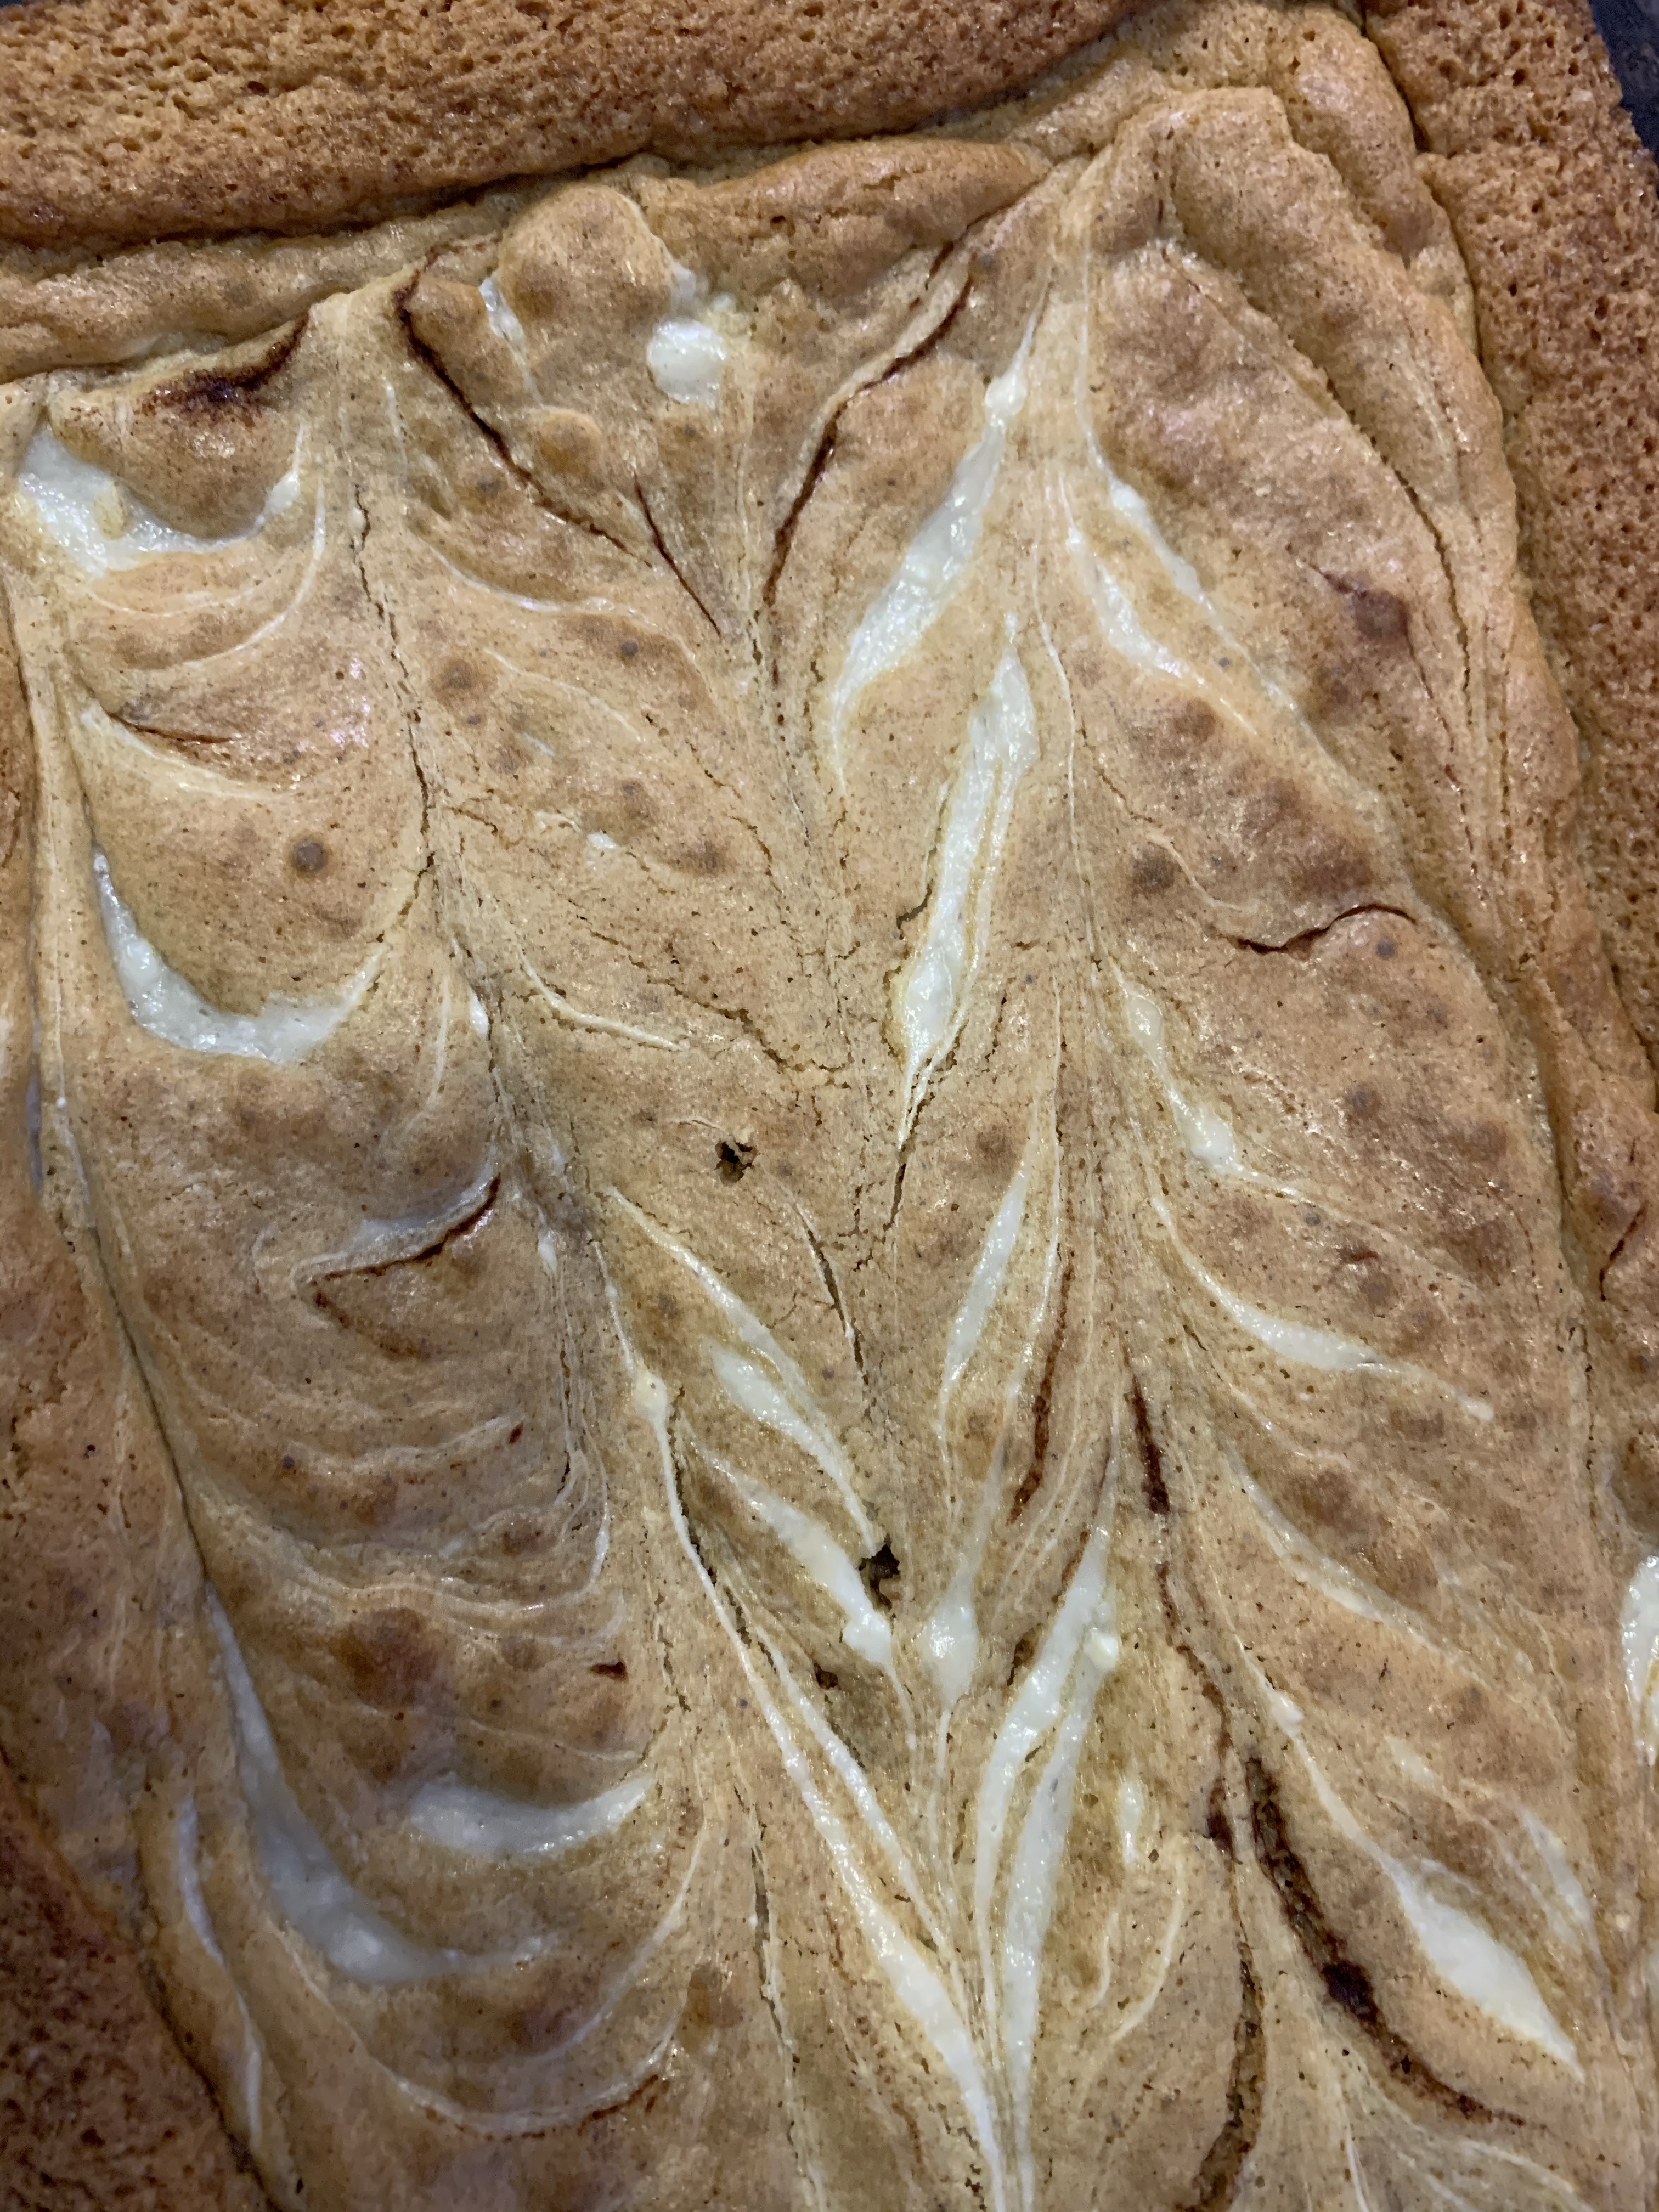
After we got it all mixed together we dropped the additions all around the top of the blondie mixture. The kids did this entirely alone and while it wasn’t as neat and tidy as I would do it they did it, and in the end they tasted great. I think it’s so important to take the focus off of what your baked goods look like when you’re baking with kids. They lack the fine motor skills to make things as delicate as an adult, but most of the time it doesn’t affect the taste of the end product. They swirled the additions into the batter (again, not perfect but special because they could own it entirely) and we put them in the oven. They were AMAZING! Such a treat to have something a little different. We so often add chocolate or fruit to our baking, cinnamon is seriously underutilized…well, was. It won’t be anymore!
It’s important to taste test along the way…just make sure you don’t reuse your spoon after!
Share with us your favorite cinnamon dessert and maybe we can make it one day! Visit us on Facebook or Instagram at 100 days of baking with kids.
Now, here’s that hot chocolate recipe I promised:
VERMONT HOT CHOCOLATE
This makes approximately 6 cups of hot chocolate. I’ve altered this recipe to make more or less, just keep the proportions the same.
6 cups of milk (I use whole milk, it makes for a much richer cup)
4-6 tablespoons of Pure Vermont Maple Syrup (my family likes it less sweet so I usually do 4)
4 tablespoons cocoa powder (THE QUALITY HERE MATTERS. Our favorite cocoa powder is from -drumroll please- KING ARTHUR BAKING! https://www.kingarthurbaking.com we LOVE their Triple Cocoa Powder for all things, but especially for hot cocoa)
Put all the ingredients in a pot on the stove and slowly whisk together over medium heat. Once it’s all incorporated stir about every 5 minutes until the desired temperature is reached. Pour into cups, top with whipped cream and sprinkles if you’re feeling fancy. Adults, it’s AMAZING with a splash of peppermint schnapps!
I think we can all agree that this past year has been HARD! We miss our family, our friends, and all the things we took for granted before last March. If it’s been hard for us, I know there are some people out there that it’s been even harder for. Our dear friends, for example, have 3 kids, the youngest of whom is medically fragile and has spent more time in the hospital in his short 3 years then anyone should in a lifetime. We used to have weekly dinners with these friends, our oldest went to preschool together and are very close friends. Their middle and our youngest are just a few months apart and play so well together (and thankfully, while they are both spicy little things, theirs child is a good influence on our feral child…sorry guys, we know she’s taught her somethings). Anyway, it’s been over a full year since we have had any time with them and we miss them. We have been able to drop off treats, do a car parade, wish happy birthdays through a glass door, and a couple of facetime lunch dates, but all that pails in comparison with actually seeing them.
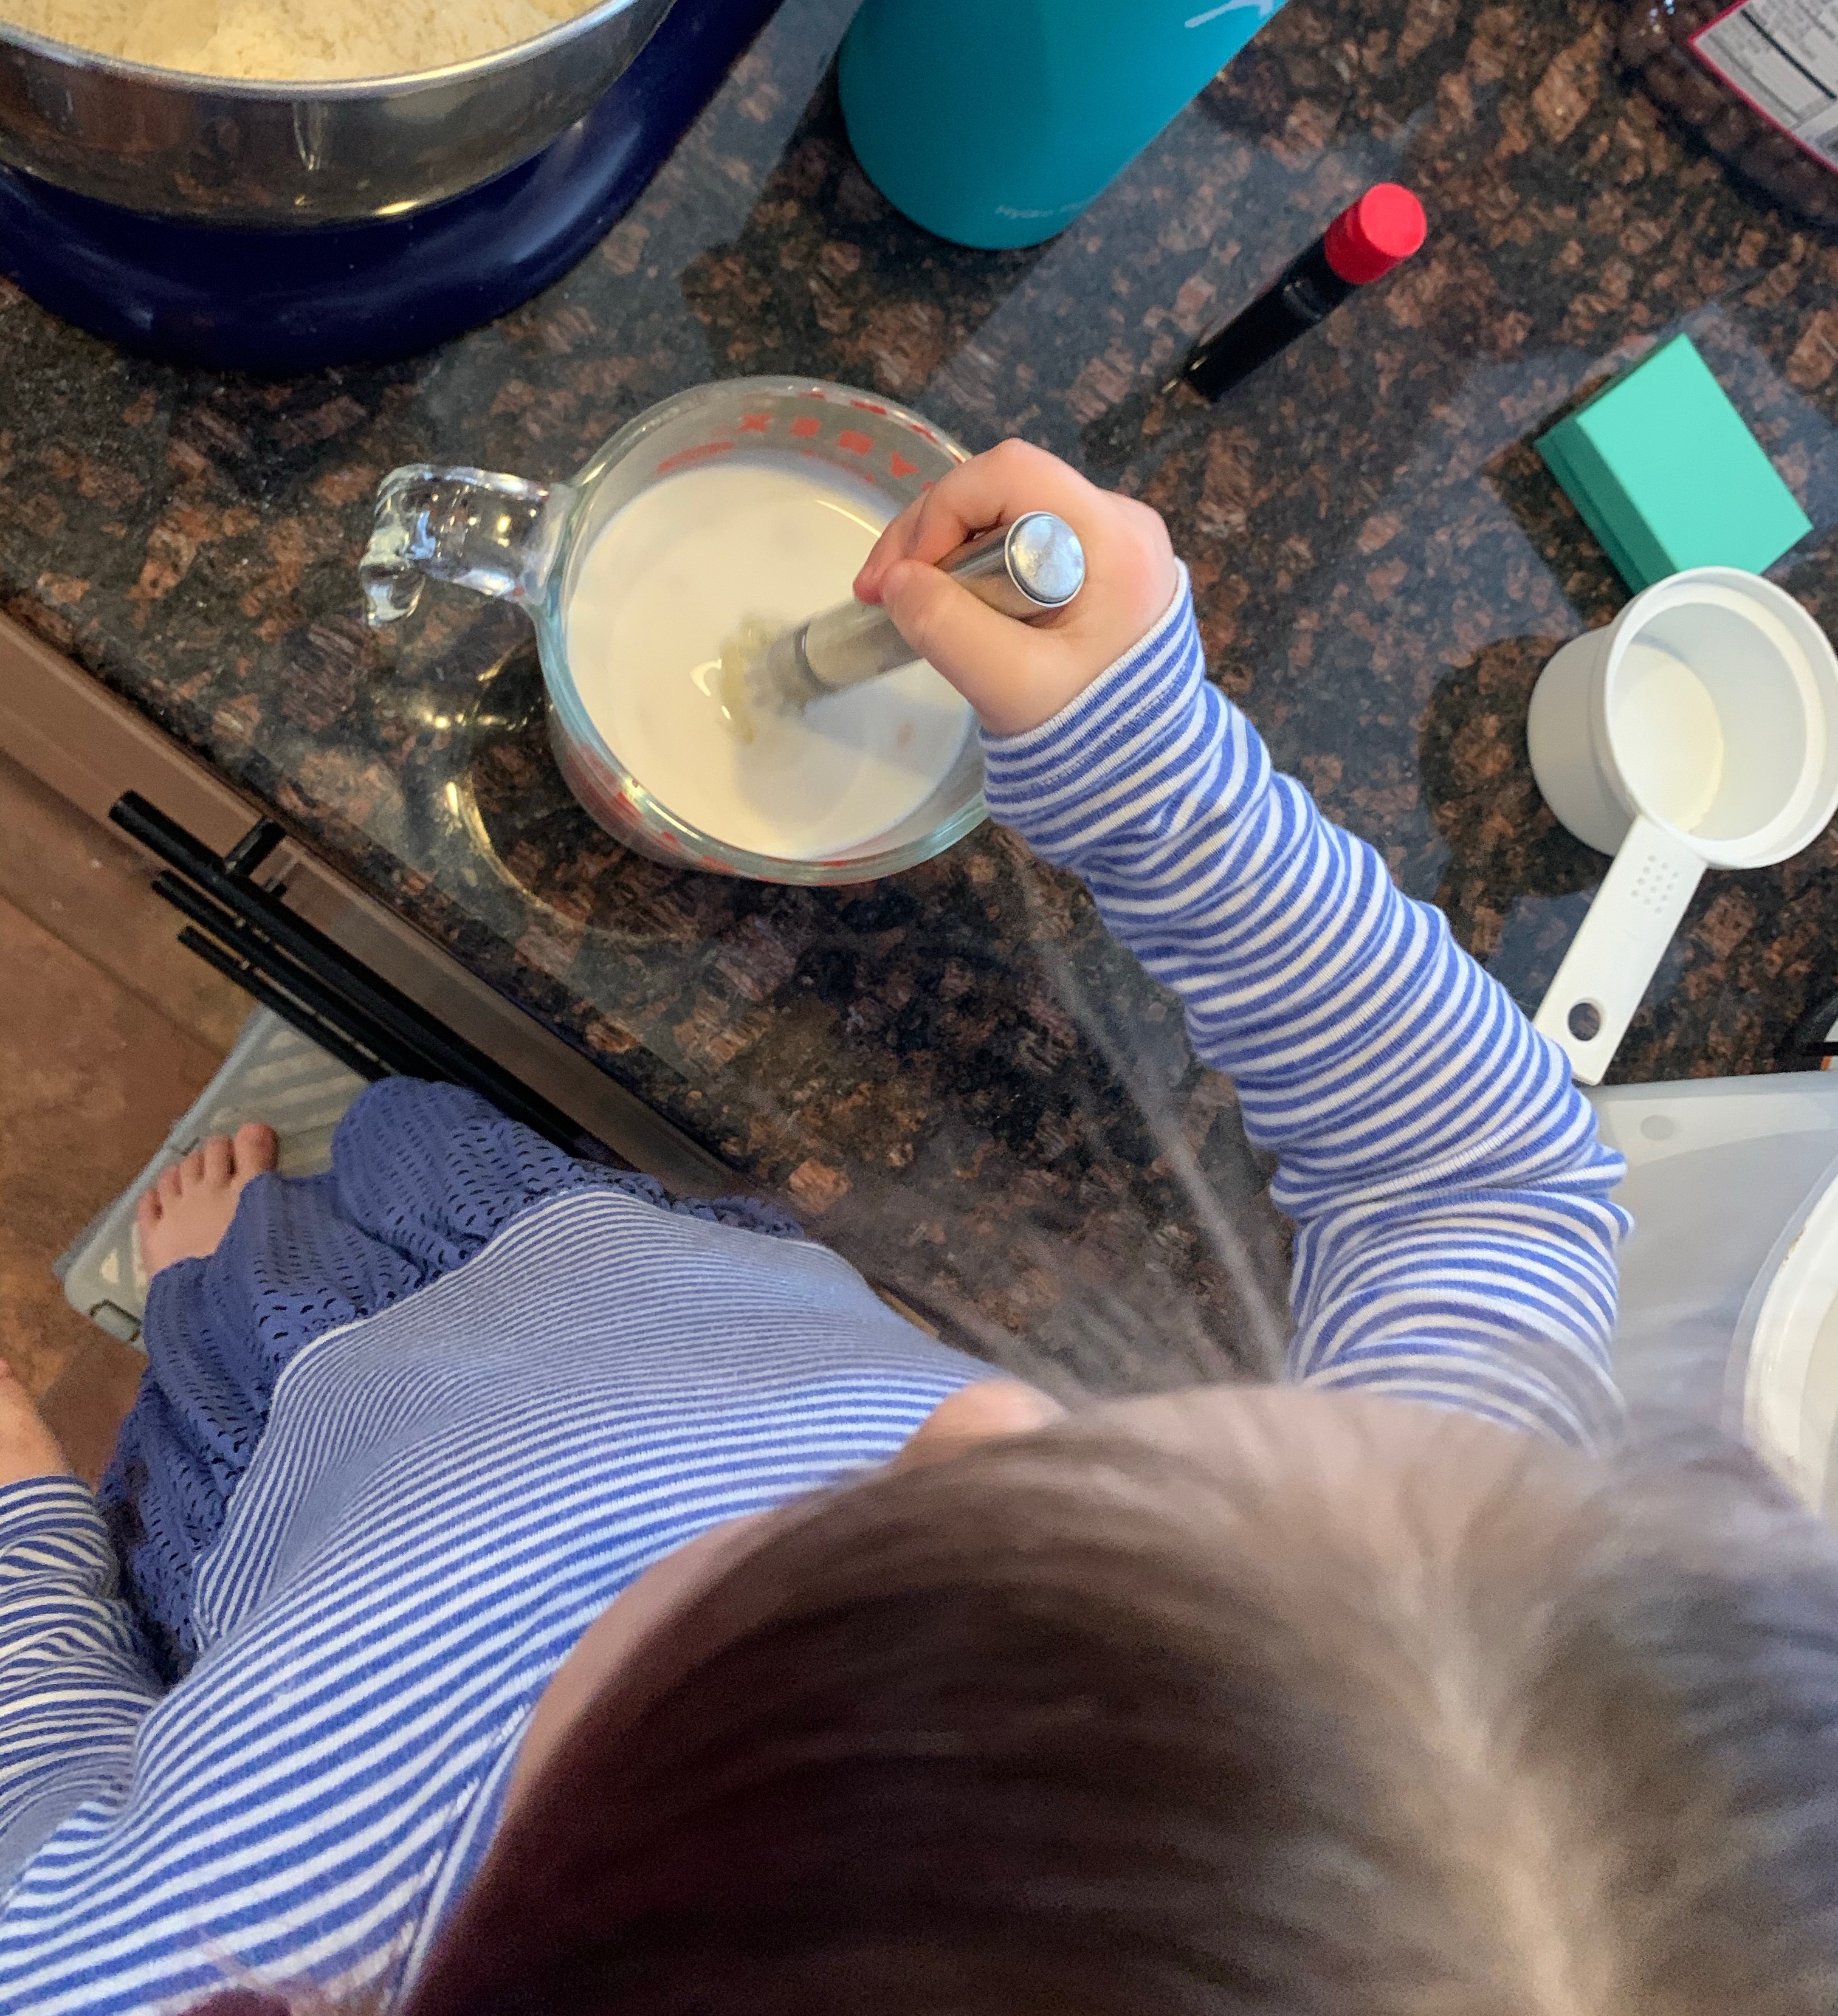
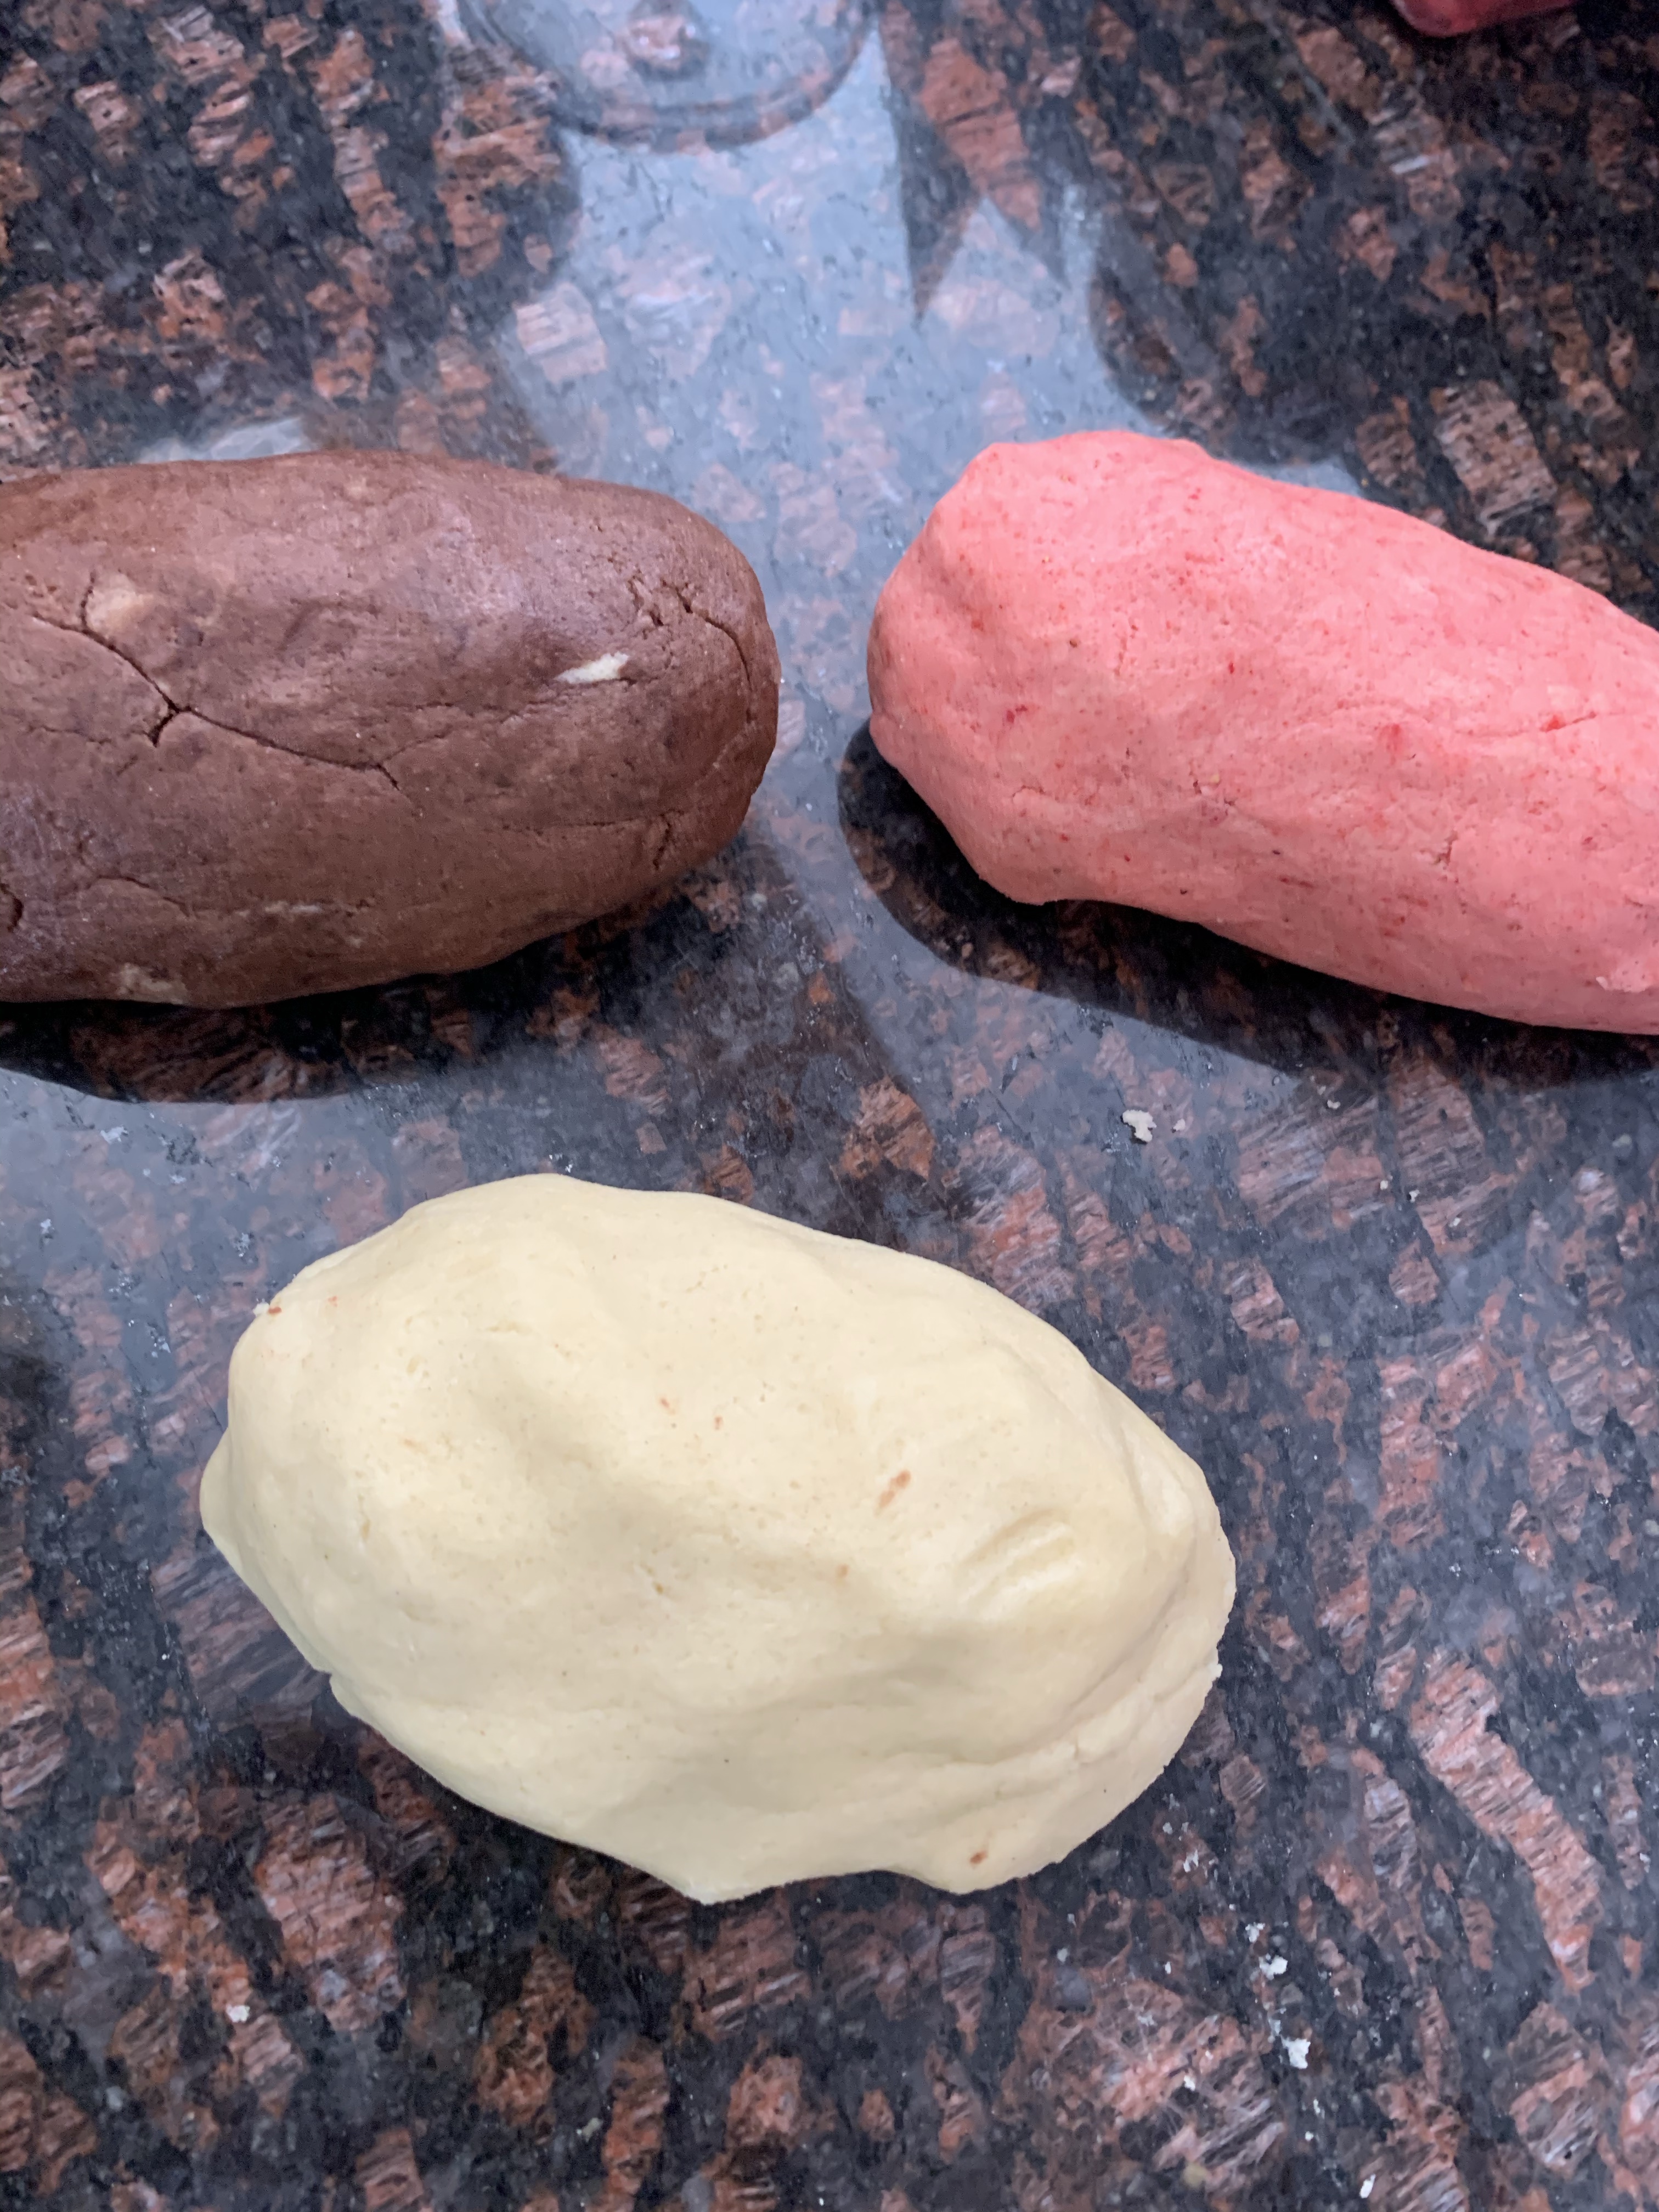
When my wonderful friend posted earlier this week (vacation week, remember?) about all 3 of the kids being sick and their middle child’s birthday this week I had to do something. She wasn’t asking (they very rarely ask for help, I honestly don’t know how they do it all), but it felt important to do SOMETHING to show them we were thinking of them, we miss them, and we will always be there for them…so we baked! After BEGGING her to let us take the cupcake making off her plate we got to work. The birthday girls only requests was that they were pink. I can get into that! We toyed with a few flavor ideas, first we started with strawberry, then we thought maybe strawberry lemon would be extra special, so we settled on that.
She squeezes the lemon then sucks on it for an hour! Tip: if you don’t have a juicer squeeze the lemon over a strainer to avoid getting seeds in the juice.
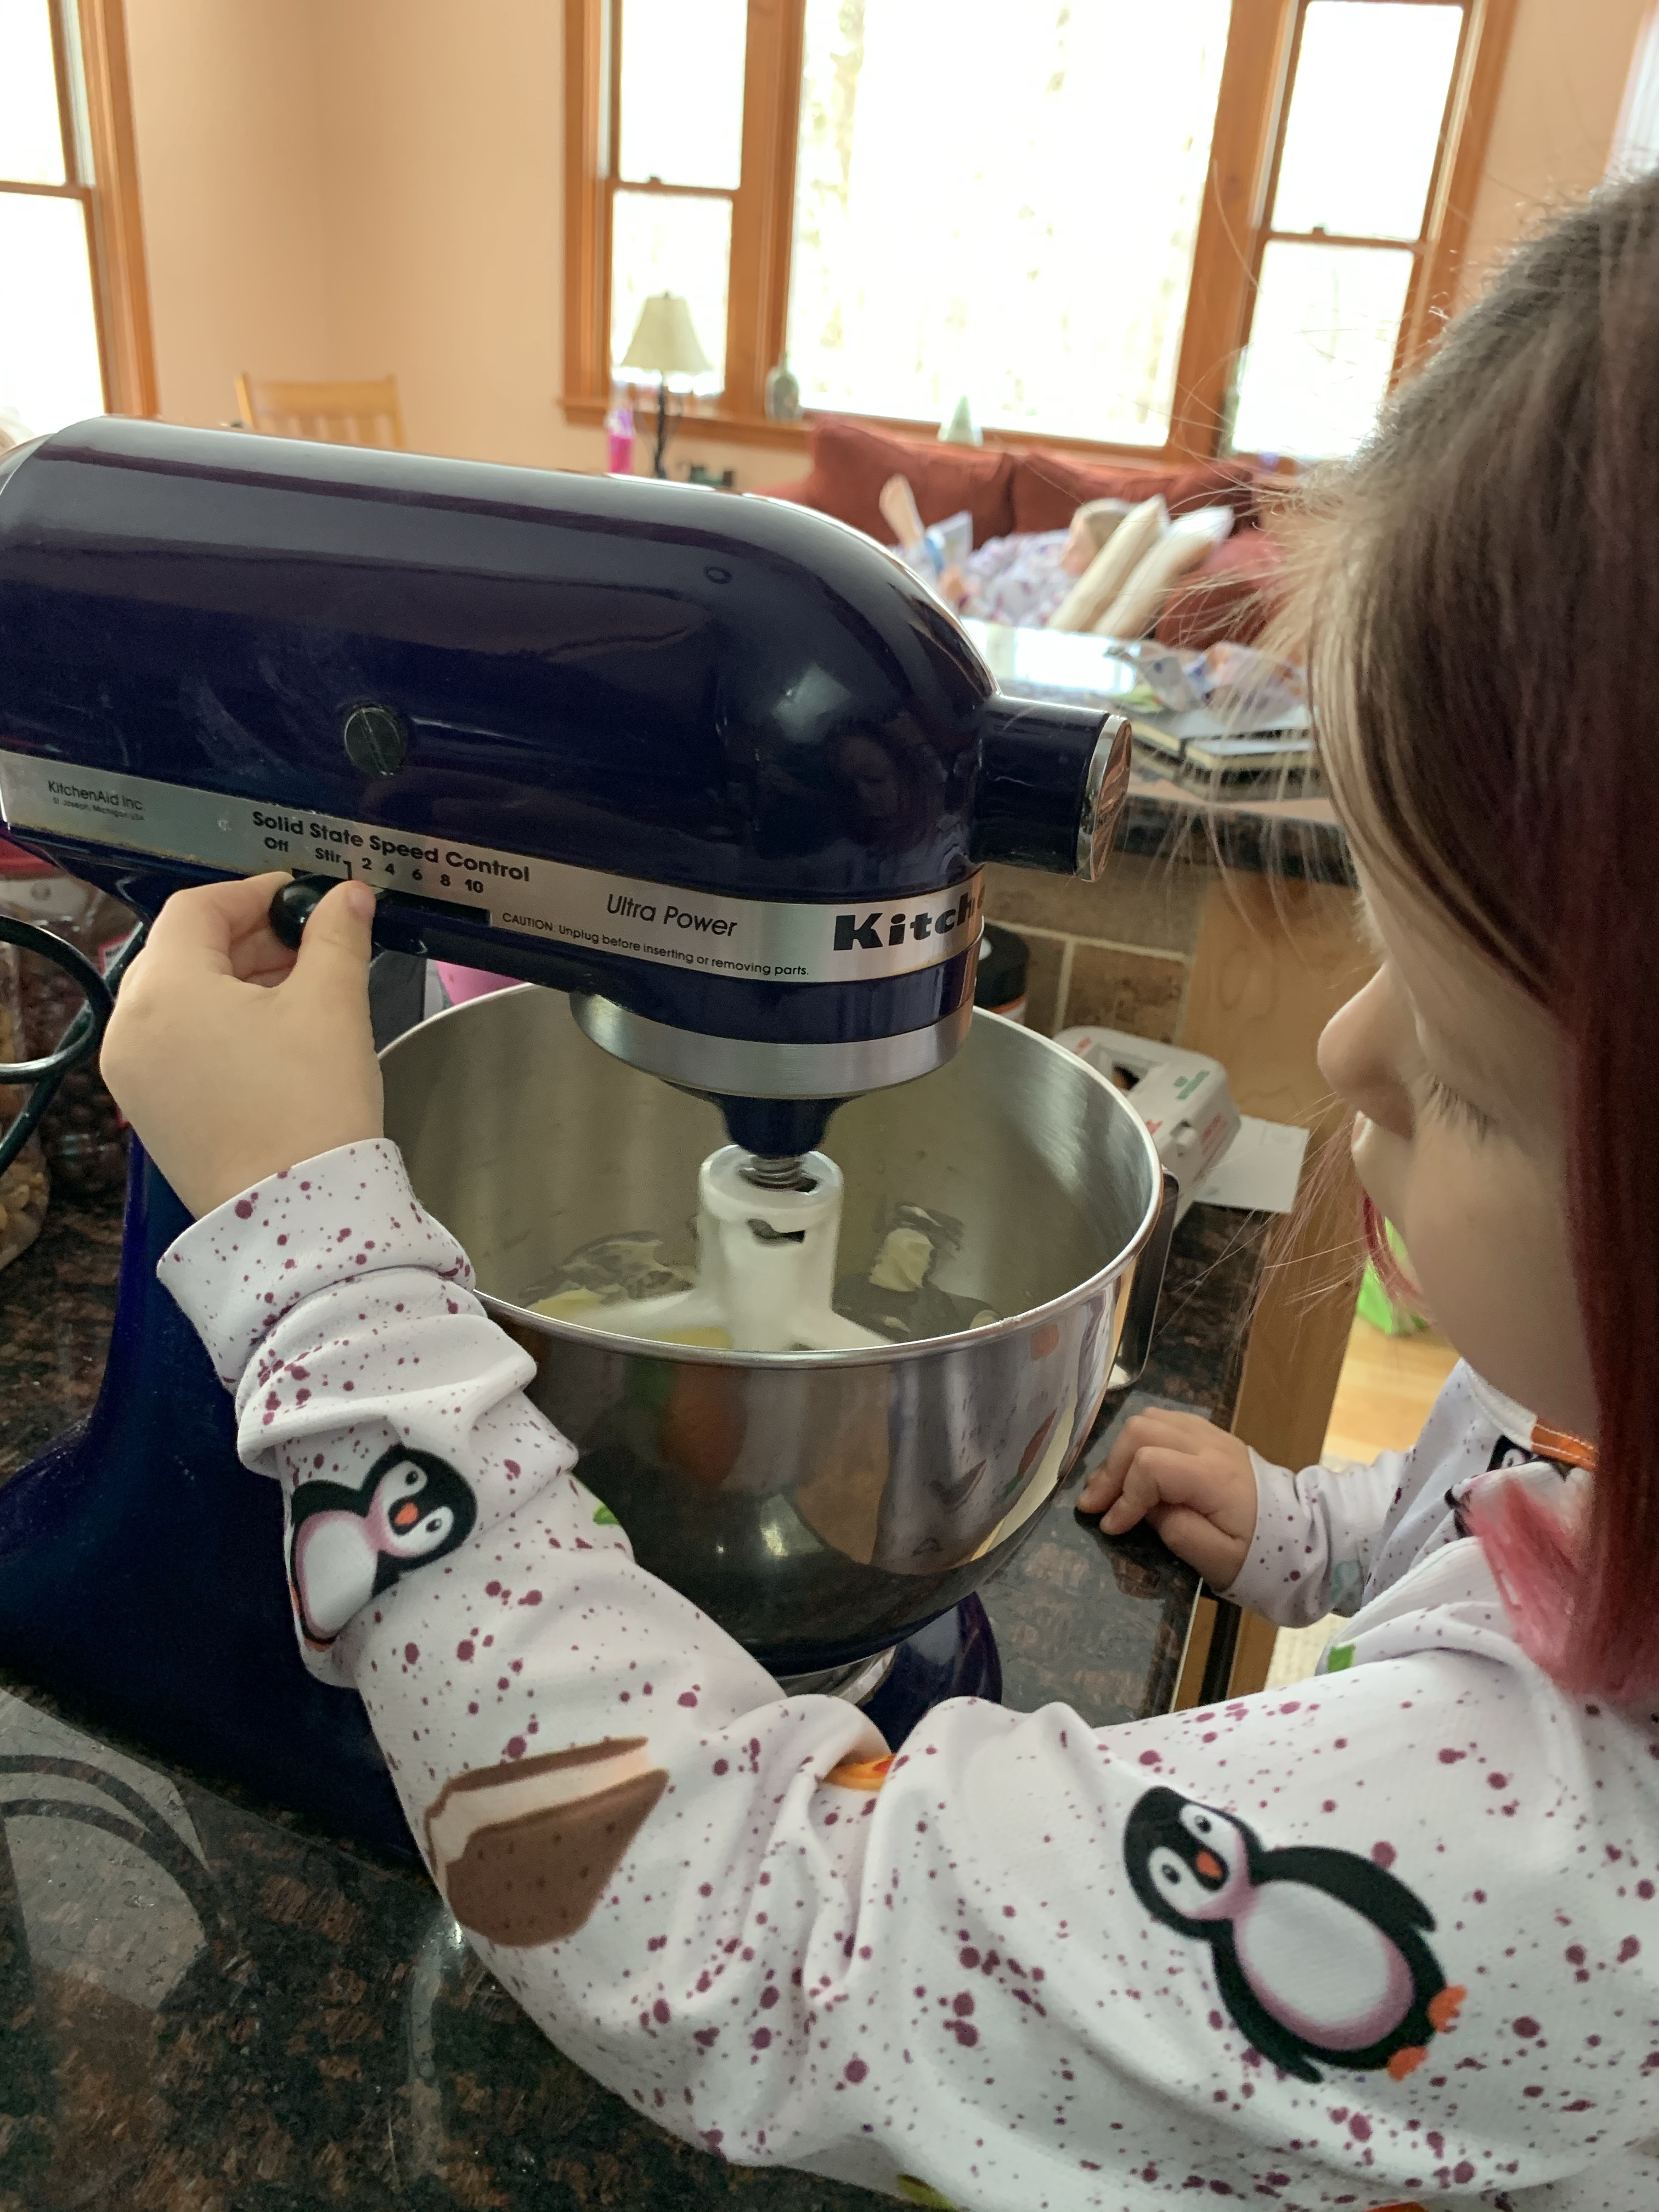
As usual the girls were more excited to work on something for someone they love. We got all the ingredients out, got the oven going, and got mixing! I must admit that when we are making something for someone that doesn’t live with us I’m slightly more controlling over the process. I still try to keep it light and fun while also making sure we don’t need to scrap the entire thing and start again. My kids are seasoned measurers so they still did that, but if yours aren’t you could do the measuring and then have them pour the ingredients in to the mixer/bowl to include them in that step. I also kept a close eye on the speed of the mixer, something I generally let the kids take charge of, but I didn’t want to overbeat the cupcake batter and have it get tough. Despite me being a little more present during this bake the kids still were happy and having fun.
When my kids mix things get messy. No big deal though, we all work together to clean up at the end!
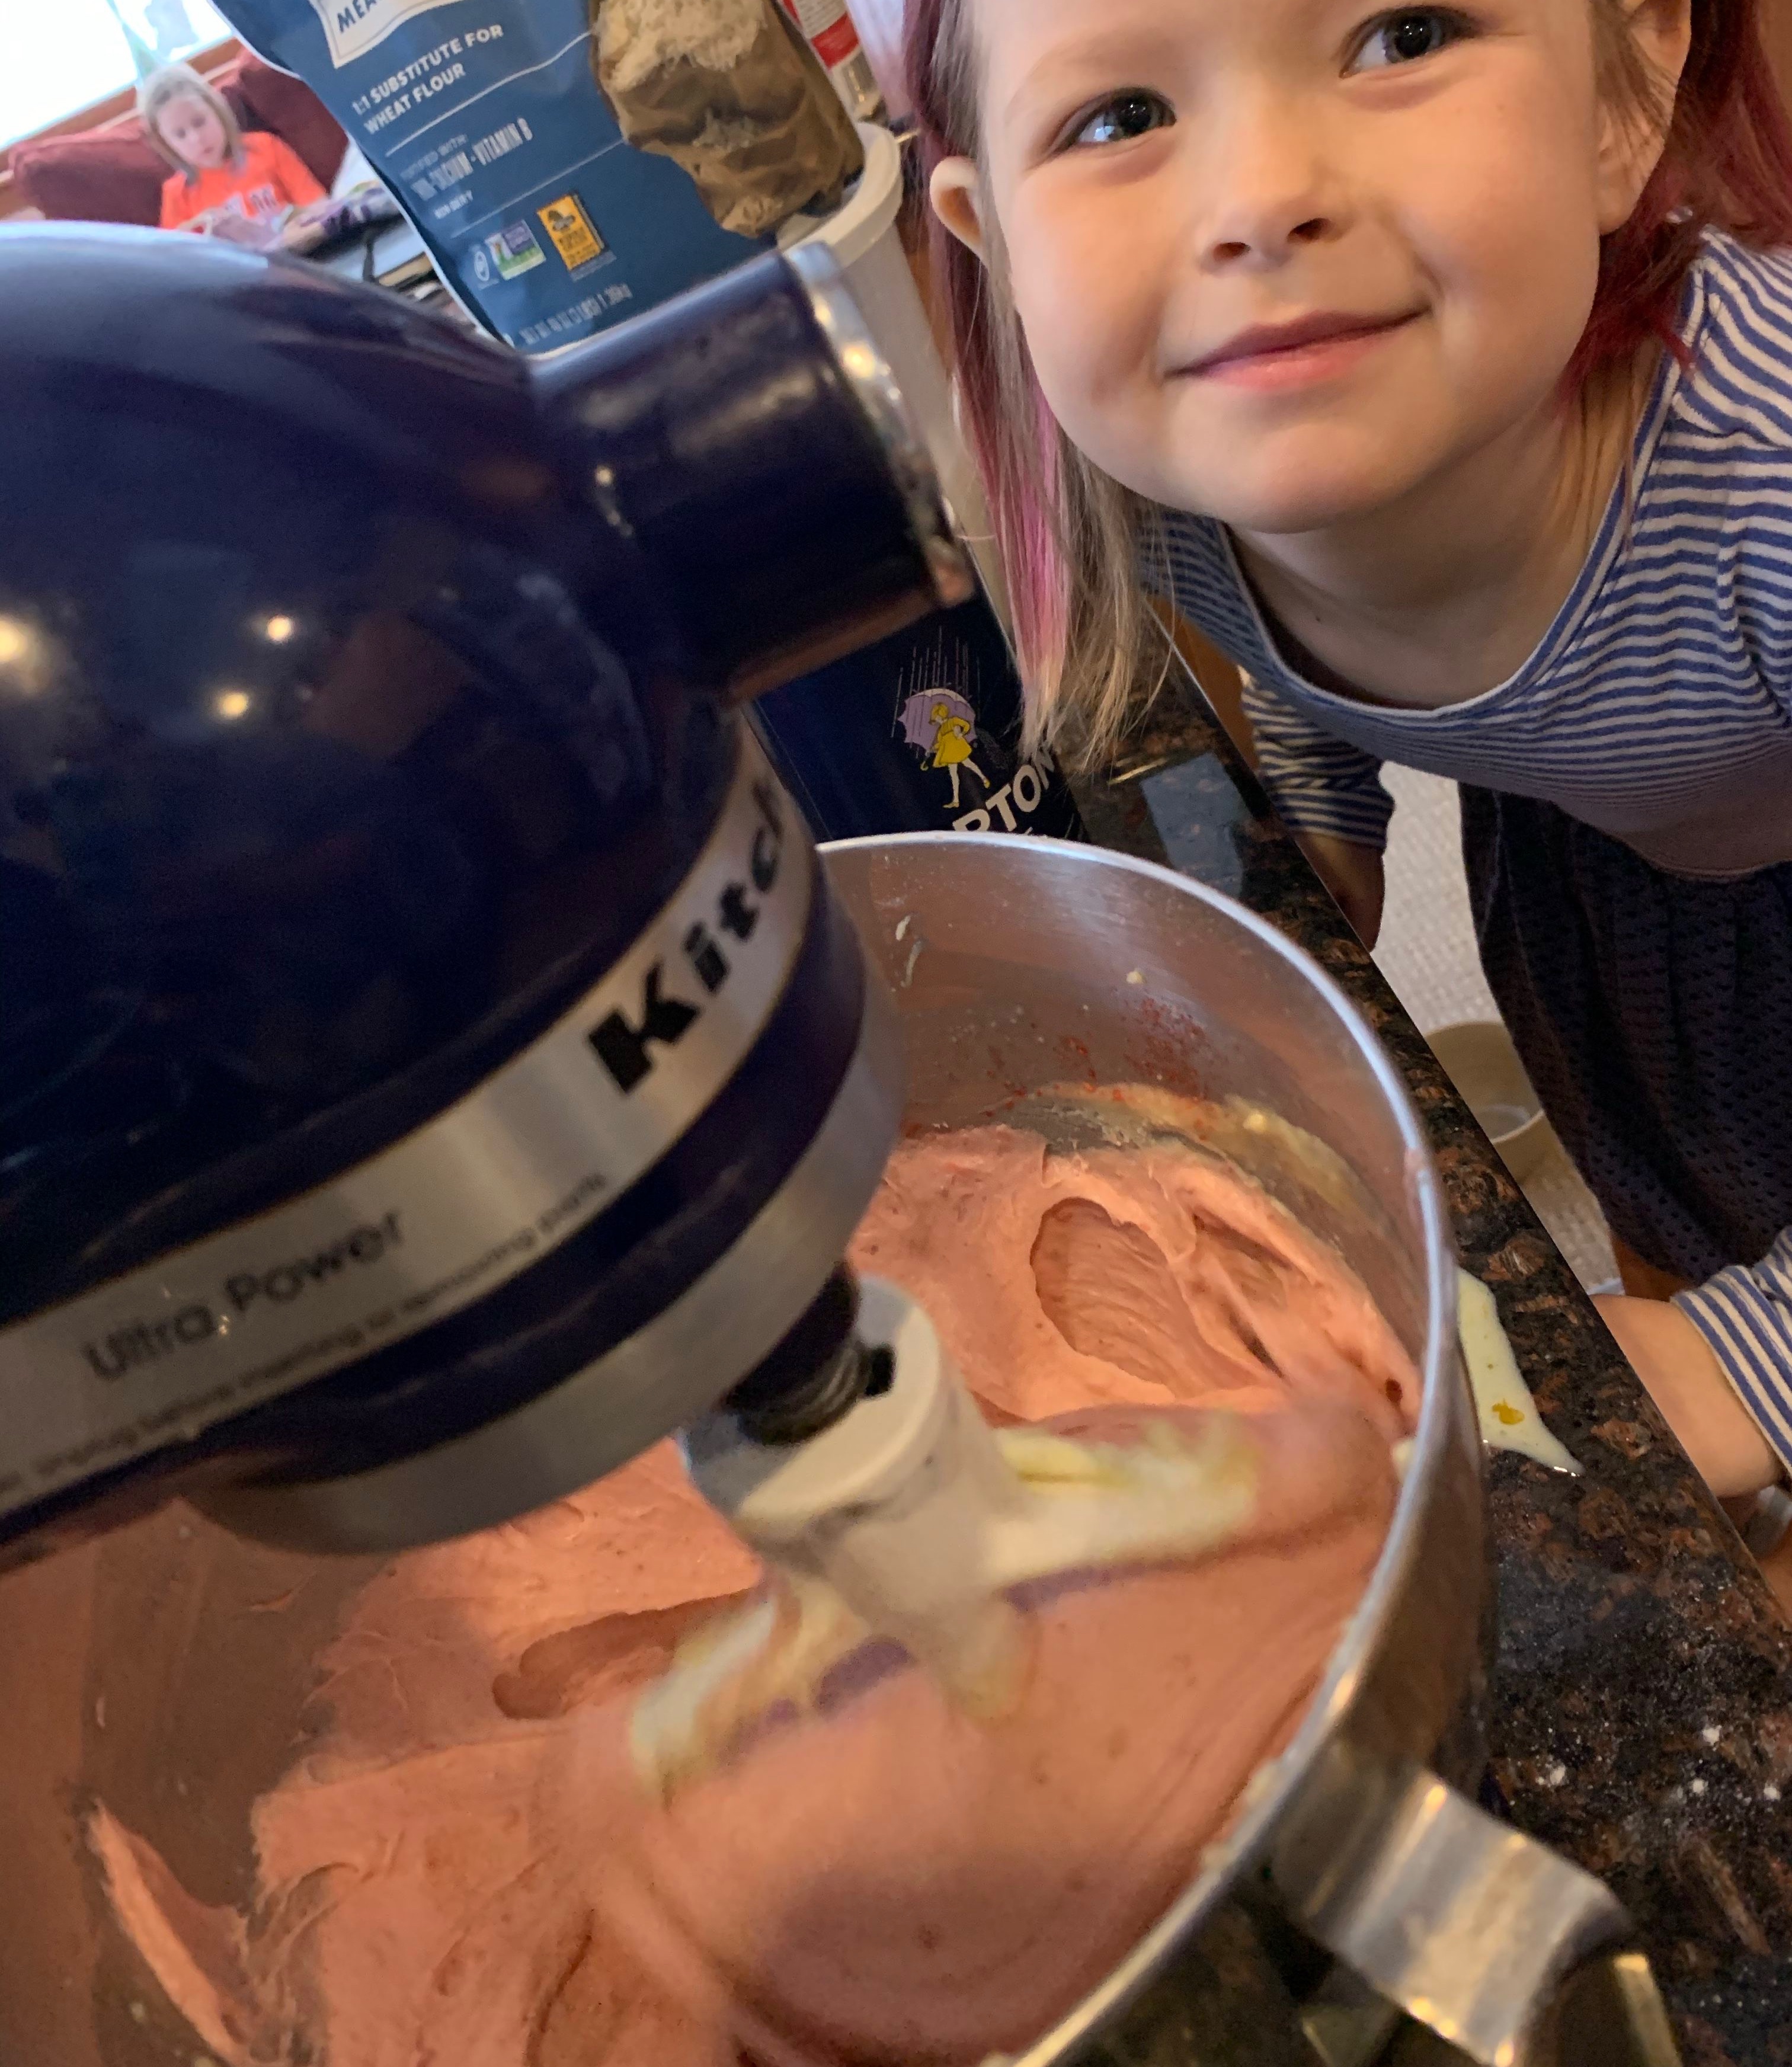
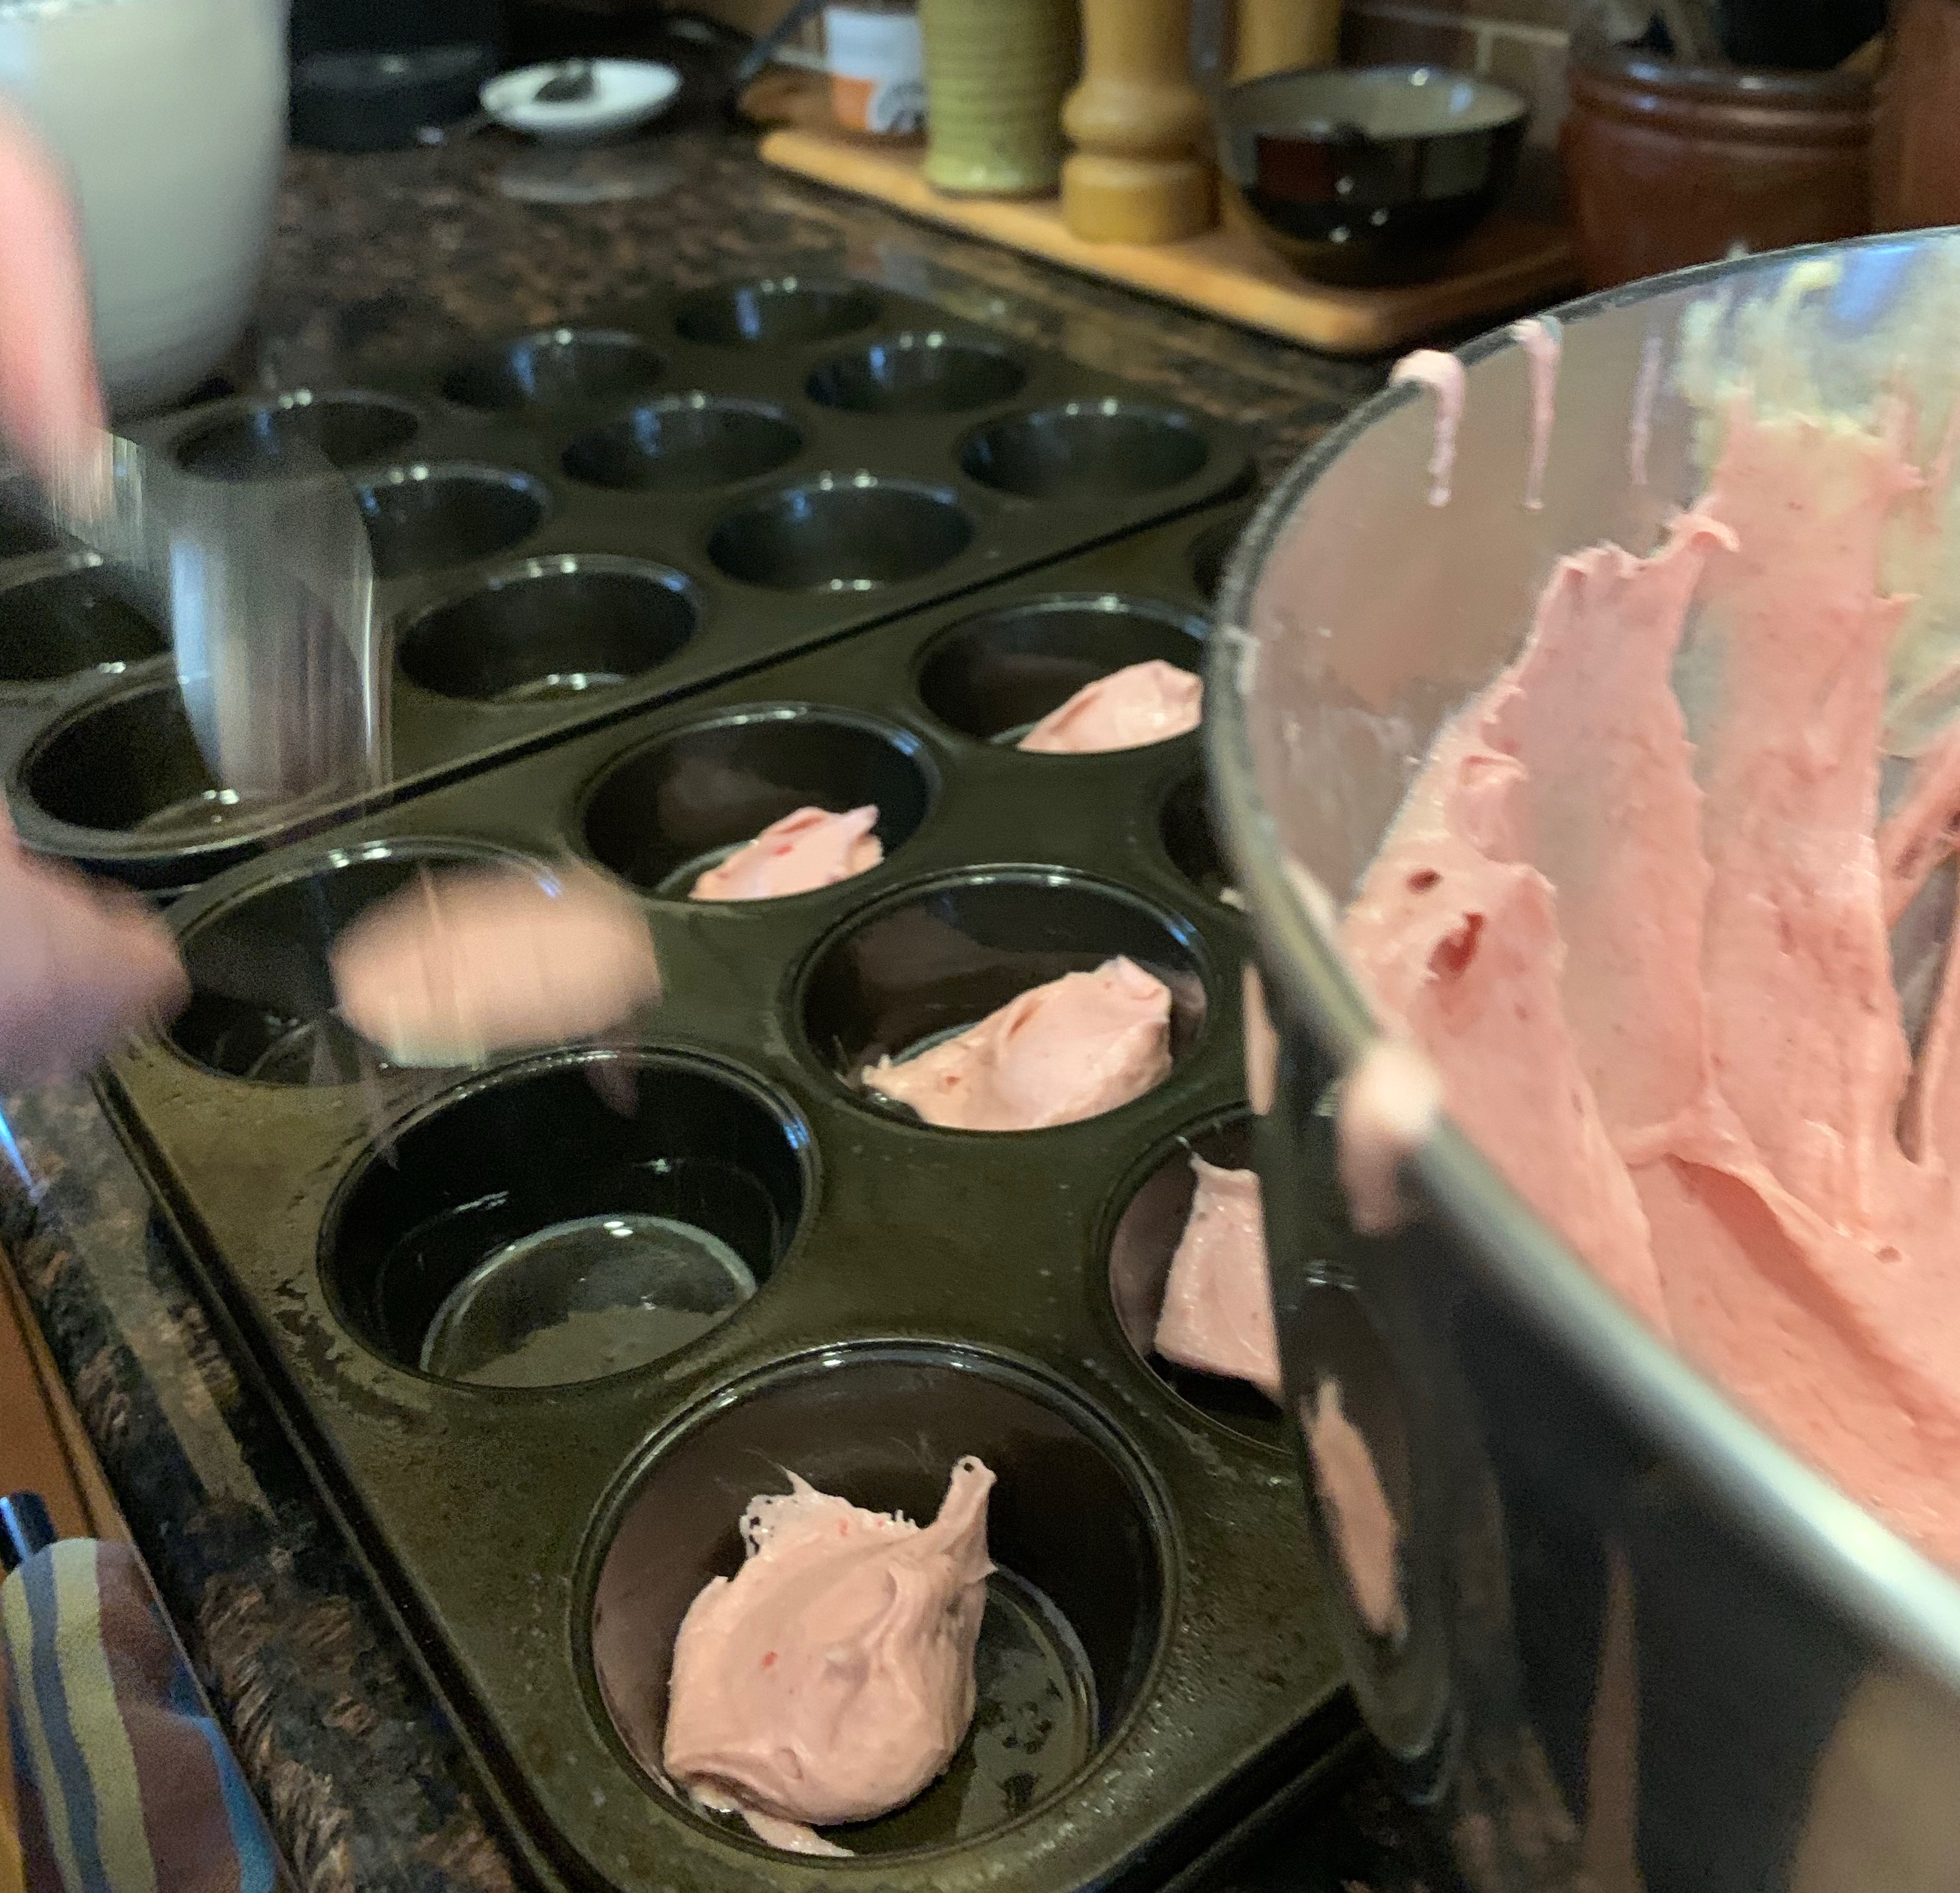
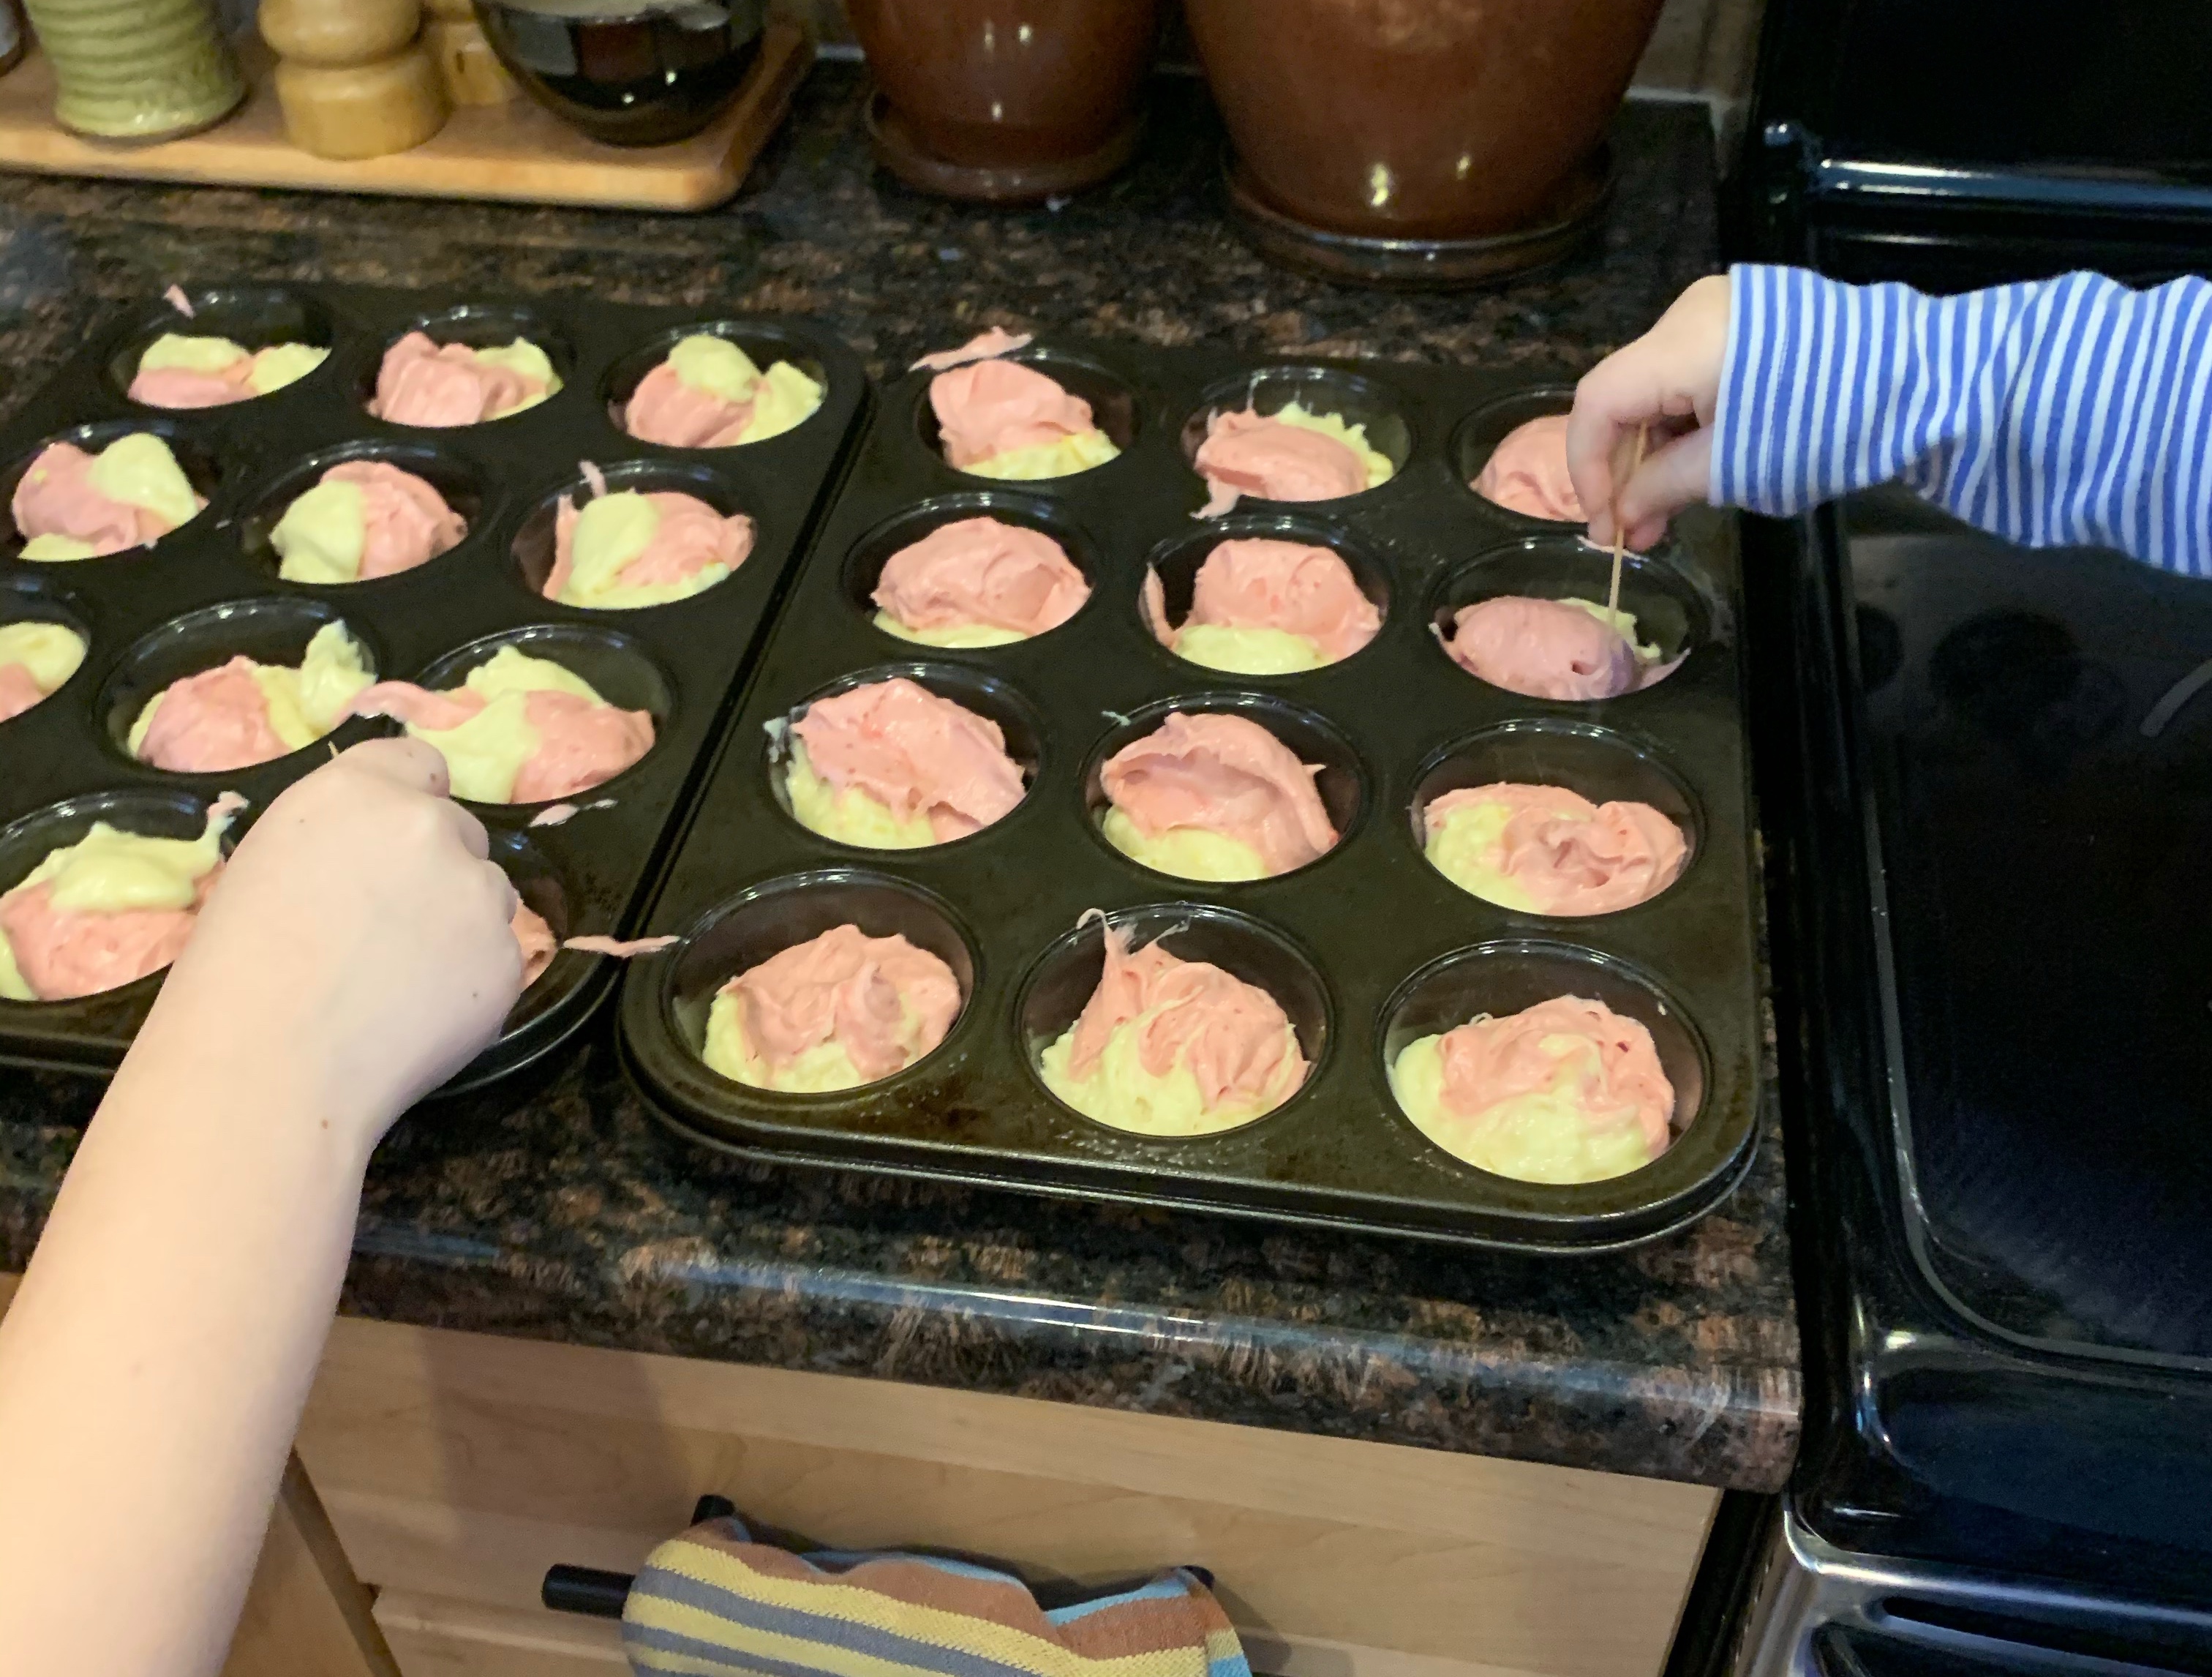
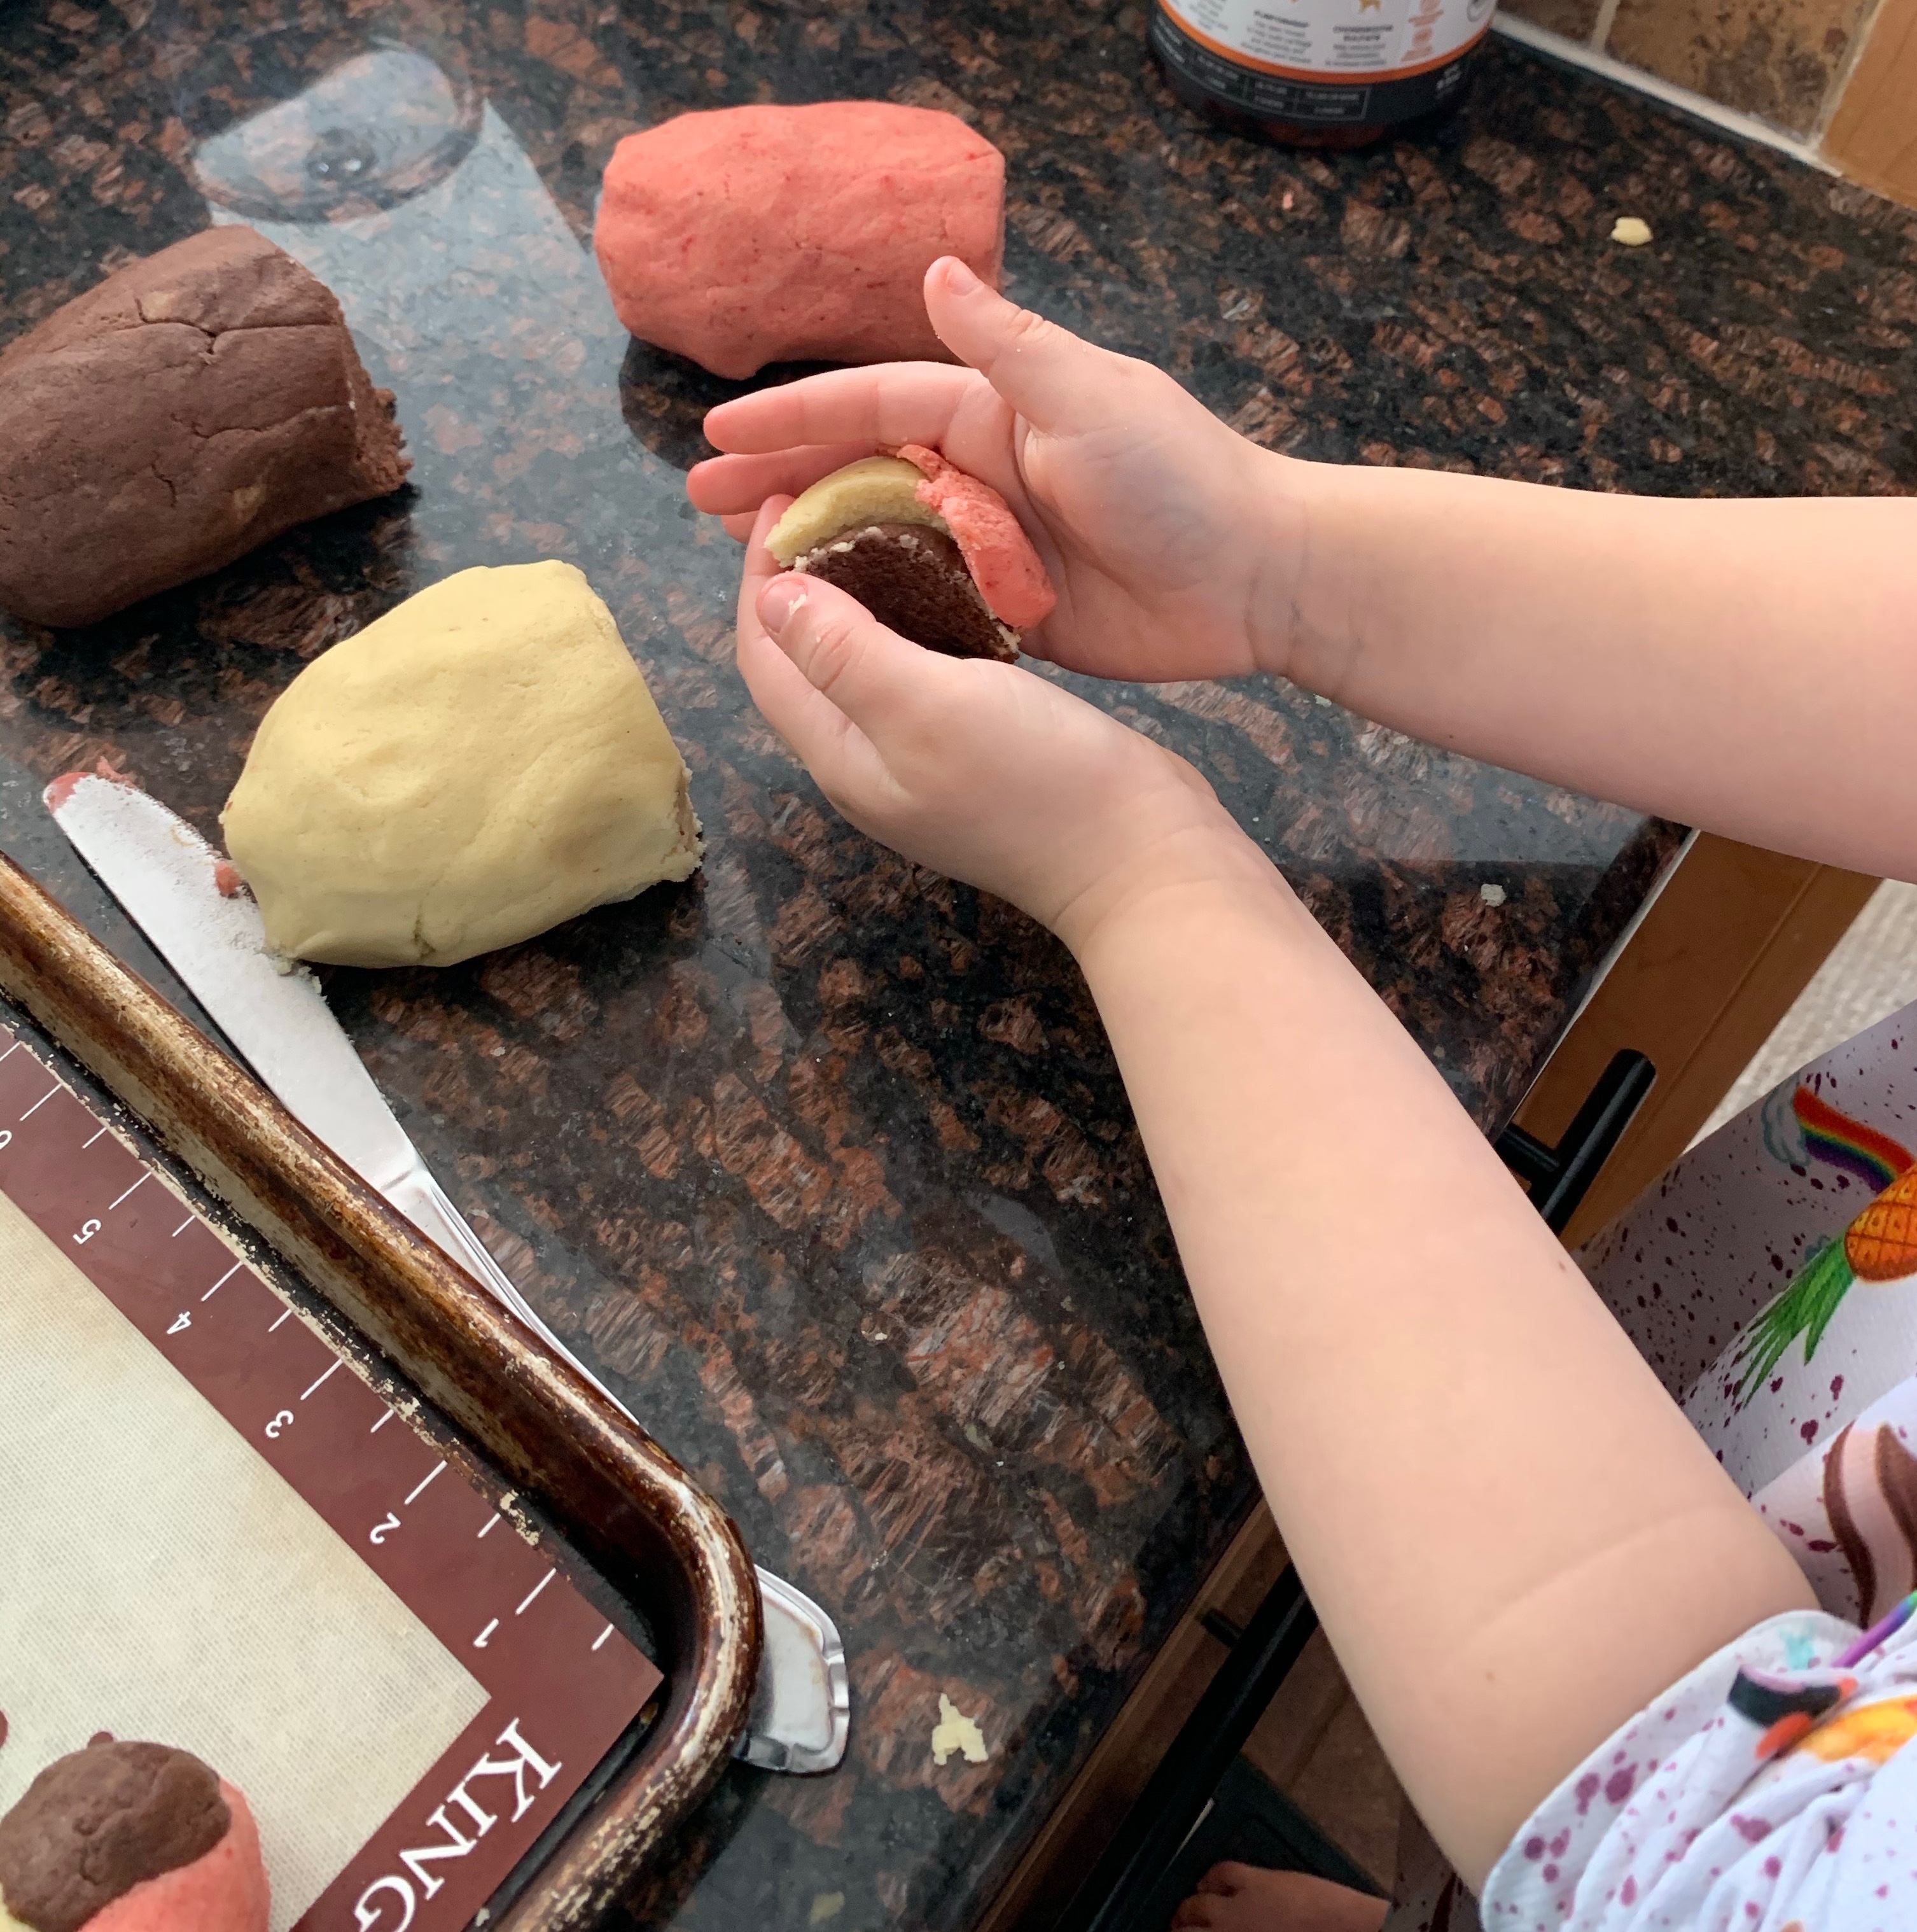
We used our favorite King Arthur Baking vanilla cupcake recipe and tweaked it. (link below along with the tweaks we made) We made a double batch (we could have easily just split one batch in half but we wanted to try some too!) and once the vanilla batter was mixed split it into 2 bowls, flavoring one bowl with lemon zest and juice, the other with powdered freeze dried strawberries. We then put one scoop at a time of each flavor into the muffin tins until they were about 2/3 full, then used a toothpick to swirl the flavors gently together. We baked those, let them cool, and got to work making PINK strawberry frosting! (We made a super easy buttercream that I’ll link below from, you guessed it, King Arthur Baking!) The kids were in charge of frosting and decorating because I really wanted them to take ownership in part of these, and that would only effect the visual appeal, and honestly, they’re darn good little decorators for 8 and 5!
Silly kid mixing and swirling!They came out great! I’d bake 1-2 min less since the addition of the lemon juice made the edges slightly more brown then I like. The flavor was good though!
The cupcakes came out flavorful, although there are a few things I would change next time. I would use slightly more strawberry in the batter, probably 1 1/2 cups vs the one cup we used. I would also powder the strawberries that we put in the frosting versus chopping and mixing in in small pieces. I think that would give the frosting a bit bigger of a strawberry flavor. The lemon really ended up being the star of the show, but they were still delicious!
1 cup of freeze dried strawberries (place them in the food processor and pulverize into a powder. Next time I would up this to 1 1/2 cups IF I was flavoring a full batch as we did. If you’re splitting a full batch into 2 flavors I suspect that 1 cup would do the trick)
2 Lemons, zested and juiced (Again, this was for a whole batch as we doubled the recipe. For a half batch I would use 1 lemon depending on taste. You could possibly use the zest of 2 lemons in a half batch, but the juice of 2 would likely make a half batch of batter too runny.)
After the batter is made split into 2 bowls, we left half the batter in the stand mixer and put the strawberries in there as I thought that would give it a more even mix. We hand mixed the lemon batter and it came out great!
Scoop one spoonful of each batter into the muffin tin (I know people like to use liners for their cupcakes but I don’t, I find them wasteful and annoying so I just grease the hell of the pan!) until they are about 2/3 full then use a toothpick to gently swirl the batter together. Bake as directed in the recipe above.
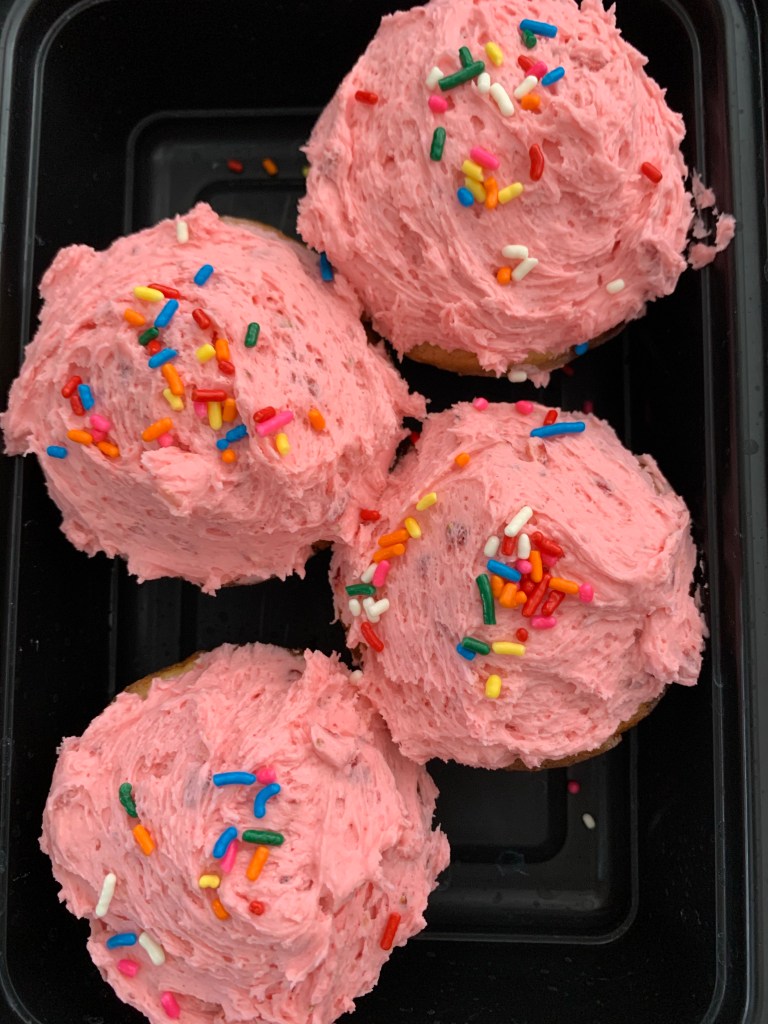
The finished product was bright and colorful thanks to my seasoned decorators! Hopefully the birthday girl enjoyed them as much as we did!
Enjoy! Let us know if you make some, and what fun flavors or edits you make to the recipe to make it your own! BIG happy 5th birthday to our pink loving friend!
It’s February break here in northern VT, and though our kids are homeschooled we’re taking the week off to spend some time as a family. It also happens to be my birthday week, and it’s a BIG one! While my kids have been busy in the kitchen (they helped make an amazing birthday cake including raspberry coulis) I have been busy getting in a fight with a snowbank…and loosing. (Diagnosis: strained patellar tendon, very irritable knee cap from old injuries, and pain!) I’m feeling lucky that it’s not more serious, but at the moment it doesn’t feel great, so standing in the kitchen for long periods of time hasn’t been happening…until today!
This is how I spent the better part of the last few days. Not so fun!
My wonderful husband helped get out all of the ingredients for me, all of the tools we would need, and then we set to work. (He’s currently doing all my baking dishes, he’s a keeper!) We chose cookies as it’s a slightly quicker recipe to make then some others so I wouldn’t have to be upright for too long. We went back to our new cookie book (https://www.thevanillabeanblog.com/100-cookies) and chose Neapolitan Cookies! Yup, that’s right. The classic ice cream flavor turned into a cookie!
My oldest wasn’t feeling baking this morning, which is fine! She wanted to curl up in a patch of sun and read (apparently she’s part cat?) and was not into being disturbed. No worries, that’s why we’ve got 2 kids! The little one was all in, and since I’m considerably slower and less mobile then usual she really had to take the lead. She was up to the task!
We don’t often get to do things alone, so this was a special treat for us today!
We read through the recipe together, starting with the list of ingredients, all the way through the directions. This is a great tip even if you’re not baking with kids. It helps to get a handle on what you’re expected to do in what order so you’re not just throwing things in a mixer and hoping it turns out the way you want. For kids I find reading through the ingredients and pointing out the ingredients on the counter is even more hopeful. Not only is it a verbal direction, but a visual as well. It helps it stick in their brains…and mine!
Once we were sure we were ready she started measuring (yes she dumped flour all over, no it was not a big deal), mixing, and pulverizing! (She was very excited about using the food processor to pulverize the freeze dried strawberries…she’s a button pusher that one!) These cookies required a little extra work because once the dough is together you have to divide it into 3rds (excellent fraction work for kids) and then flavor the dough pieces. Once that’s done you mush little bits of each flavor dough together to form one cookie. While we were playing with the dough (yes, it’s playing…if you’re not having fun then neither are the kids) our youngest sweetly said to me “this is like play dough I can eat!” She was having a blast. Her sweet little face was just beaming.
Baking is such a great homeschool activity! It encompasses math, science, and literacy all in one project.
We finished up the rolling and playing, got them in the oven, and they look beautiful! We’ll give them a taste later and report on our Instagram and Facebook pages so be sure to check it out! If they taste half as good as they look they’re for sure a keeper! (If we get really ambitious we might make some of that yummy no churn ice cream, also from this awesome book, you should really get yourself a copy, and make some cookie sandwiches tomorrow. You just never know what we’ll get up to so stick around!)
I love a stack of cookies! These are especially beautiful with their mix of colors.
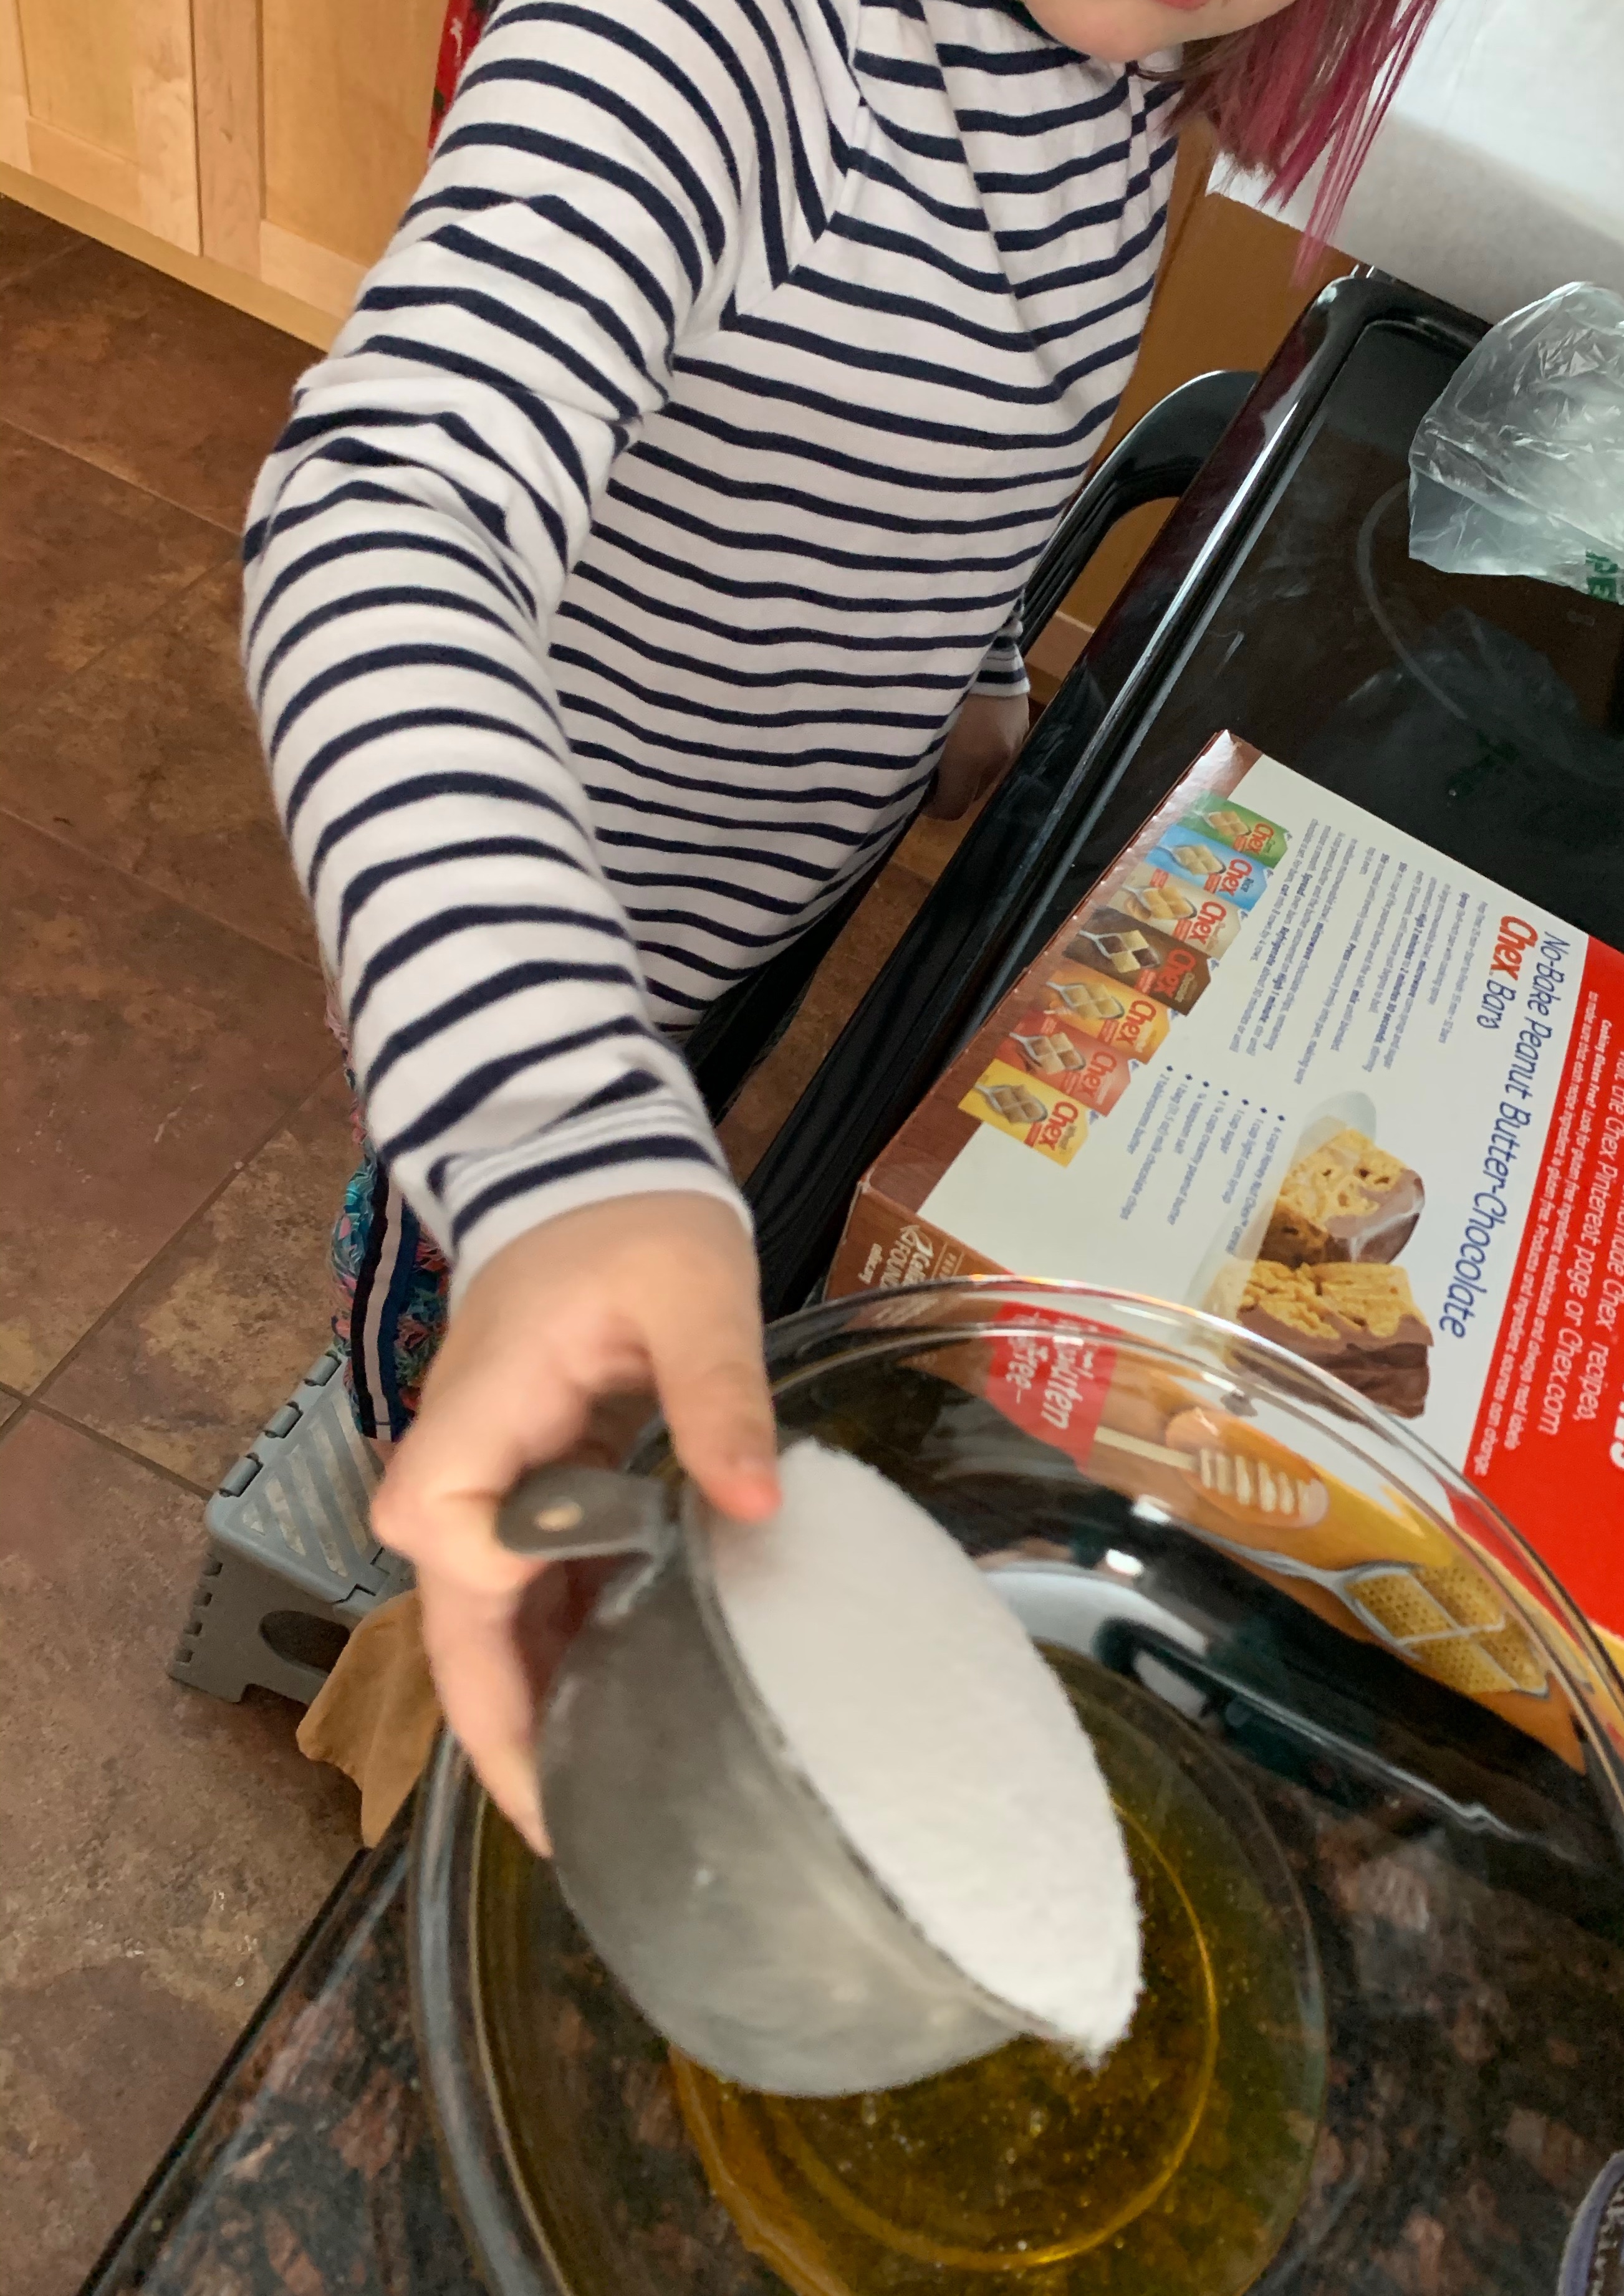
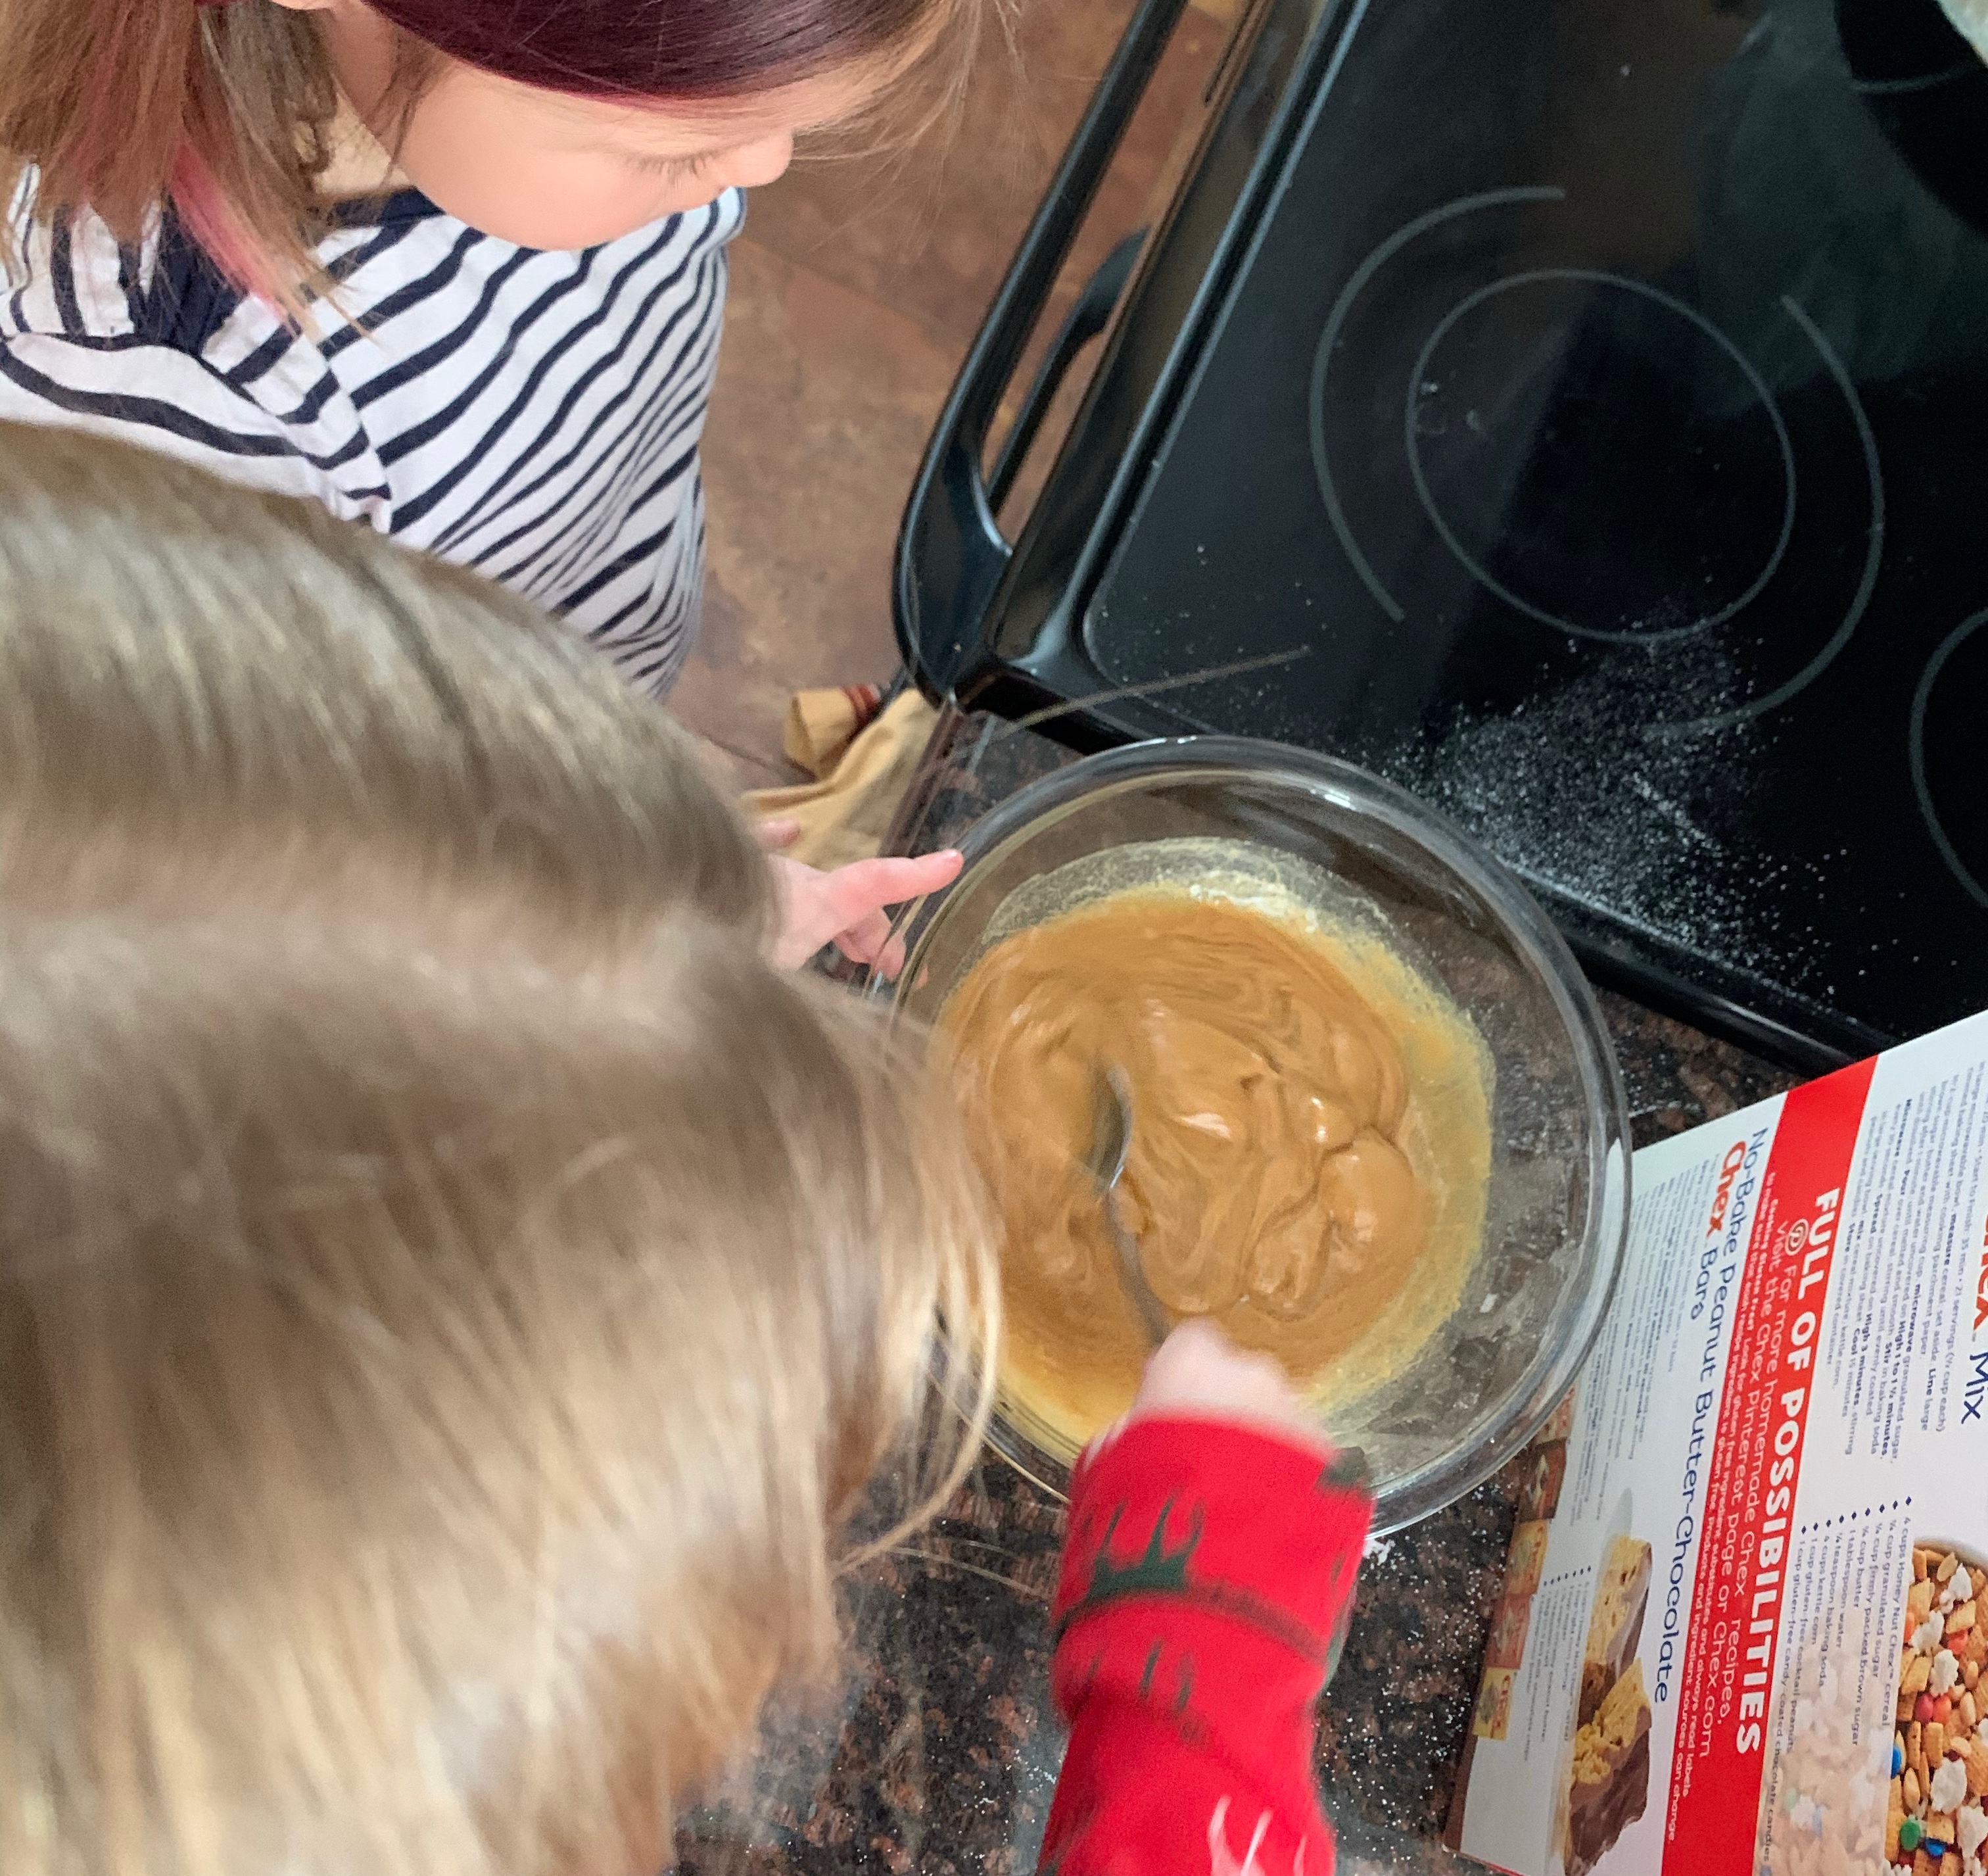
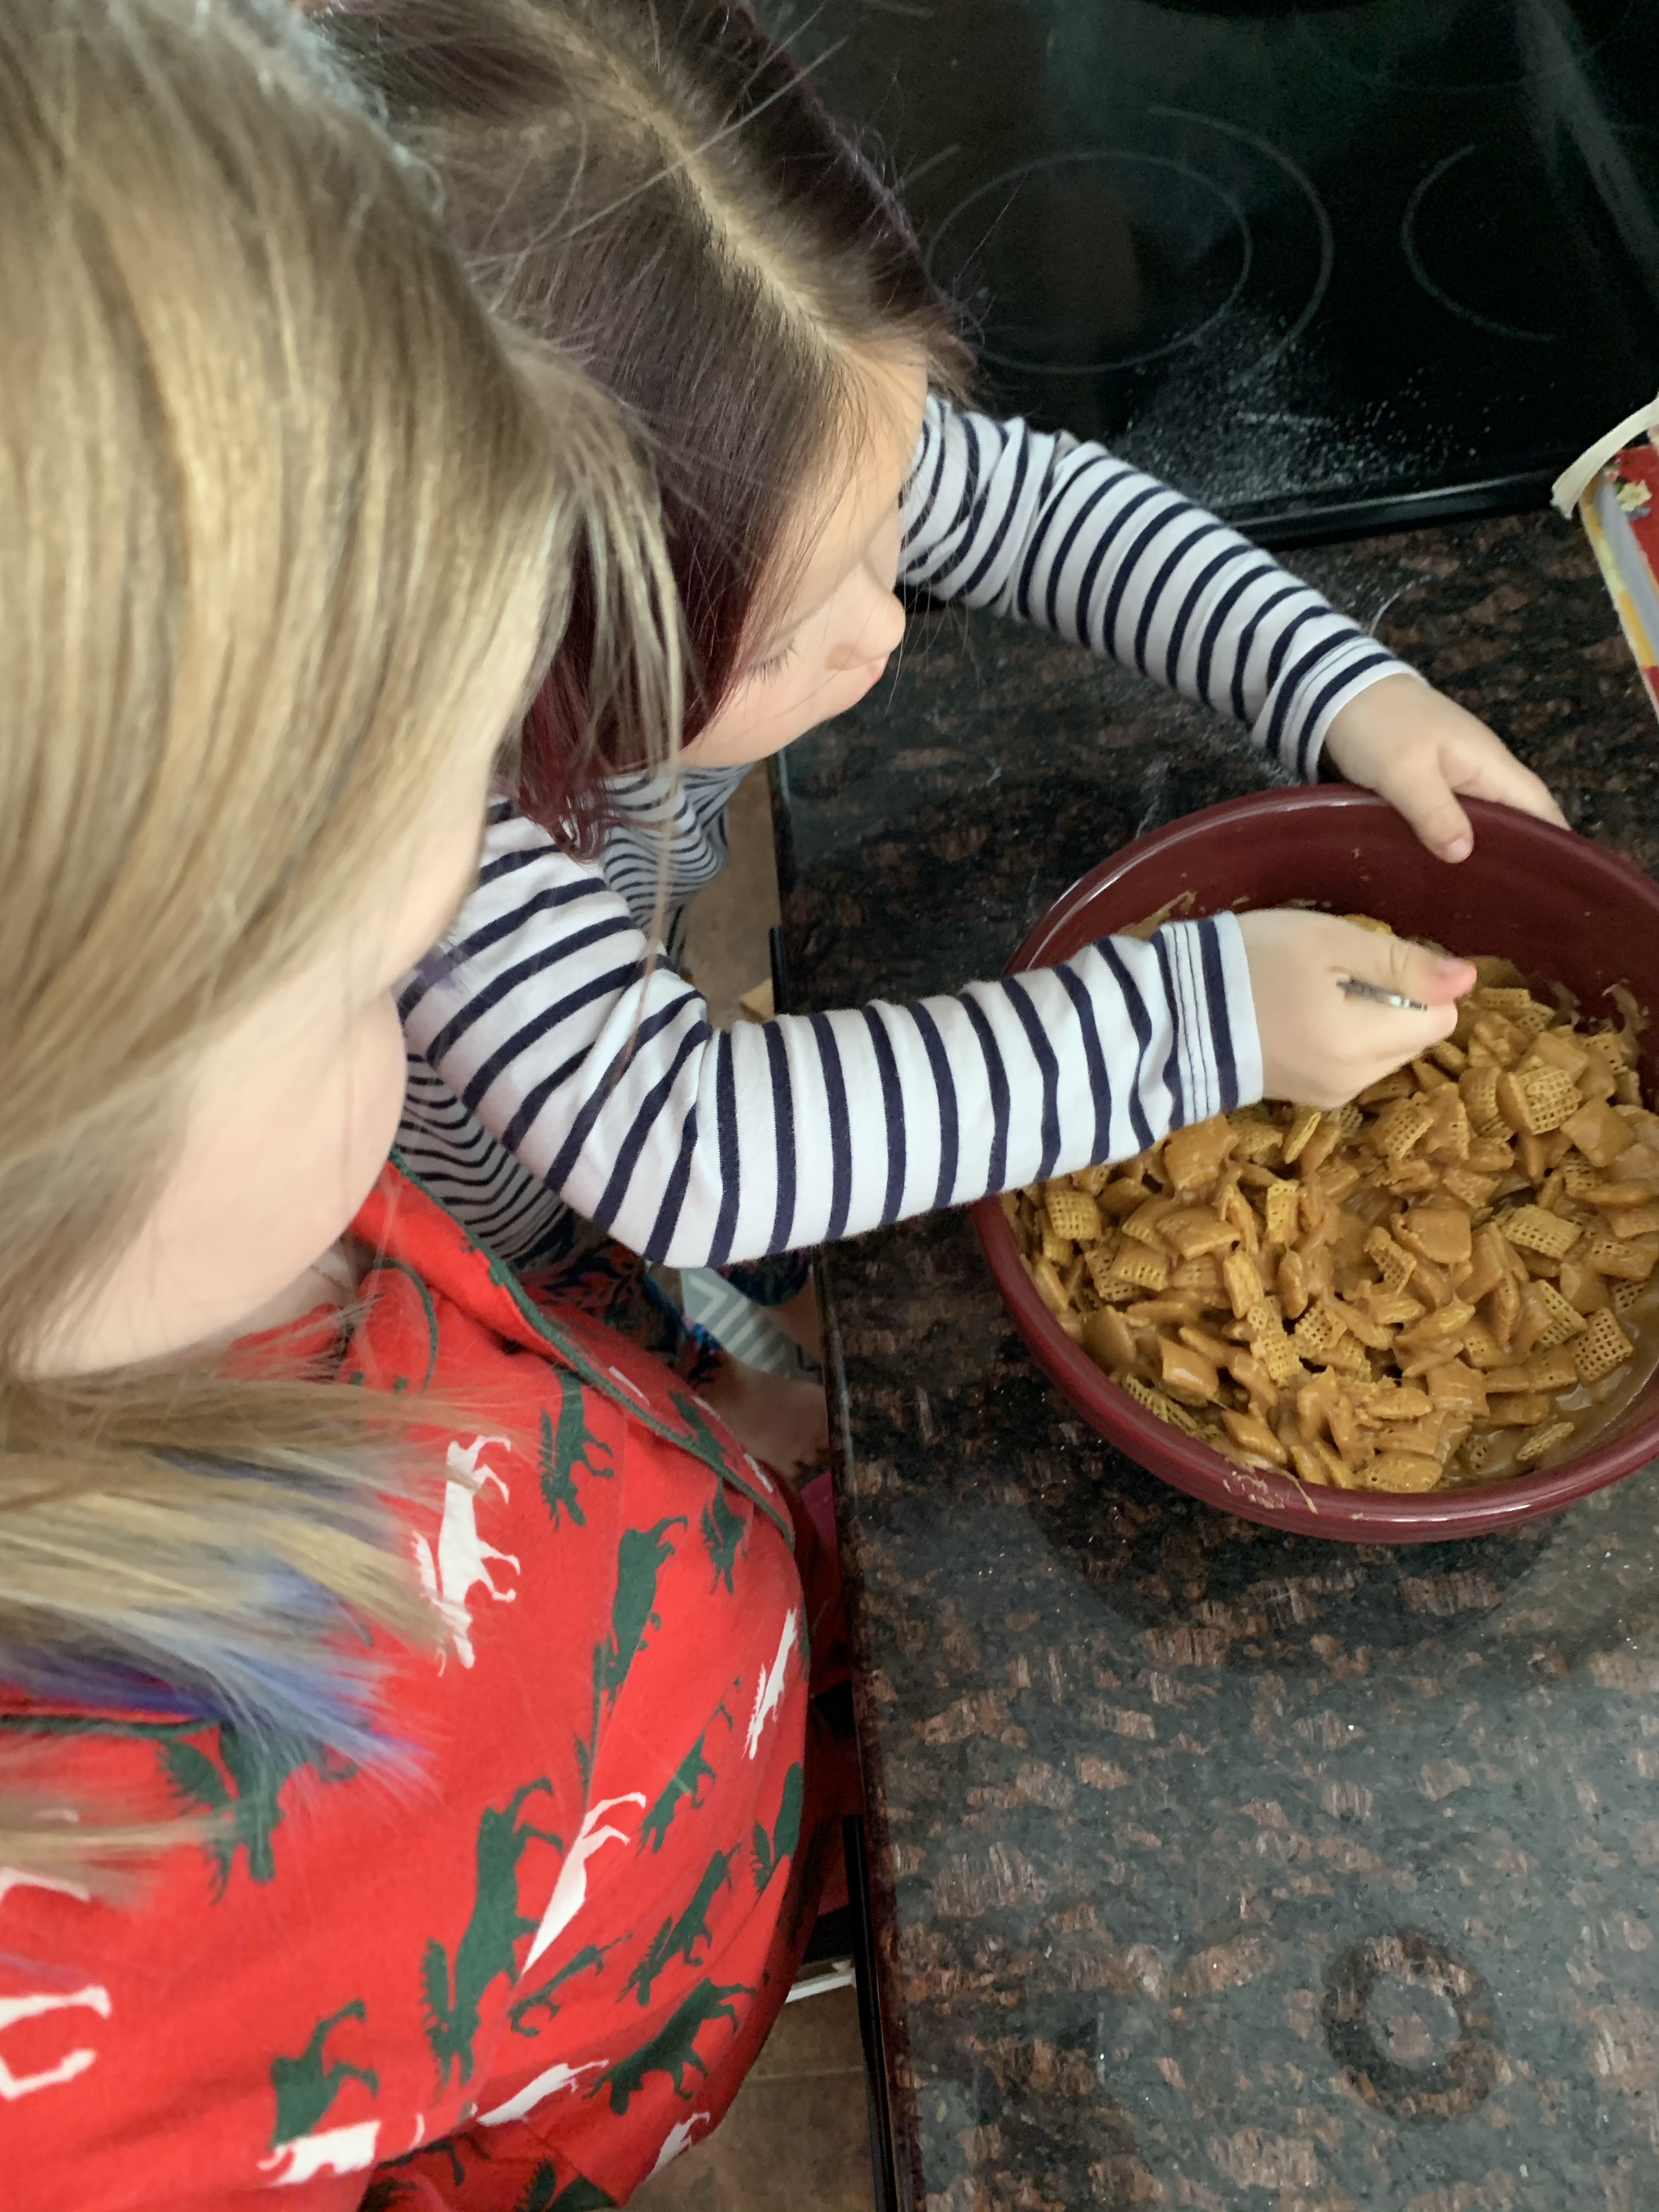
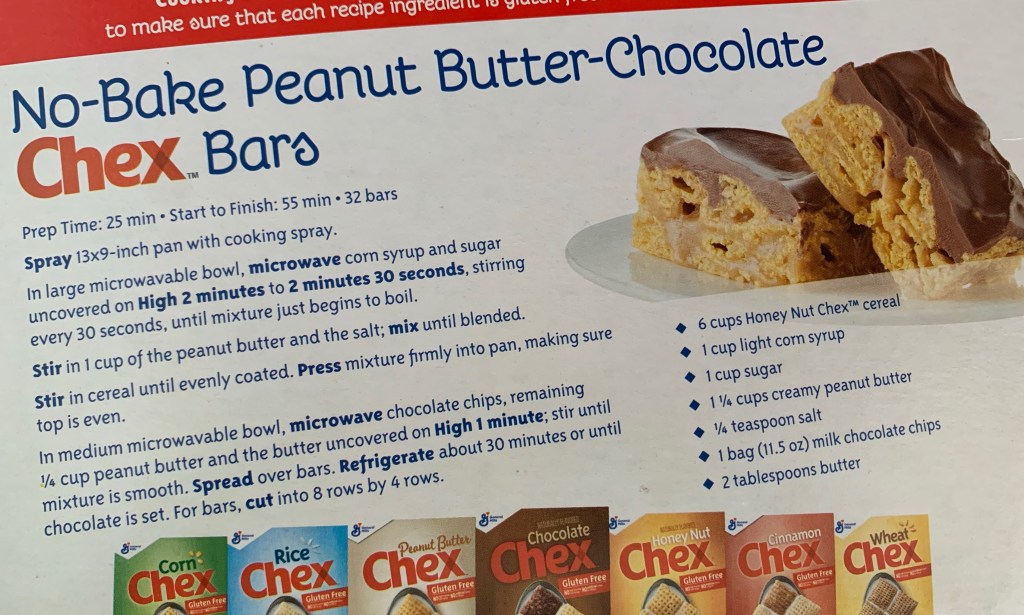
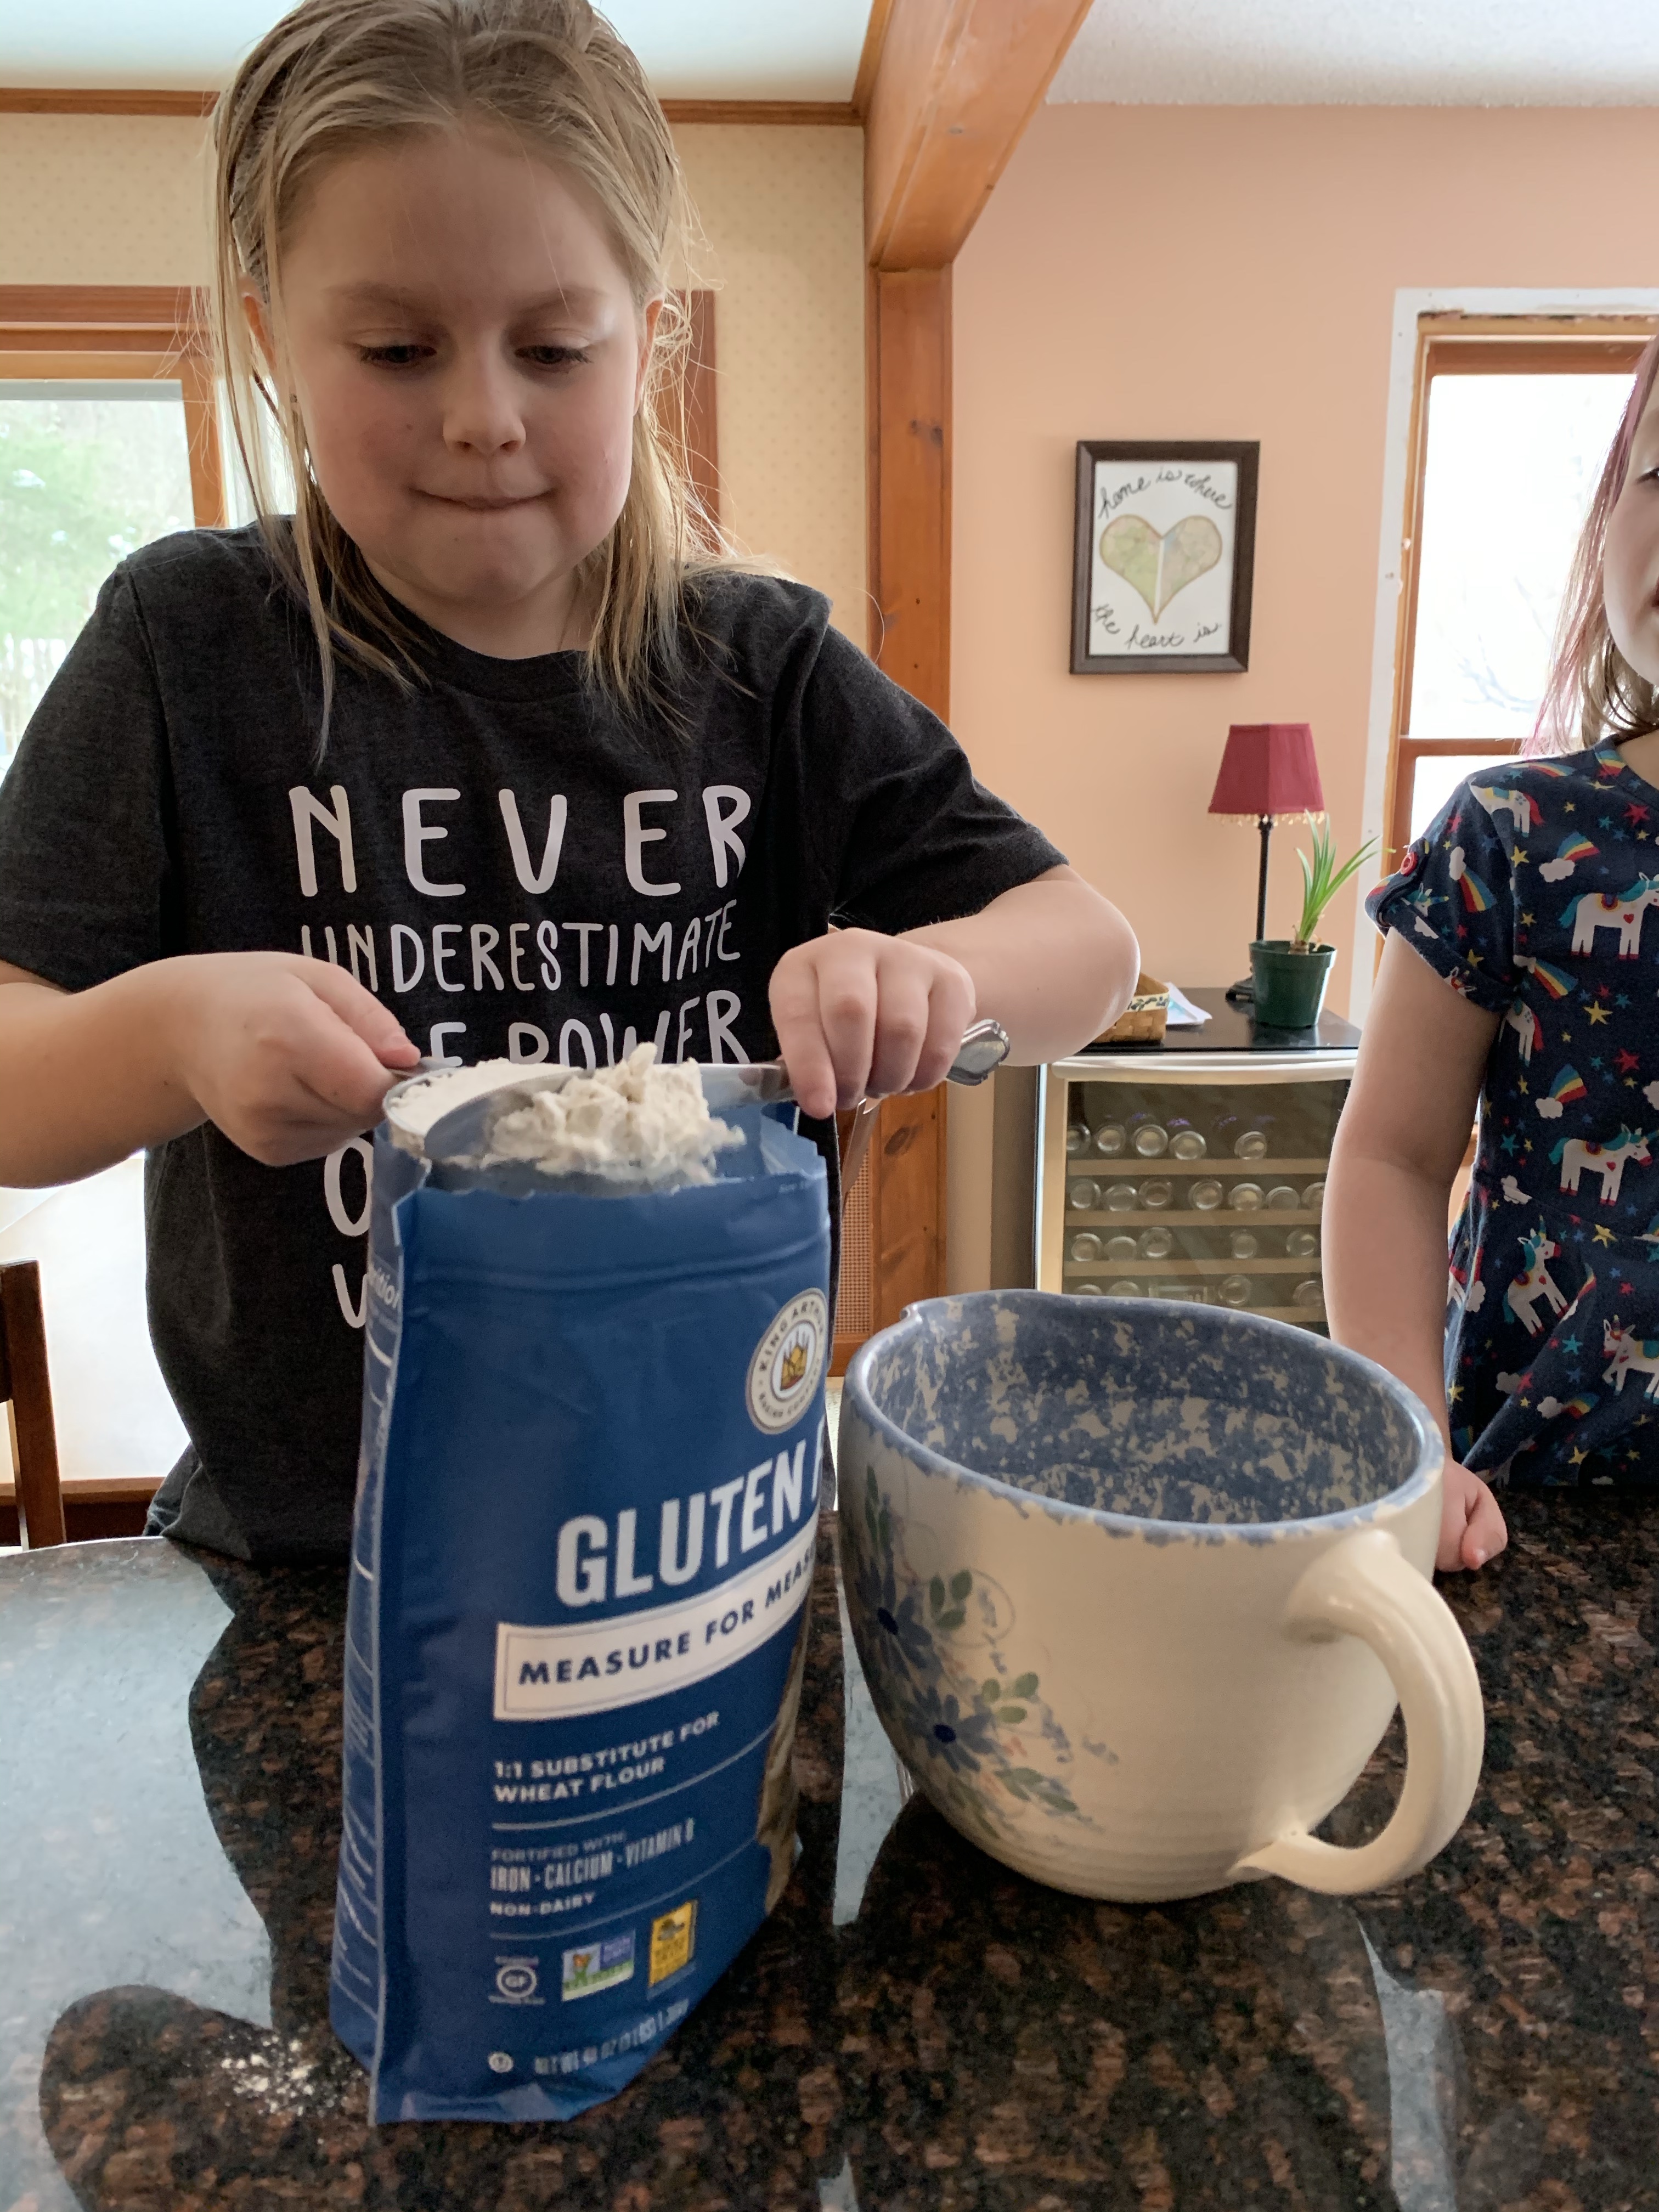
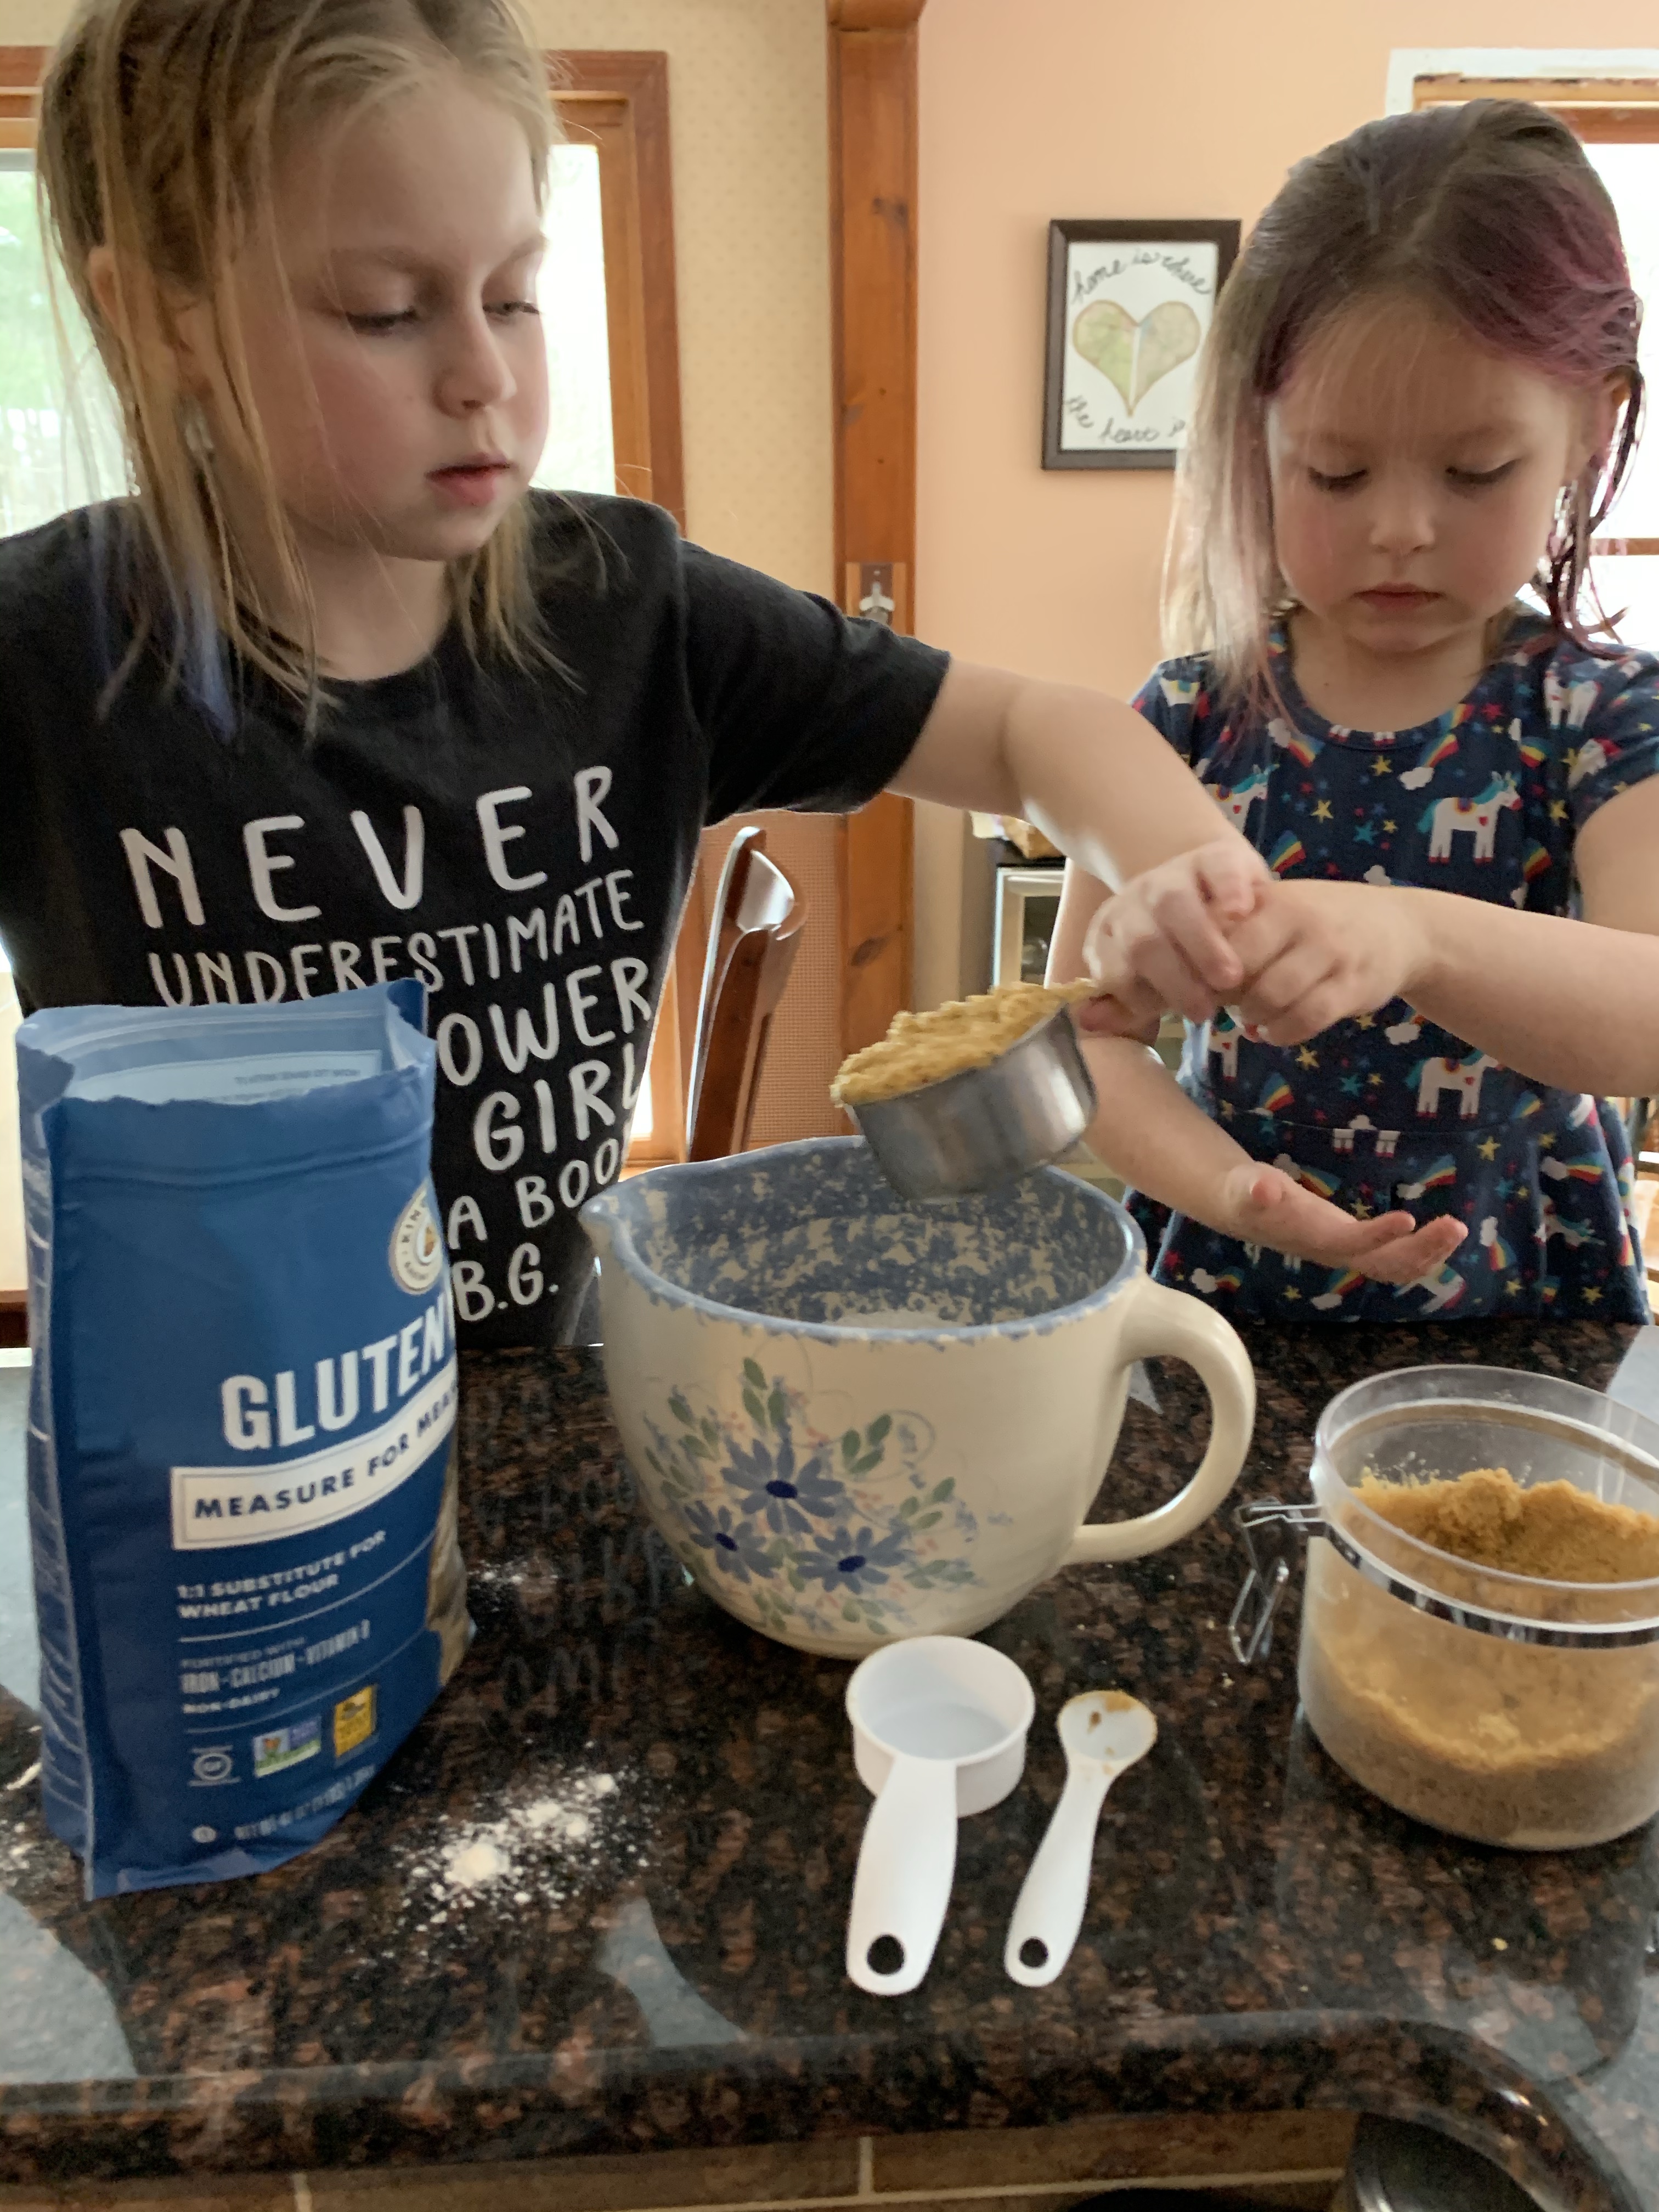
This morning while we were eating breakfast my oldest announced that she wanted to try to make the recipe on the back of her cereal box. She was eating Honey Nut Chex, and we’ve all had Chex mix throughout the years so I had faith that whatever was back there would be delicious! (The recipe is posted at the end, I won’t be too offended if you skip ahead…but you might miss something) Those Chex people know some things. She was ready to go, I needed caffeine before we started this little adventure, she told me she didn’t need my help! I still convinced her to wait a little while until we could clean up from breakfast and I could operate without falling over. Then off we went…or should I say she!
Team Christmas pajamas year round over here!
She was kind enough to allow her younger sister to help along the way, but I was strictly there to photograph, and was reminded as such multiple times. (I think I’ve mentioned before that releasing control isn’t something I’m very good at…a work in progress.) She got out all of the ingredients, just like I taught her. Got out all of the tools she would need for the recipe, and she got to it!
Do you hear that? They’re not fighting! Baking together works miracles!
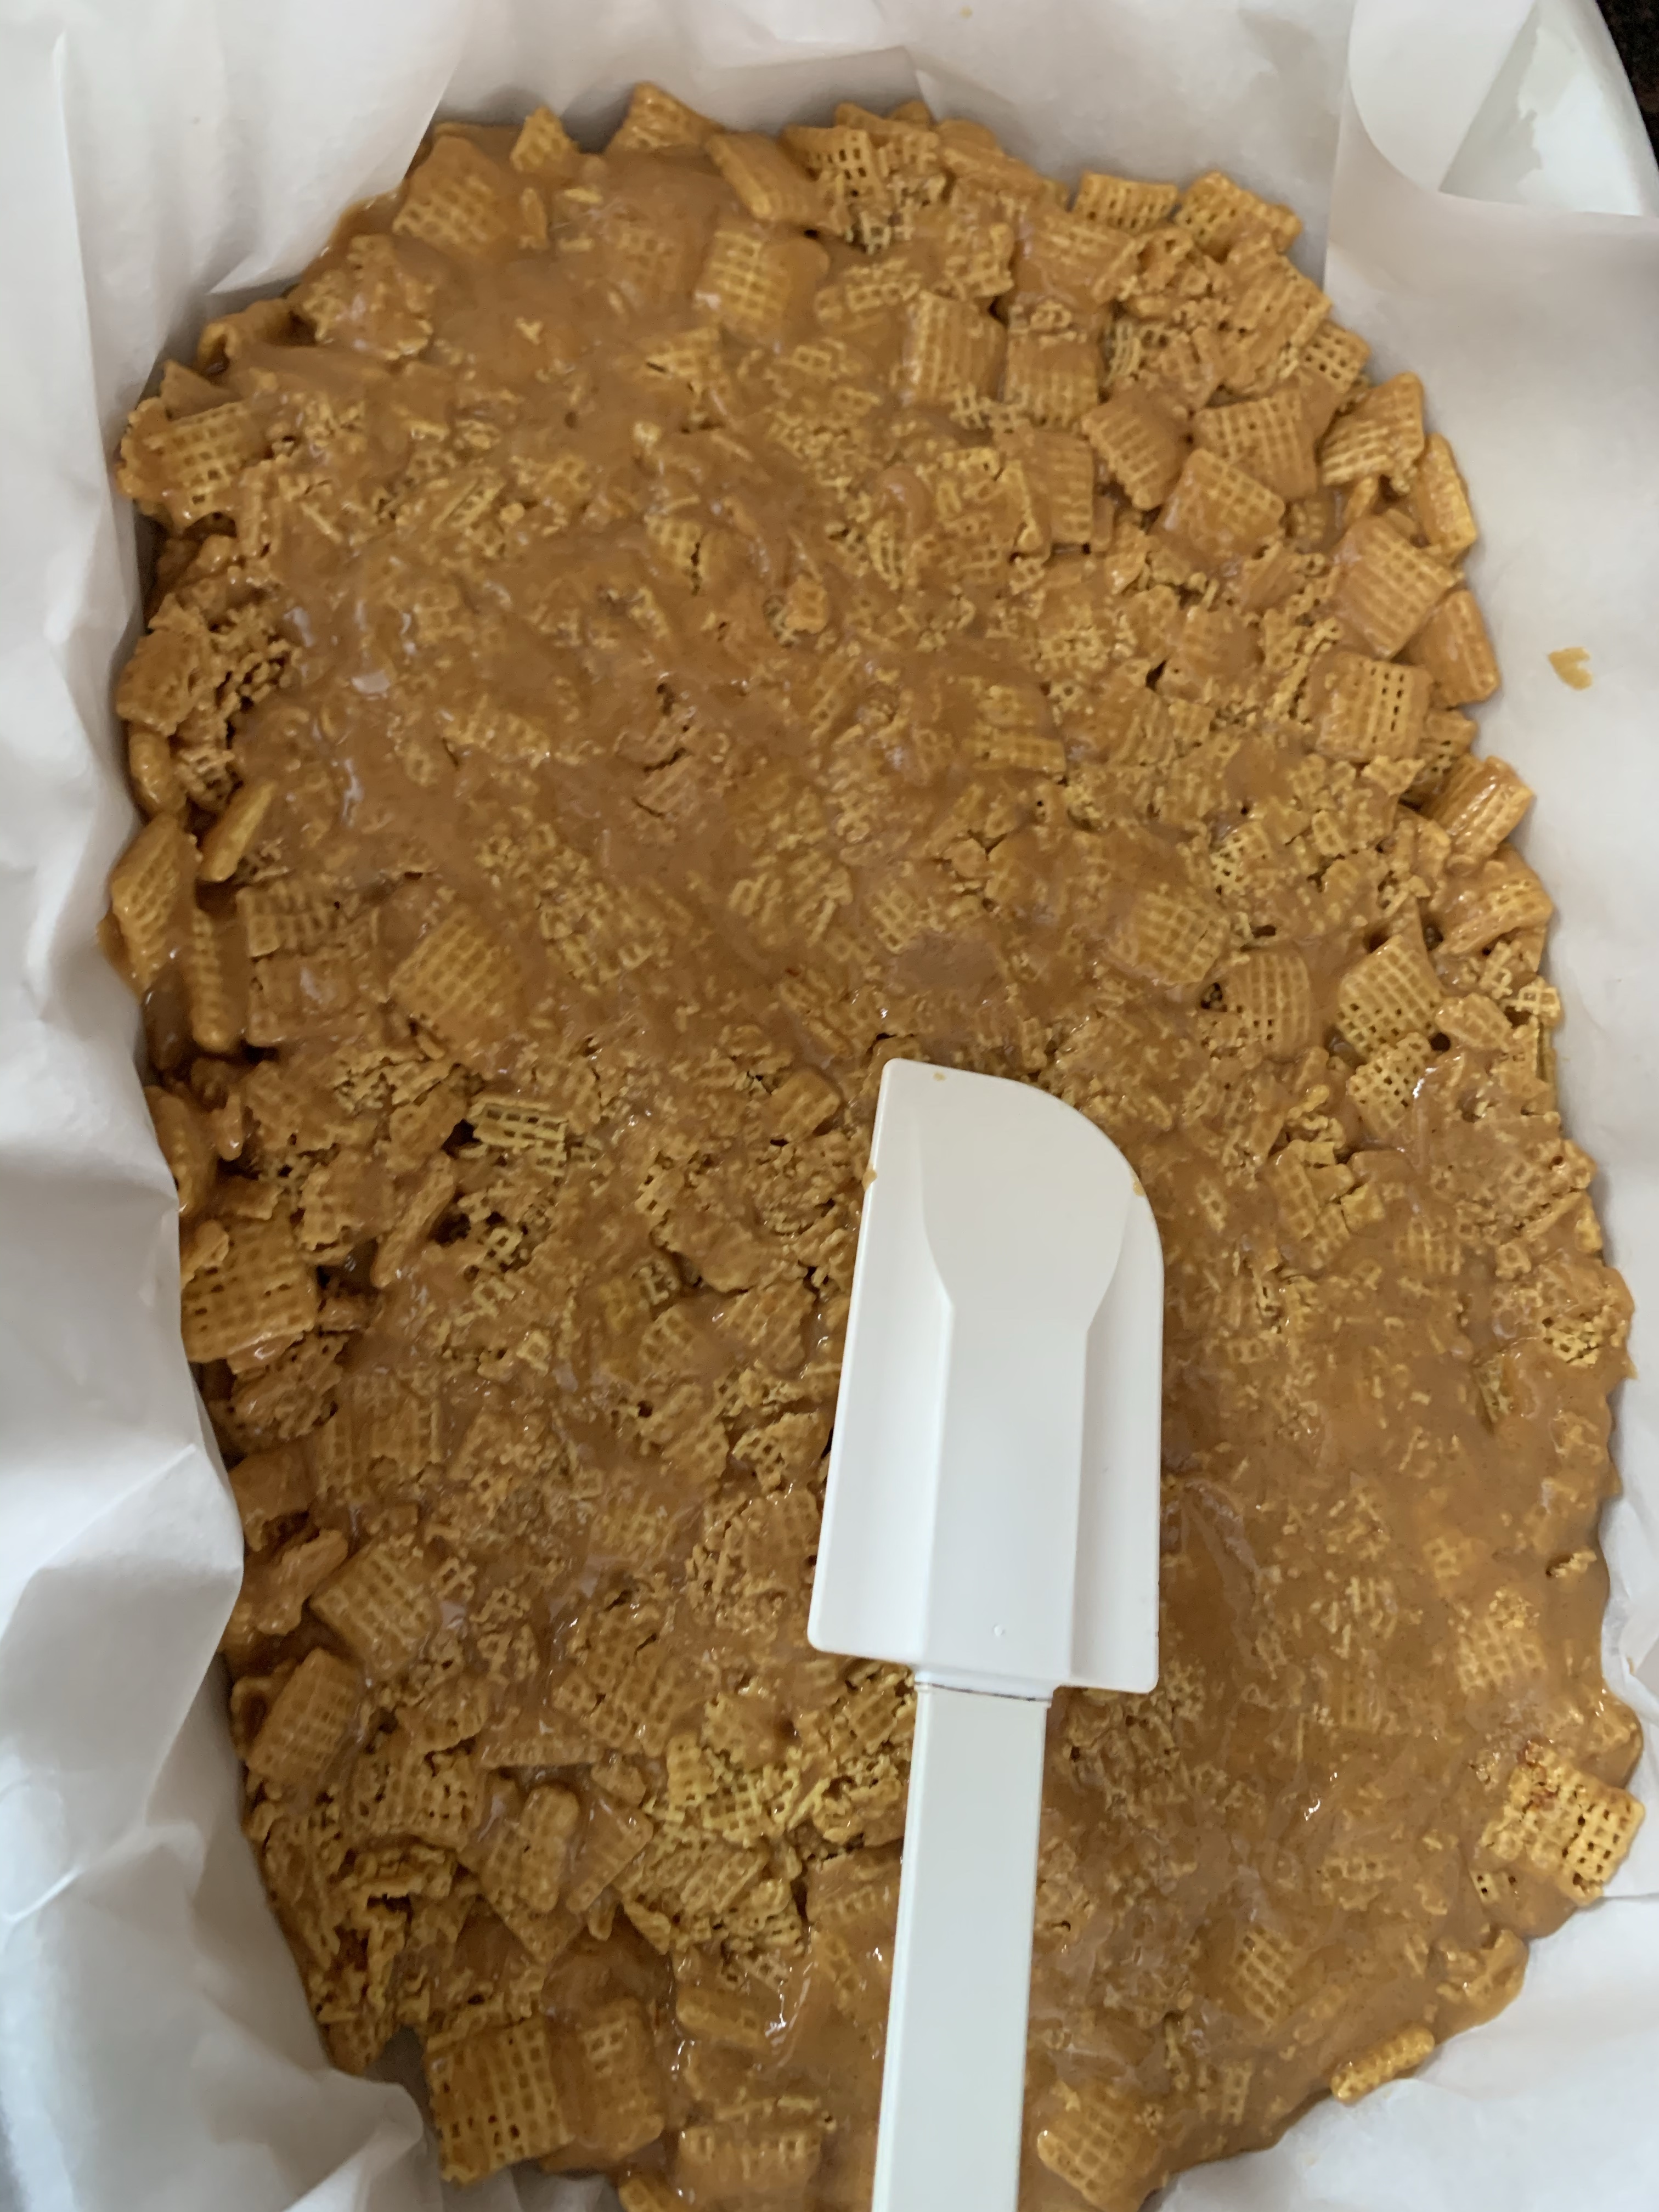
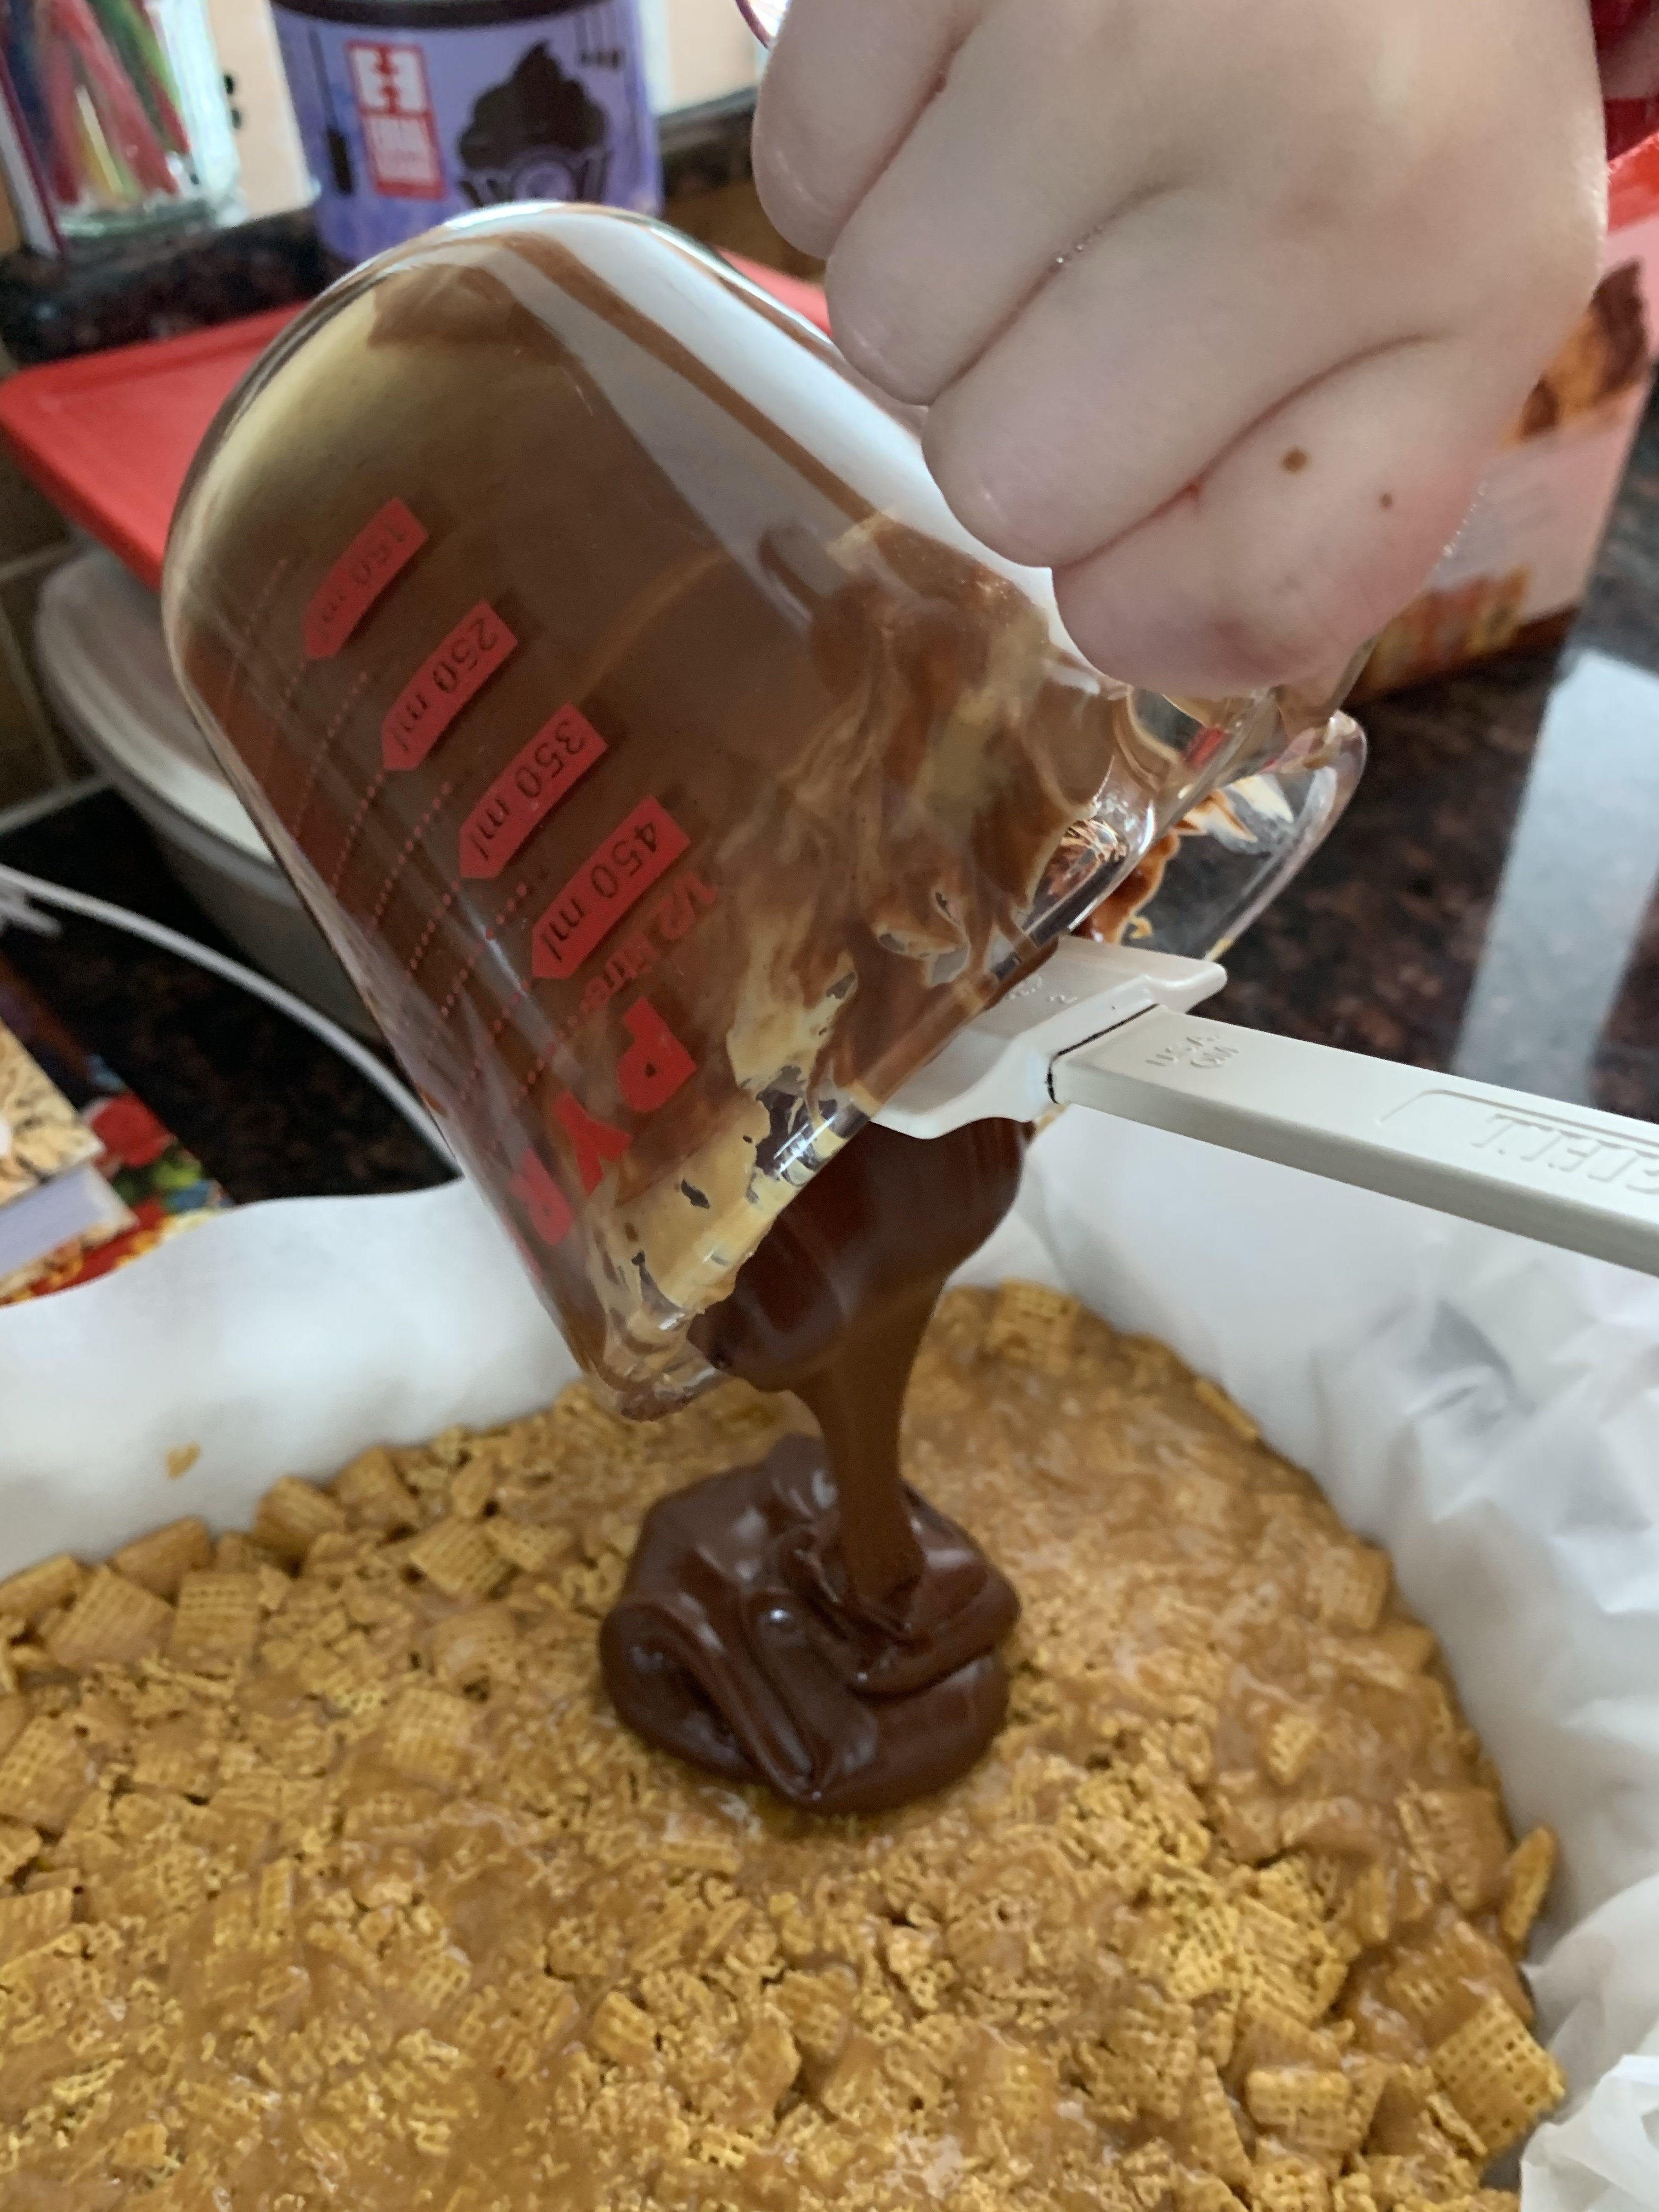
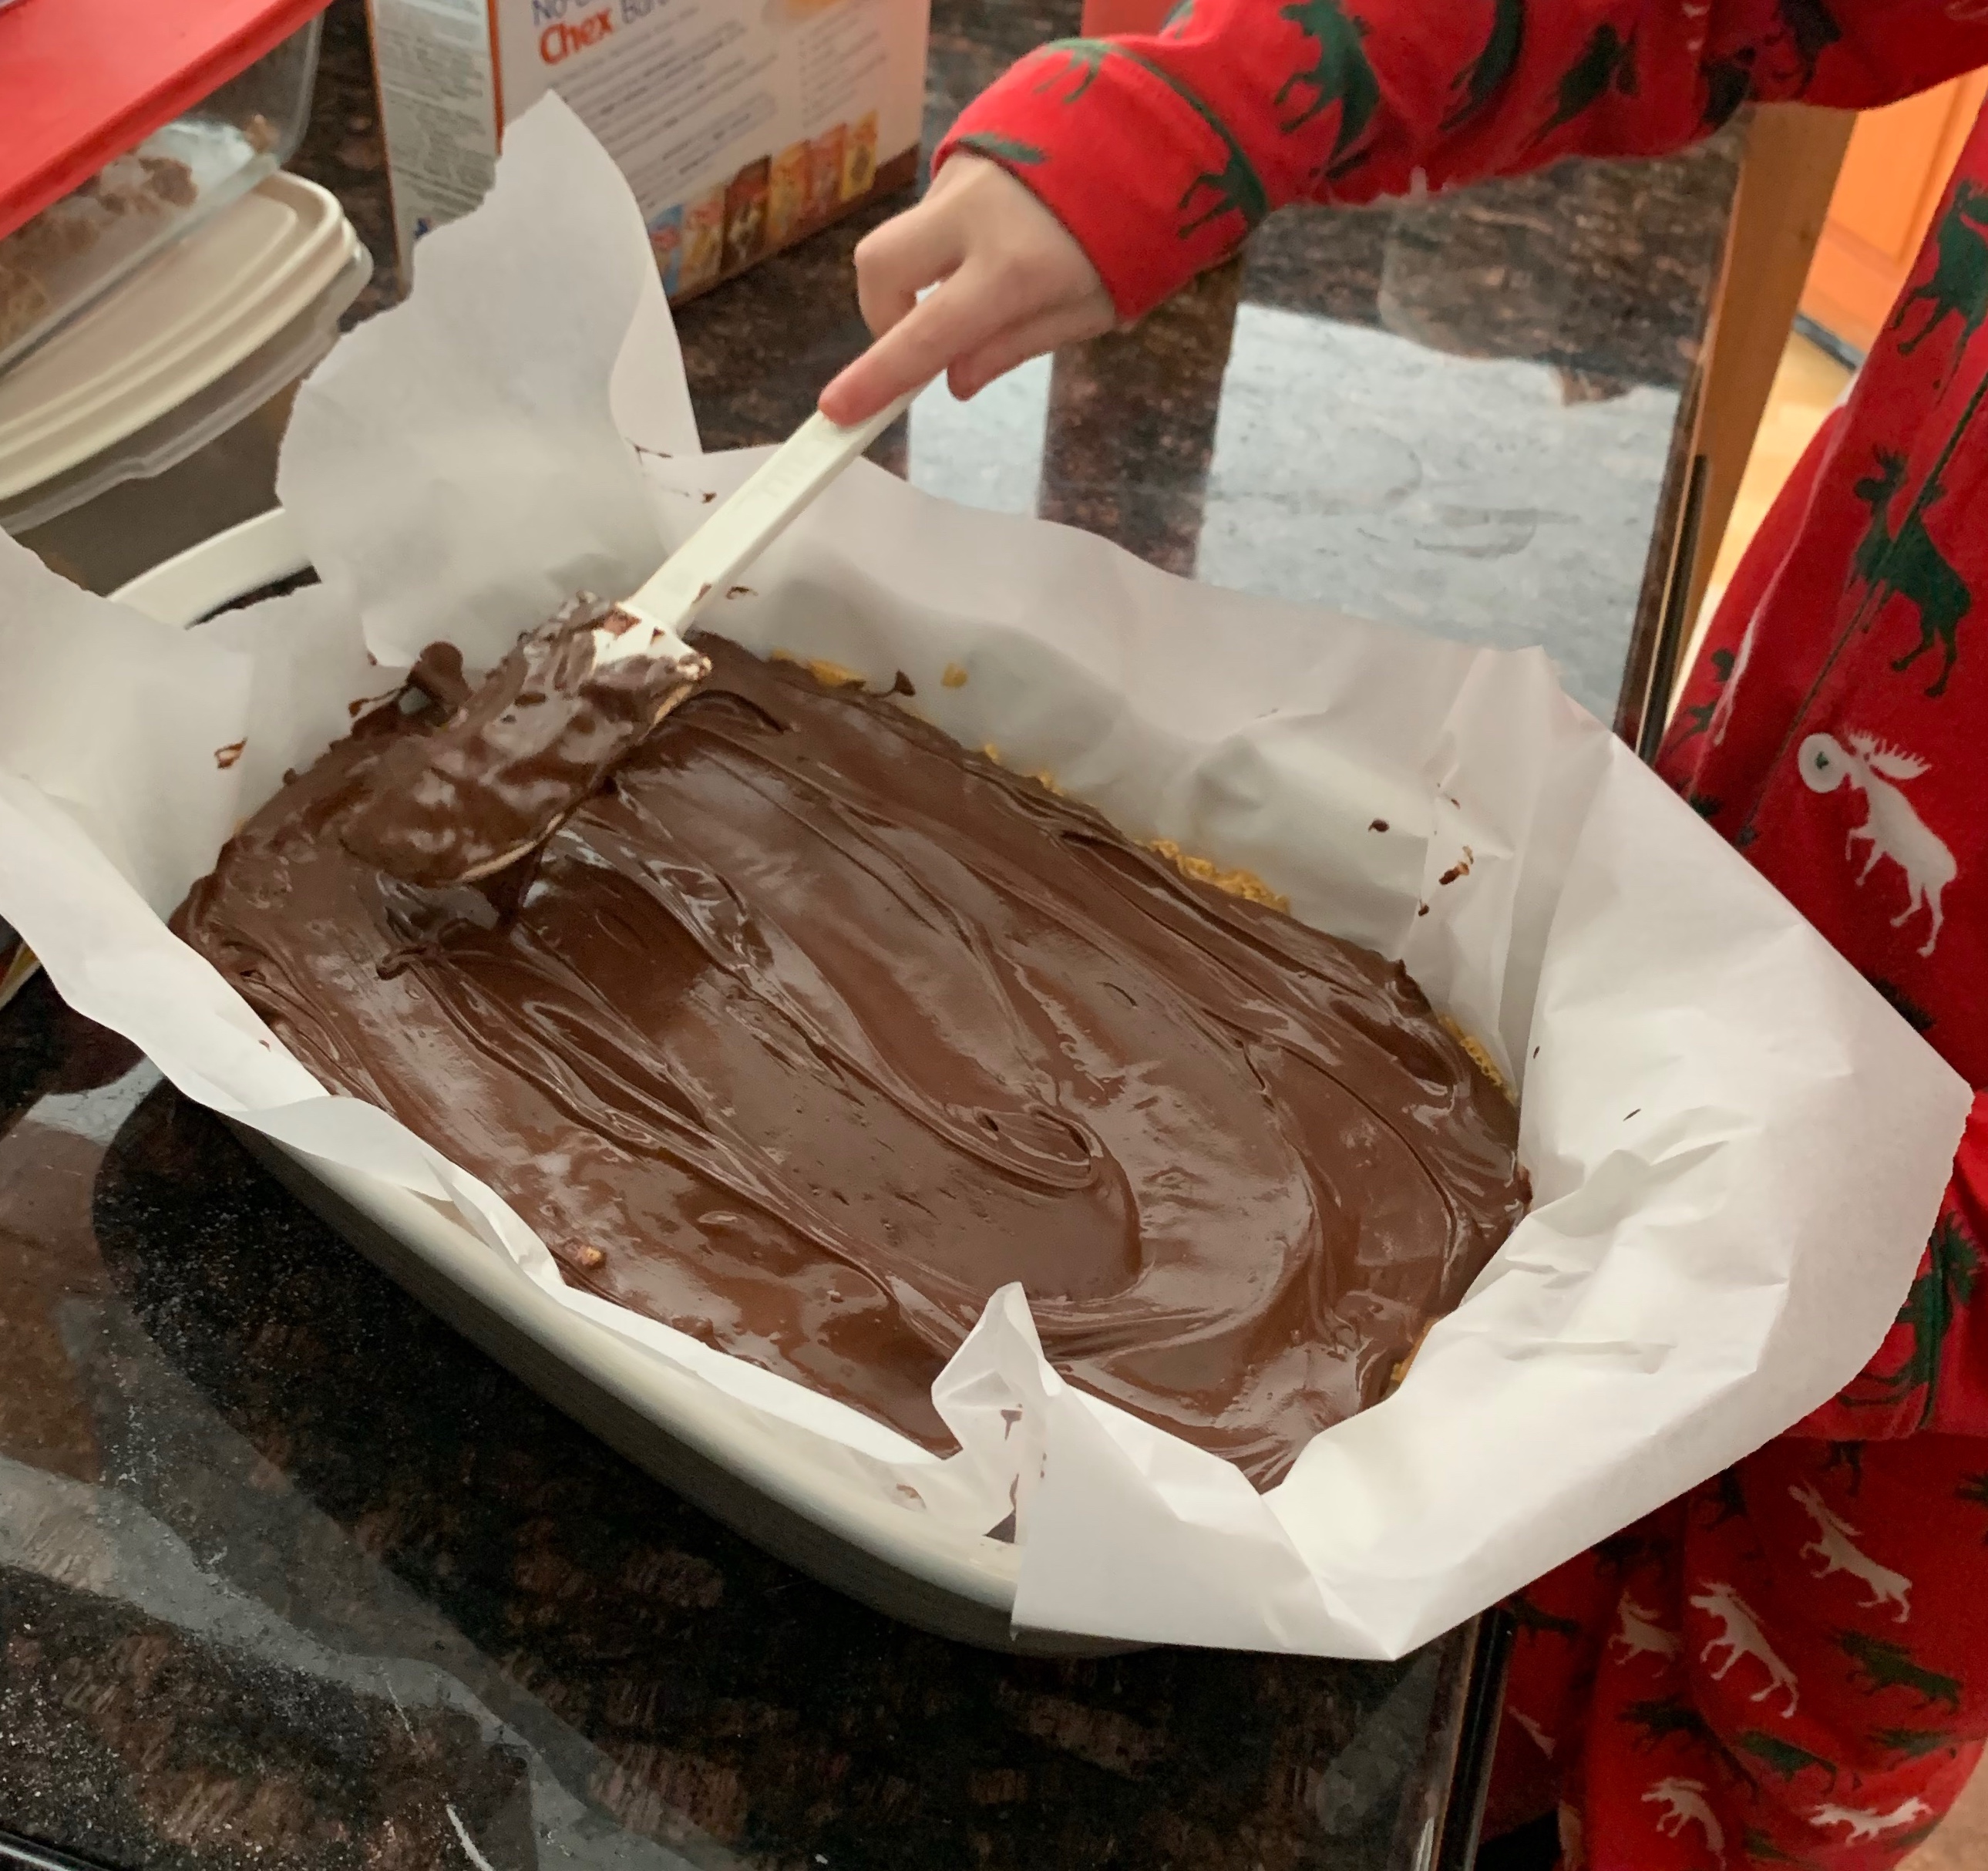
While this wasn’t a difficult recipe it is a recipe that she could do entirely on her own, from start to finish. It doesn’t require an oven, the measurements are not complex, and the directions are written clearly using basic cooking skills. Maybe your child isn’t here yet, and that’s ok! The beauty of baking with kids is that we all start somewhere, and if you’re not an experienced baker you can learn along the way together! This is a recipe that even the most newbie baker can make and make well.
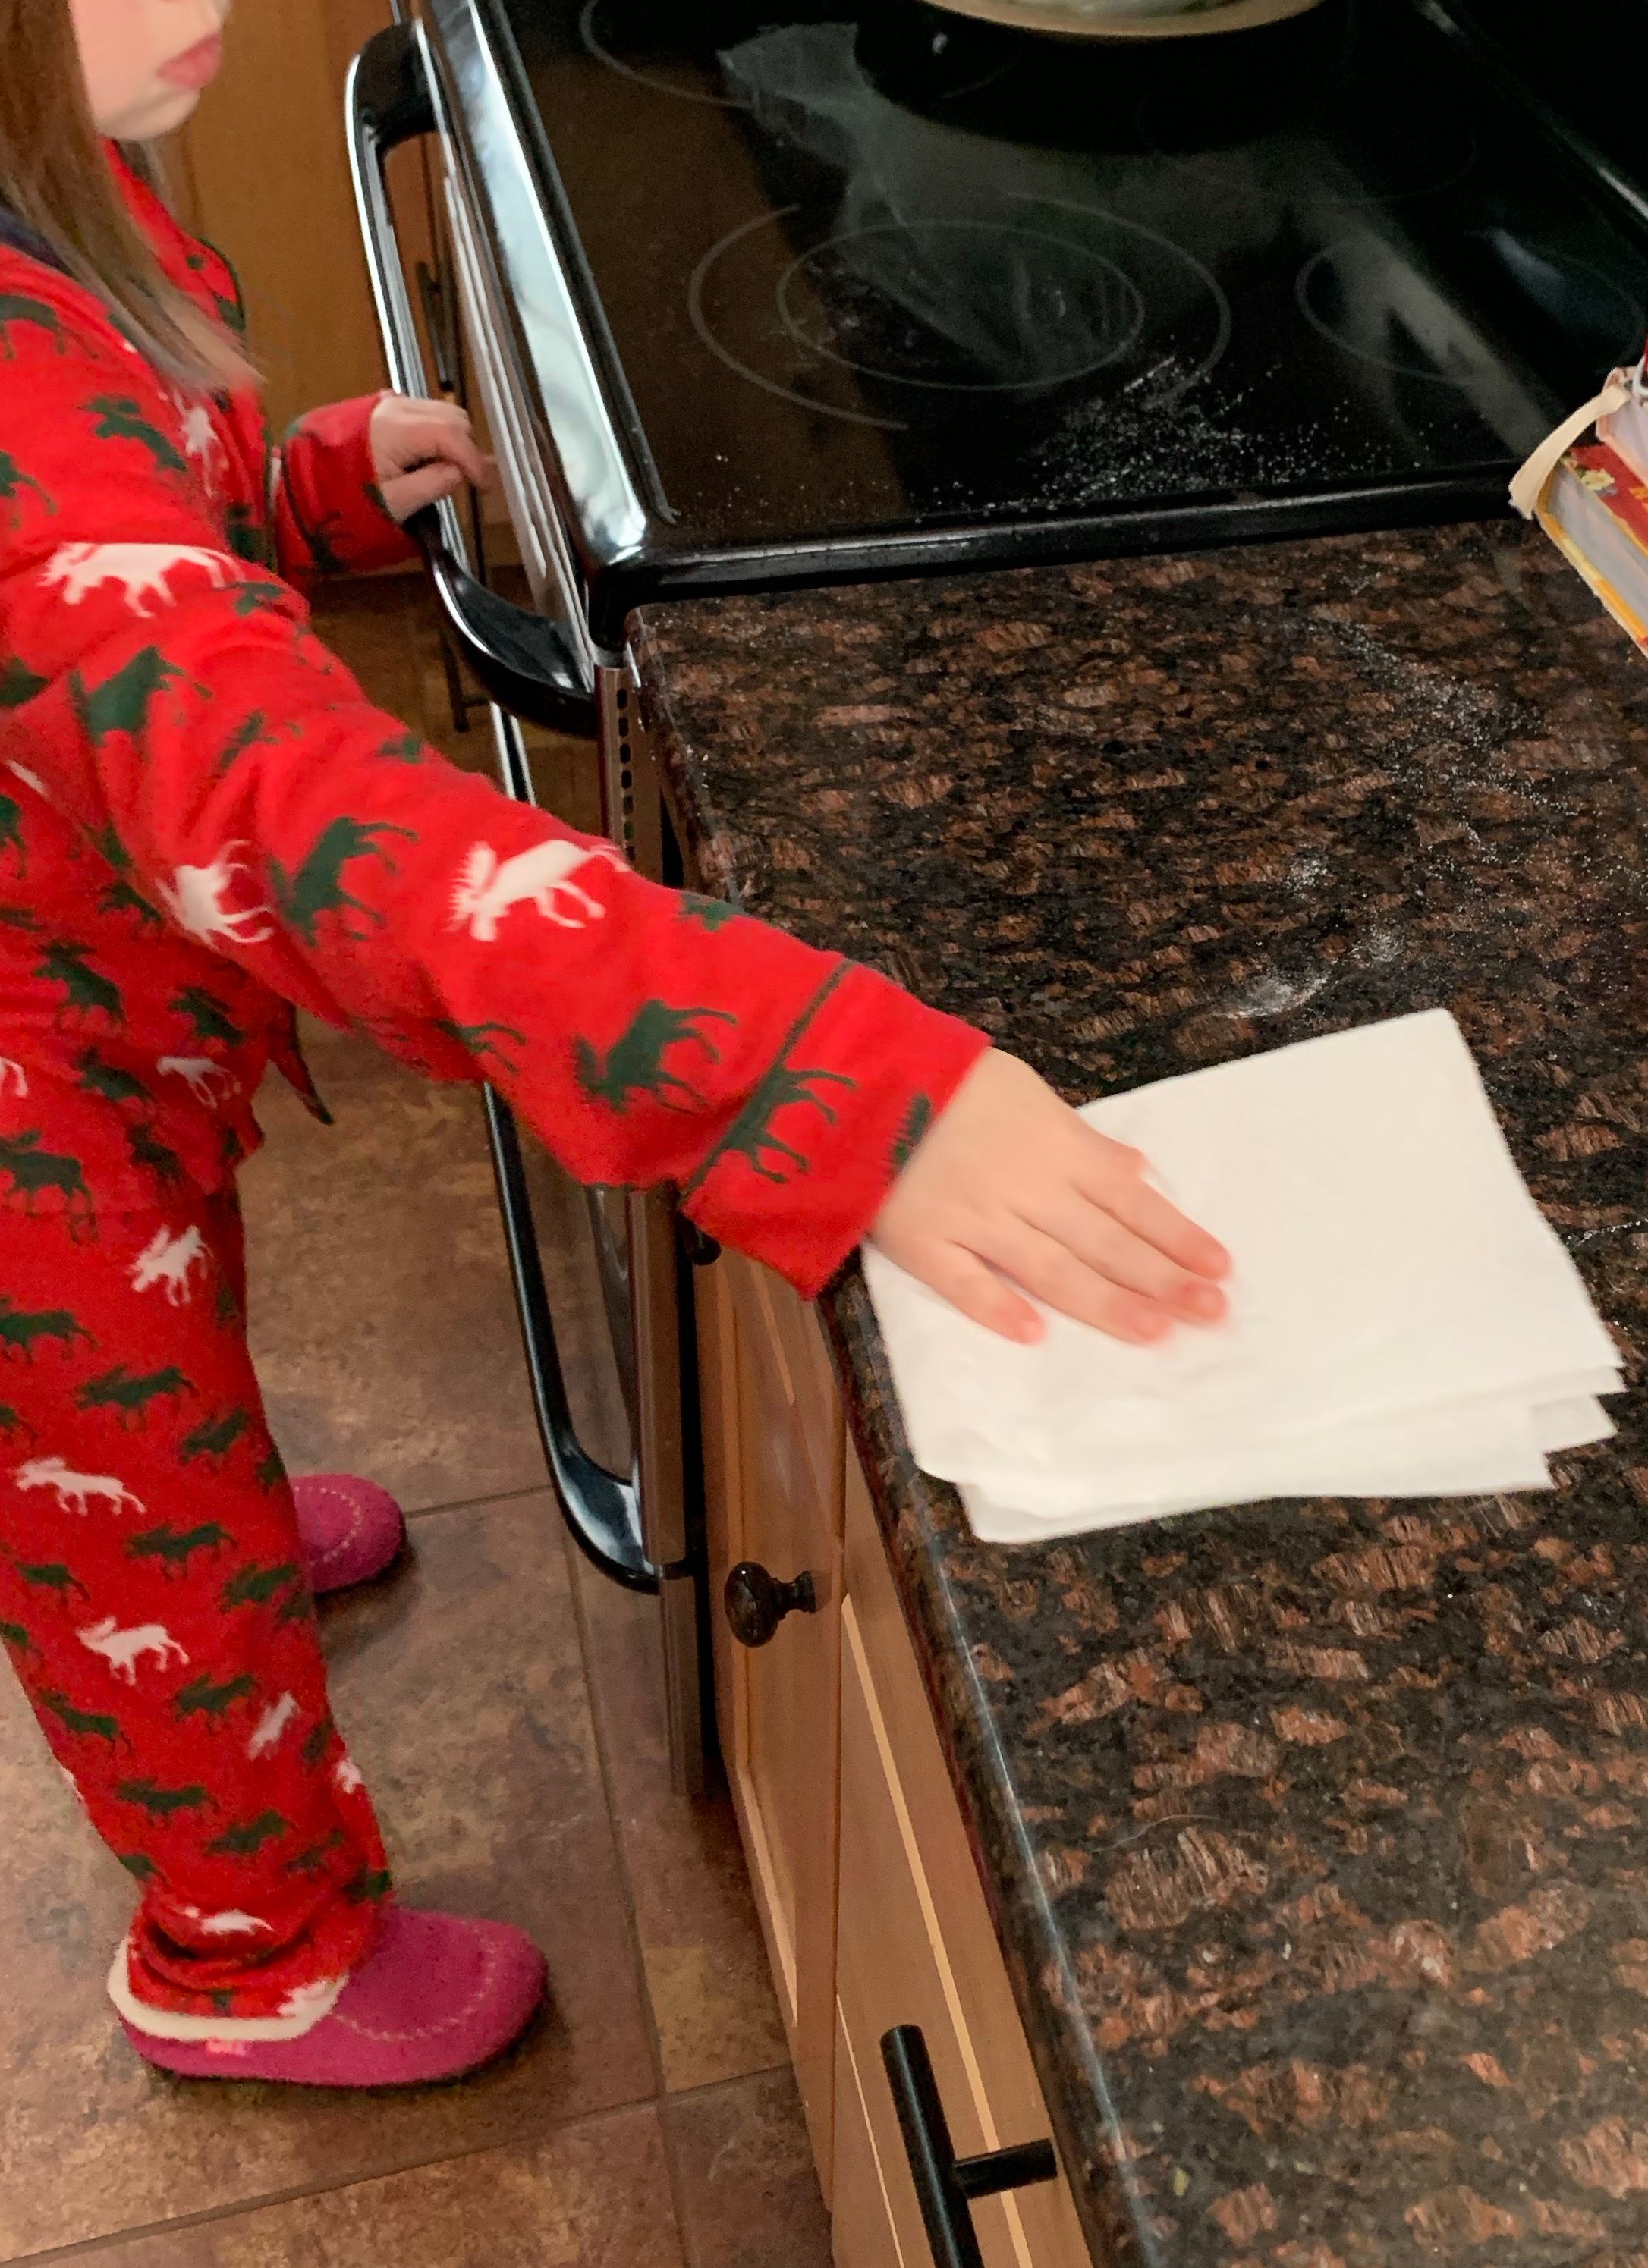
Once the kids had made the bars and put them in the fridge to chill it was time to clean up. Since they were the ones to bake, they needed to be the ones to clean up, no matter how much whining and complaining there was about it. (Ordinarily we all clean up together, but since they made it clear I was not involved in this baking process it only seemed fair that I not be involved in the cleaning process.) The bars are chilling in the fridge and will be cut into later for dessert! I’m sure they will be delicious.
Cleaning and pouting go hand in hand around here.
Check out our Facebook and Instagram pages to see how they are and pictures of the final product of this entirely kid made recipe!
Yes this is my daughter but it felt like the perfect representation of me planning something and then falling flat on my face.
Today I had this plan. Here in Vermont it’s a “snow day” (we were supposed to get a lot more snow then we actually did, SO disappointing!) so I had this idea in my head that we would jump into a super fun and involved bake…and then we went outside, and then the kids needed to shower, and then they wanted to play, and then and then and then! You get it. Anyway, by the time we got around to it they weren’t in the mood anymore. No biggie, it happens! I thought we would just wait a day or two and try again.
While the kids were playing together I thought I would quickly and quietly whip up a batch of muffins. I love to have muffins and other easy grab and go stuff laying around to throw in my bag for running errands or going on fun outside adventures. I don’t know about you, but the second we leave the house the first thing I hear is “I’M HUNGRY” being screamed at me from the back seat of the car. (I’m not going to lie, it can be pretty jarring. The little one is scary when she’s hungry!) Well, apparently I don’t do anything quickly or quietly because they somehow heard me getting ingredients and bowls out and decided to join. While this isn’t the bake I had planned for this post, it was fun none the less and one worth sharing!
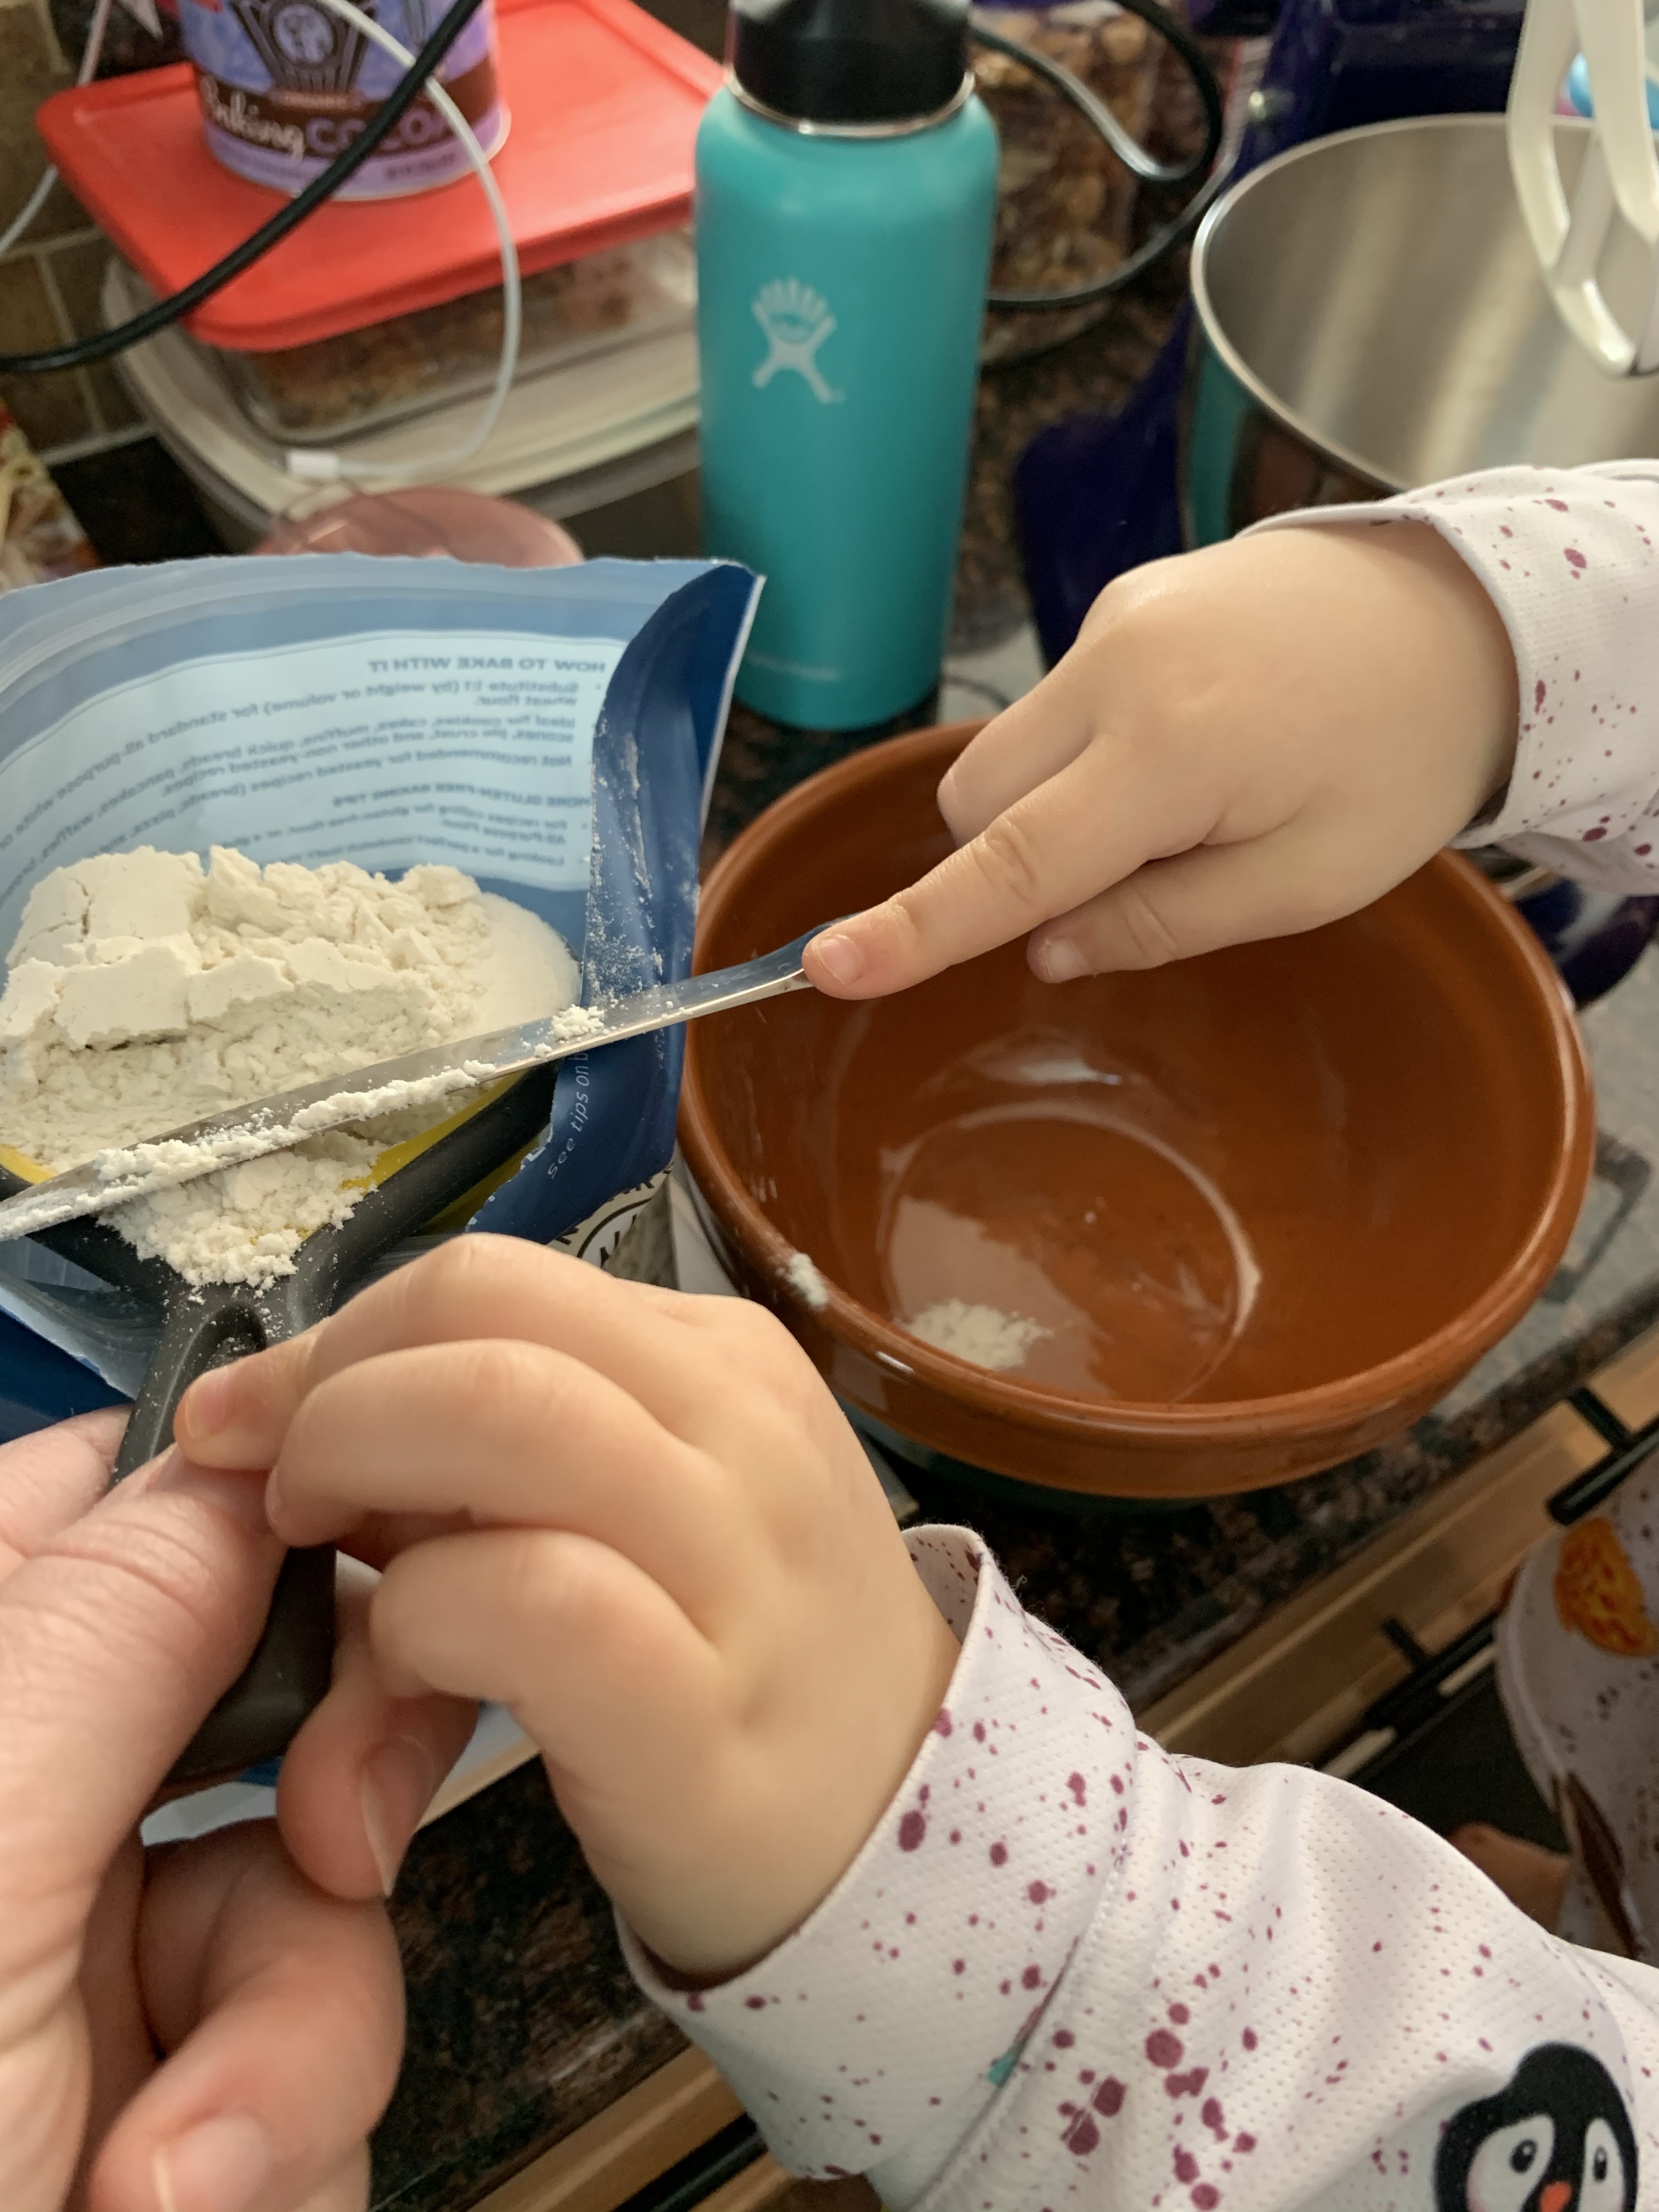
Check out the big kid measuring and then using the butter knife to even it out! See, we really do use these tricks I talk about!
We got this recipe from one of our favorite places, King Arthur Baking. Pre-pandemic we loved taking a day trip to visit the store and explore all of the amazing products that they have. It’s true that your baking can only be as good as the products you use, but more on that at a later date. Now we love to peruse the King Arthur website looking for new recipes to try. This is one that we had been checking out for a while and just hadn’t gotten around to. These beauties are called Chocolate Breakfast Muffins, and I don’t know about you but I’ve never been more thrilled with the name of a muffin. I mean chocolate, breakfast…what? It’s a dream come true! (Don’t worry, the link is posted at the end of my rambling)
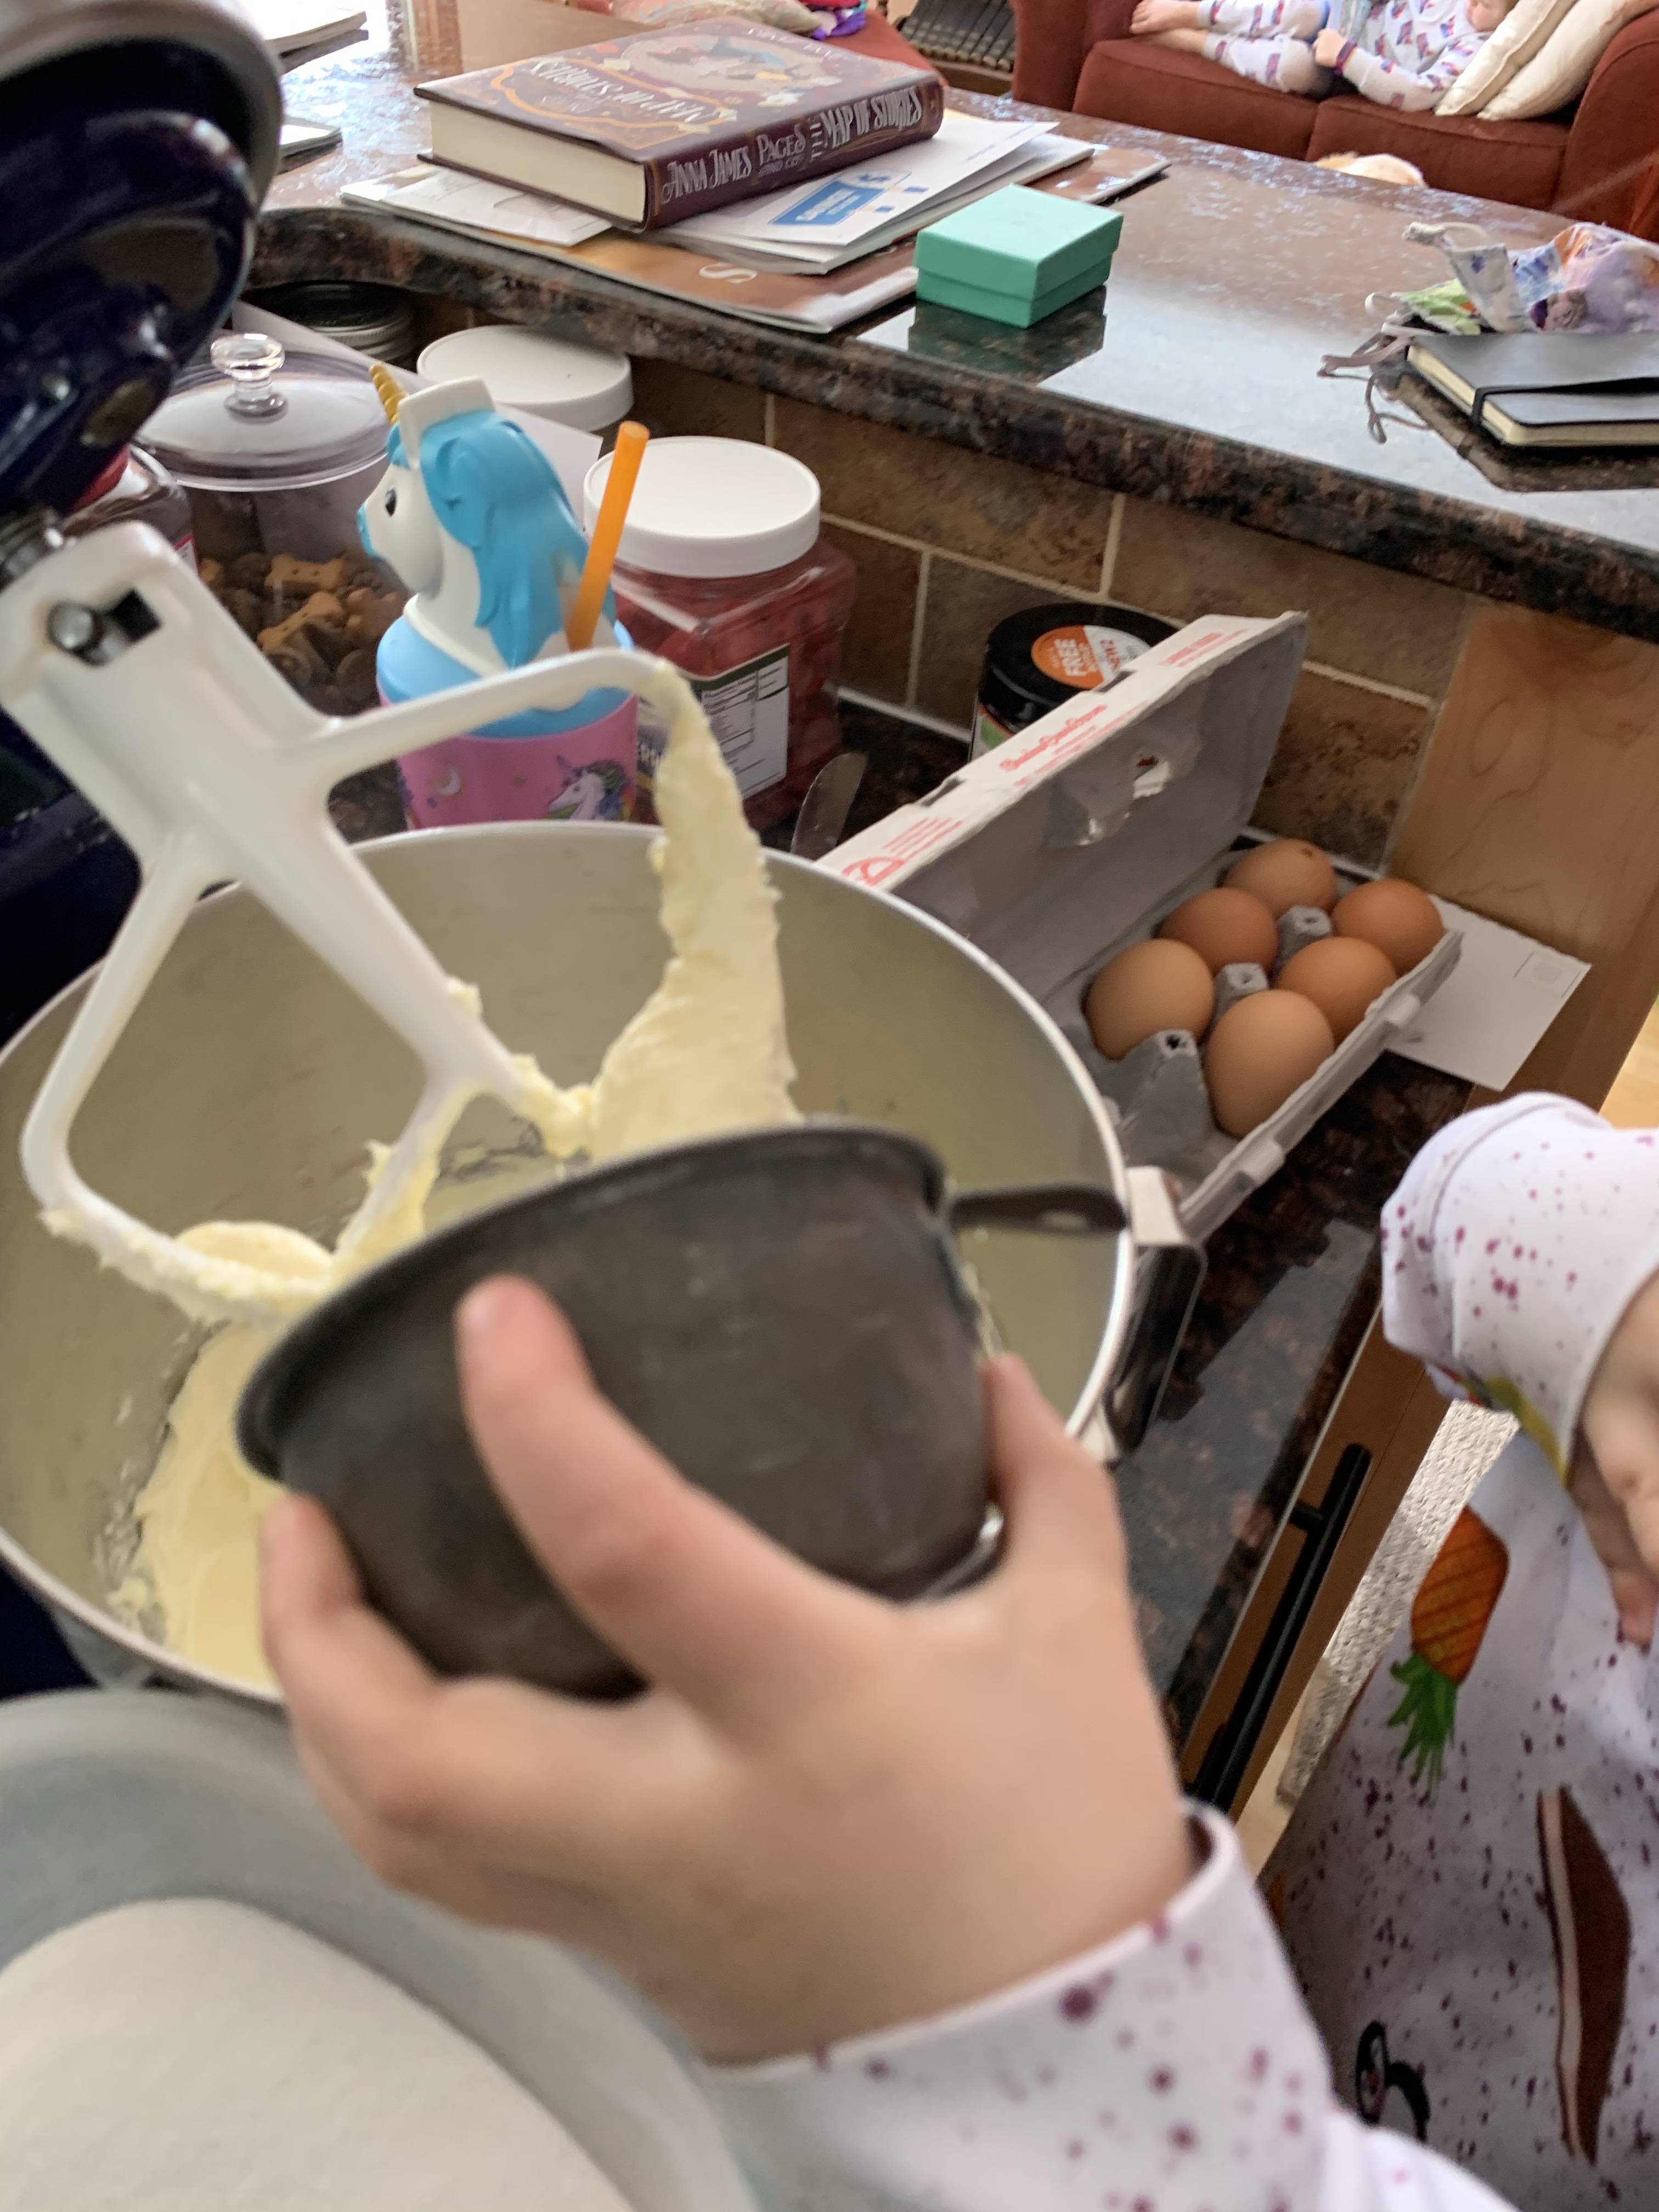
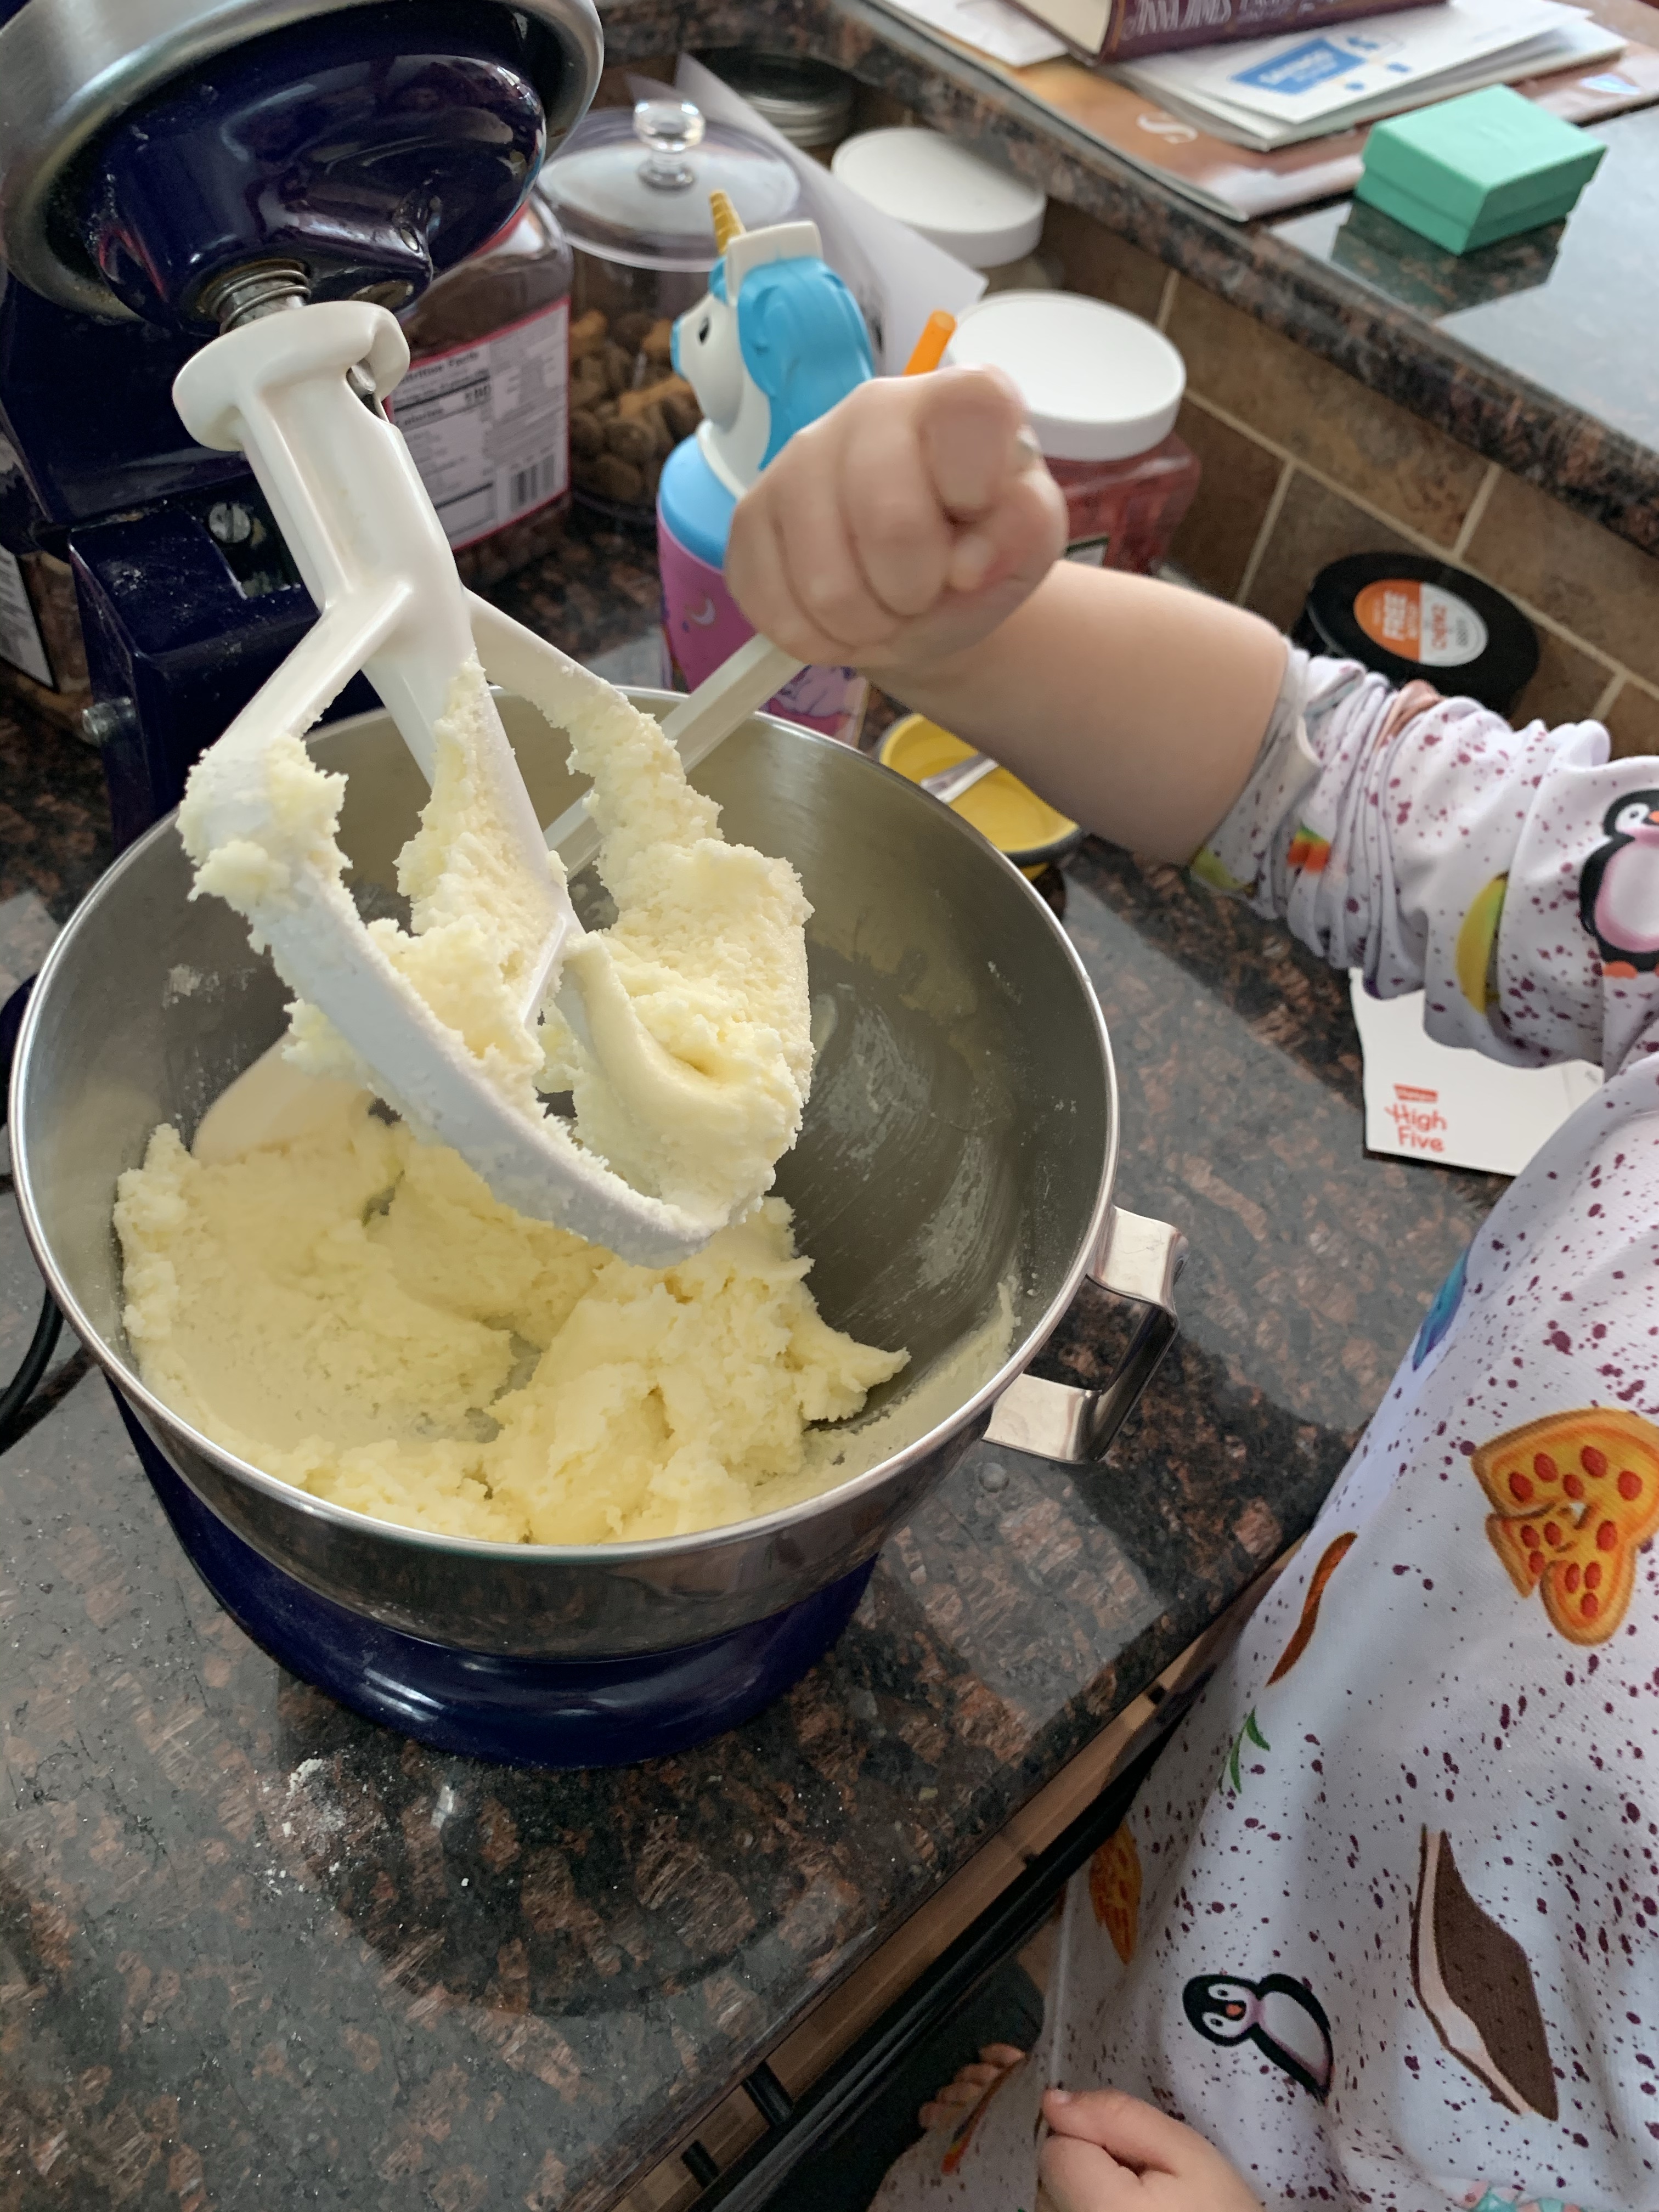
These were easy enough to whip up, truthfully the 8 year old is an experienced enough baker that she could probably do this buy herself, but wouldn’t that defeat the entire purpose of this? So onward! The kids measured and added all the ingredients to the appropriate bowls while I read the recipe for them. They stirred, I melted butter (neither kids can reach the microwave), they spilled, I spilled more, and we ended up with some big puffy chocolate muffins!
One tip that has worked wonders for us is for me to get out all of the ingredients and tools we will need BEFORE getting the kids involved. This saves me from running around the kitchen while we’re working and getting lost and adding too many ingredients (laugh if you must, but it’s happened more then once, I’ve been told I’m easily distracted). It also allows me to dedicate my focus to the kids and help them where they need it most, but let them take over where they are able. Anyway, I get it all out and put it on the counter and we talk through the recipe together.
If you could taste these through the screen you’d probably be much happier then having me tease you with this picture of chocolate breakfast muffin perfection. Sorry about that, go ahead and make your own now.
So, how did they turn out you ask? The muffins came out chocolatey and fluffy. Moist, with just the right sweetness, not too much for a breakfast muffin. I’m thinking with a little jam spread on these they might be the perfect companion to a cup of coffee tomorrow morning! The verdict in is and this recipe is a keeper. The only thing I would do differently is to double it next time to keep some in the freezer for chocolate breakfast muffin emergencies…that’s a thing now right?
Don’t forget to visit us on Instagram and Facebook! Some day we might even go live…
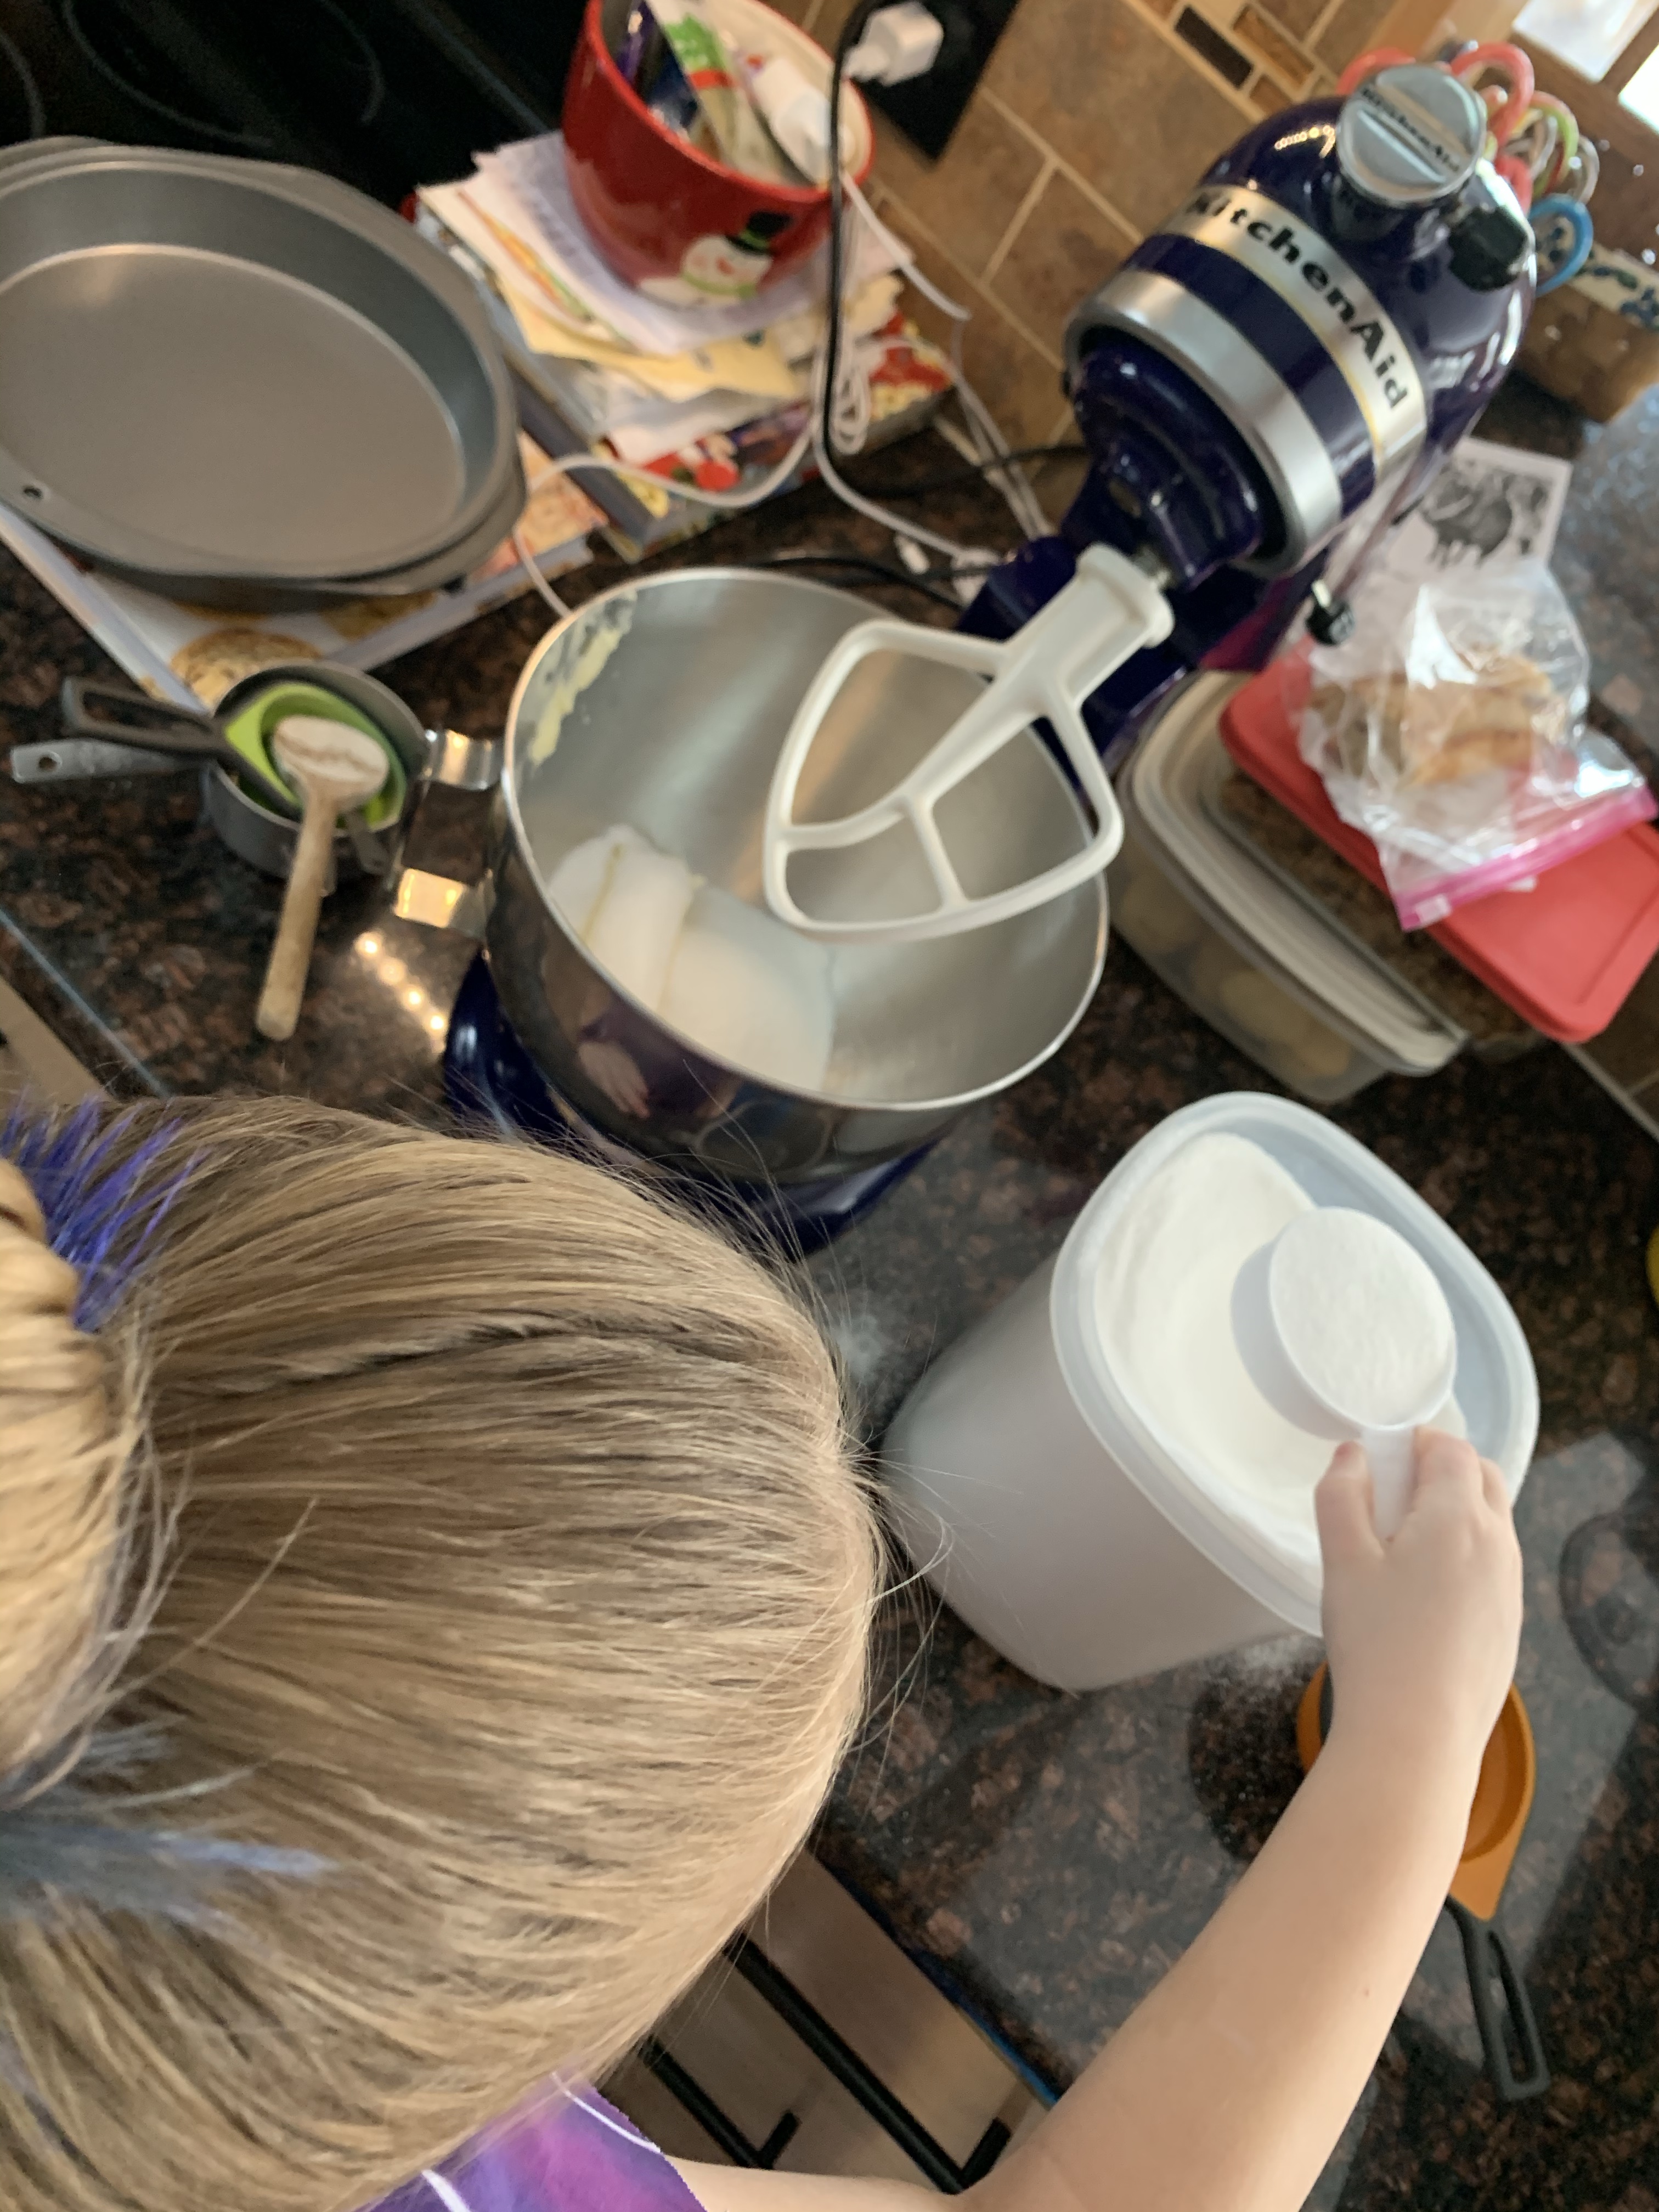
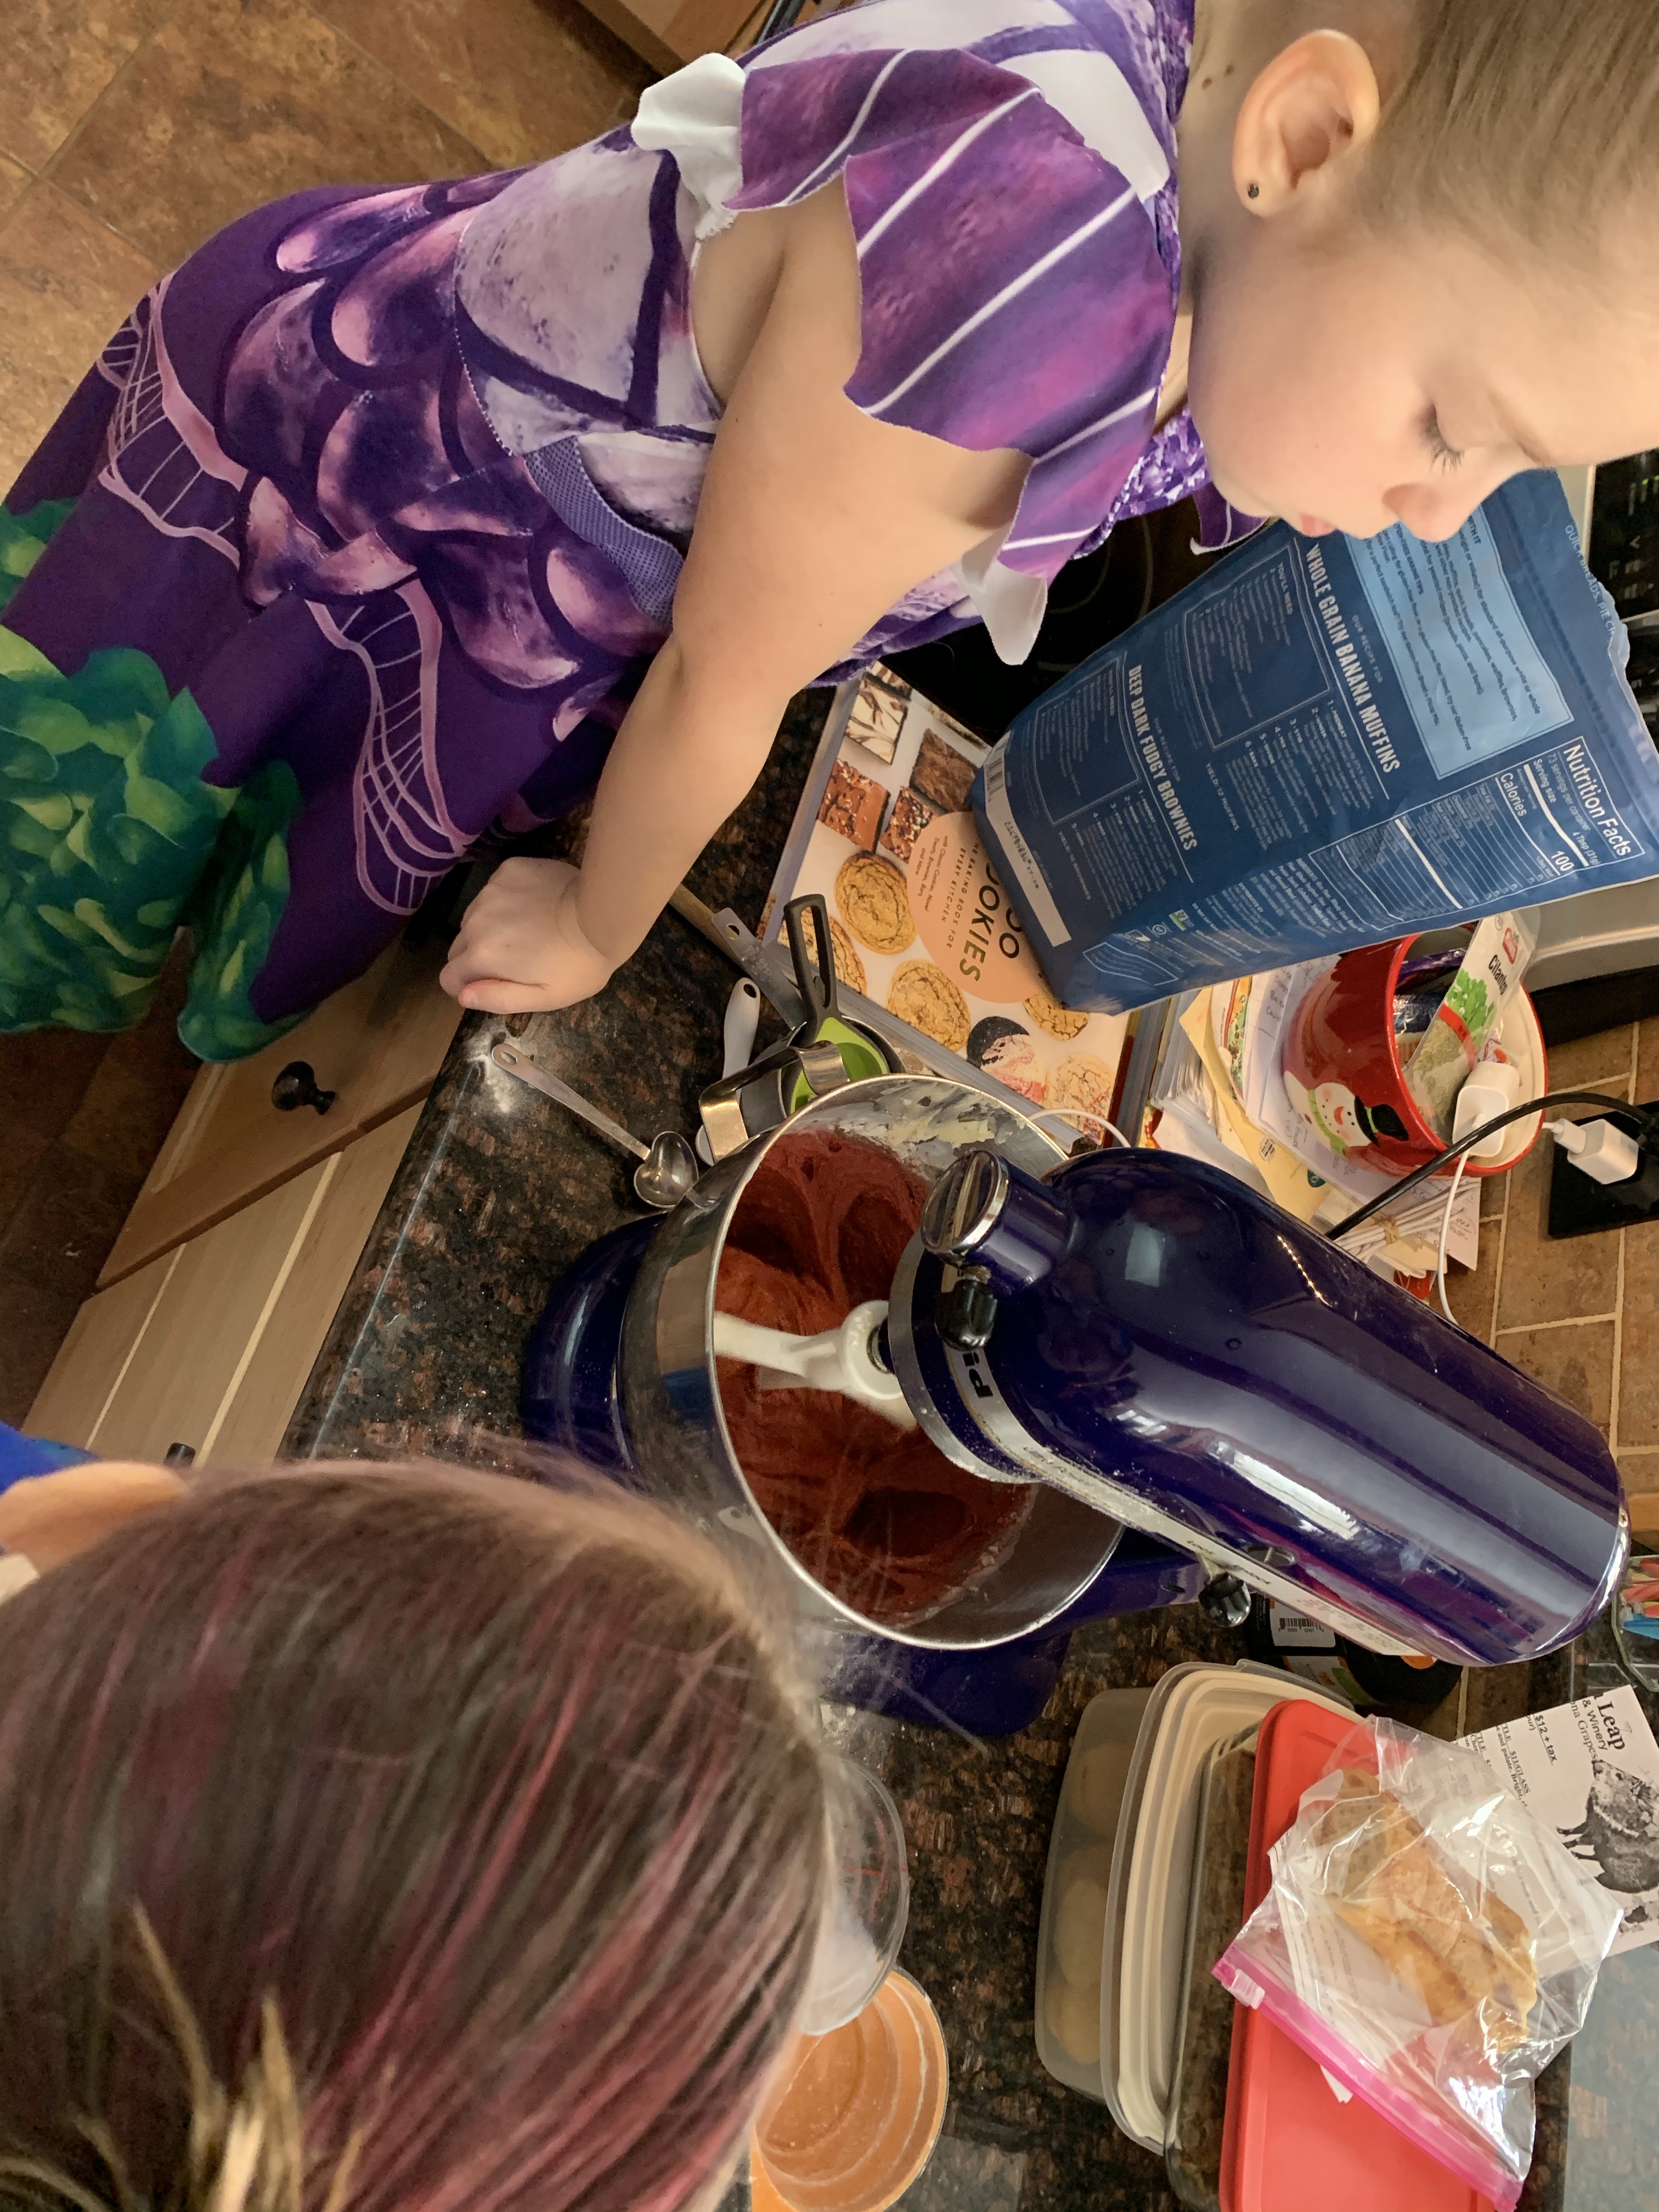
Our official first baking day for our 100 days of baking was a couple days ago. We were super eager to start once we got this idea into our heads and really wanted to make something special for Valentine’s Day. I was still working on setting up this lovely little site so I didn’t have the chance to post all of the excitement. Now I will!
After MUCH discussion (and I mean MUCH, these kids can talk and are about as good at making decisions as their mom…which is to say, not at all) we went with a classic red velvet cake and a new to us recipe for no churn ice cream.
Back in the early days of baking with the kids I would pretty much do everything and they were just observers. They would get bored, complain, and generally suck all of the fun out of it…until I realized that I was the one sucking the fun out of it for them. I was afraid they would miss-measure and the recipe would be ruined (spoiler alert, it happened once and the process of making it made up for the disaster at the end). I was afraid they would make a huge mess (this also happens, but I make a huge mess too, so in the end who cares?). I was just generally afraid of loosing control of what was happening, but I’ve found along the way that including the kids in every step of the recipe keeps them engaged and having fun, versus picking and choosing where I think they should be helping.
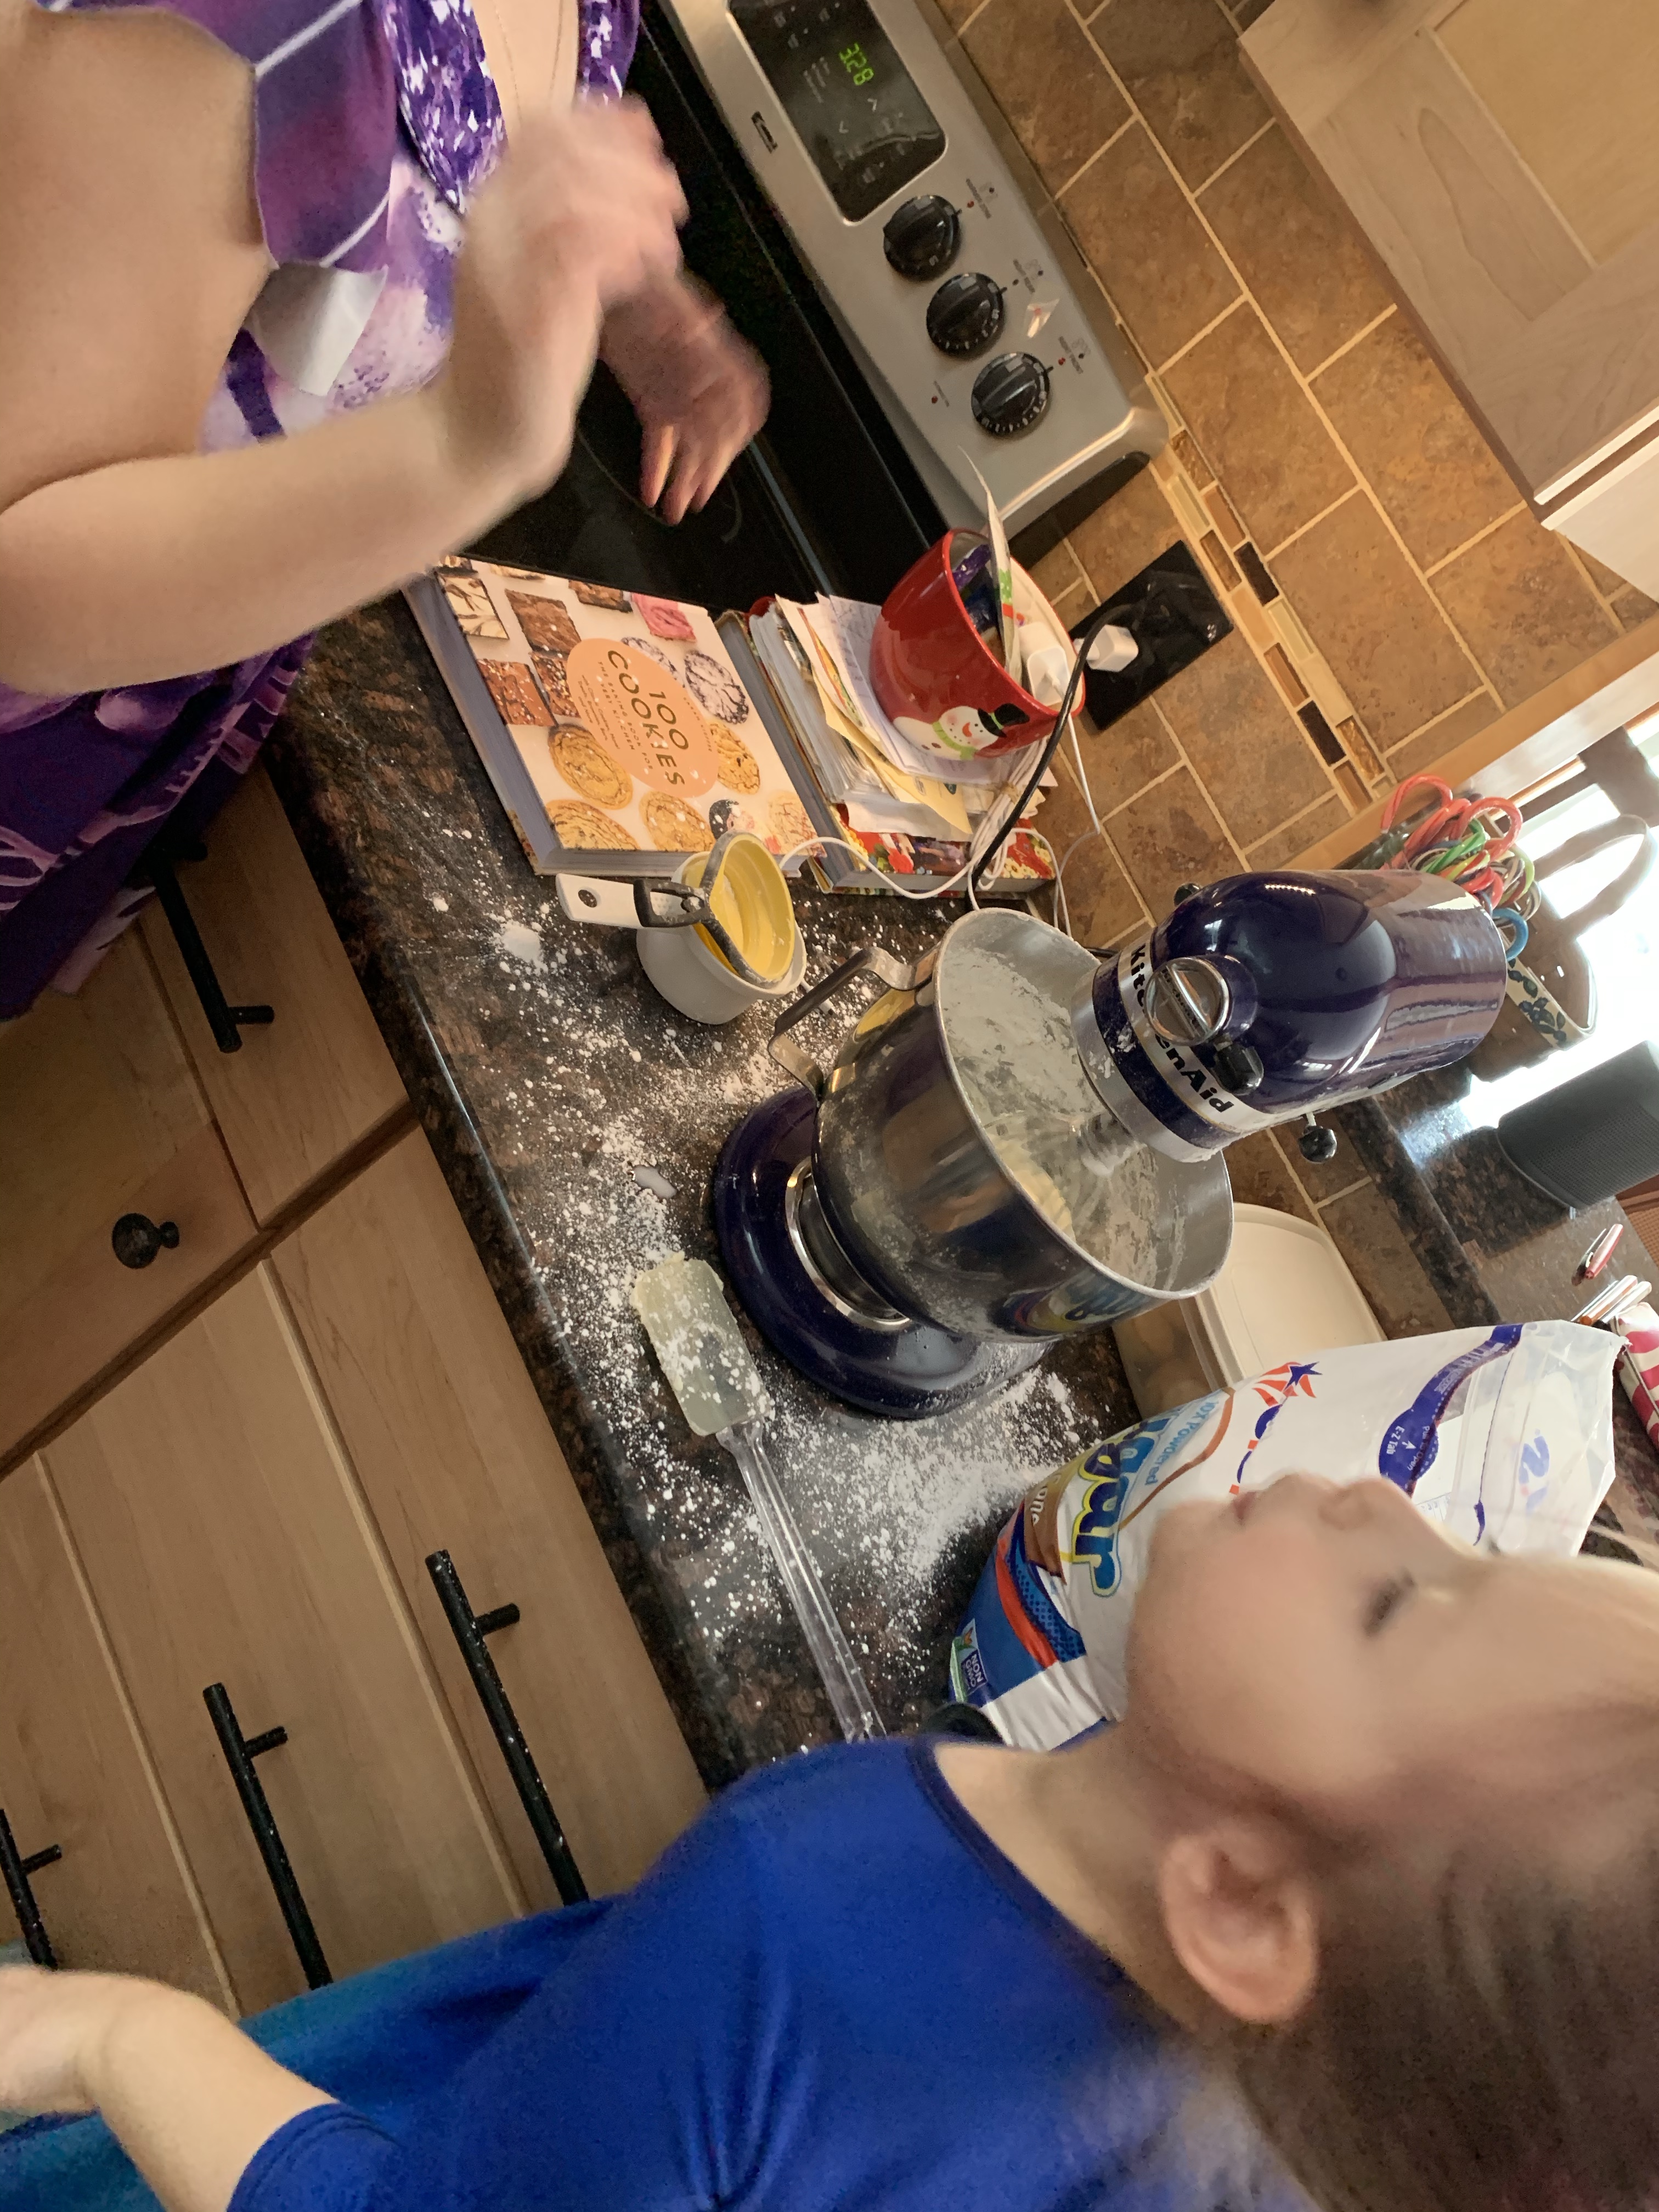
For this cake kids did the measuring. They’ve been working on accurate measurements scooping the dry ingredients and then using the back of a butter knife to level it off. If this isn’t a trick you use, you should. It will ensure a more even measure and a better finished product. The 8 year old loves to read the recipe and help when the 5 year old needs it. I’m there to help with questions and crack eggs (neither of them like to do it, but neither do I, so get to it kids!) and enjoy watching them work together.
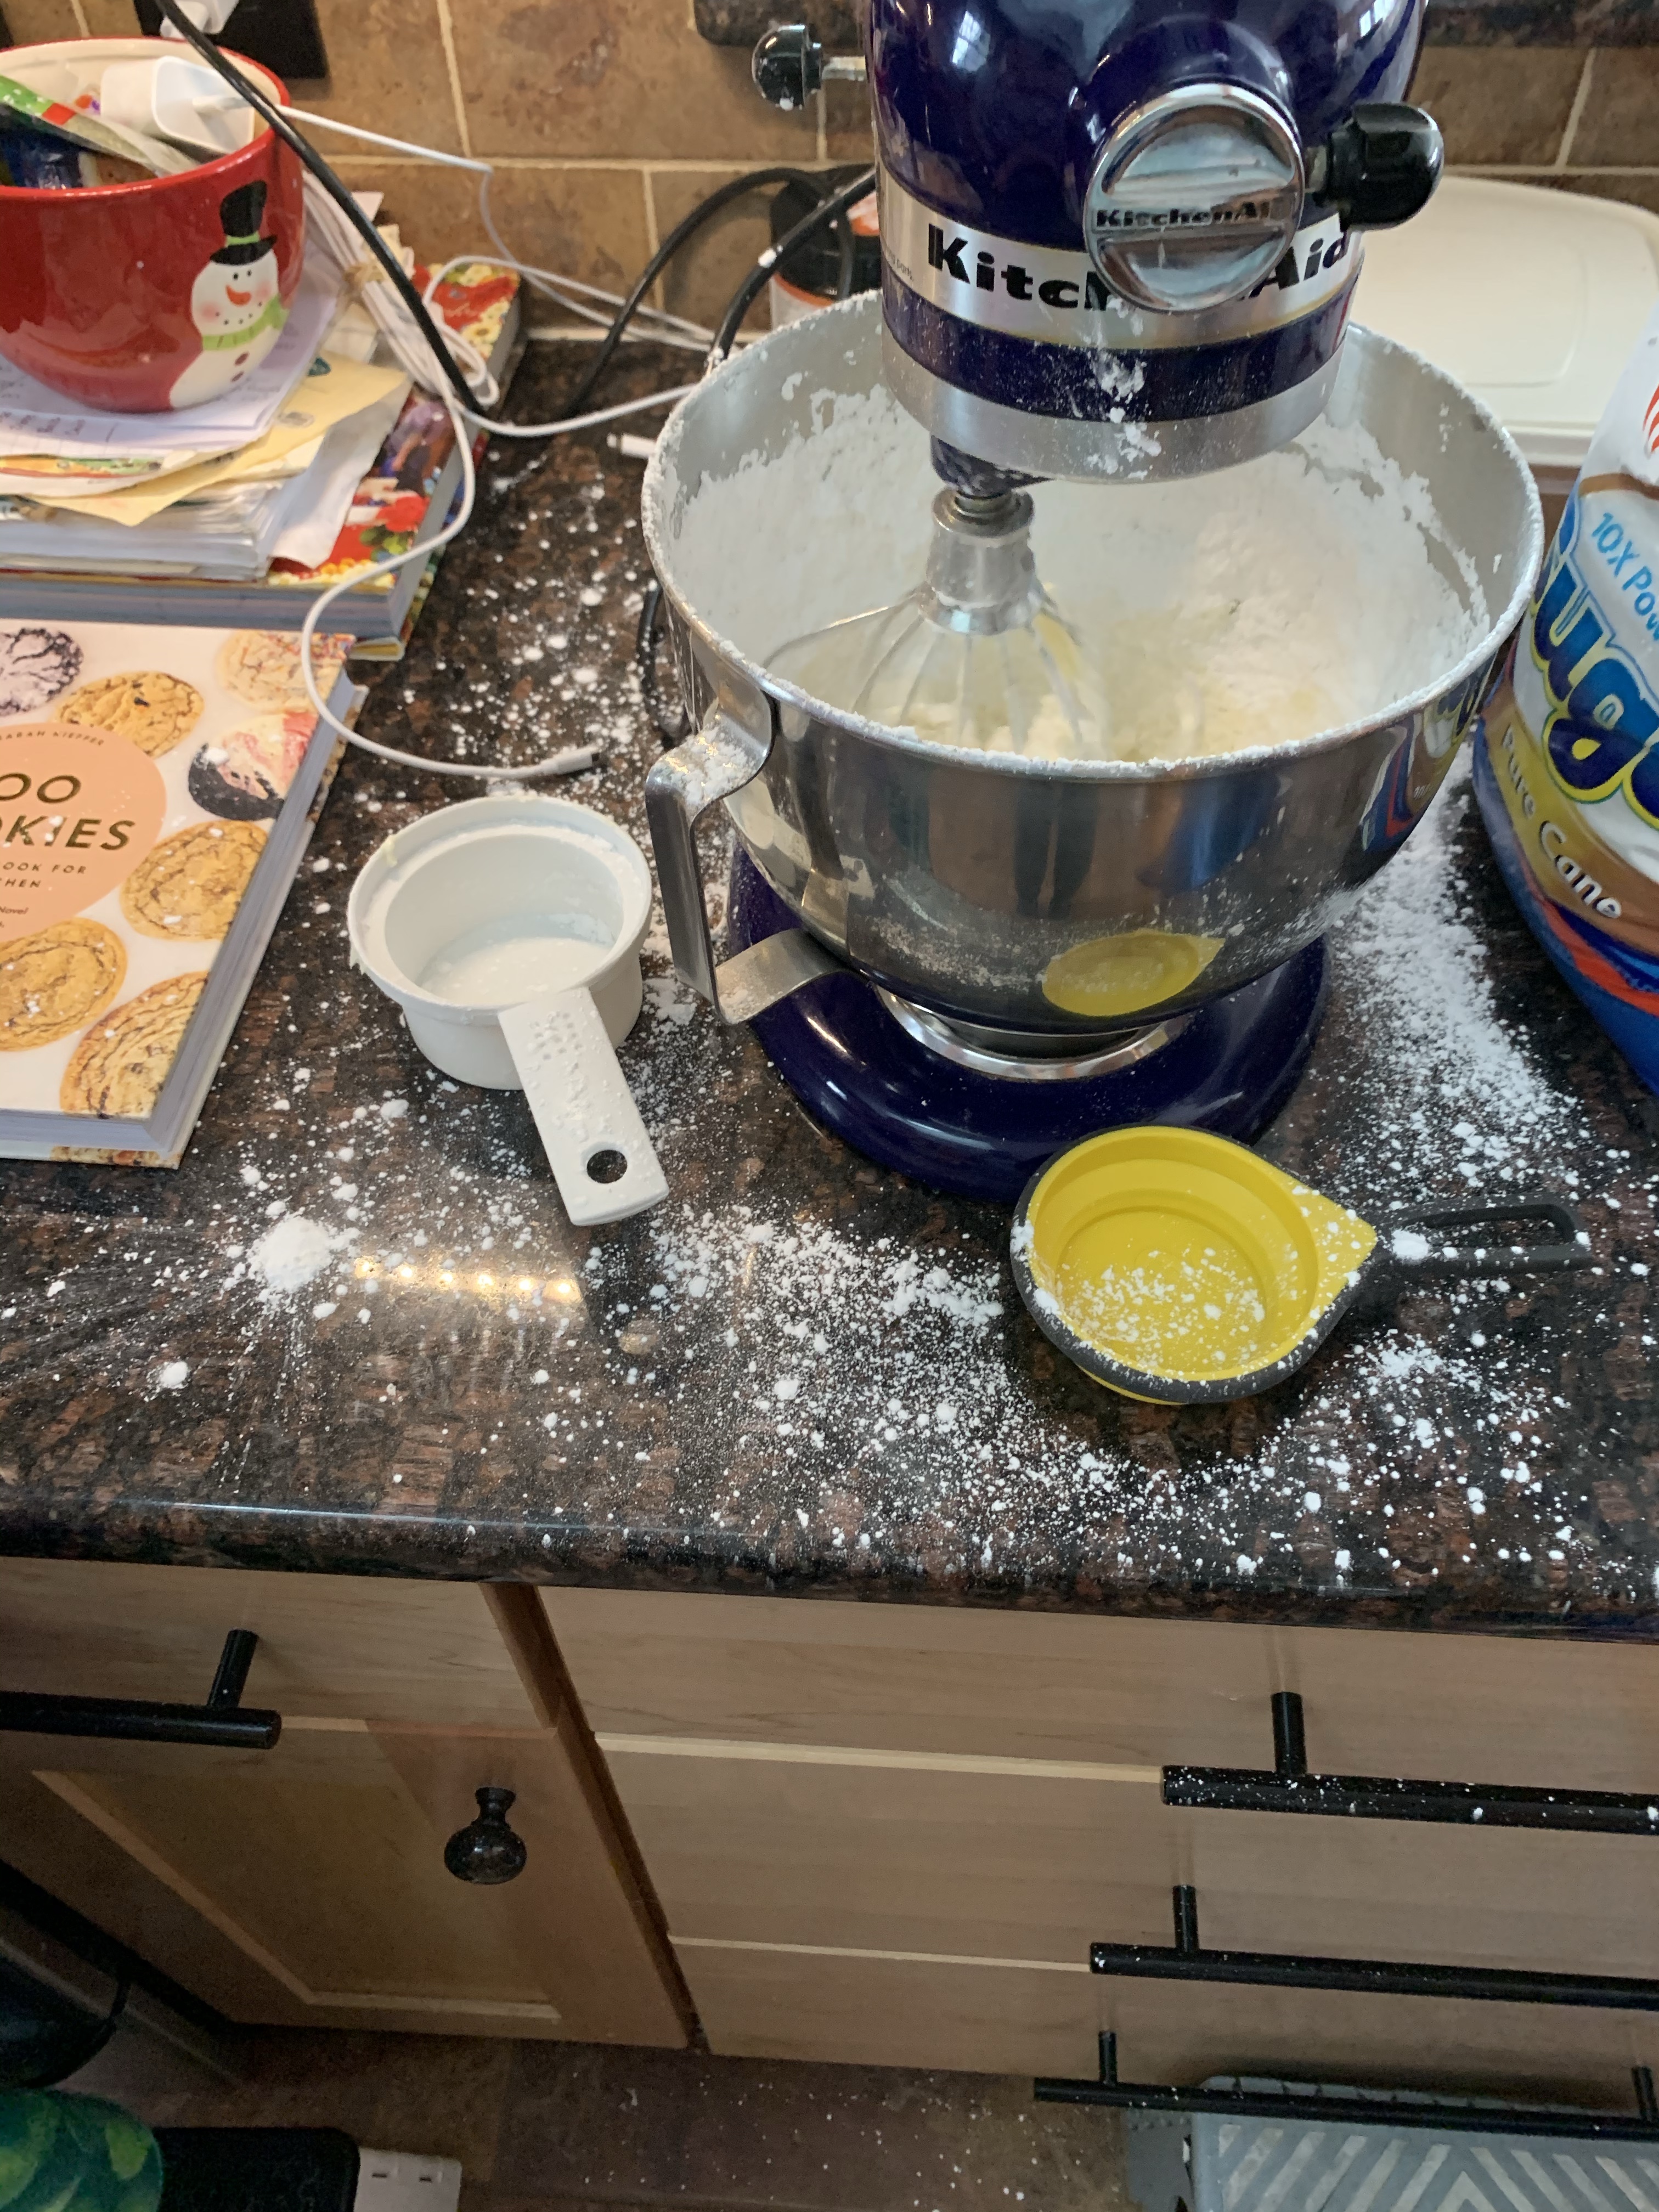
Once we finished the cake we needed to make the frosting. I know included in the recipe is a traditional buttercream but we decided to kick it up and make a cream cheese frosting for this beauty.
Making frosting is a messy business. We had an explosion of confectioners sugar, and so much fun. I should have recorded the giggling as the sugar went everywhere. Worth the mess!
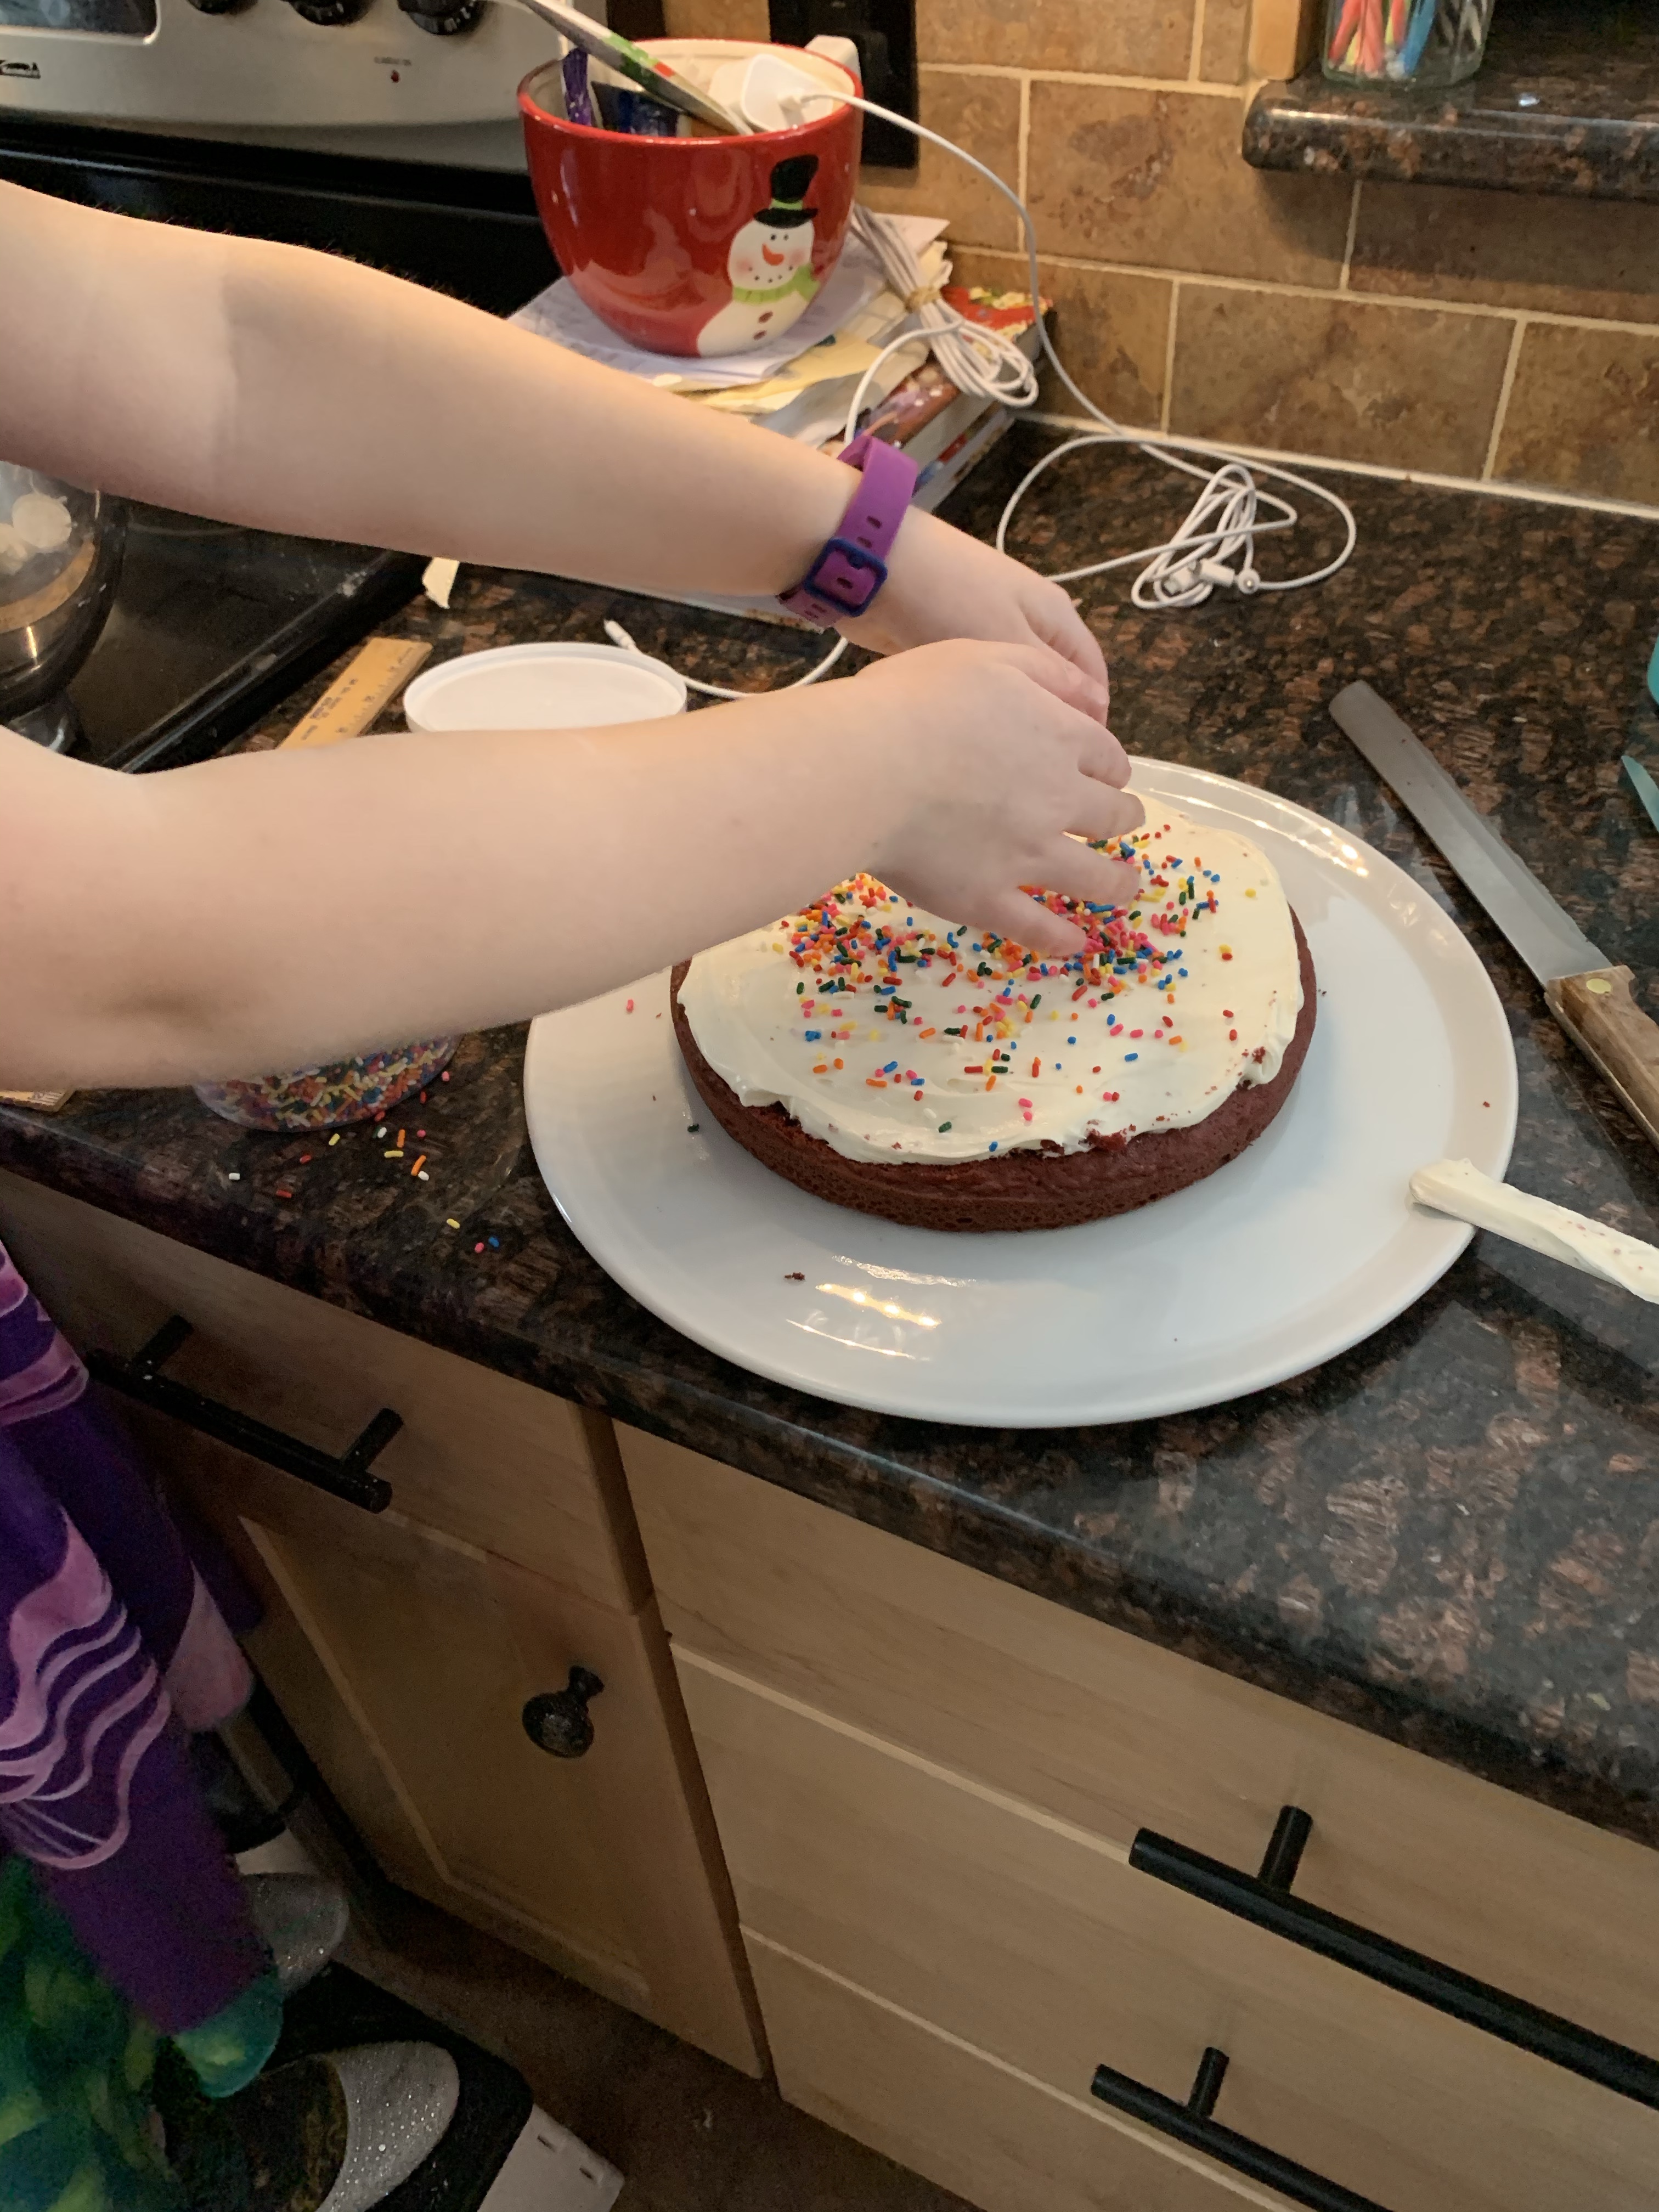
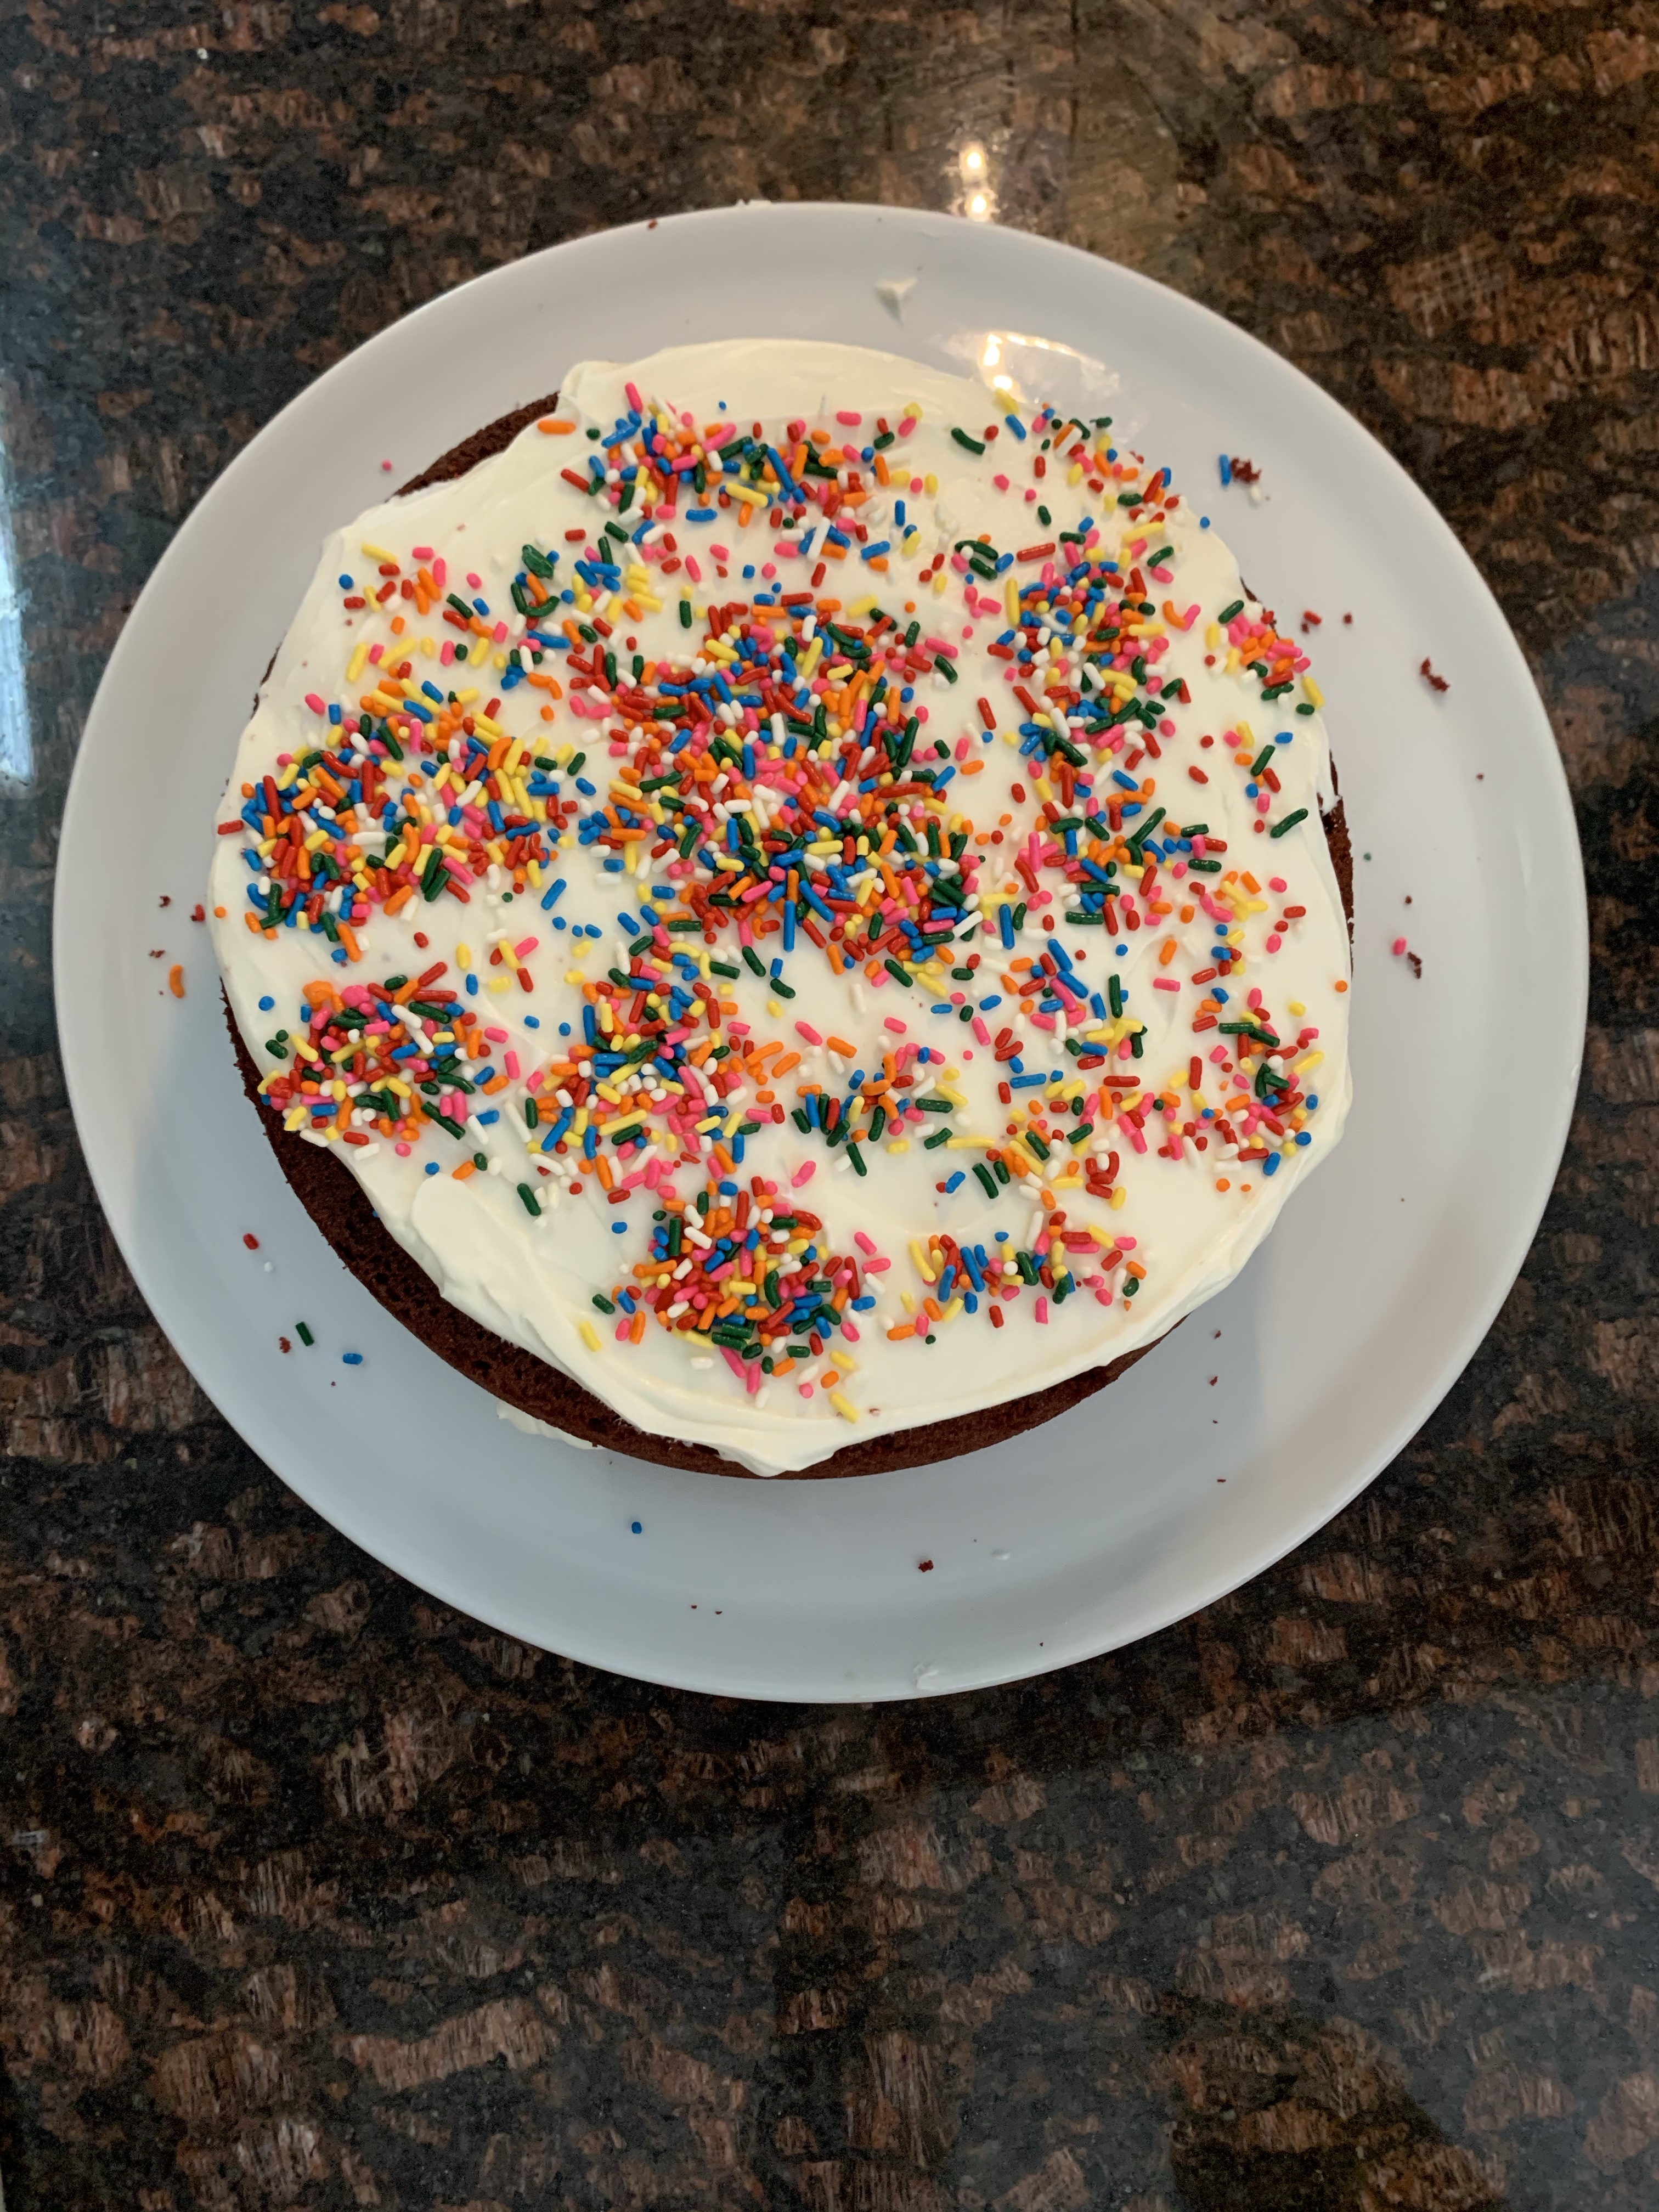
Building and decorating. They wanted a “naked cake” (I blame all the baking shows) and can you ever have too many sprinkles?
Once I leveled (this just means I cut off the top of the cake to make it more even and easier to stack for those of you shaking your head and thinking I’m constructing something far more difficult then I am) the cakes using a sharp knife the kids pretty much took over. They frosted (which was by no means perfect. So many cake crumbs got pulled into the middle layer as the overspread it and mushed it around…but guess what, you can’t even see that!), added the sprinkles (far more then I would’ve, but I wasn’t in charge), and stacked that beauty! In the end, while it wasn’t perfect, it was perfectly created by 2 kids who had a blast and weren’t fighting for over an hour! I’m calling it a win!
Want to see how our ice cream turned out? Visit our Facebook page! 100 days of baking with kids. You can also see the results after we dug in to these treats.
Follow along for more kitchen fun and feel free to share with your friends!
So for a while now I’ve been toying with the idea of starting this blog. With a bit of encouragement, a pandemic that has me spending ALL THE TIME with my kids, and a new cookie book purchase (link below) now seemed like the time.
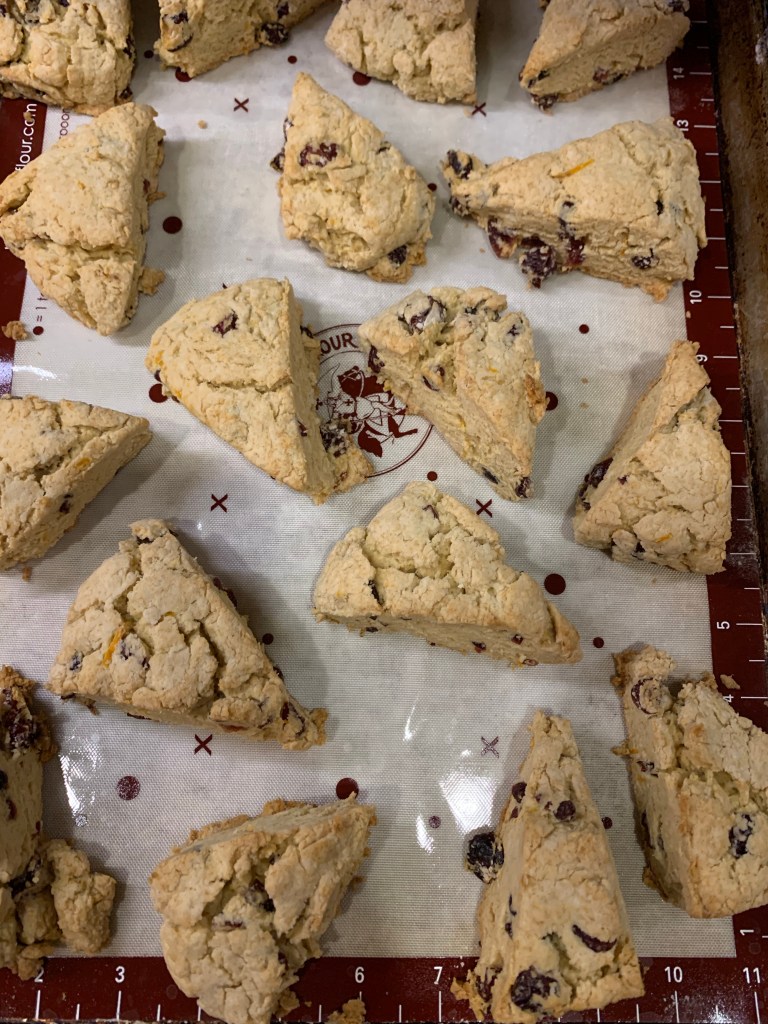
Cranberry walnut scones the girls and I made together this winter. Baking with kids isn’t always pretty, but if you roll with it, it’s fun!
My name is Timmel, I’m a mom to 2 amazing kids ( 8 year old and 5 year old ), and a wife among other things. I’m a preschool teacher by trade, but left teaching after the birth of our second child and have been home with the kids since. We are currently homeschooling (global pandemic) and that has led us to this…
I have enjoyed baking for most of my adult life, well, cooking in general, but baking with my kids has given it a whole knew meaning. I love to bake for the people I love, it’s a way for me to show them that I’m thinking about them. It seems that the kids have gotten that from me as not a special occasion, or even a Tuesday, passes without the mention of baking something for someone because something. My husband is a baseball coach and over the years the girls have experimented on his team, concocting new recipes and using new ideas in baking for the boys. It’s (almost) always a hit, but lets face it, teenage boys aren’t known for being picky! When the pandemic started we were all hunkered down and would occasionally find ourselves looking for something fun to watch together. One day we stumbled upon Kids Baking Championship on Food Network (if you haven’t seen it you should, its wonderful) and quickly worked our way through all of the seasons. This lead to new ideas, new things to try, new messes to make. It also lead to us finding and watching every baking show we could find together and wanting to try ALL THE THINGS! We ordered our groceries and got to work making new things. Some were a fail, some were amazing, some were in between, but one thing always remained; baking with the kids was one of the most enjoyable things to do!
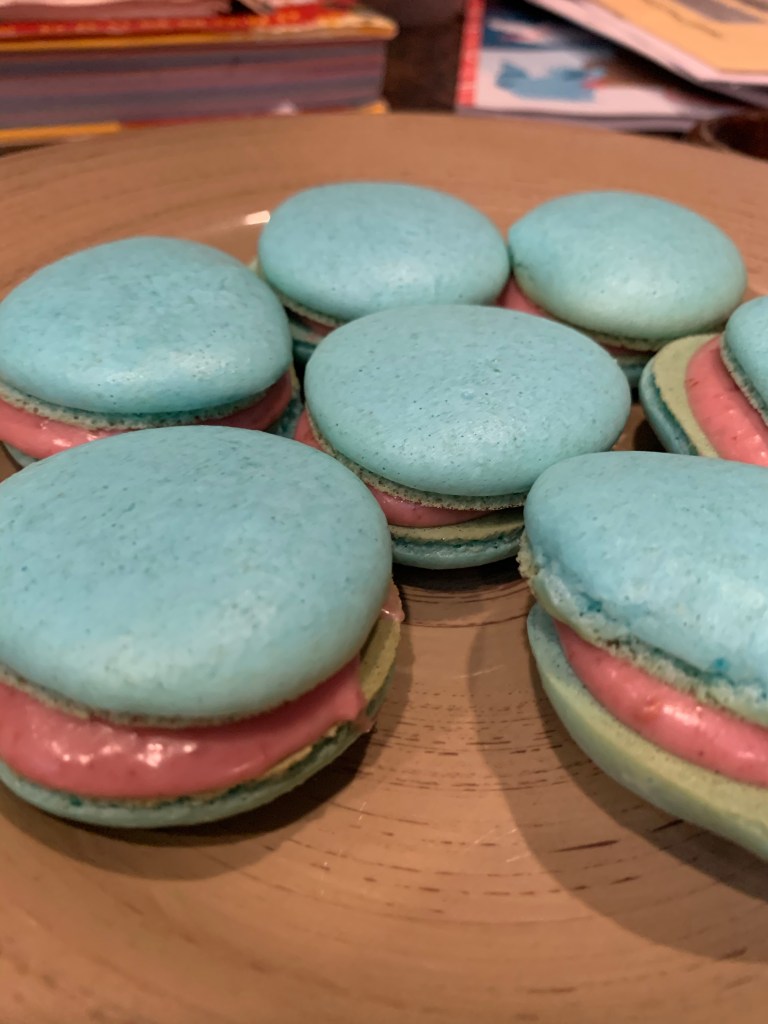
We’ve been working on French Macrons since the pandemic began, this is our best batch so far!
So, now we’re here. I have so many friends who are always amazed at what the kids and I make together. They ask how I do it, say they’re worried about having their kids help in the kitchen for this reason or that, that they don’t know how to get them started, or they don’t know what to make. I say, join us! Come along on our baking adventures, see what we make, see how we do it, then try it and make it your own. We’re setting out to bake for 100 days together! No, we will not be baking for 100 consecutive days, honestly, who has time for that? We will share our recipes, we will post pictures of the good, the bad, and the disastrous. We will share what has worked for us, and maybe it will work for you too. Baking with the kids has given me so much joy, maybe it can help you find some more joy with your family as well.
You can find us on Facebook at 100 days of baking with kids and on Instagram @100daysofbakingwithkids. Check us out, see what were doing, and see what inspires you!