It’s been so nice out lately that I’ve ended up doing a bunch of baking alone while the kids play outside. It’s ok with me, I want to make sure we have enough grab and go food for the week, and the kids want to play in the sunshine as much as possible, but it’s pretty boring to write about me. Well, after about 5 days of playing outside from breakfast to dinner the little finally asked if we could do some baking! She got 100 Cookies by Sarah Kieffer (do I need to remind you how important it is that you purchase this book? SUPER IMPORTANT! It’s amazing and loads of fun.) and found the recipe she wanted to make.
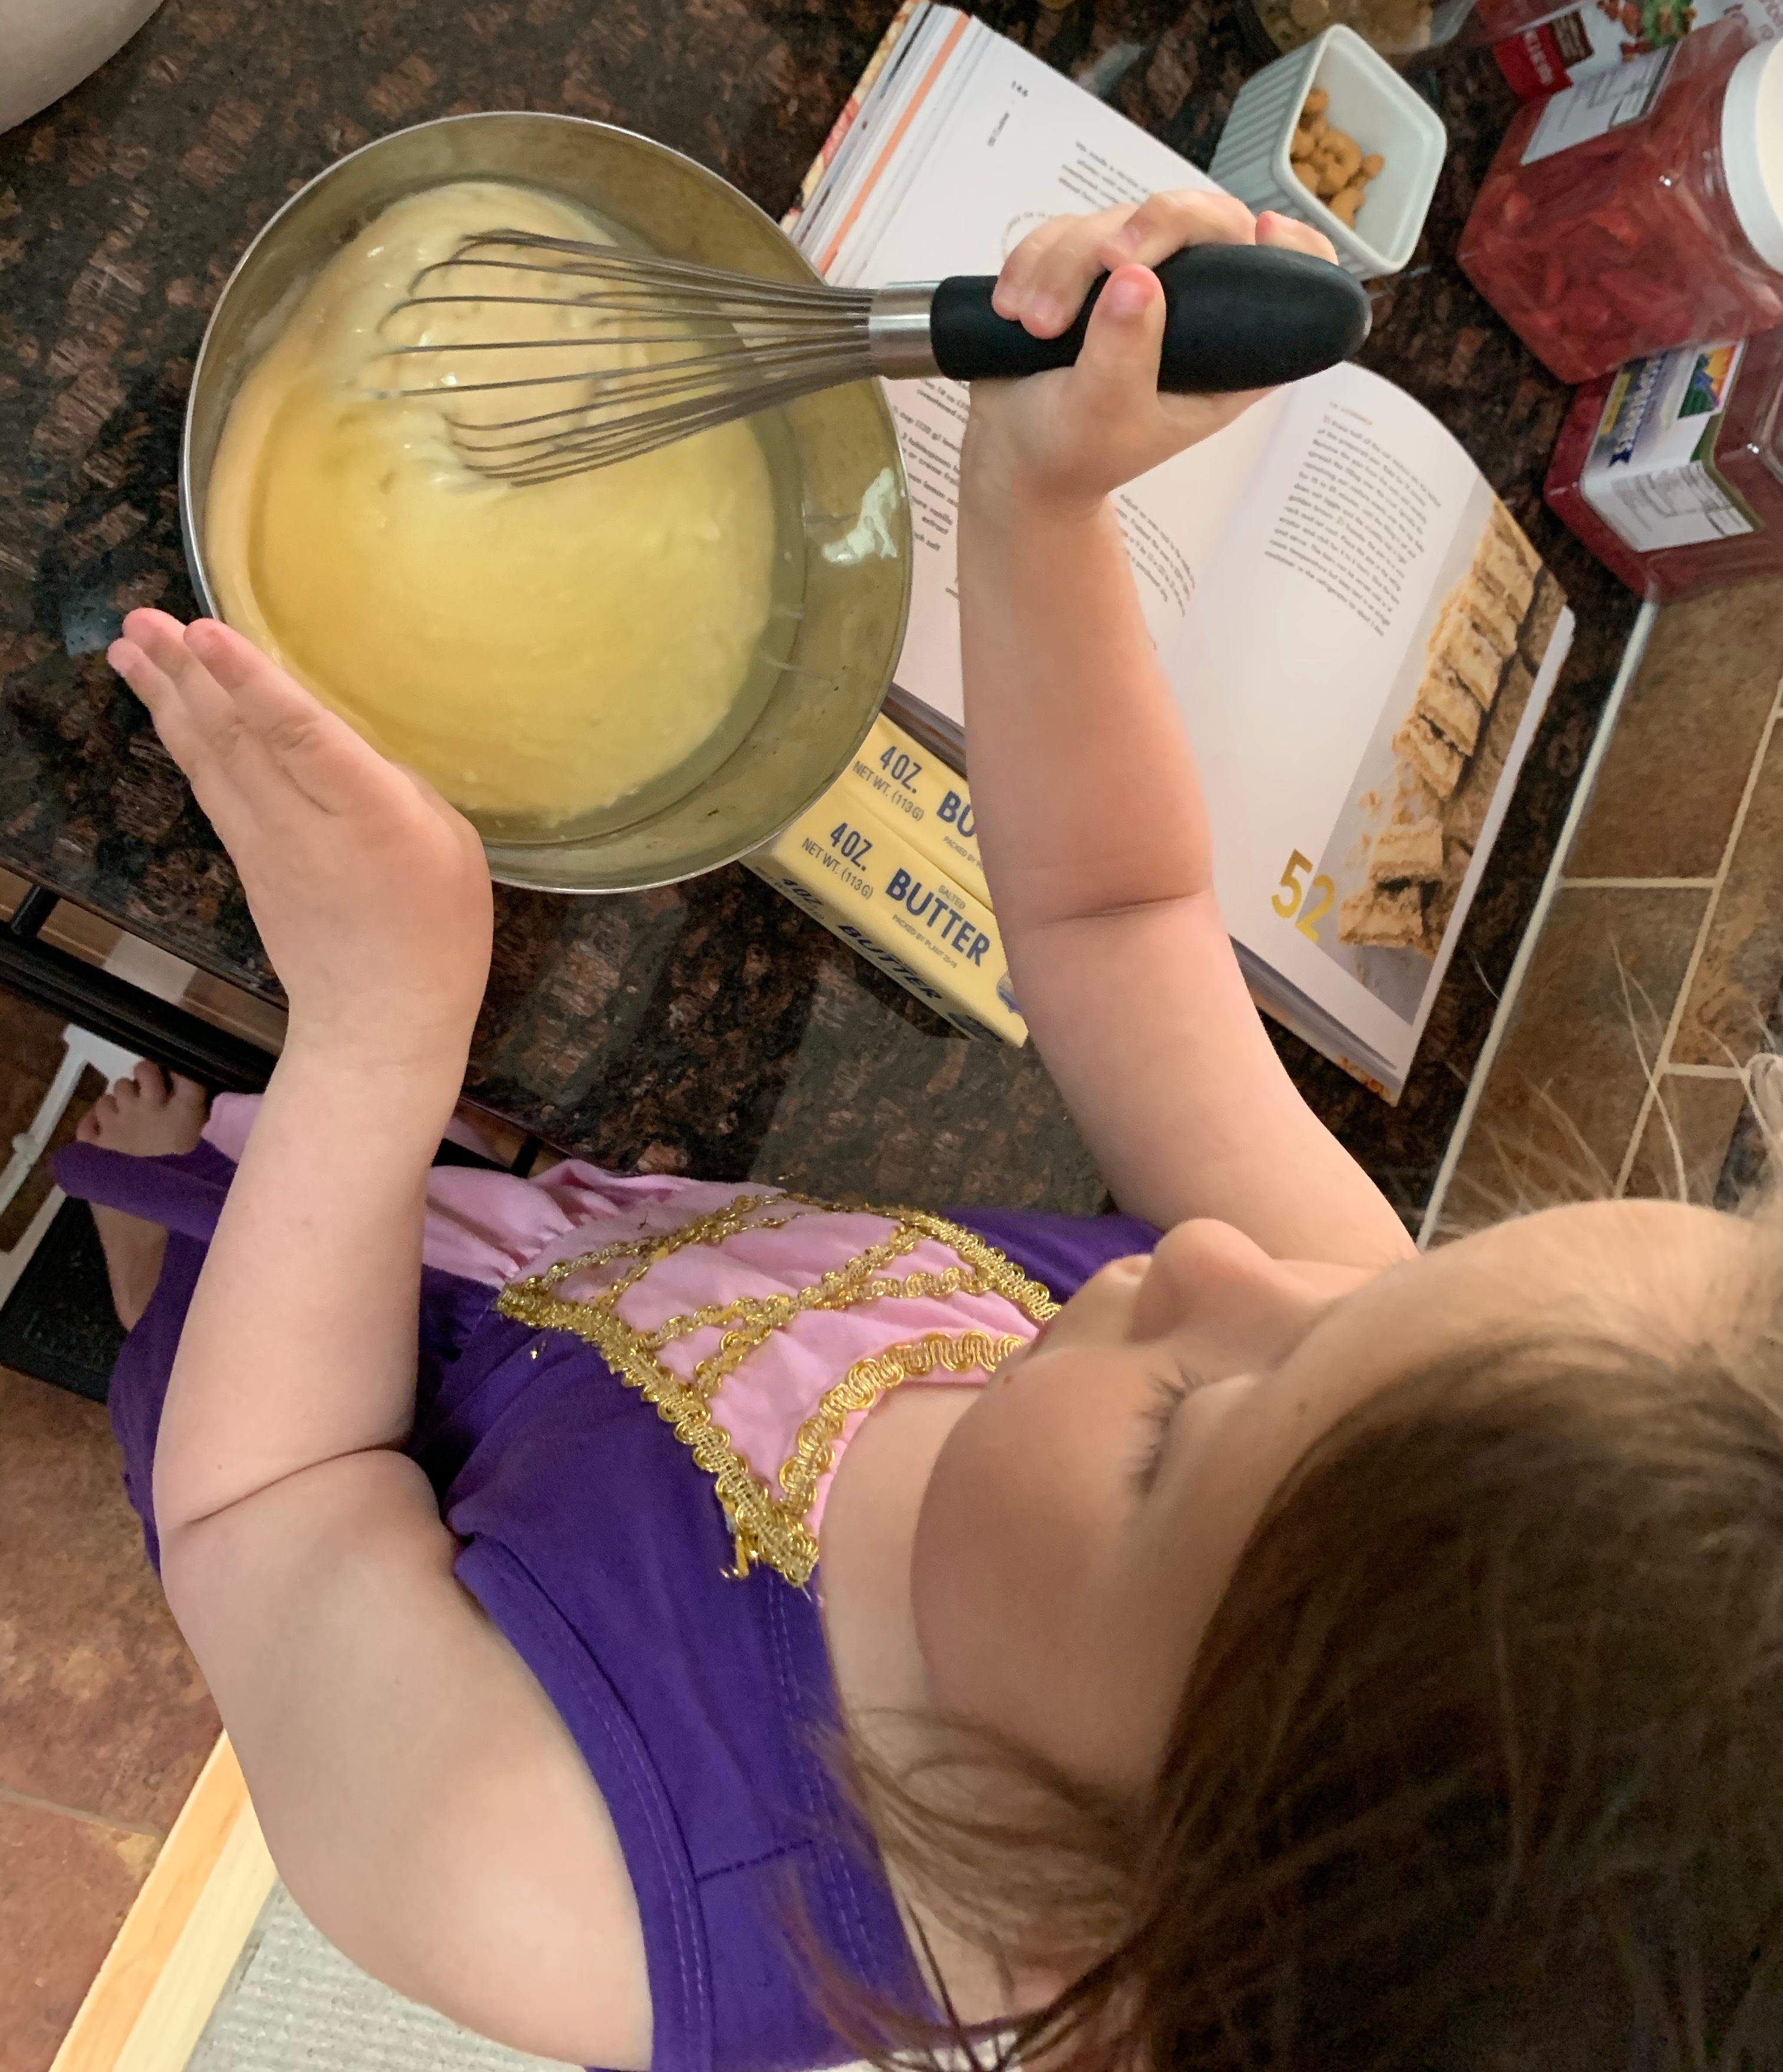
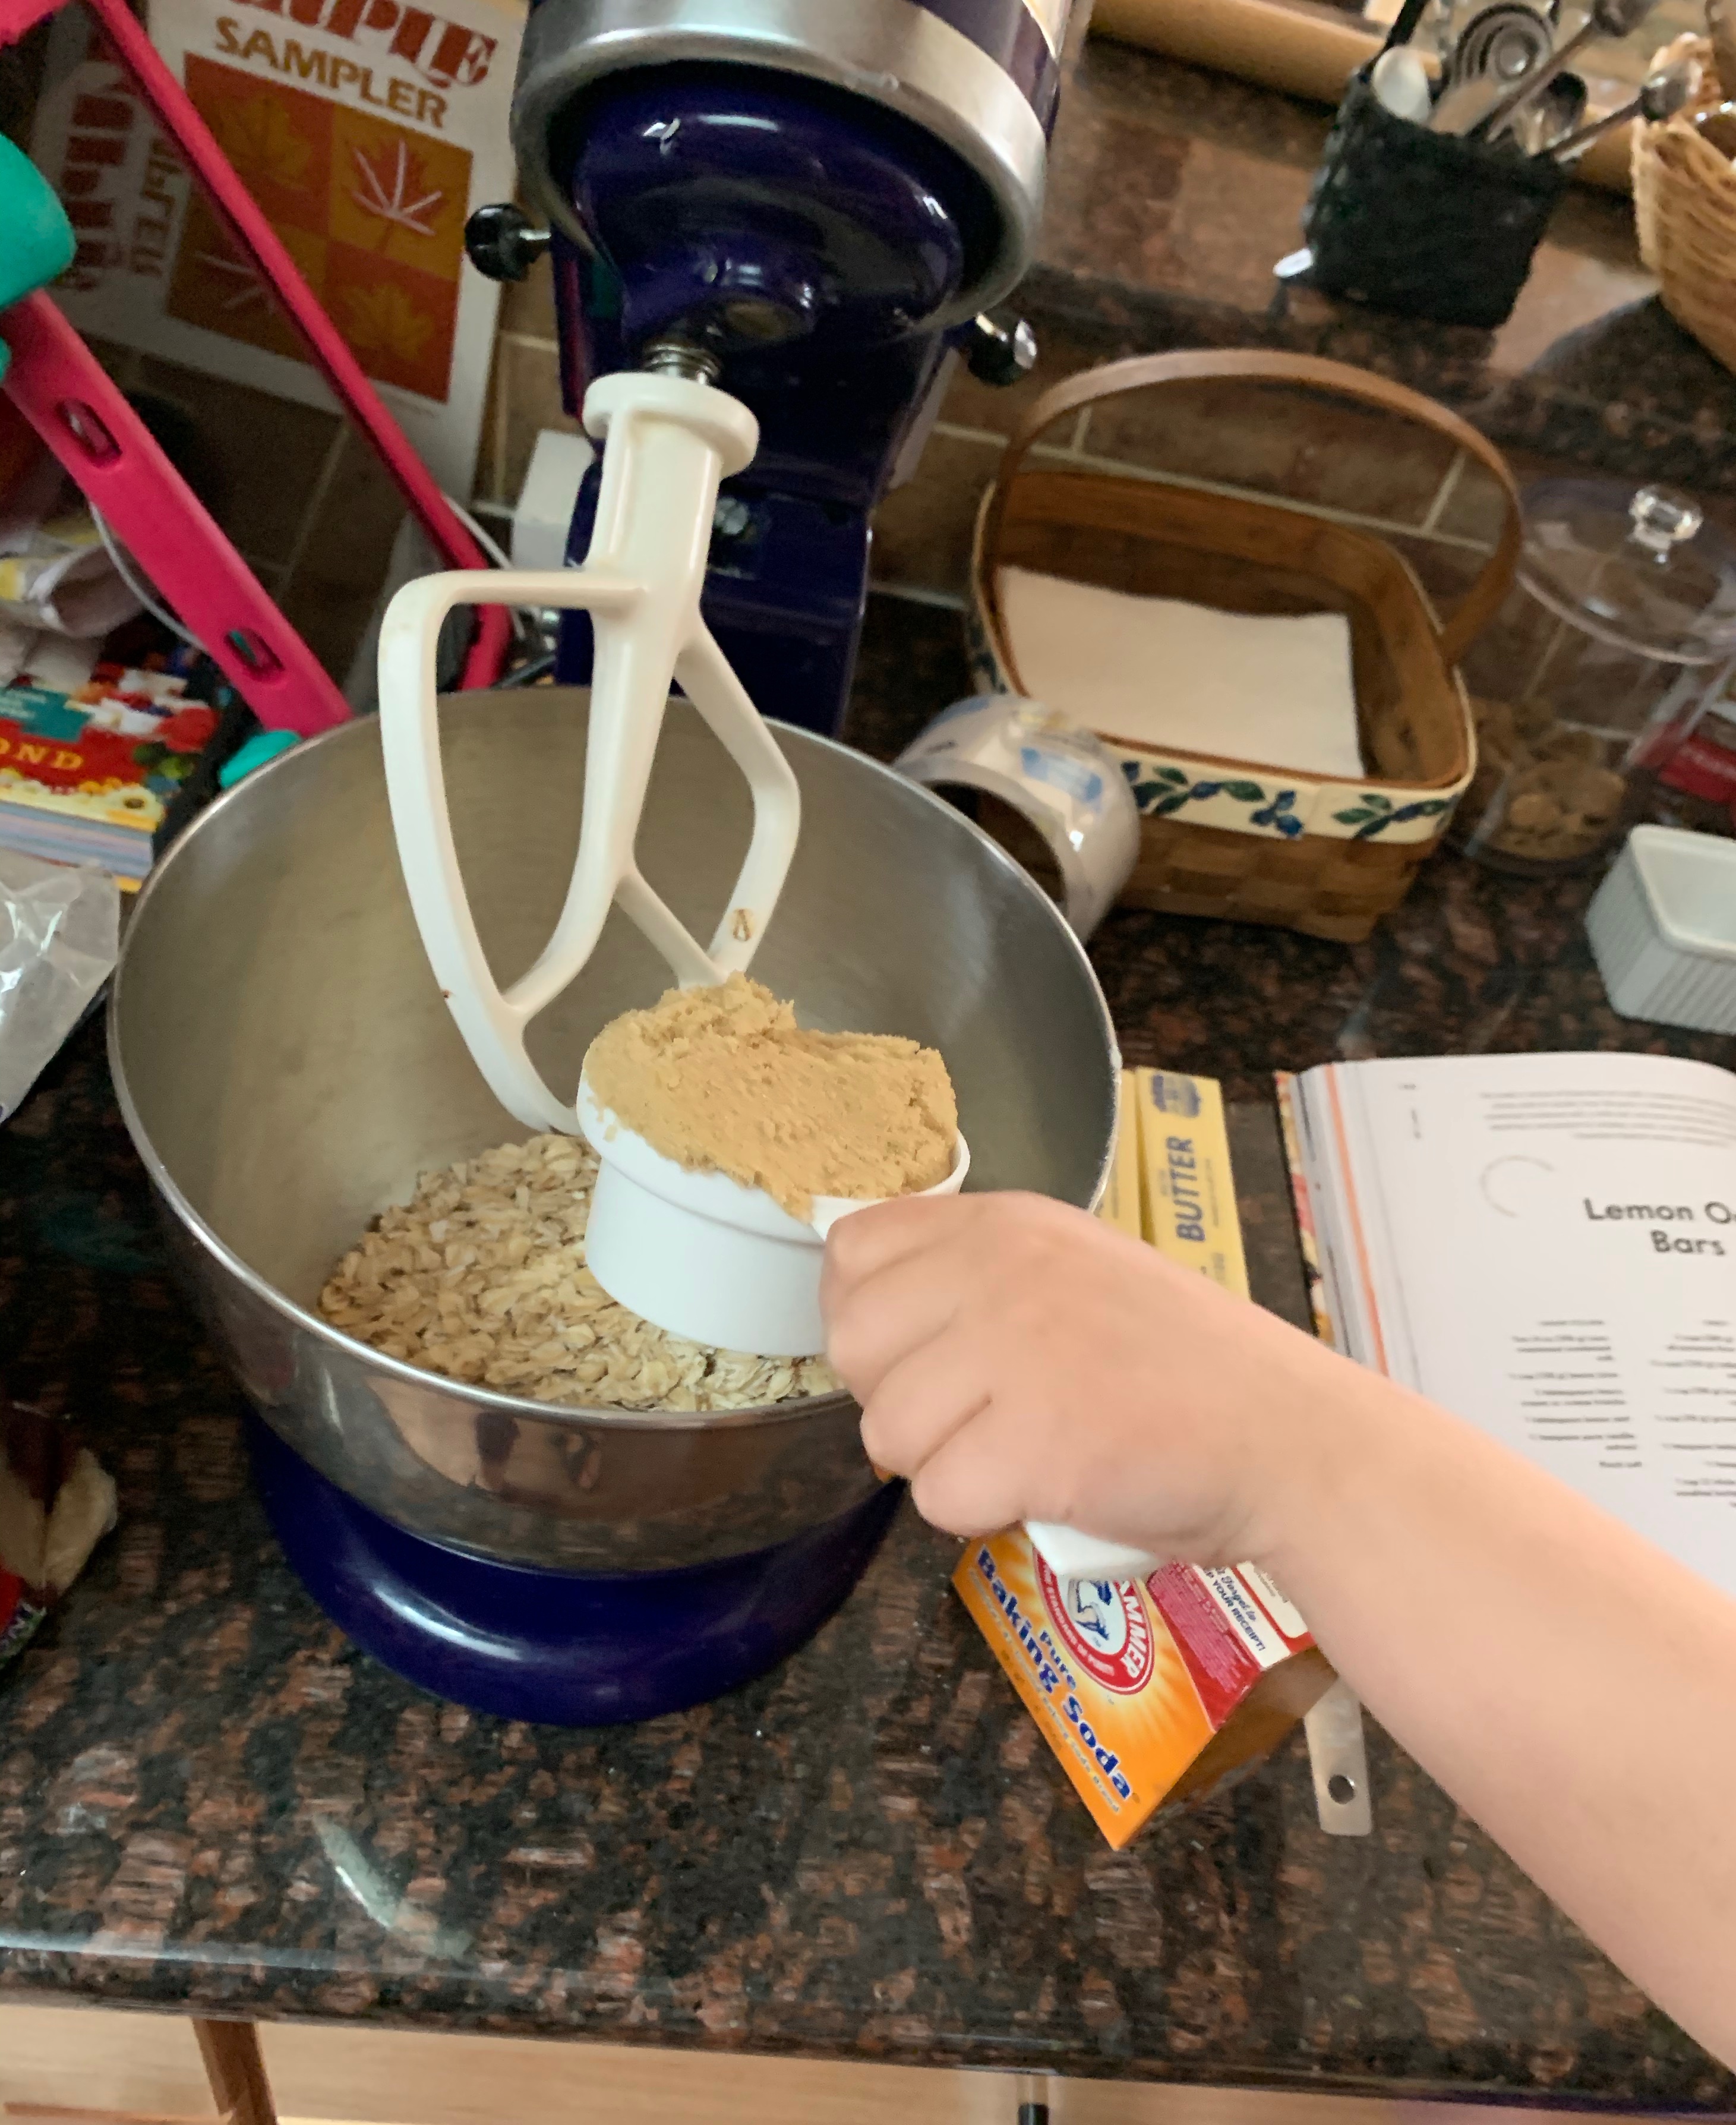
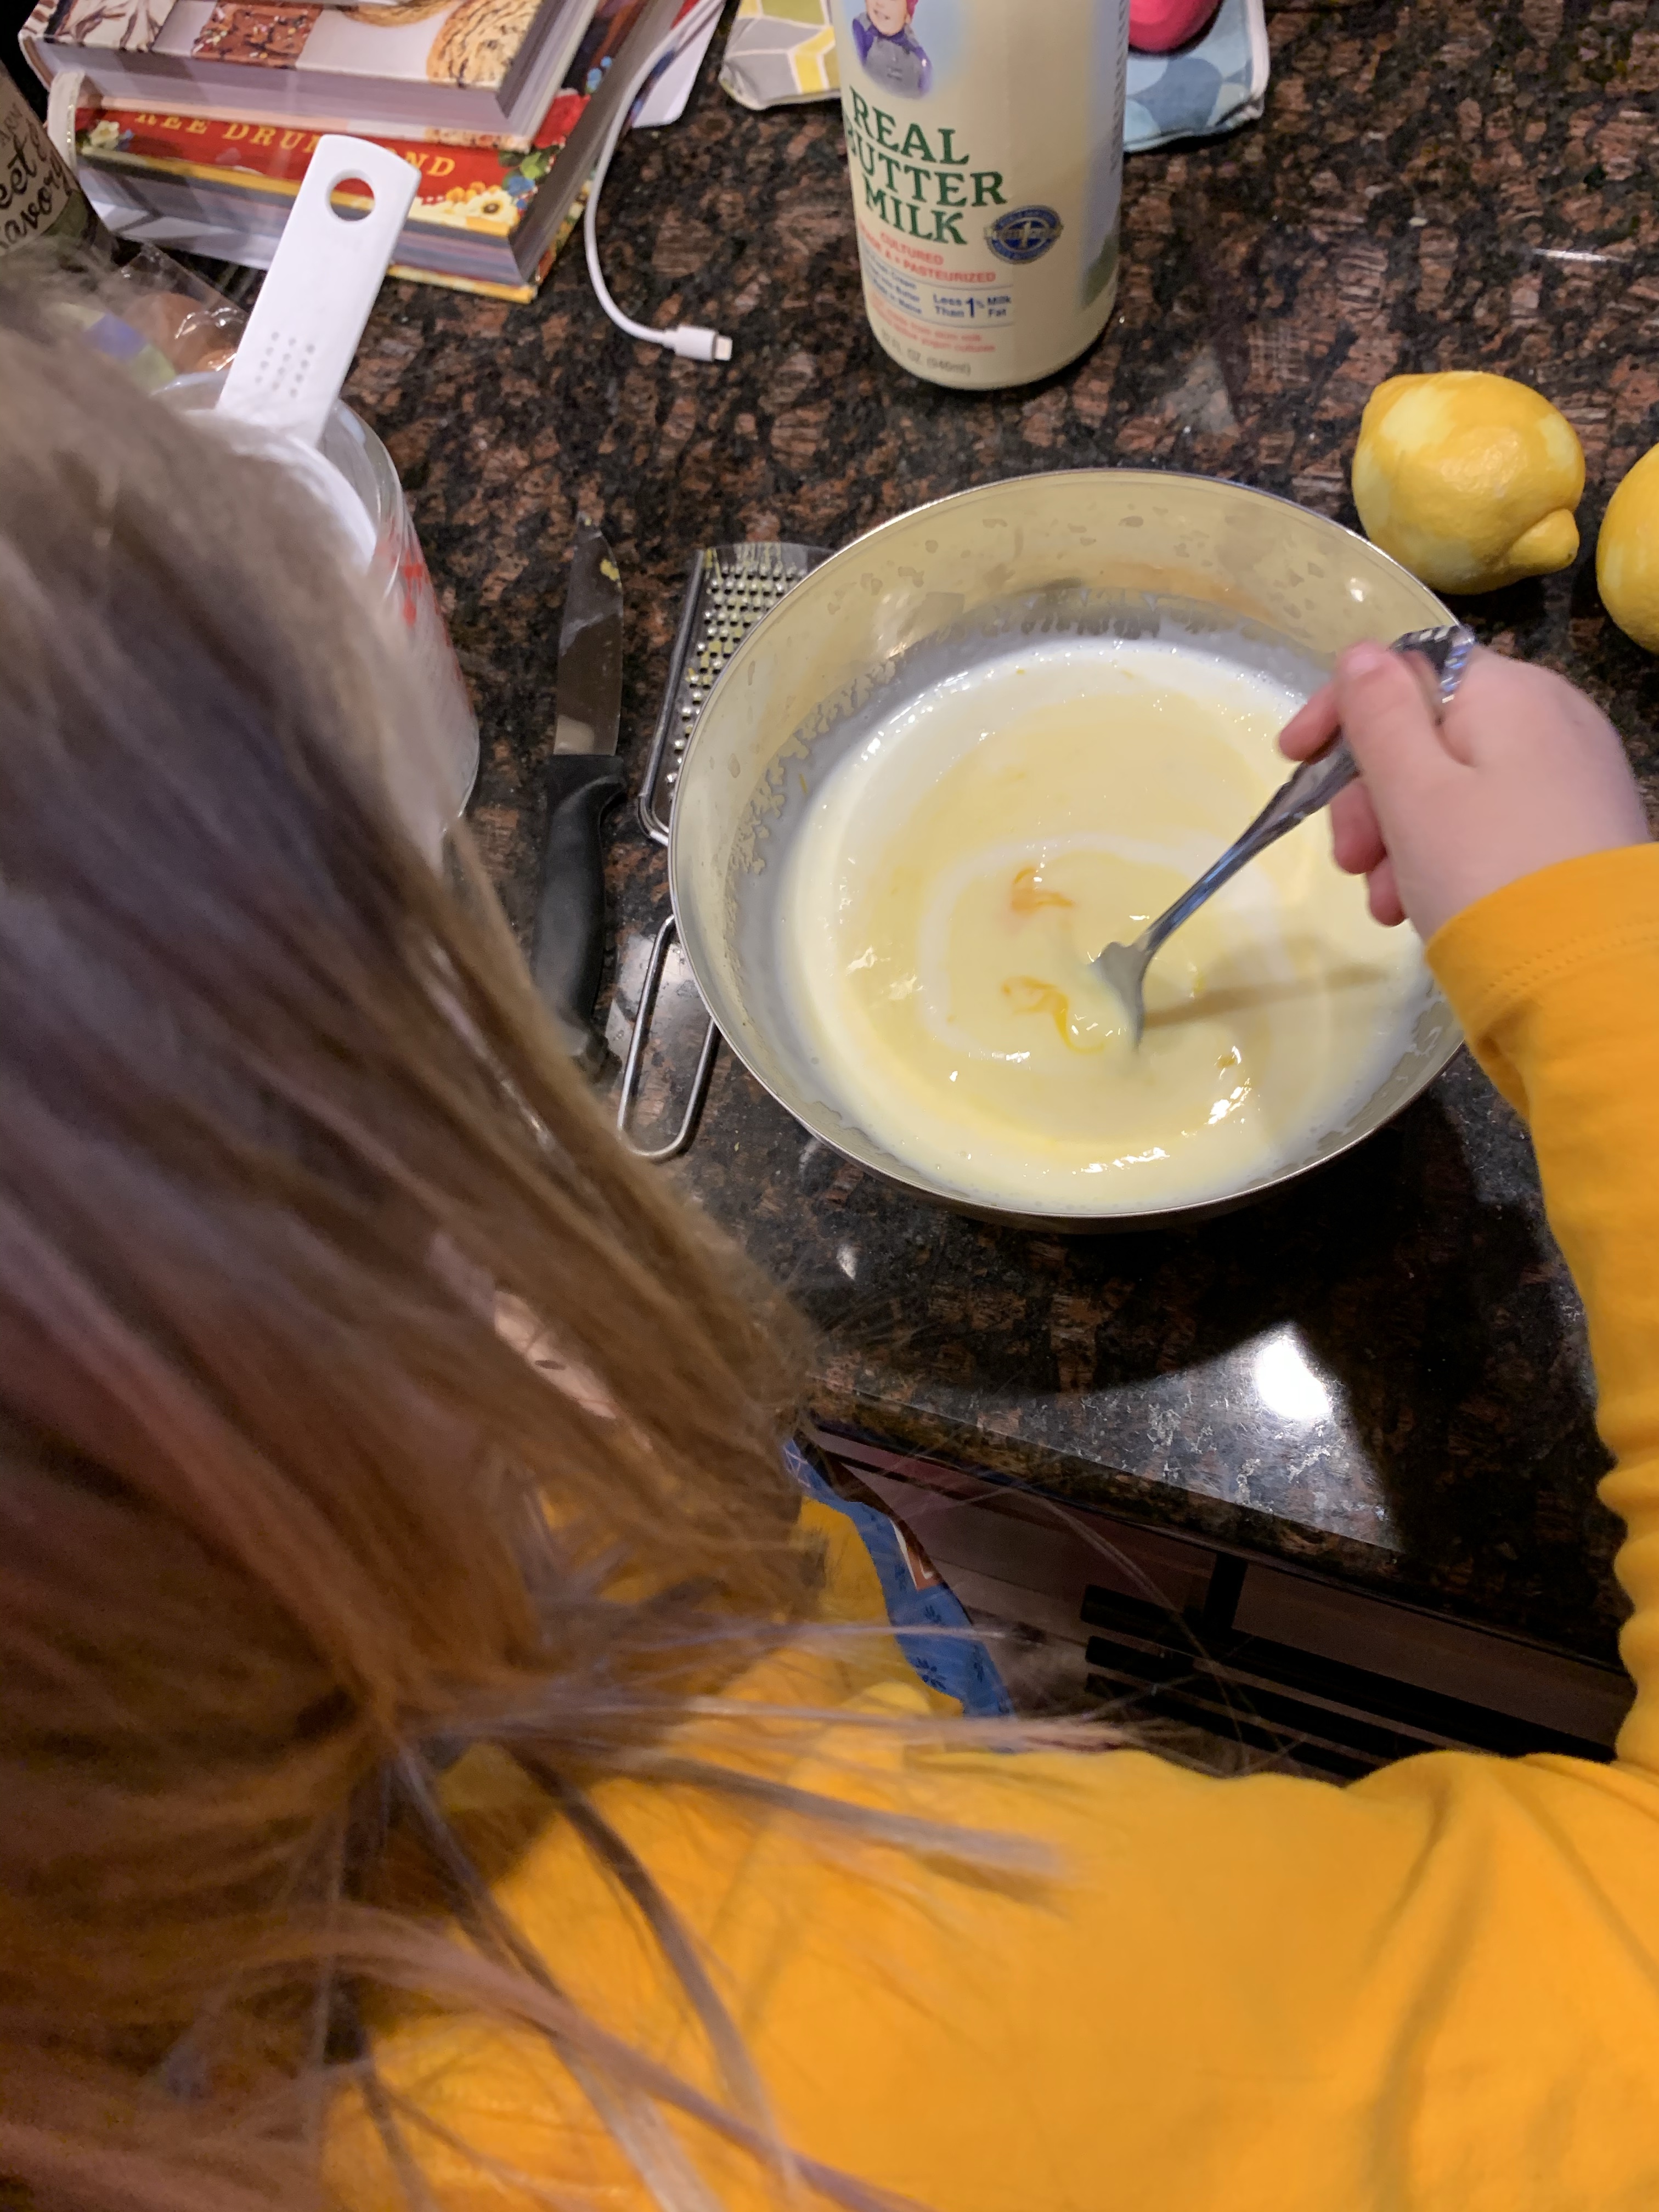
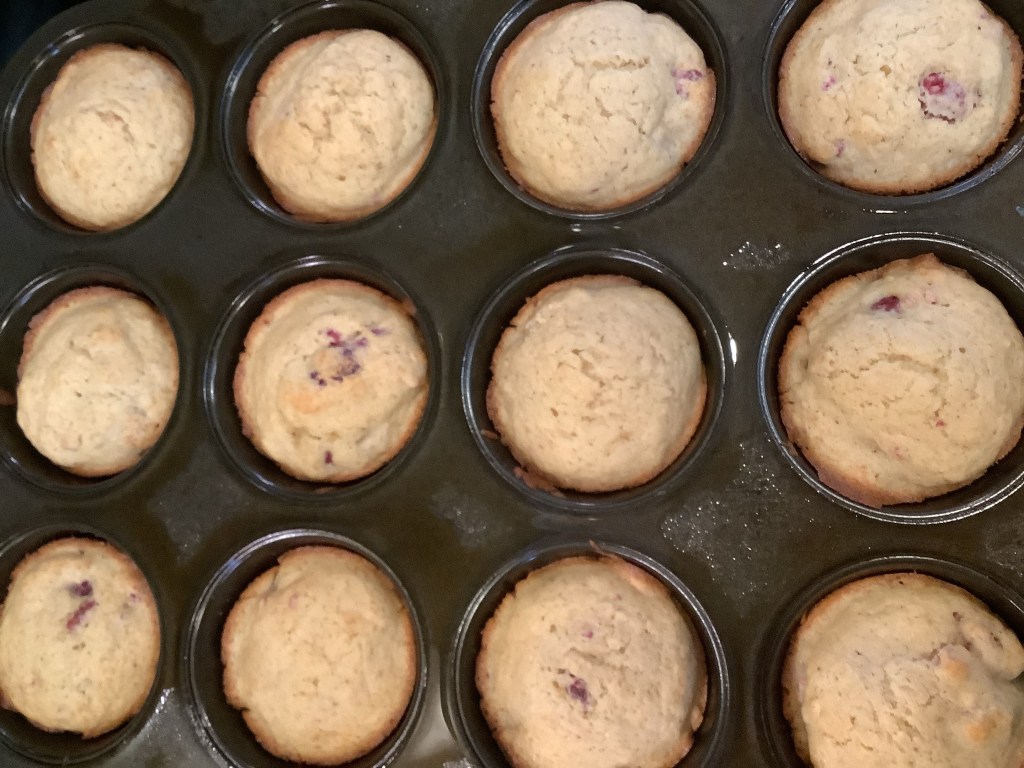
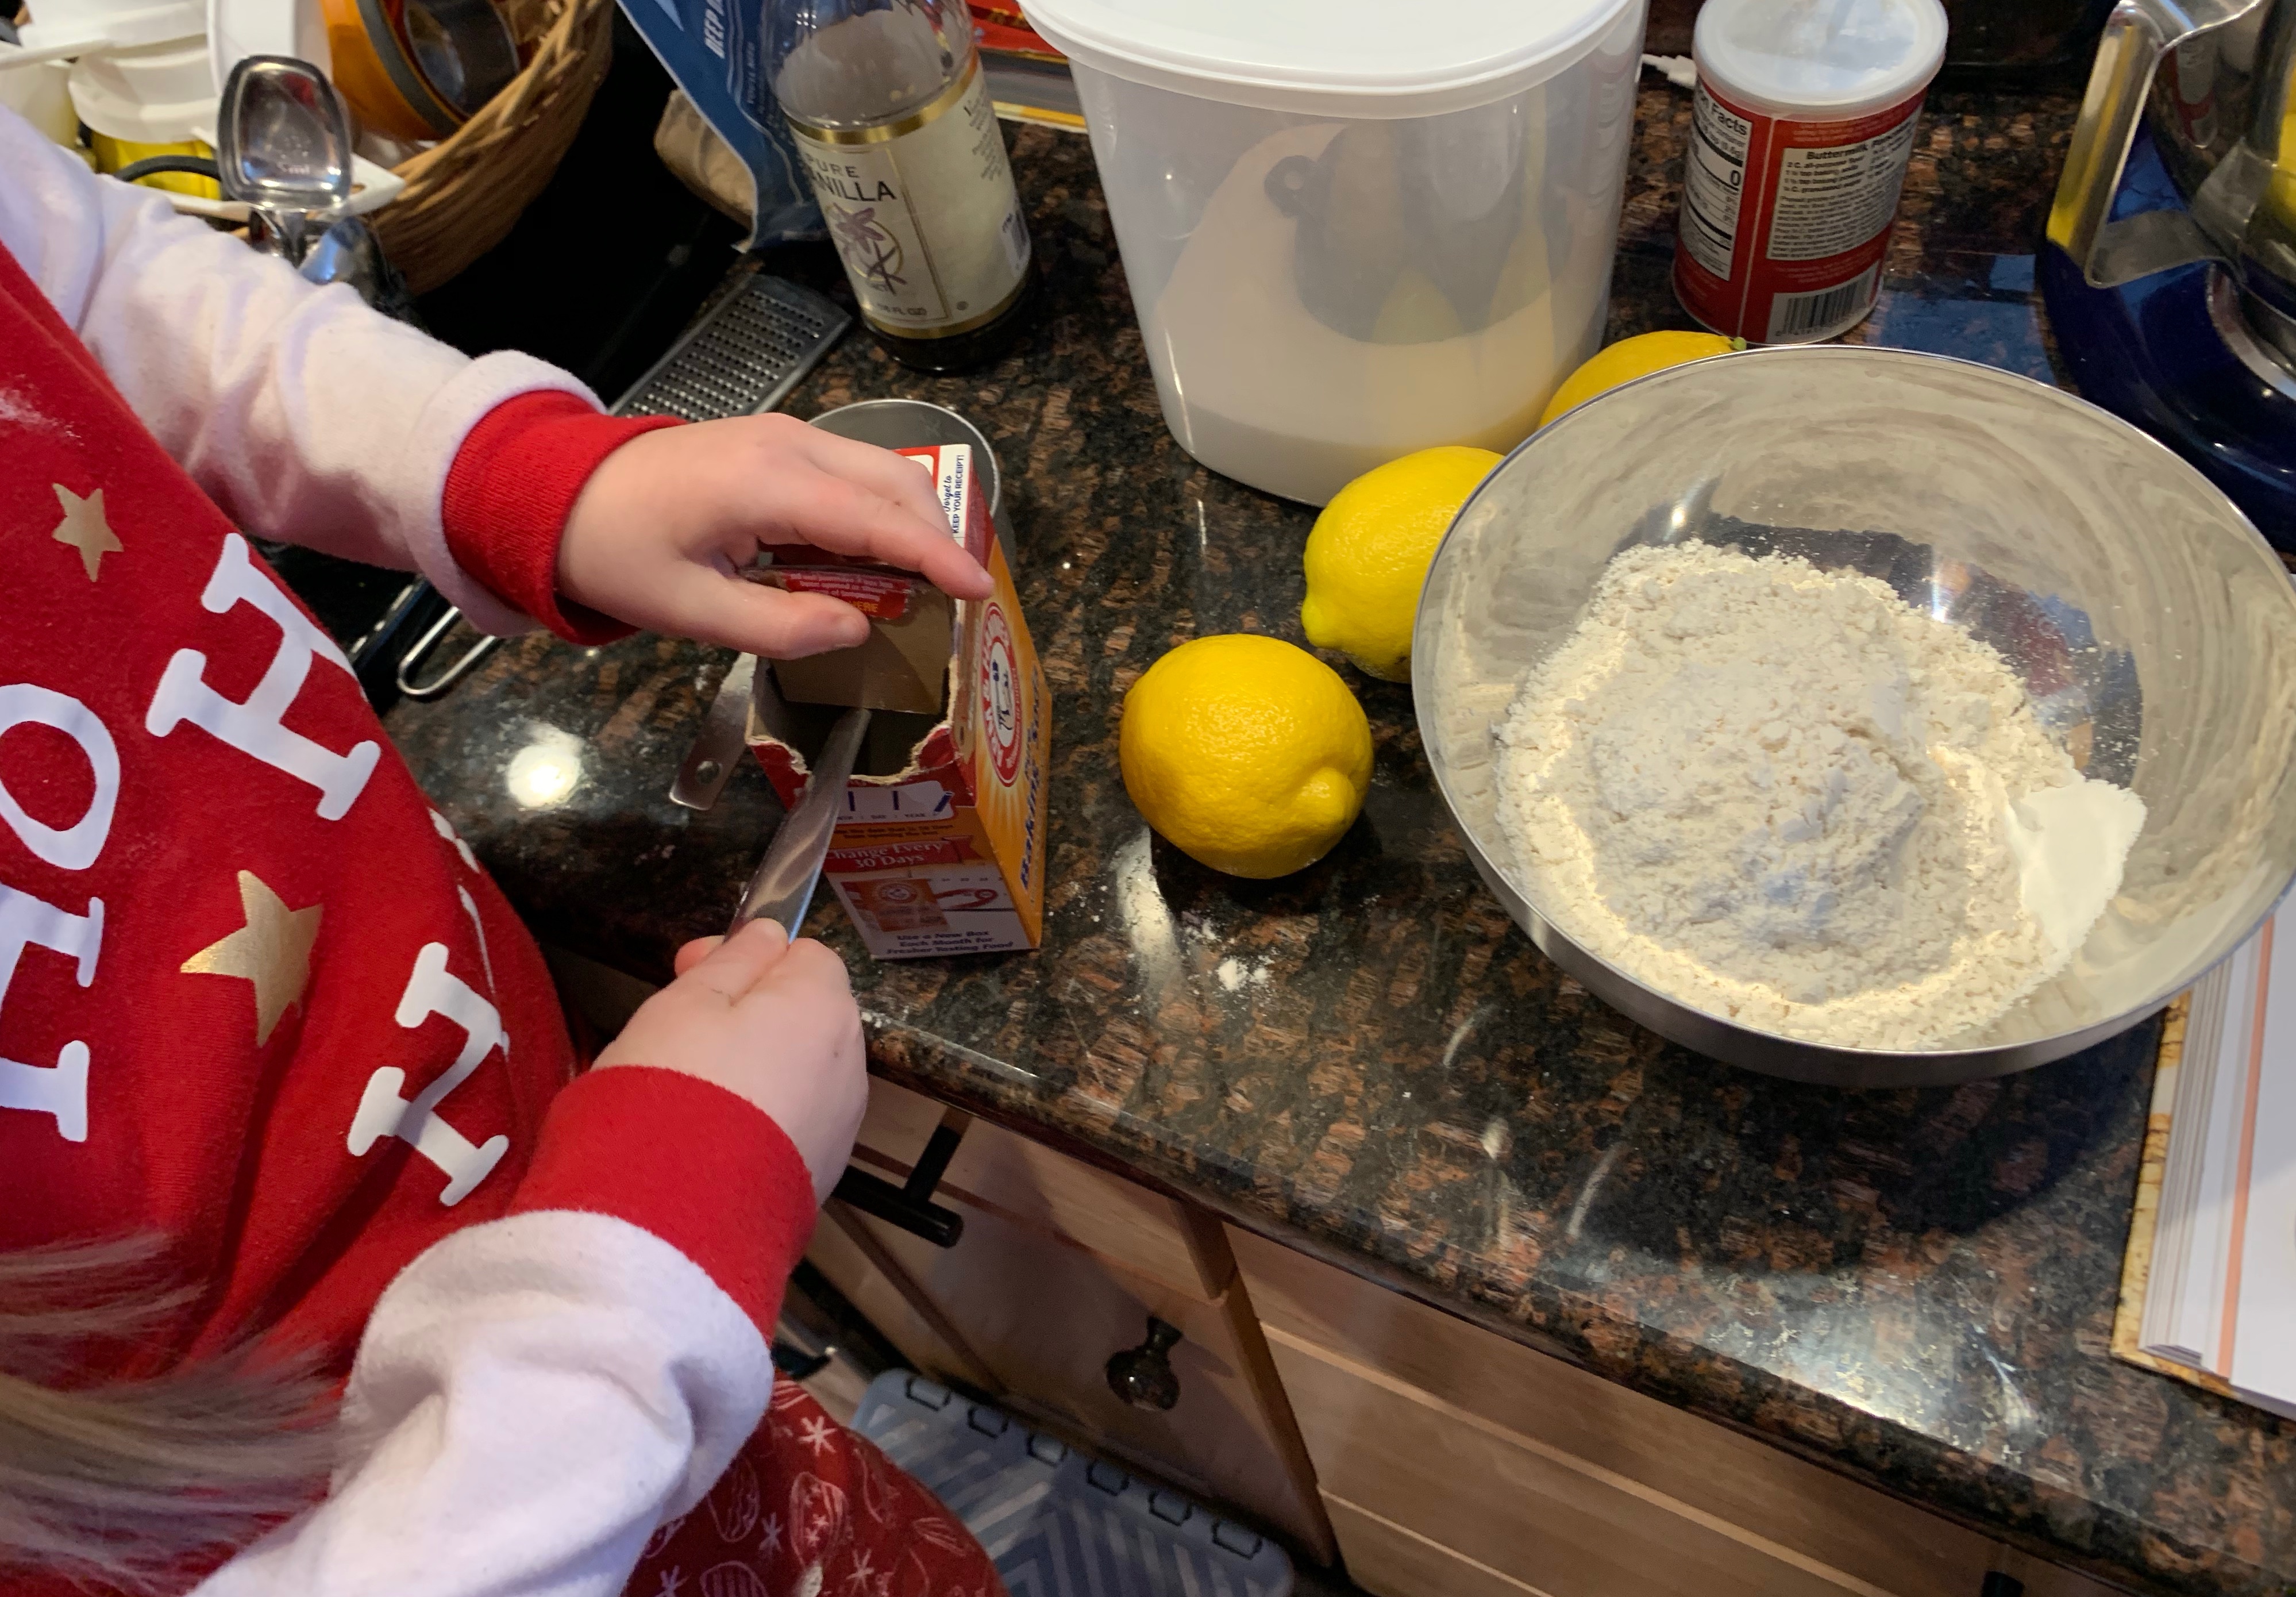
#52, Lemon Oat Bars. Lemon, oats, big spring flavors! I was excited she chose this one as I had been checking it out earlier in the week but never got around to it. We read through the ingredient list together, got it all out, then read through the recipe. I find this helps us all to know what to expect as we move forward with the recipe.
This was a really fun recipe to make with the kids. Bonus: no eggs that I was forced to crack because “they’re so yucky!”
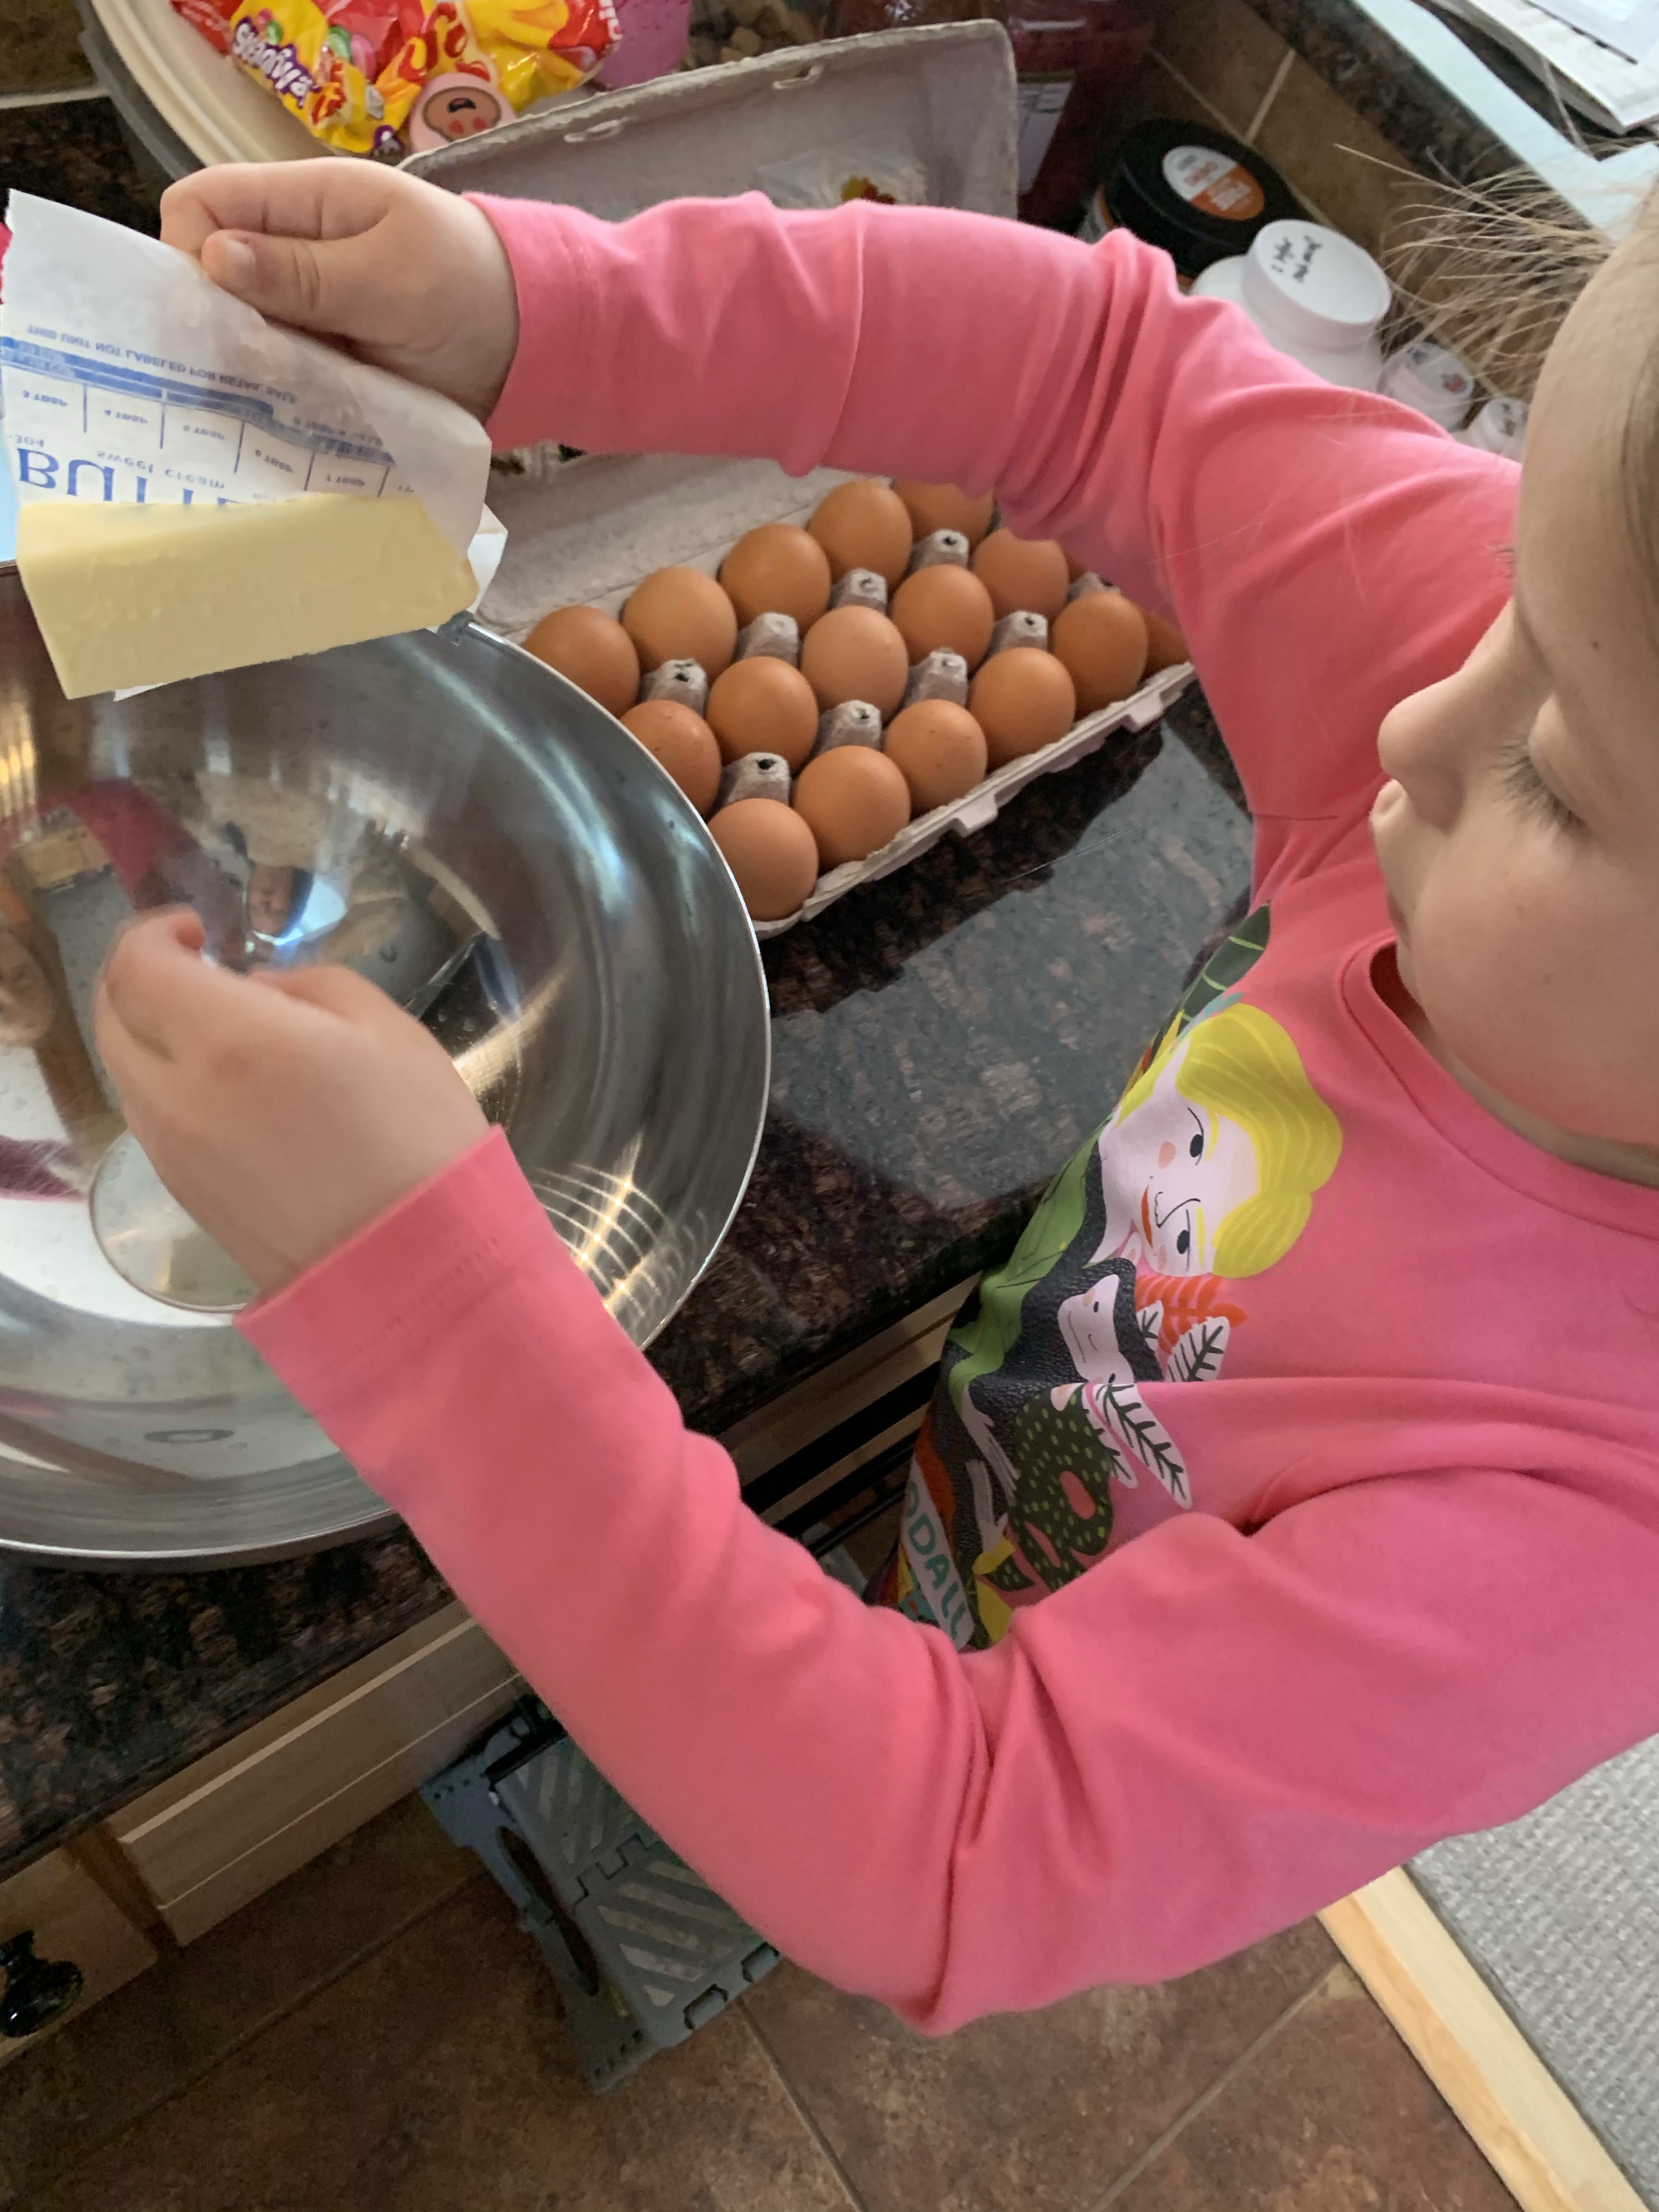
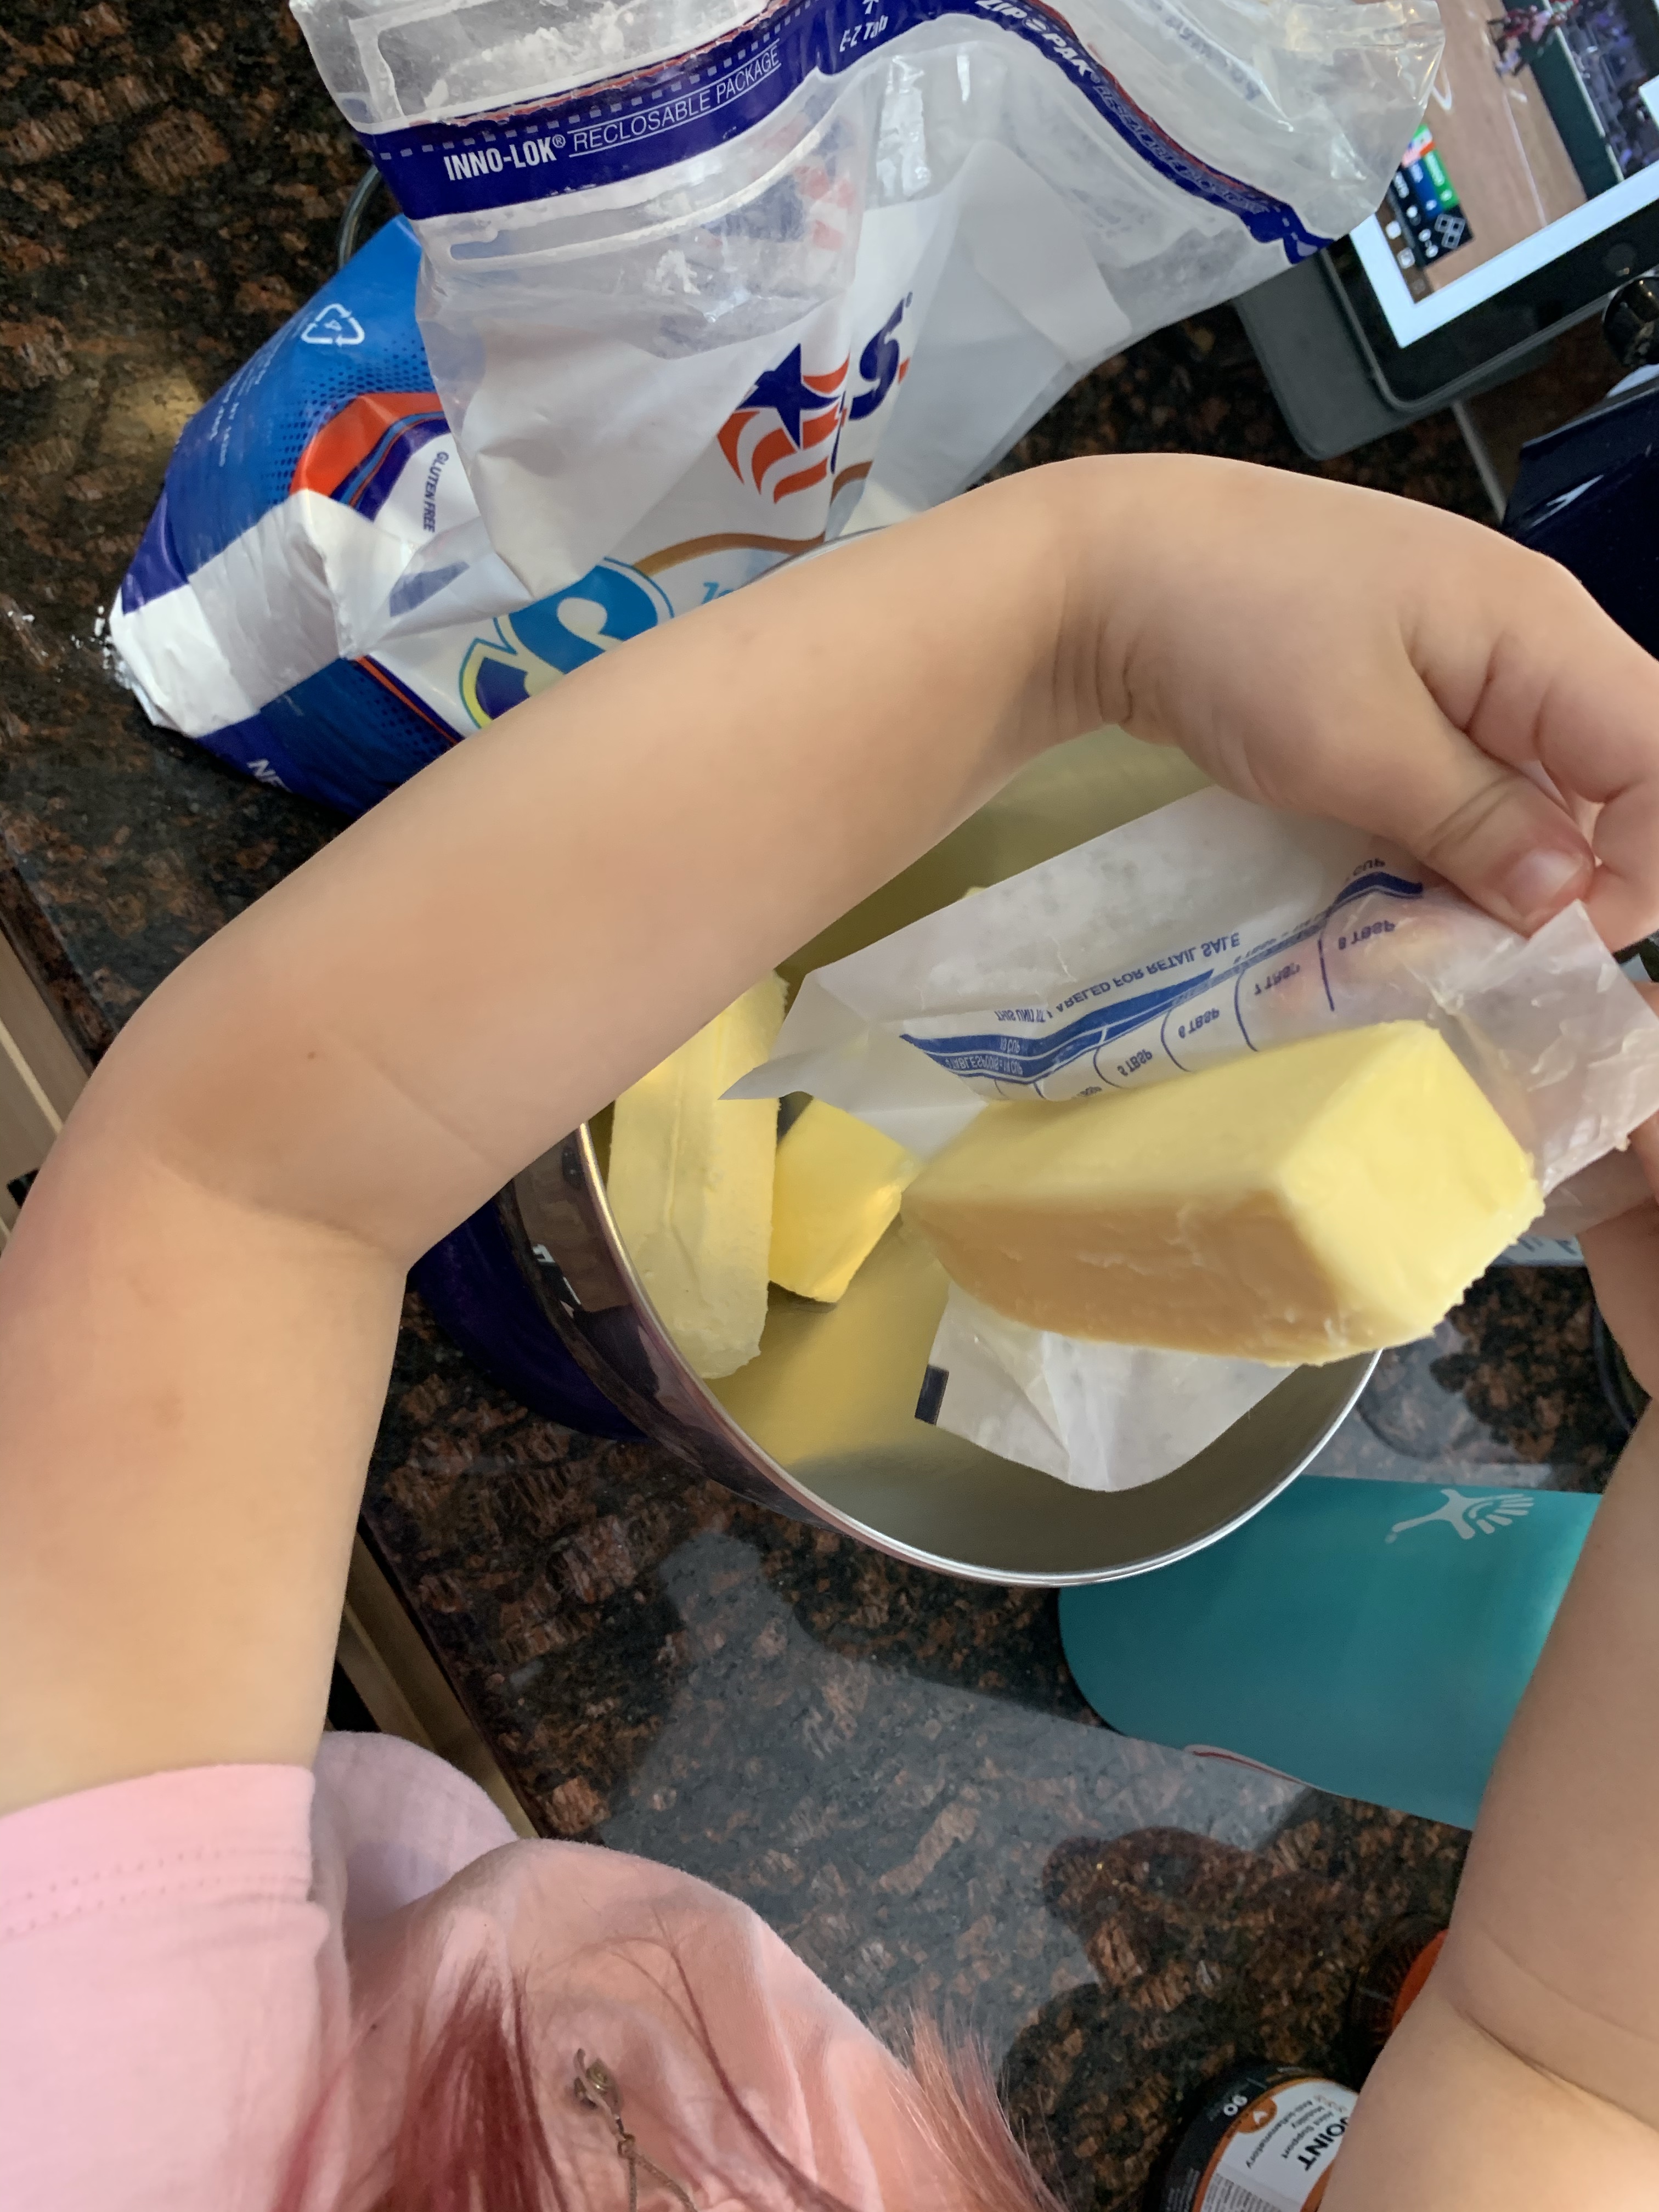
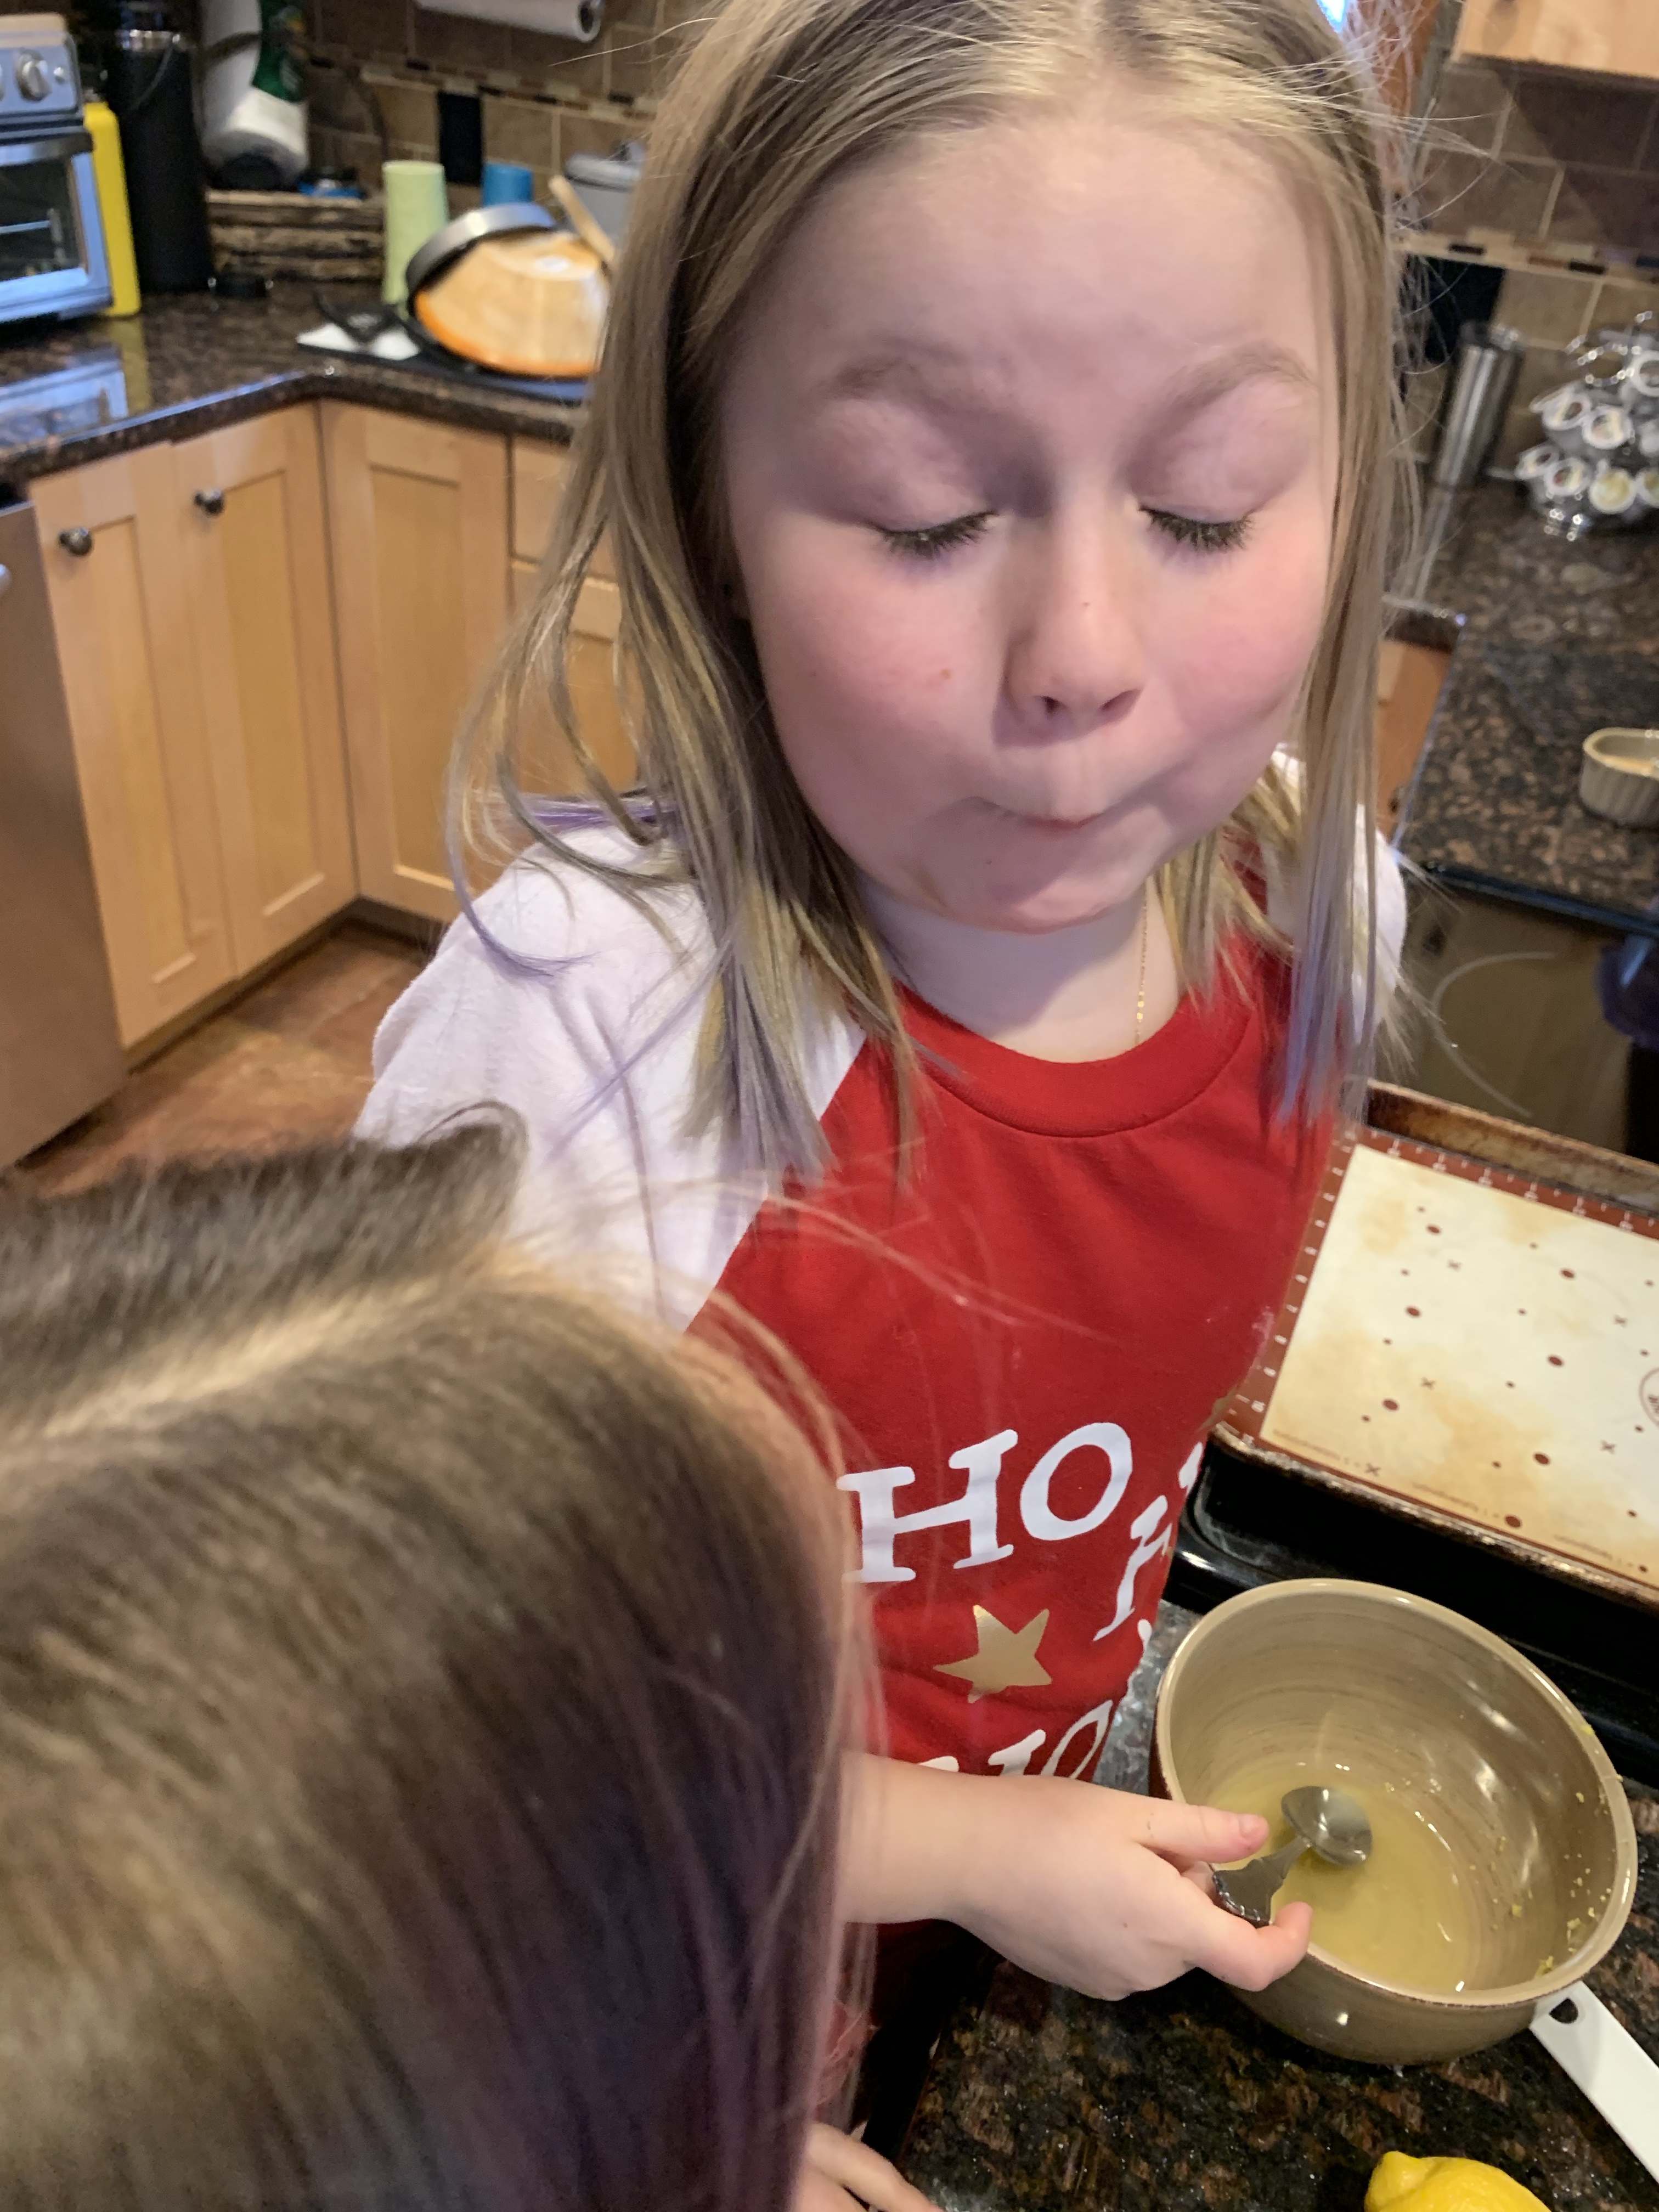
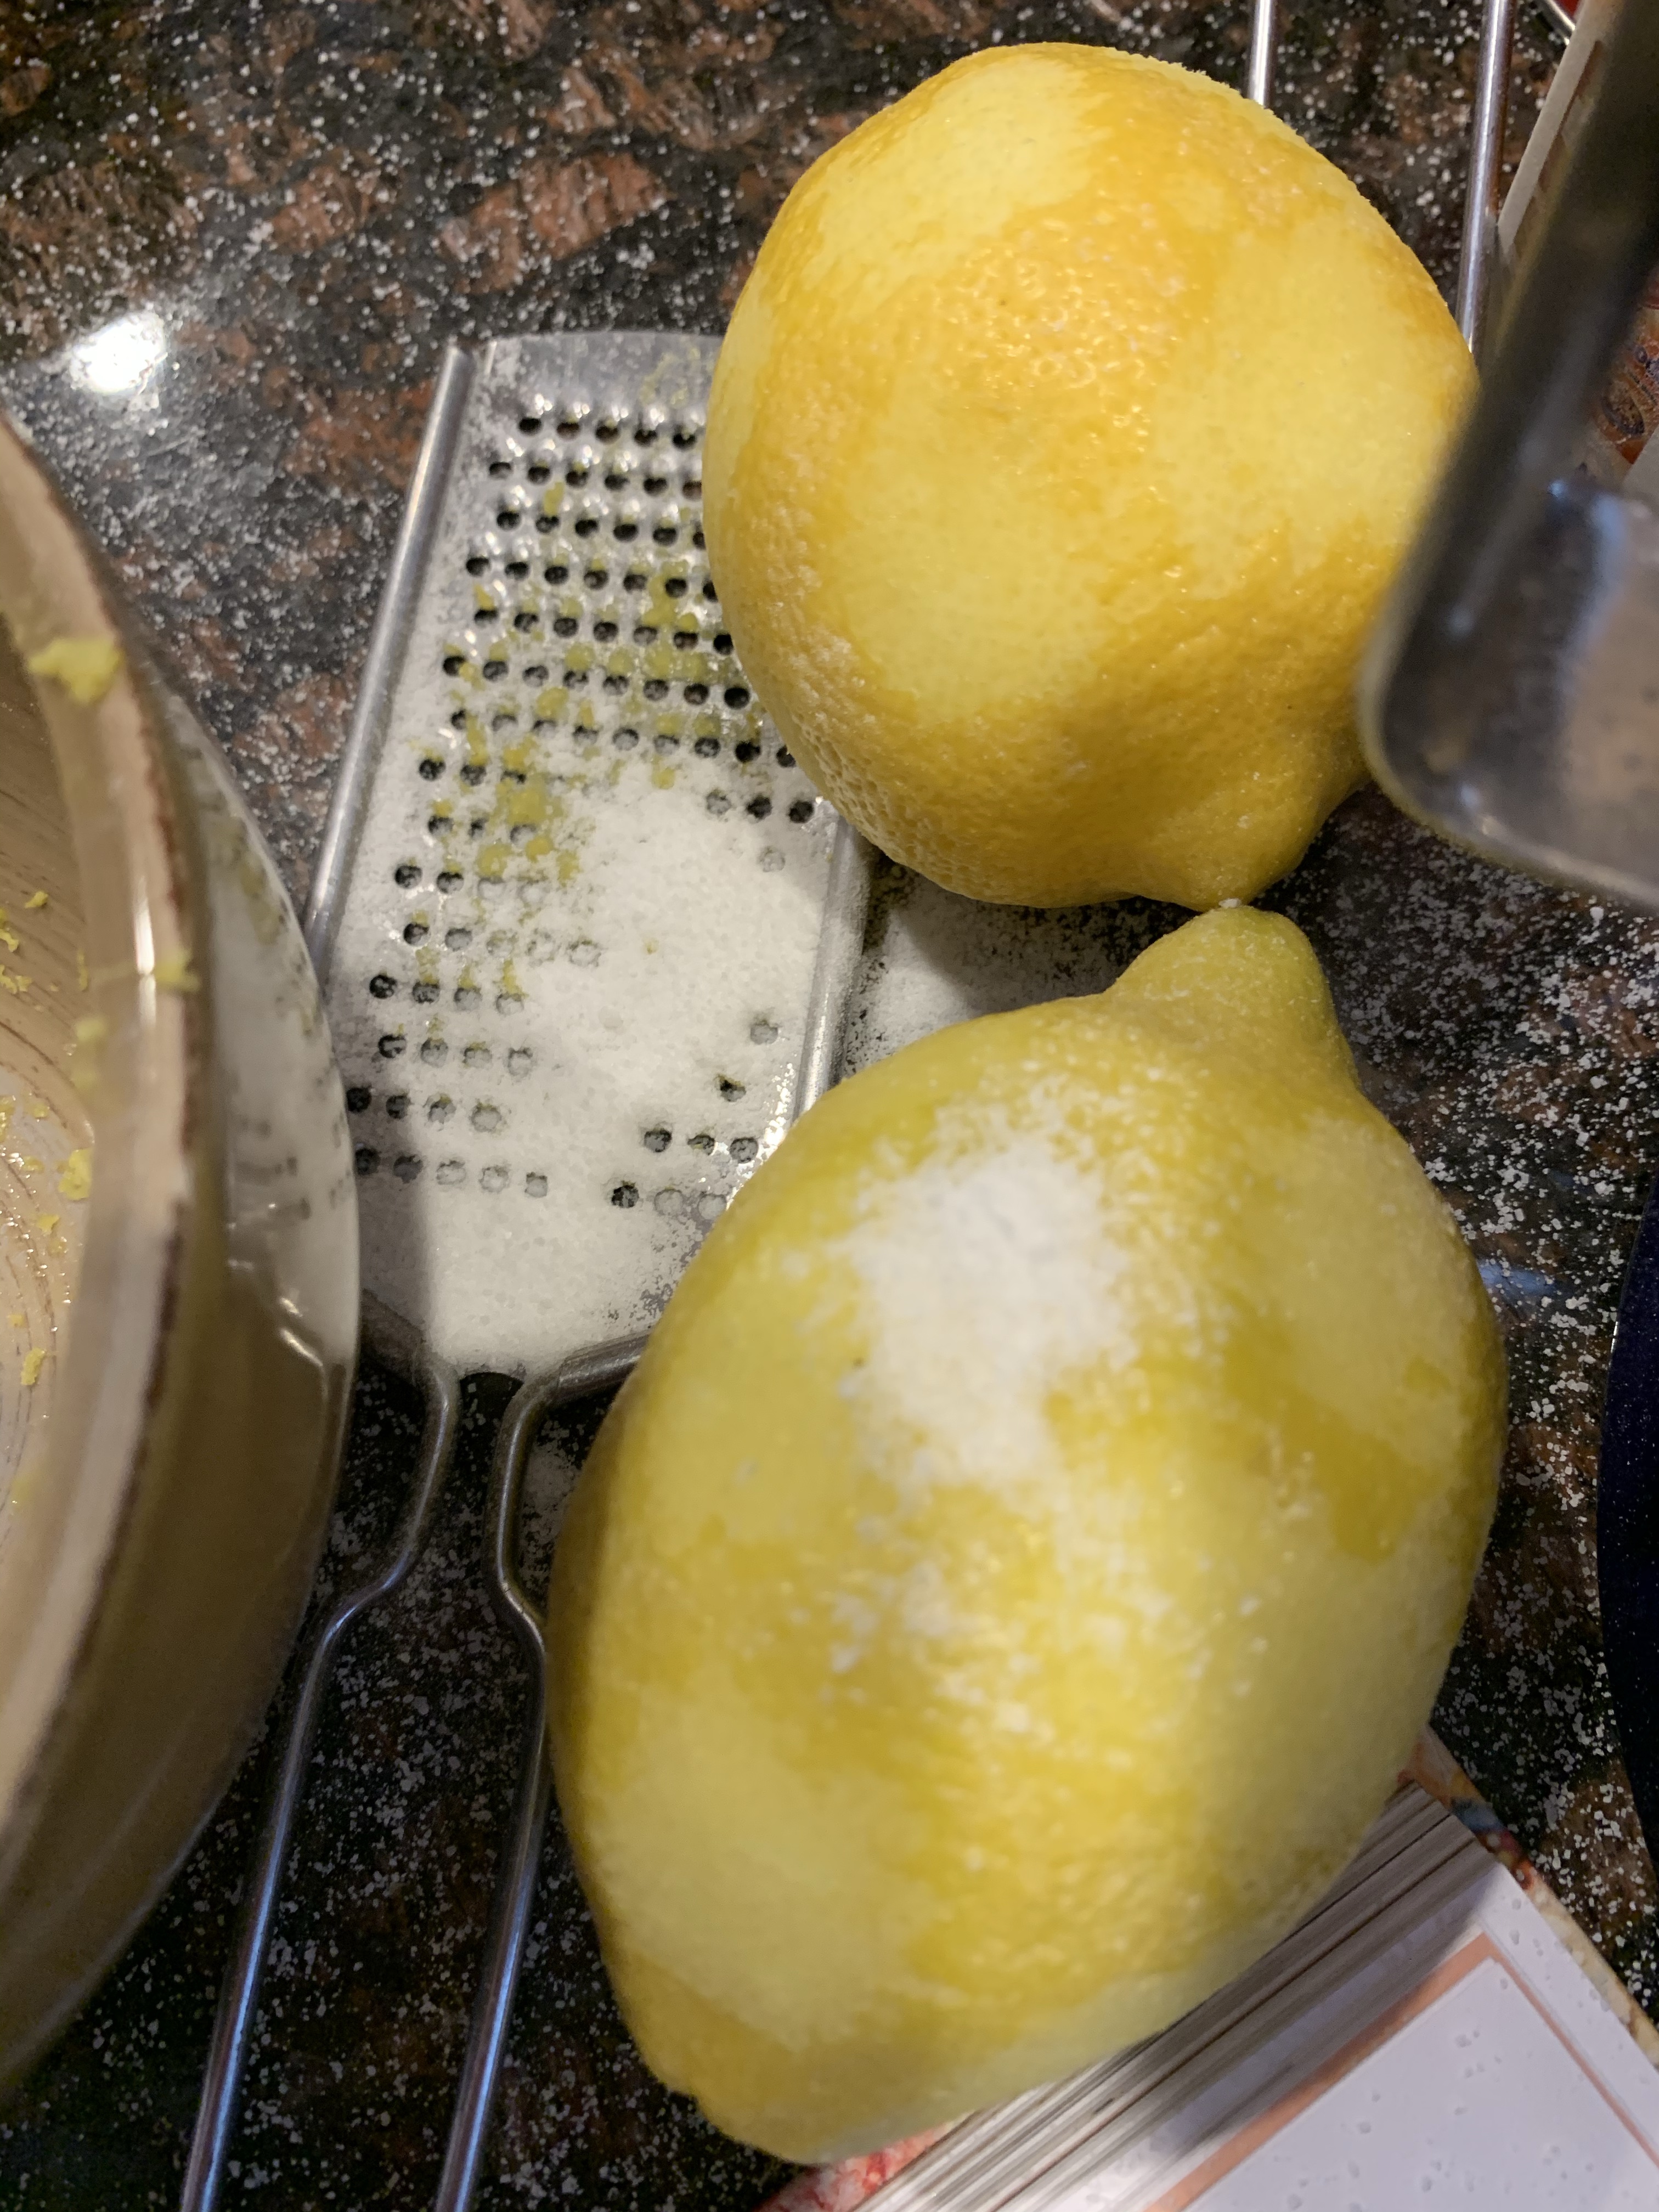
We started with the filling which required zesting and juicing lemons, one of the kids favorite baking activities! They did most of the filling on their own, adding all the ingredients to the bowl and whisking. Sadly, their silly mom got out a bowl that was a little too small for the ingredients in combination with their whisking skills. Whoops! As they were whisking some of the filling slopped out of the bowl, and boy was it sticky! Luckily it was bath day and everything is washable.
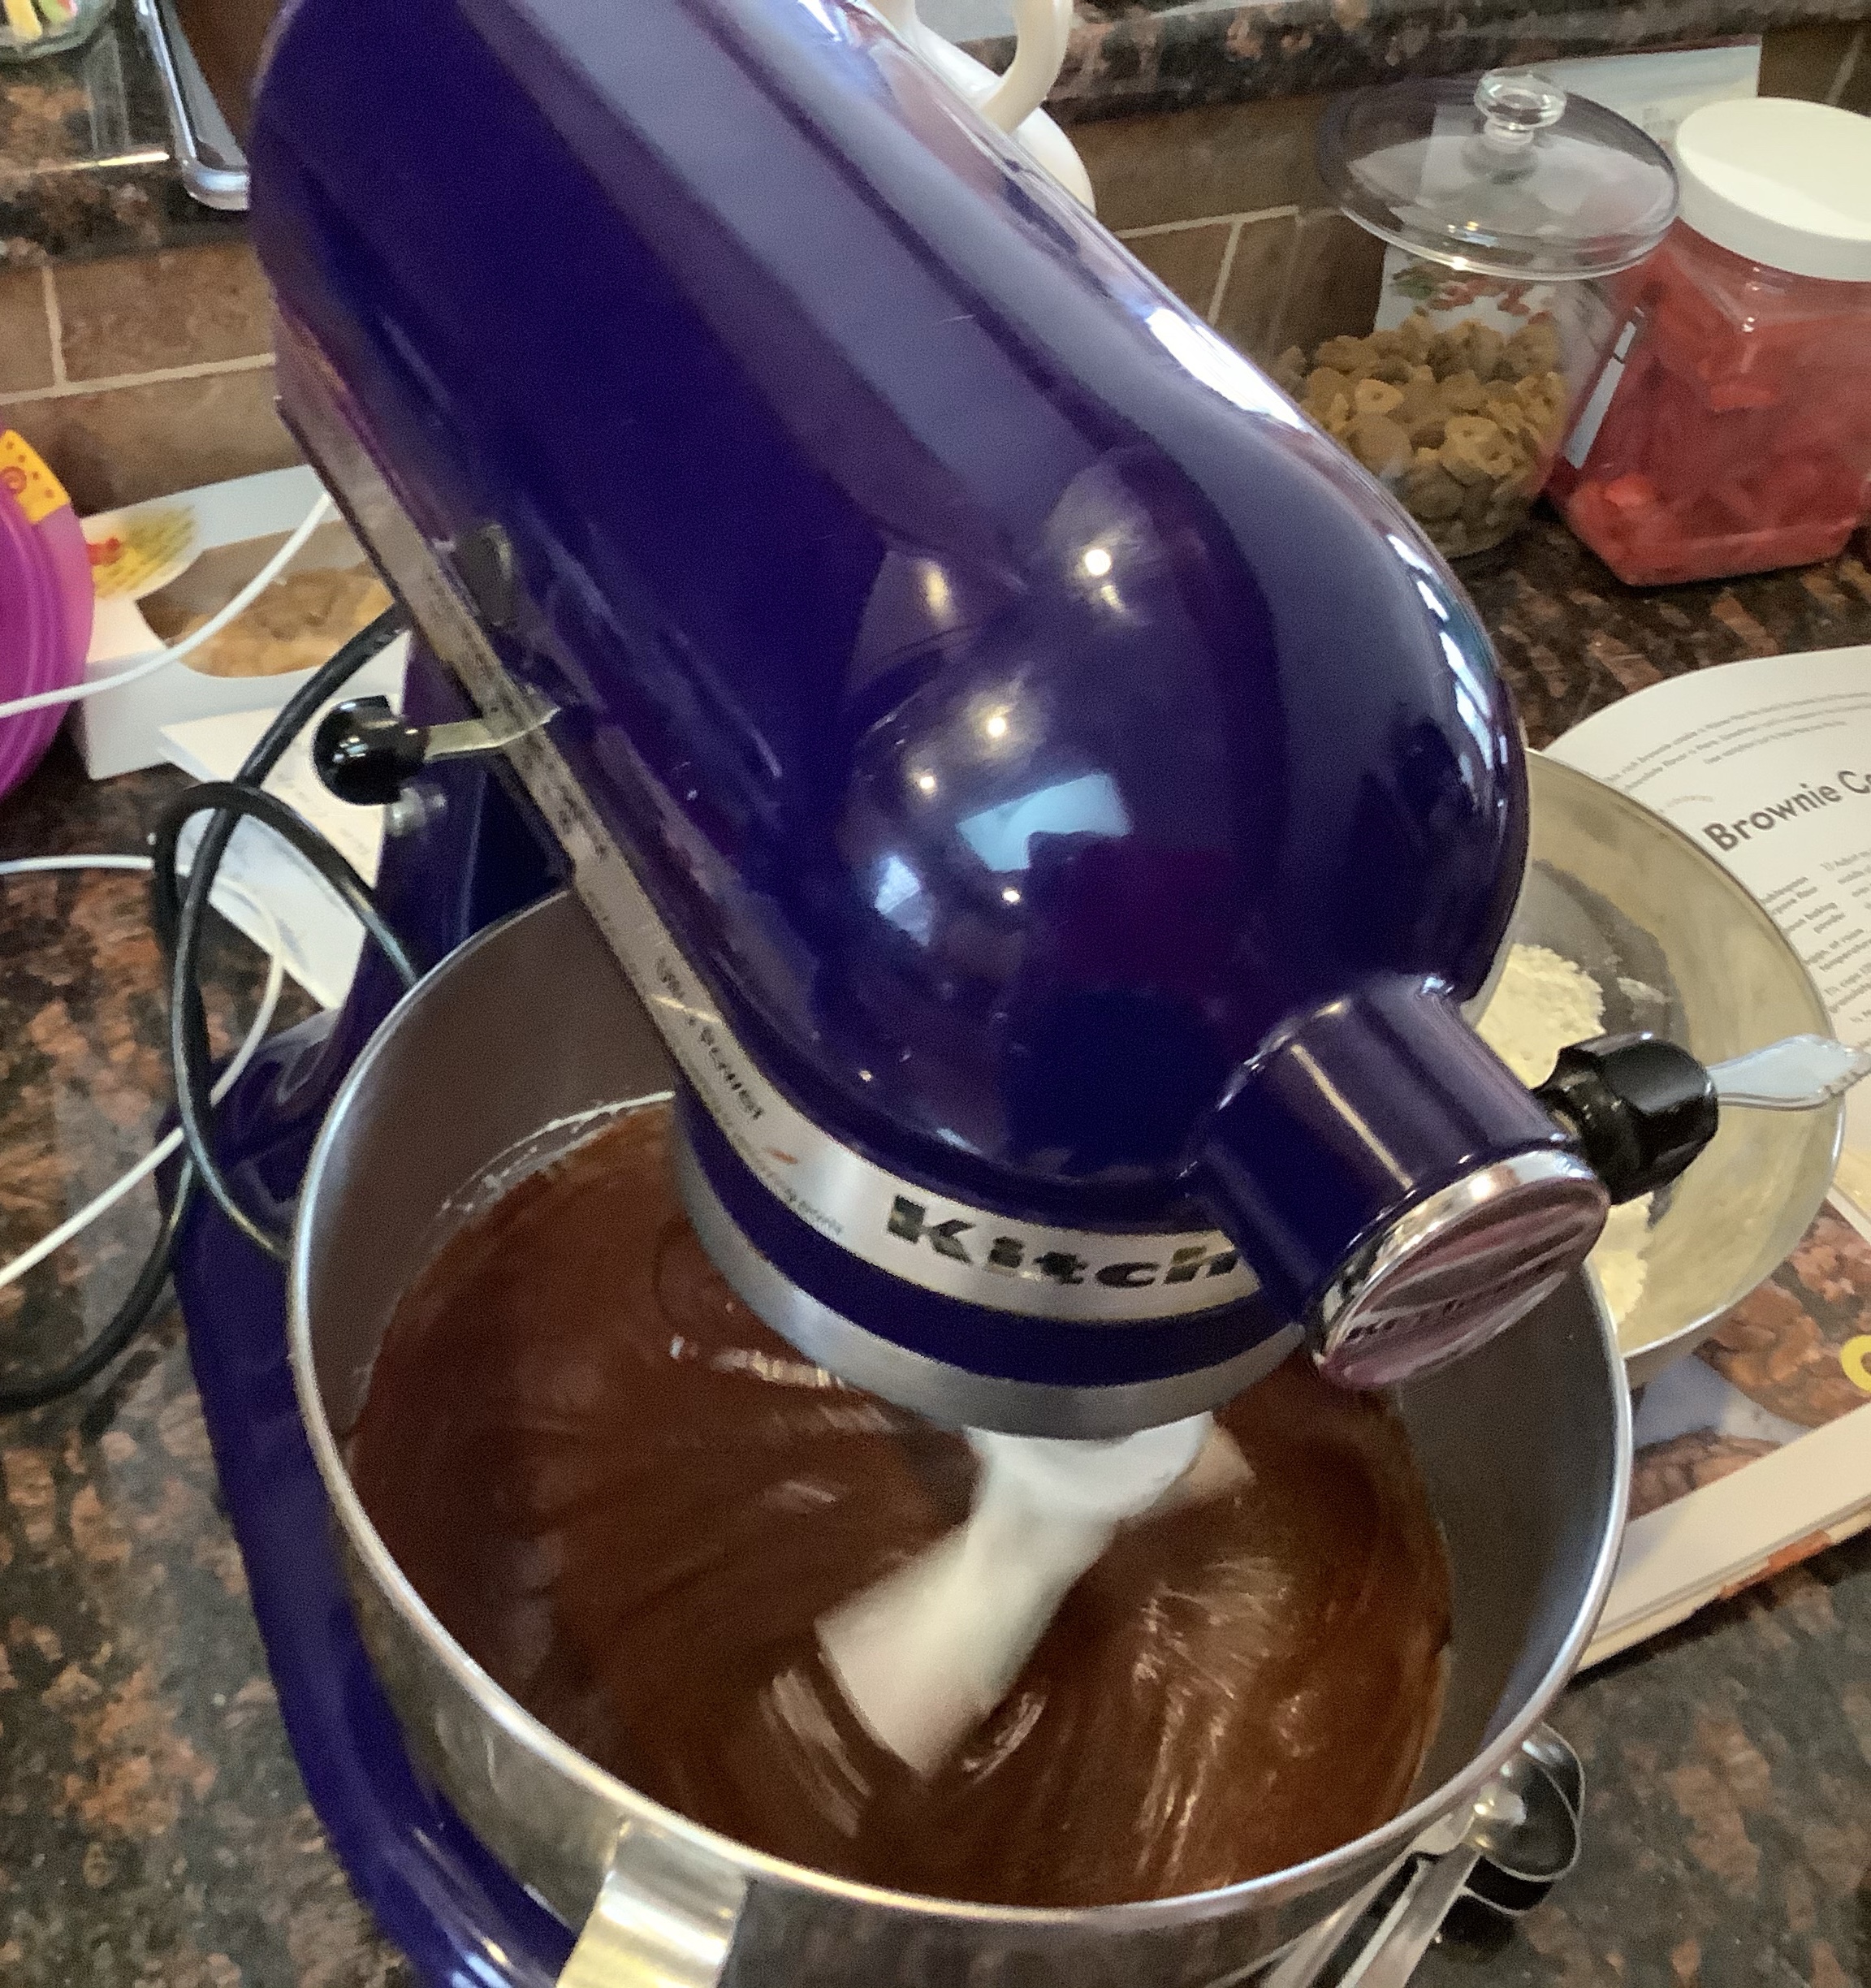
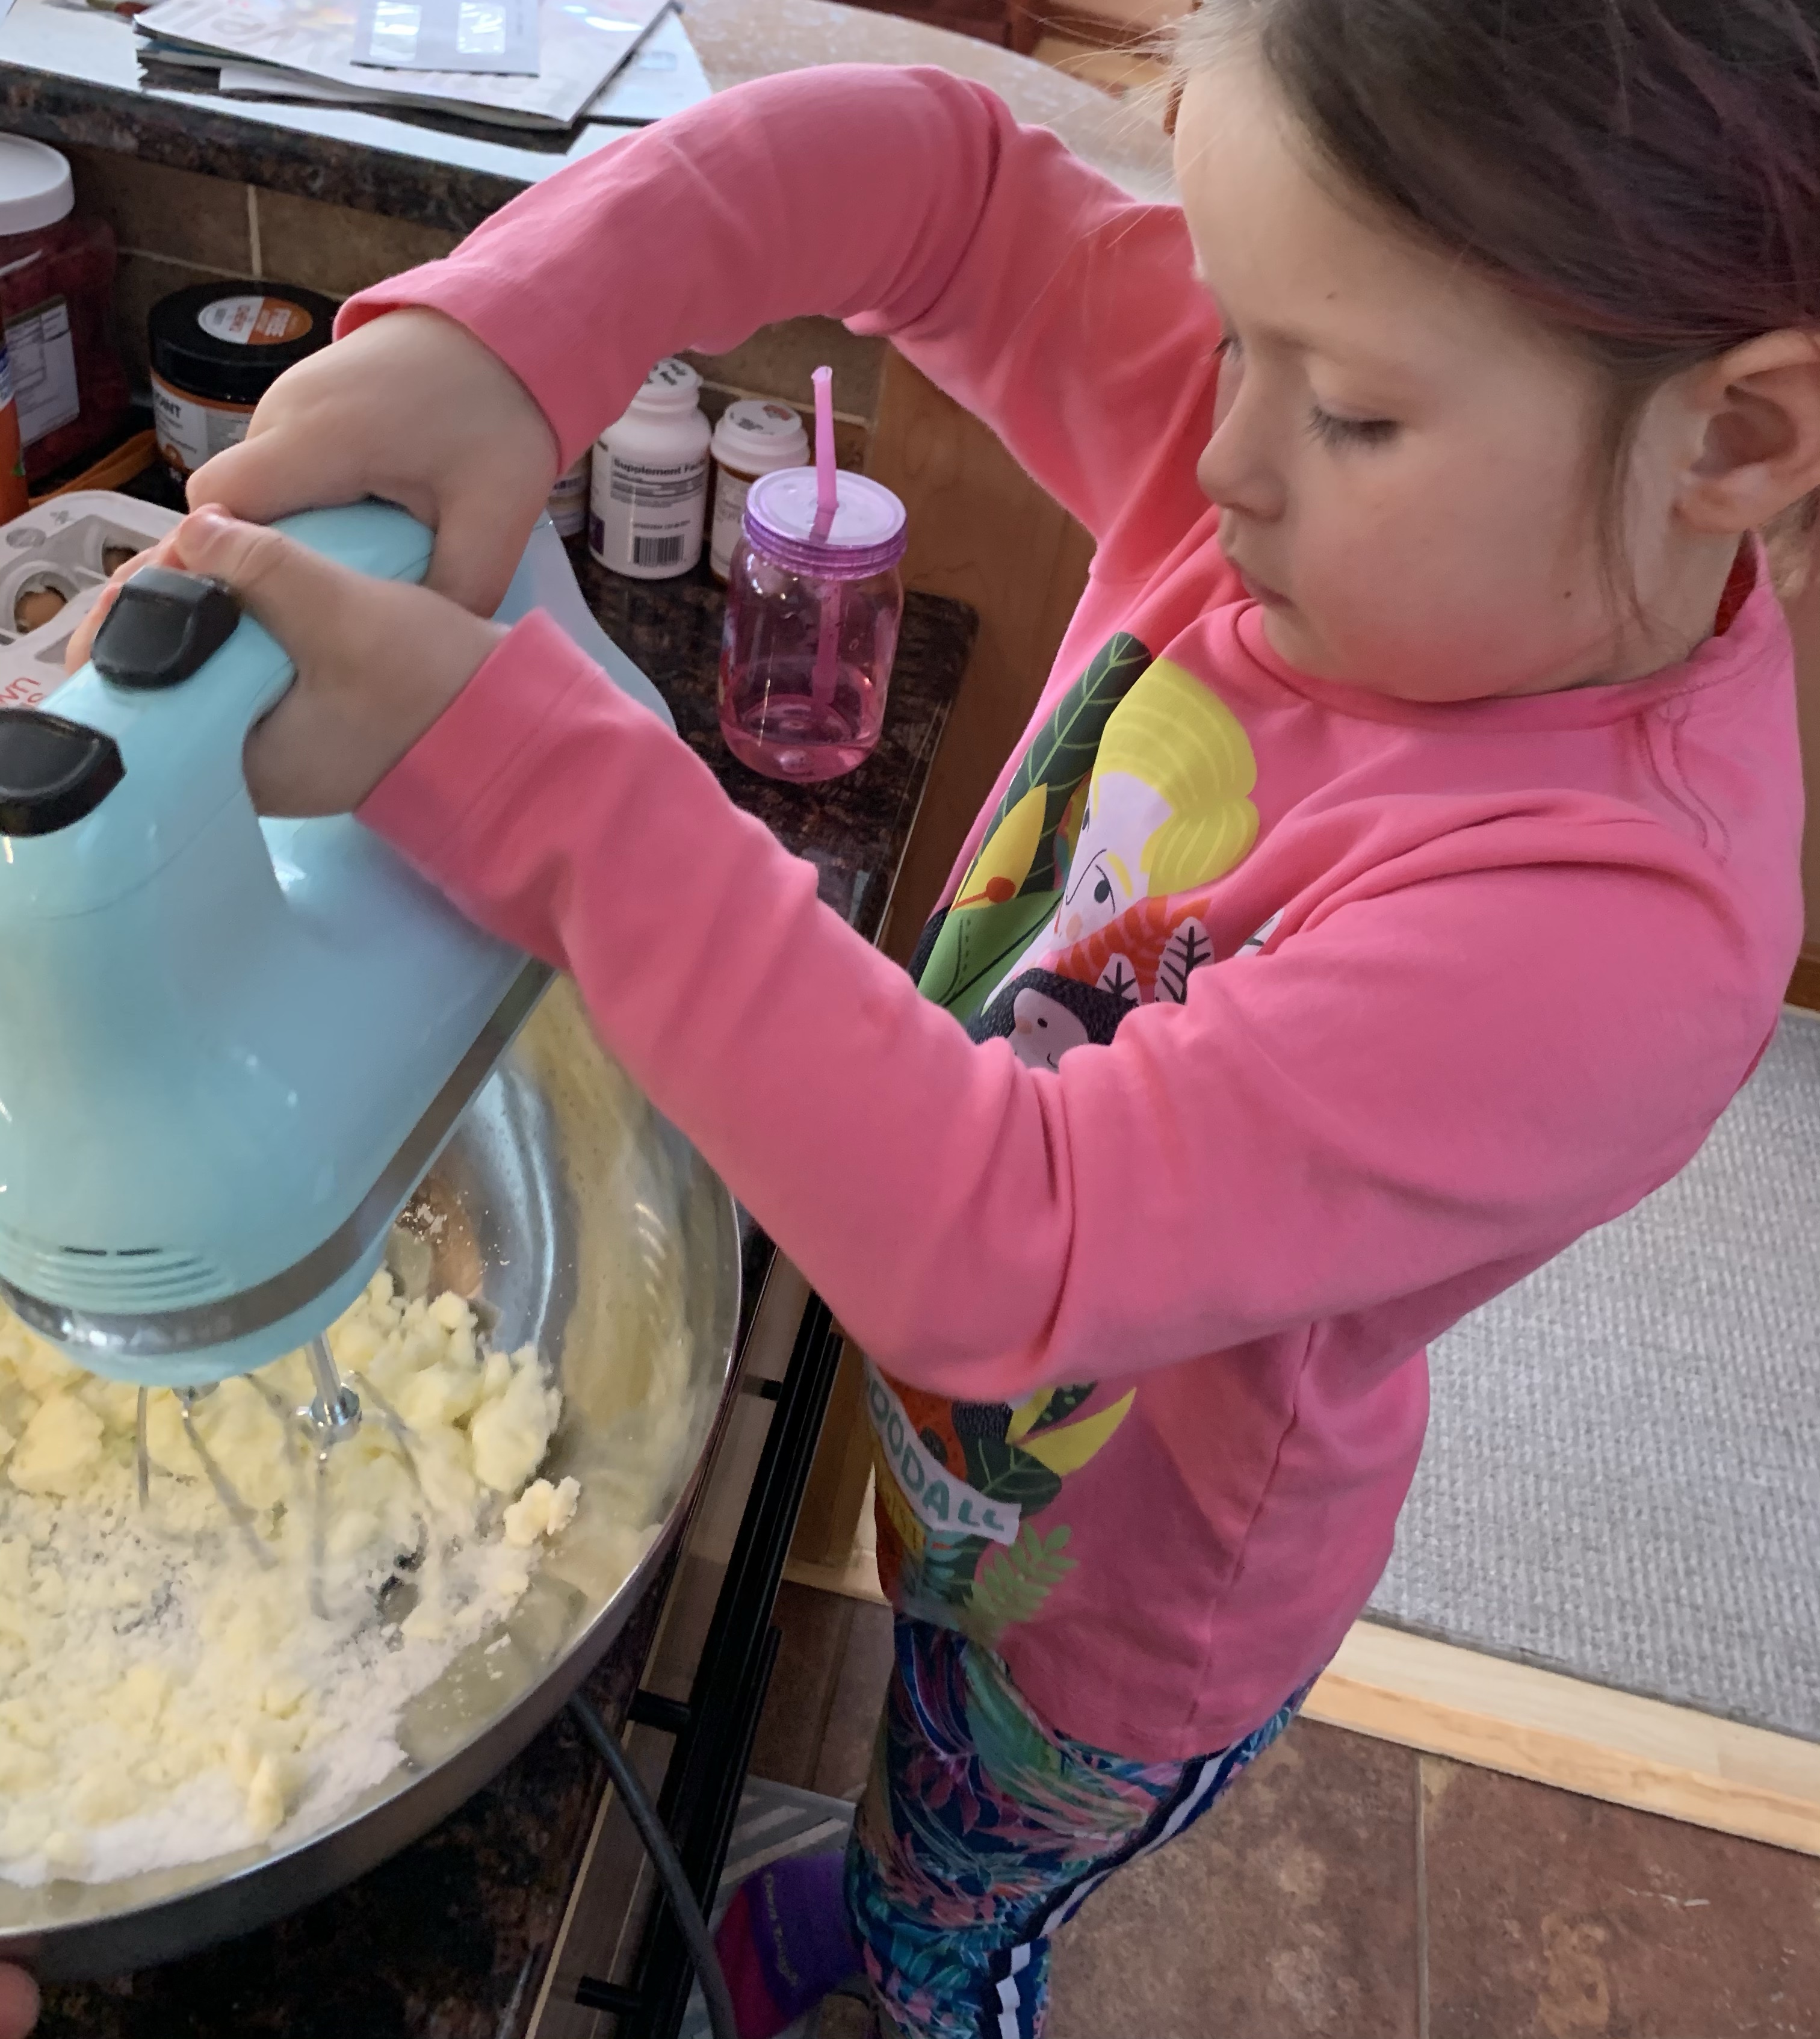
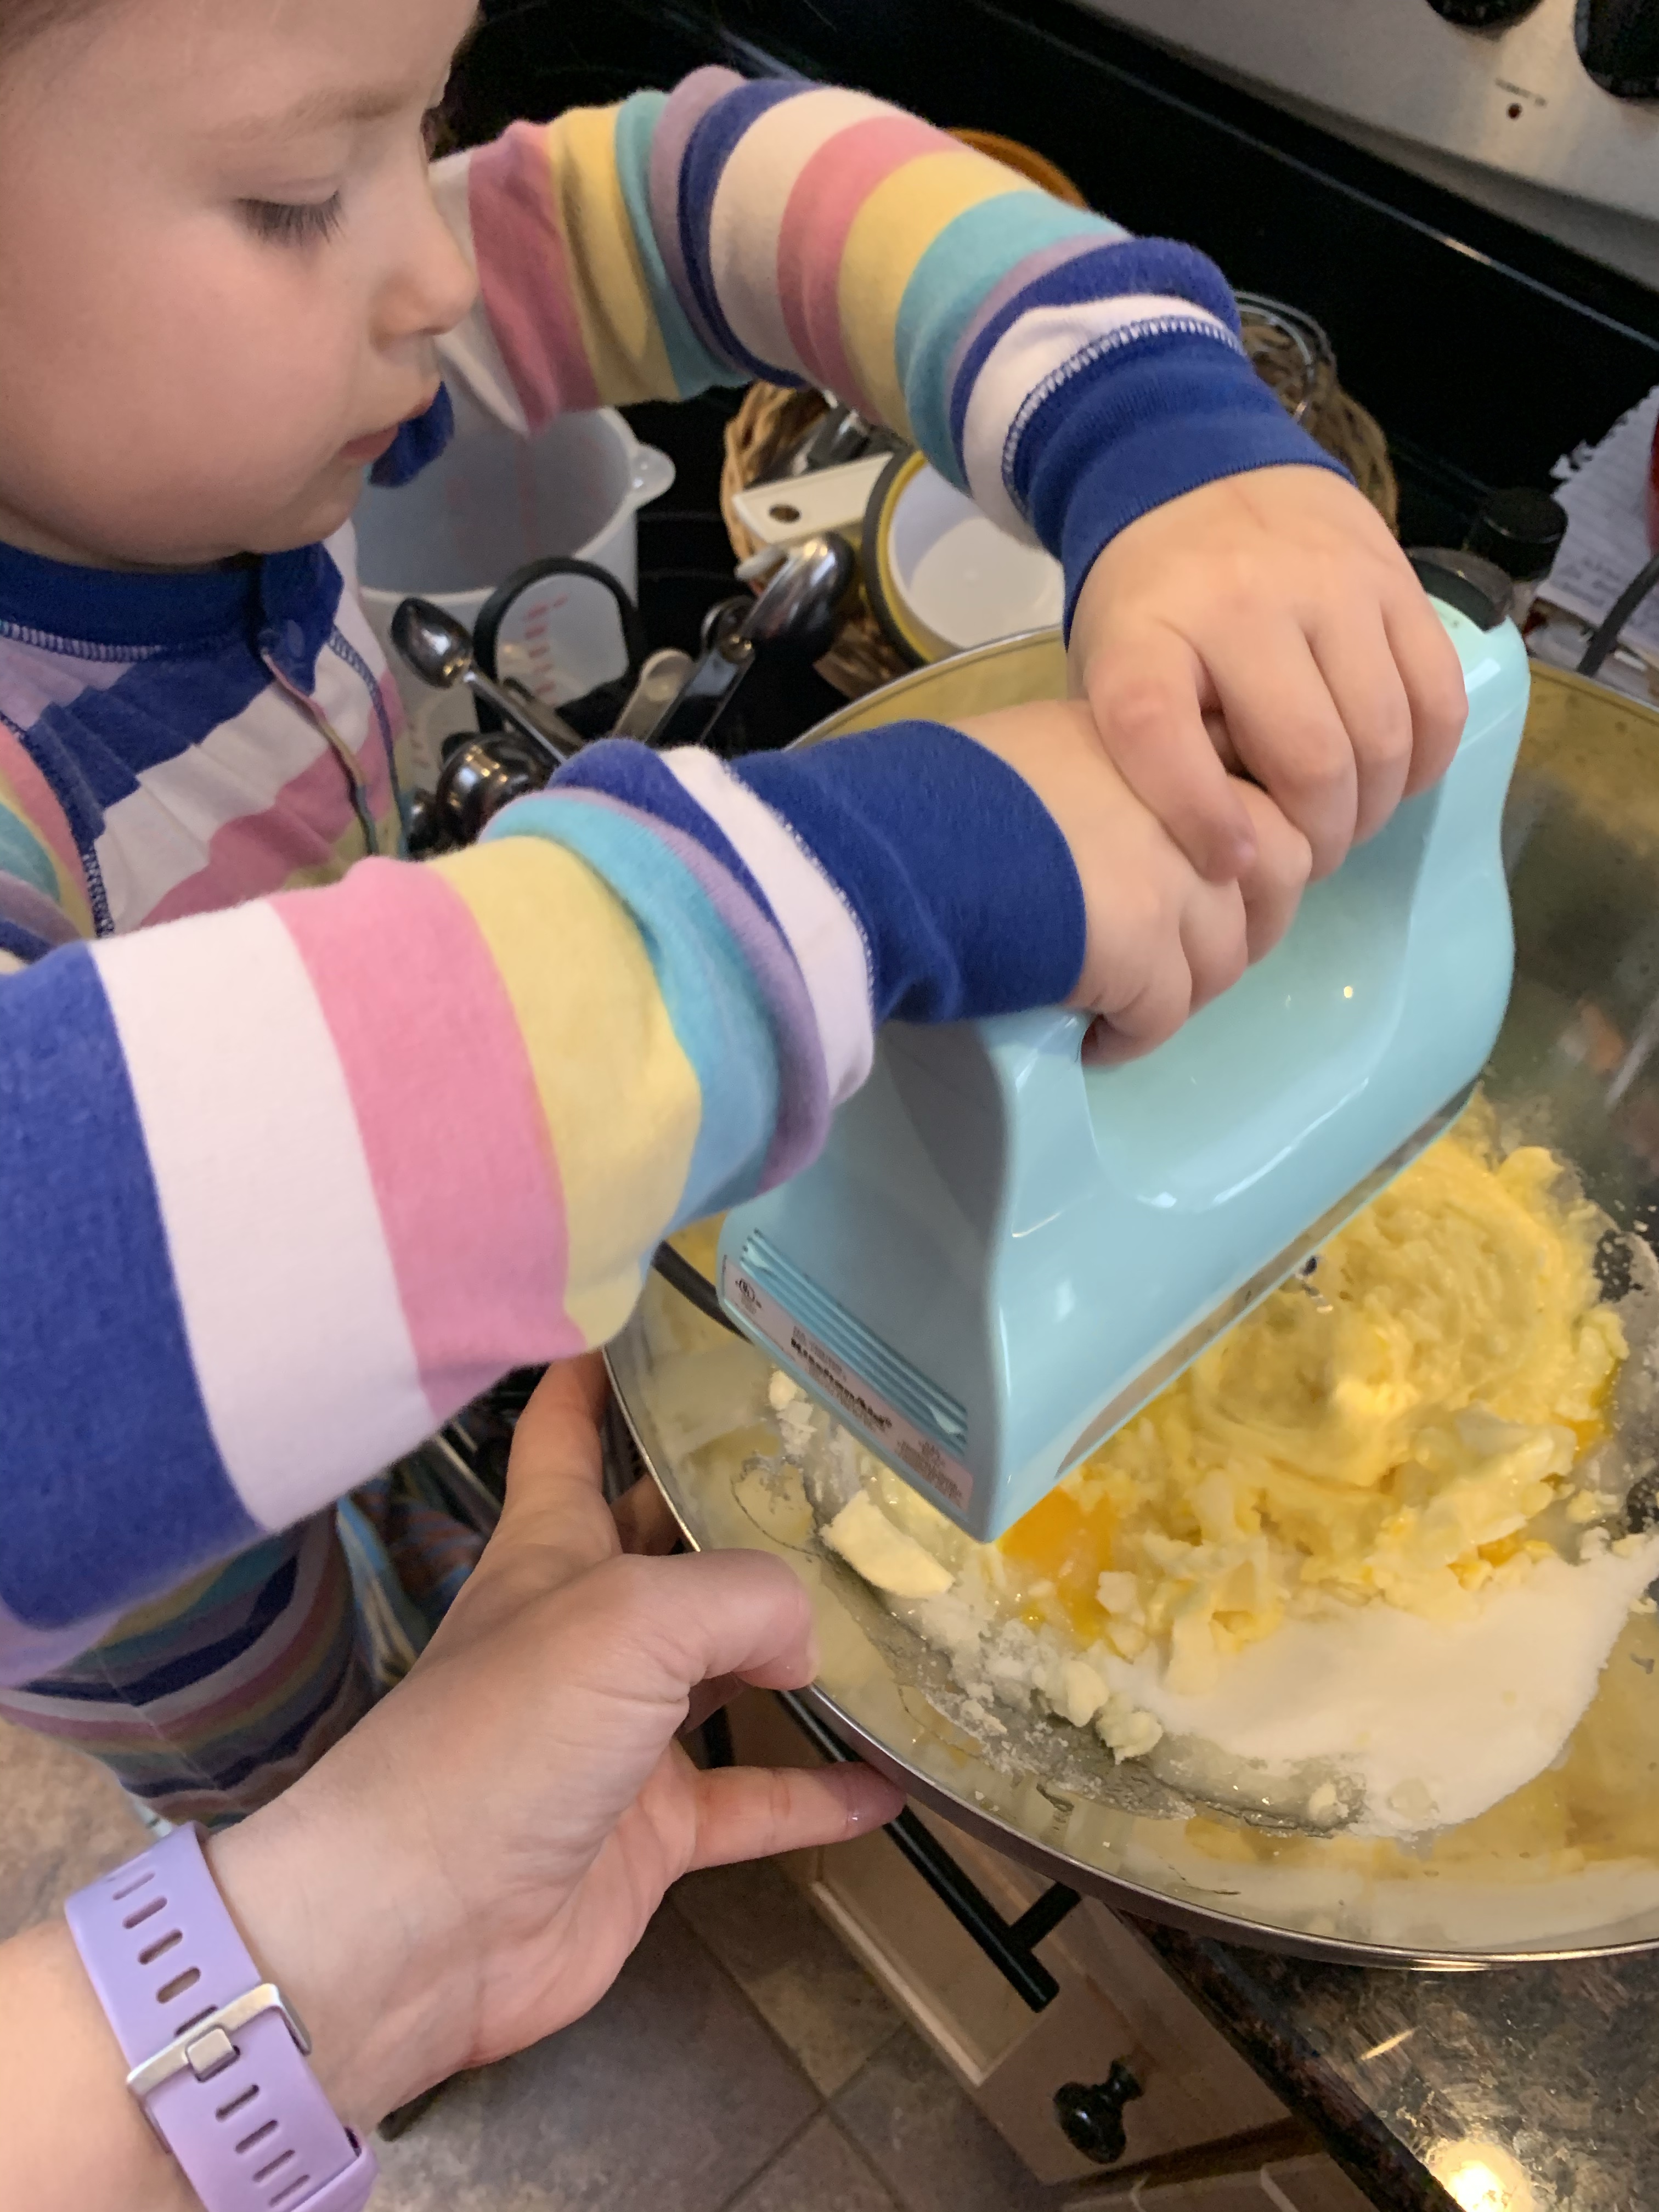
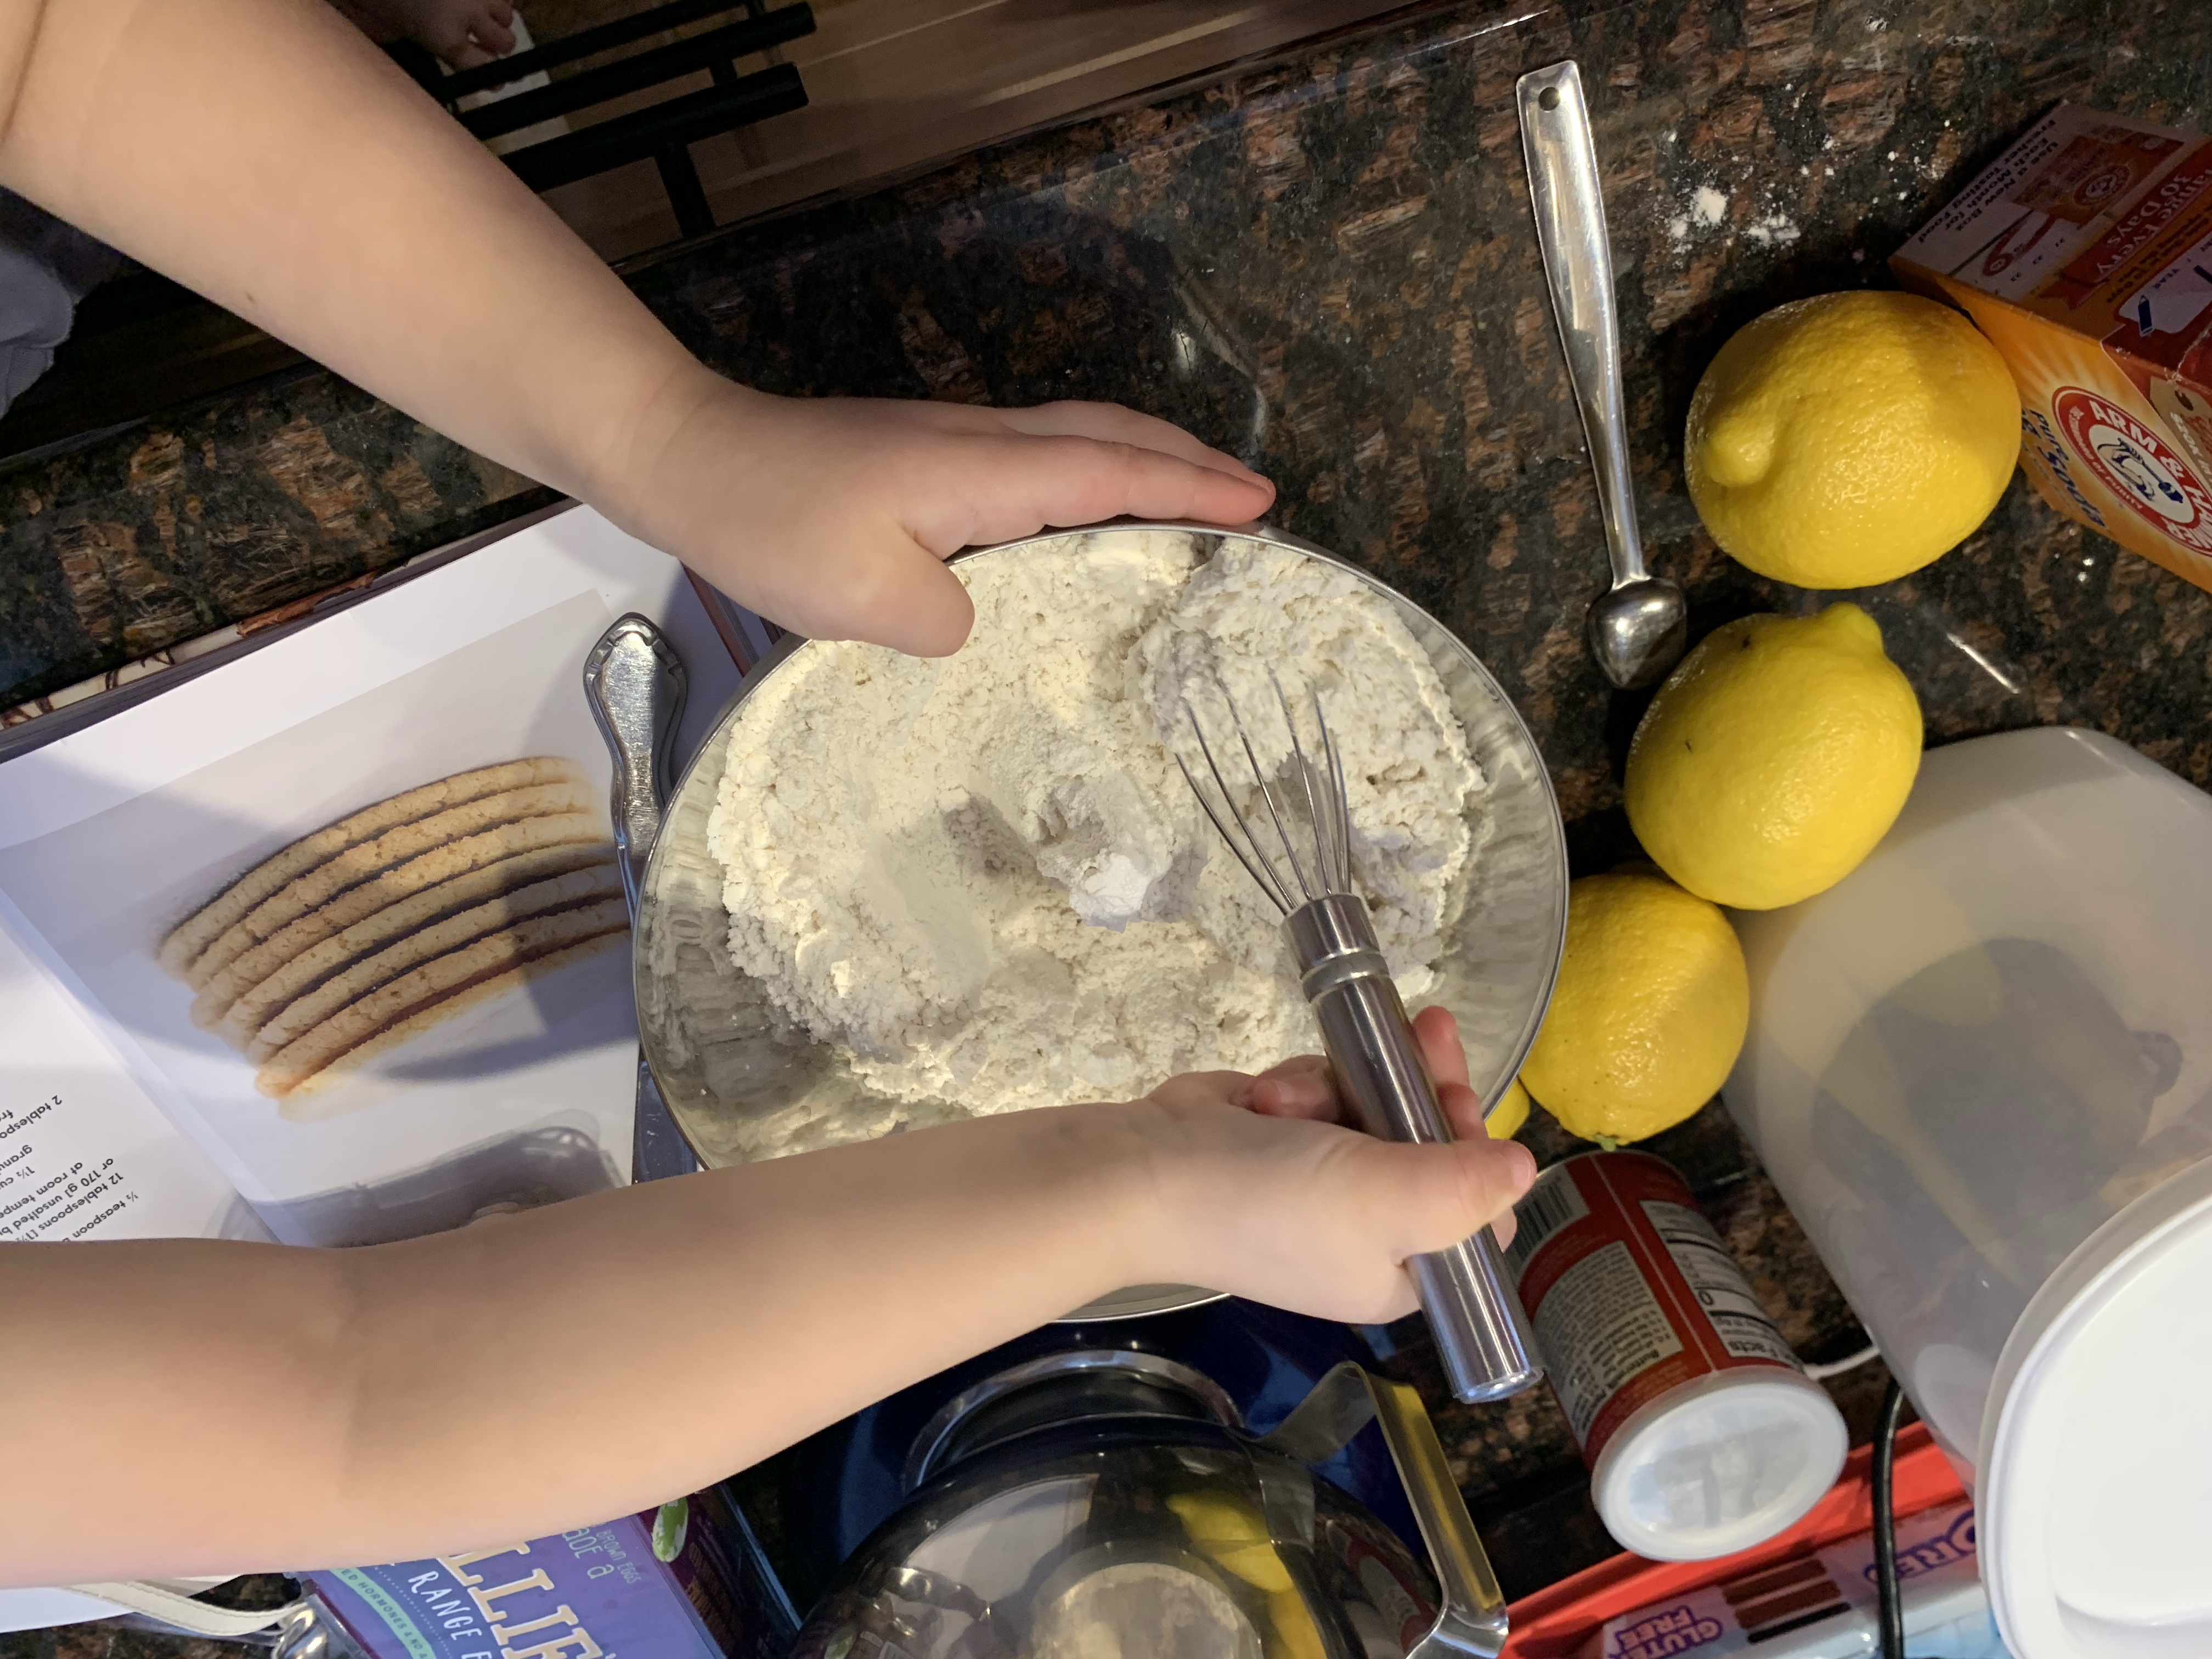
Once we were done with the filling we set it aside and got started on the rest of the recipe. The kids did all the measuring and then I made the mistake of letting them be in charge of the mixer…oops! The mixer got turned on a little too high and we had some overflow. Some…we had a big overflow. The laughing was immediate, the mess was sizable, and I didn’t lose it! I’m calling it a win. We wiped up as much as we could and threw it back into the bowl of the mixer setting it at low, lesson learned! We finished making the components and assembled it, then into the oven it went!
My phone got caught in the overflow! This was one side of the mixer, there was more on the other side. Oh well, we learned a valuable lesson about mixer speed. 😂
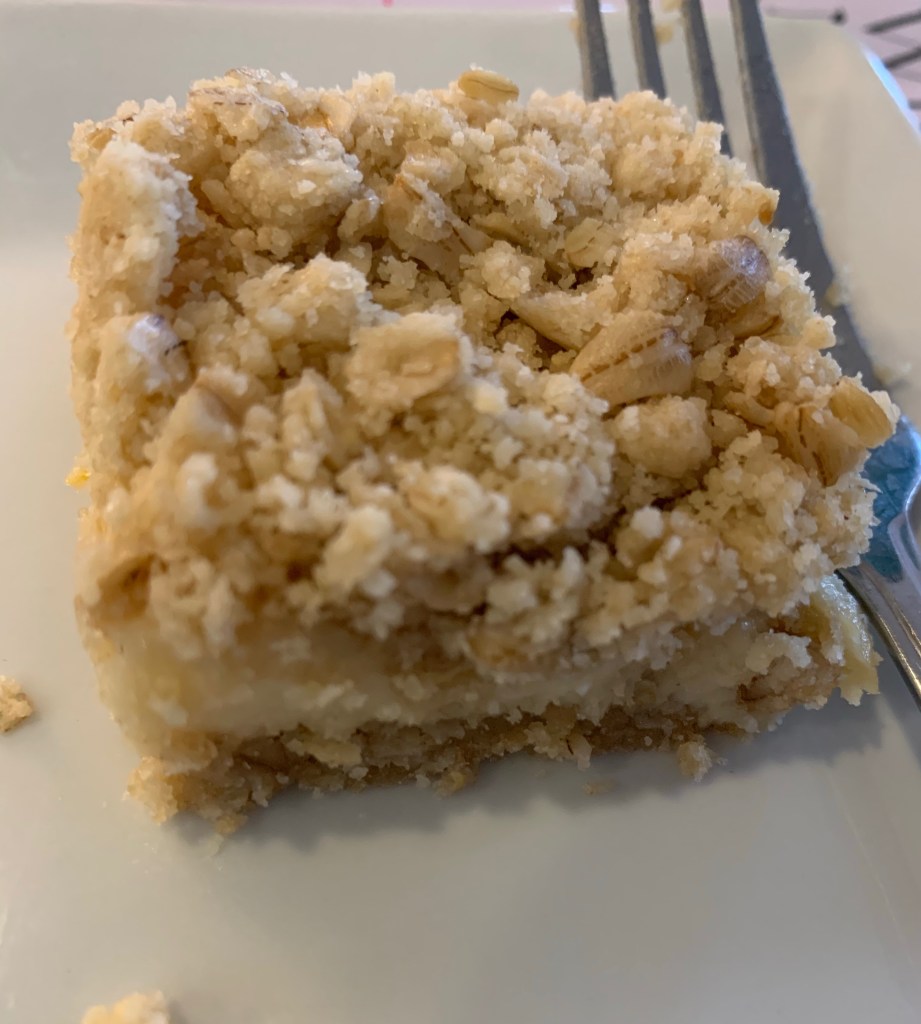
These bars came out great! Sometimes when things don’t go according to plan (messes and mix ups are just a part of baking with kids) the recipe can turn out less then desirable. That was not the case here. We did a taste test for dessert and they are so good! I should be be surprised, nothing in this book has been disappointing.
I’m not drooling! You’re drooling!
Keep following along to see what we do next. Don’t forget there might be some kind of fun for baking day 20! I can’t believe we’re approaching it already. Let us know what you’re baking. Follow along on Instagram @100daysofbakingwithkids and Facebook at 100 days of baking with kids. We hope to hear from you!
It’s been a BEAUTIFUL week here in Vermont. It’s looking like spring might stick around and I couldn’t be happier about that! Since the weather is so nice some local creemee stands are opening for the season. For those of you who don’t know, a creemee is a soft serve ice cream, but the correct name for it. Try and order a “soft serve” around here and you’ll be shown the door! NOT. A. THING! Anyway, since they’re opening and we’re exploring I thought it would be AWESOME to surprise the kids with a local favorite on the way home from a hike. The problem? Everyone else had the same idea and we were on a tight schedule. Needless to say I had some disappointed kids after that. Well, you’ve heard of lemons into lemonade, but have you heard of no creemee into brownie cookies? Now you have!
Here’s the part where I remind you that if you haven’t already you should go and buy 100 Cookies by Sarah Kieffer. I don’t know how many times or ways I can say it but this book has fast become our go-to for ALL the cookie recipes. She’s a genius! Here’s the link (in case you’ve missed it in one of the other posts) https://www.thevanillabeanblog.com/100-cookies, now run along and order it! Then you can make all the yummy things we’ve been trying and have so much fun!
For us, preparation is key! If we don’t have everything out before we start it usually turns into a hot mess with everyone cranky.
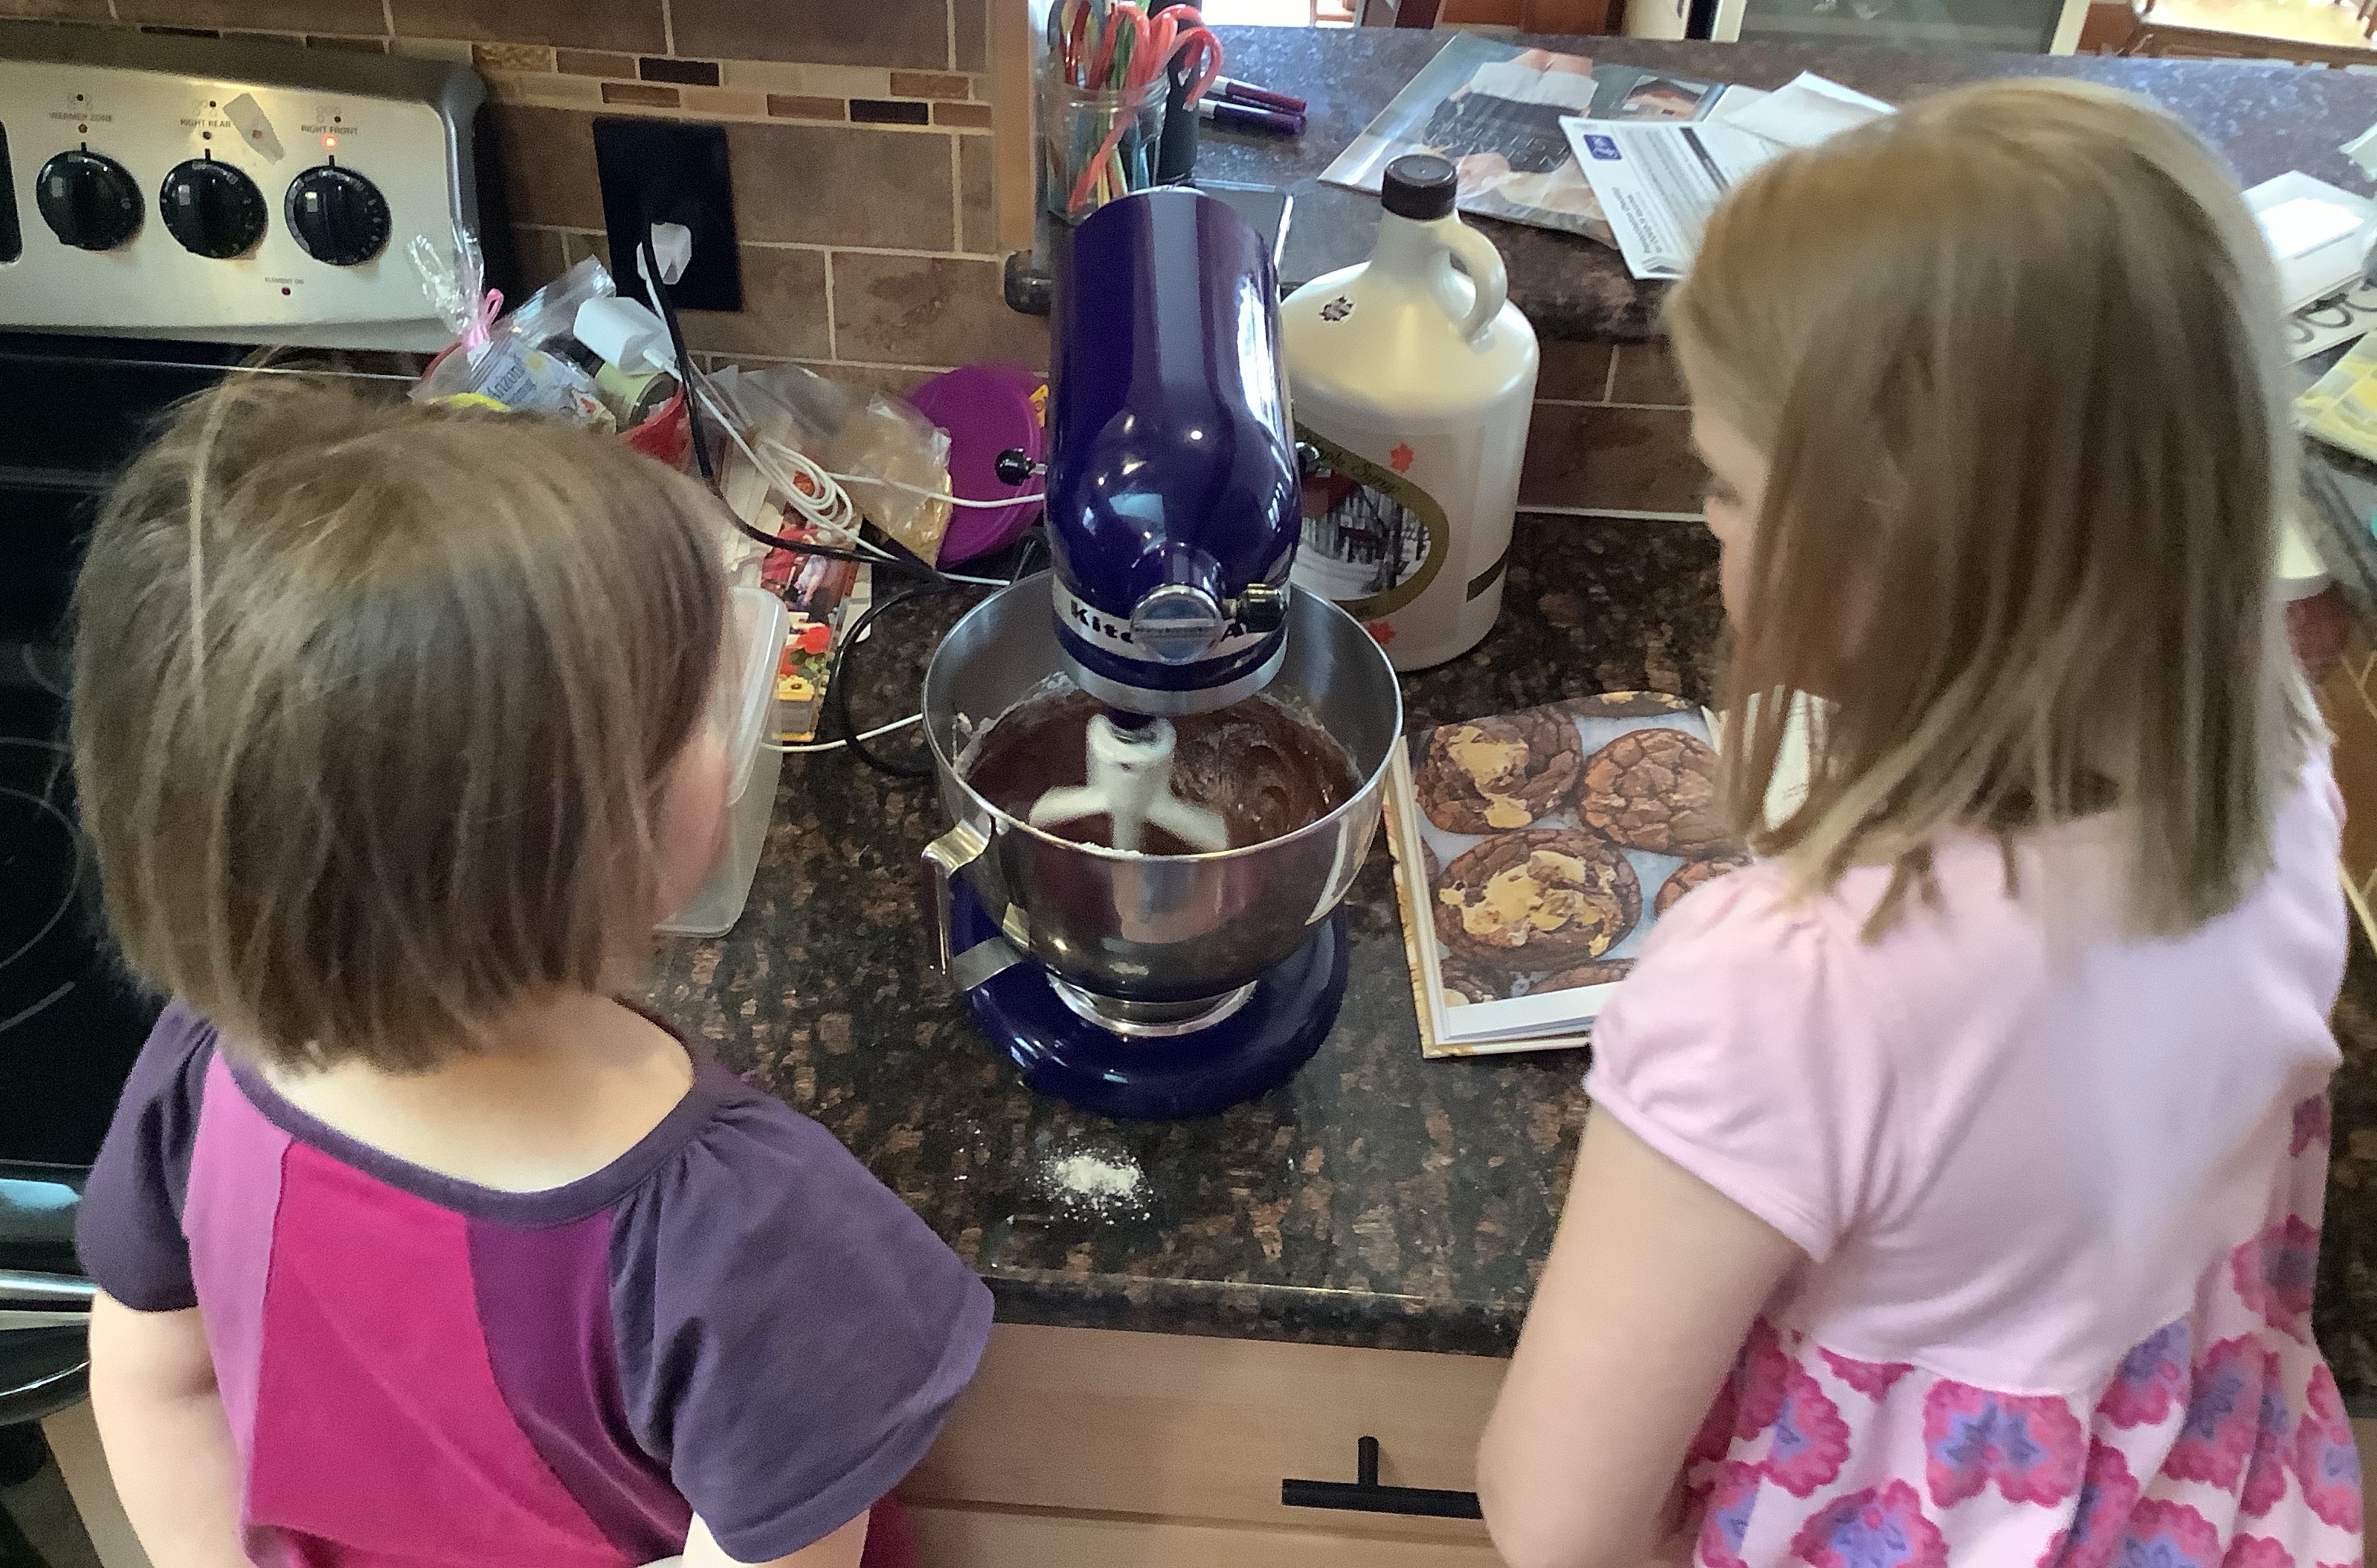
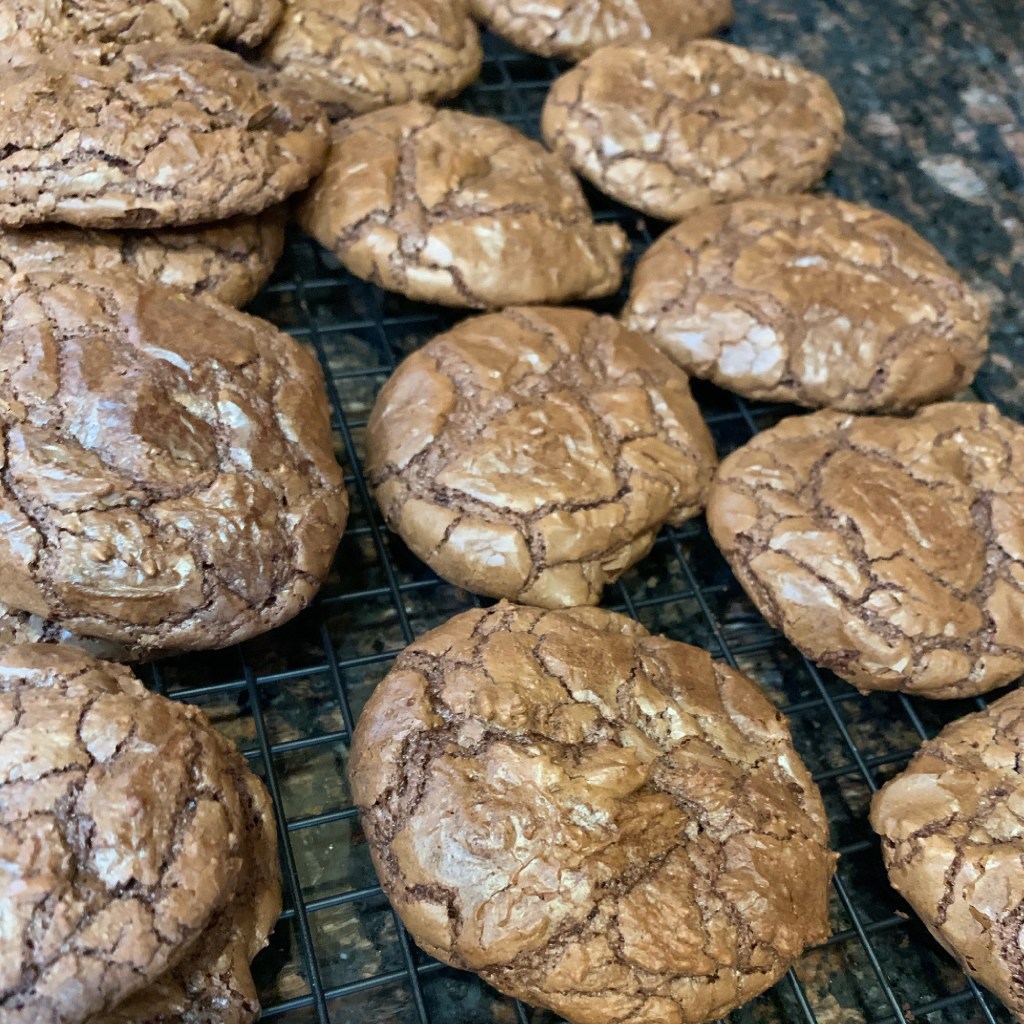
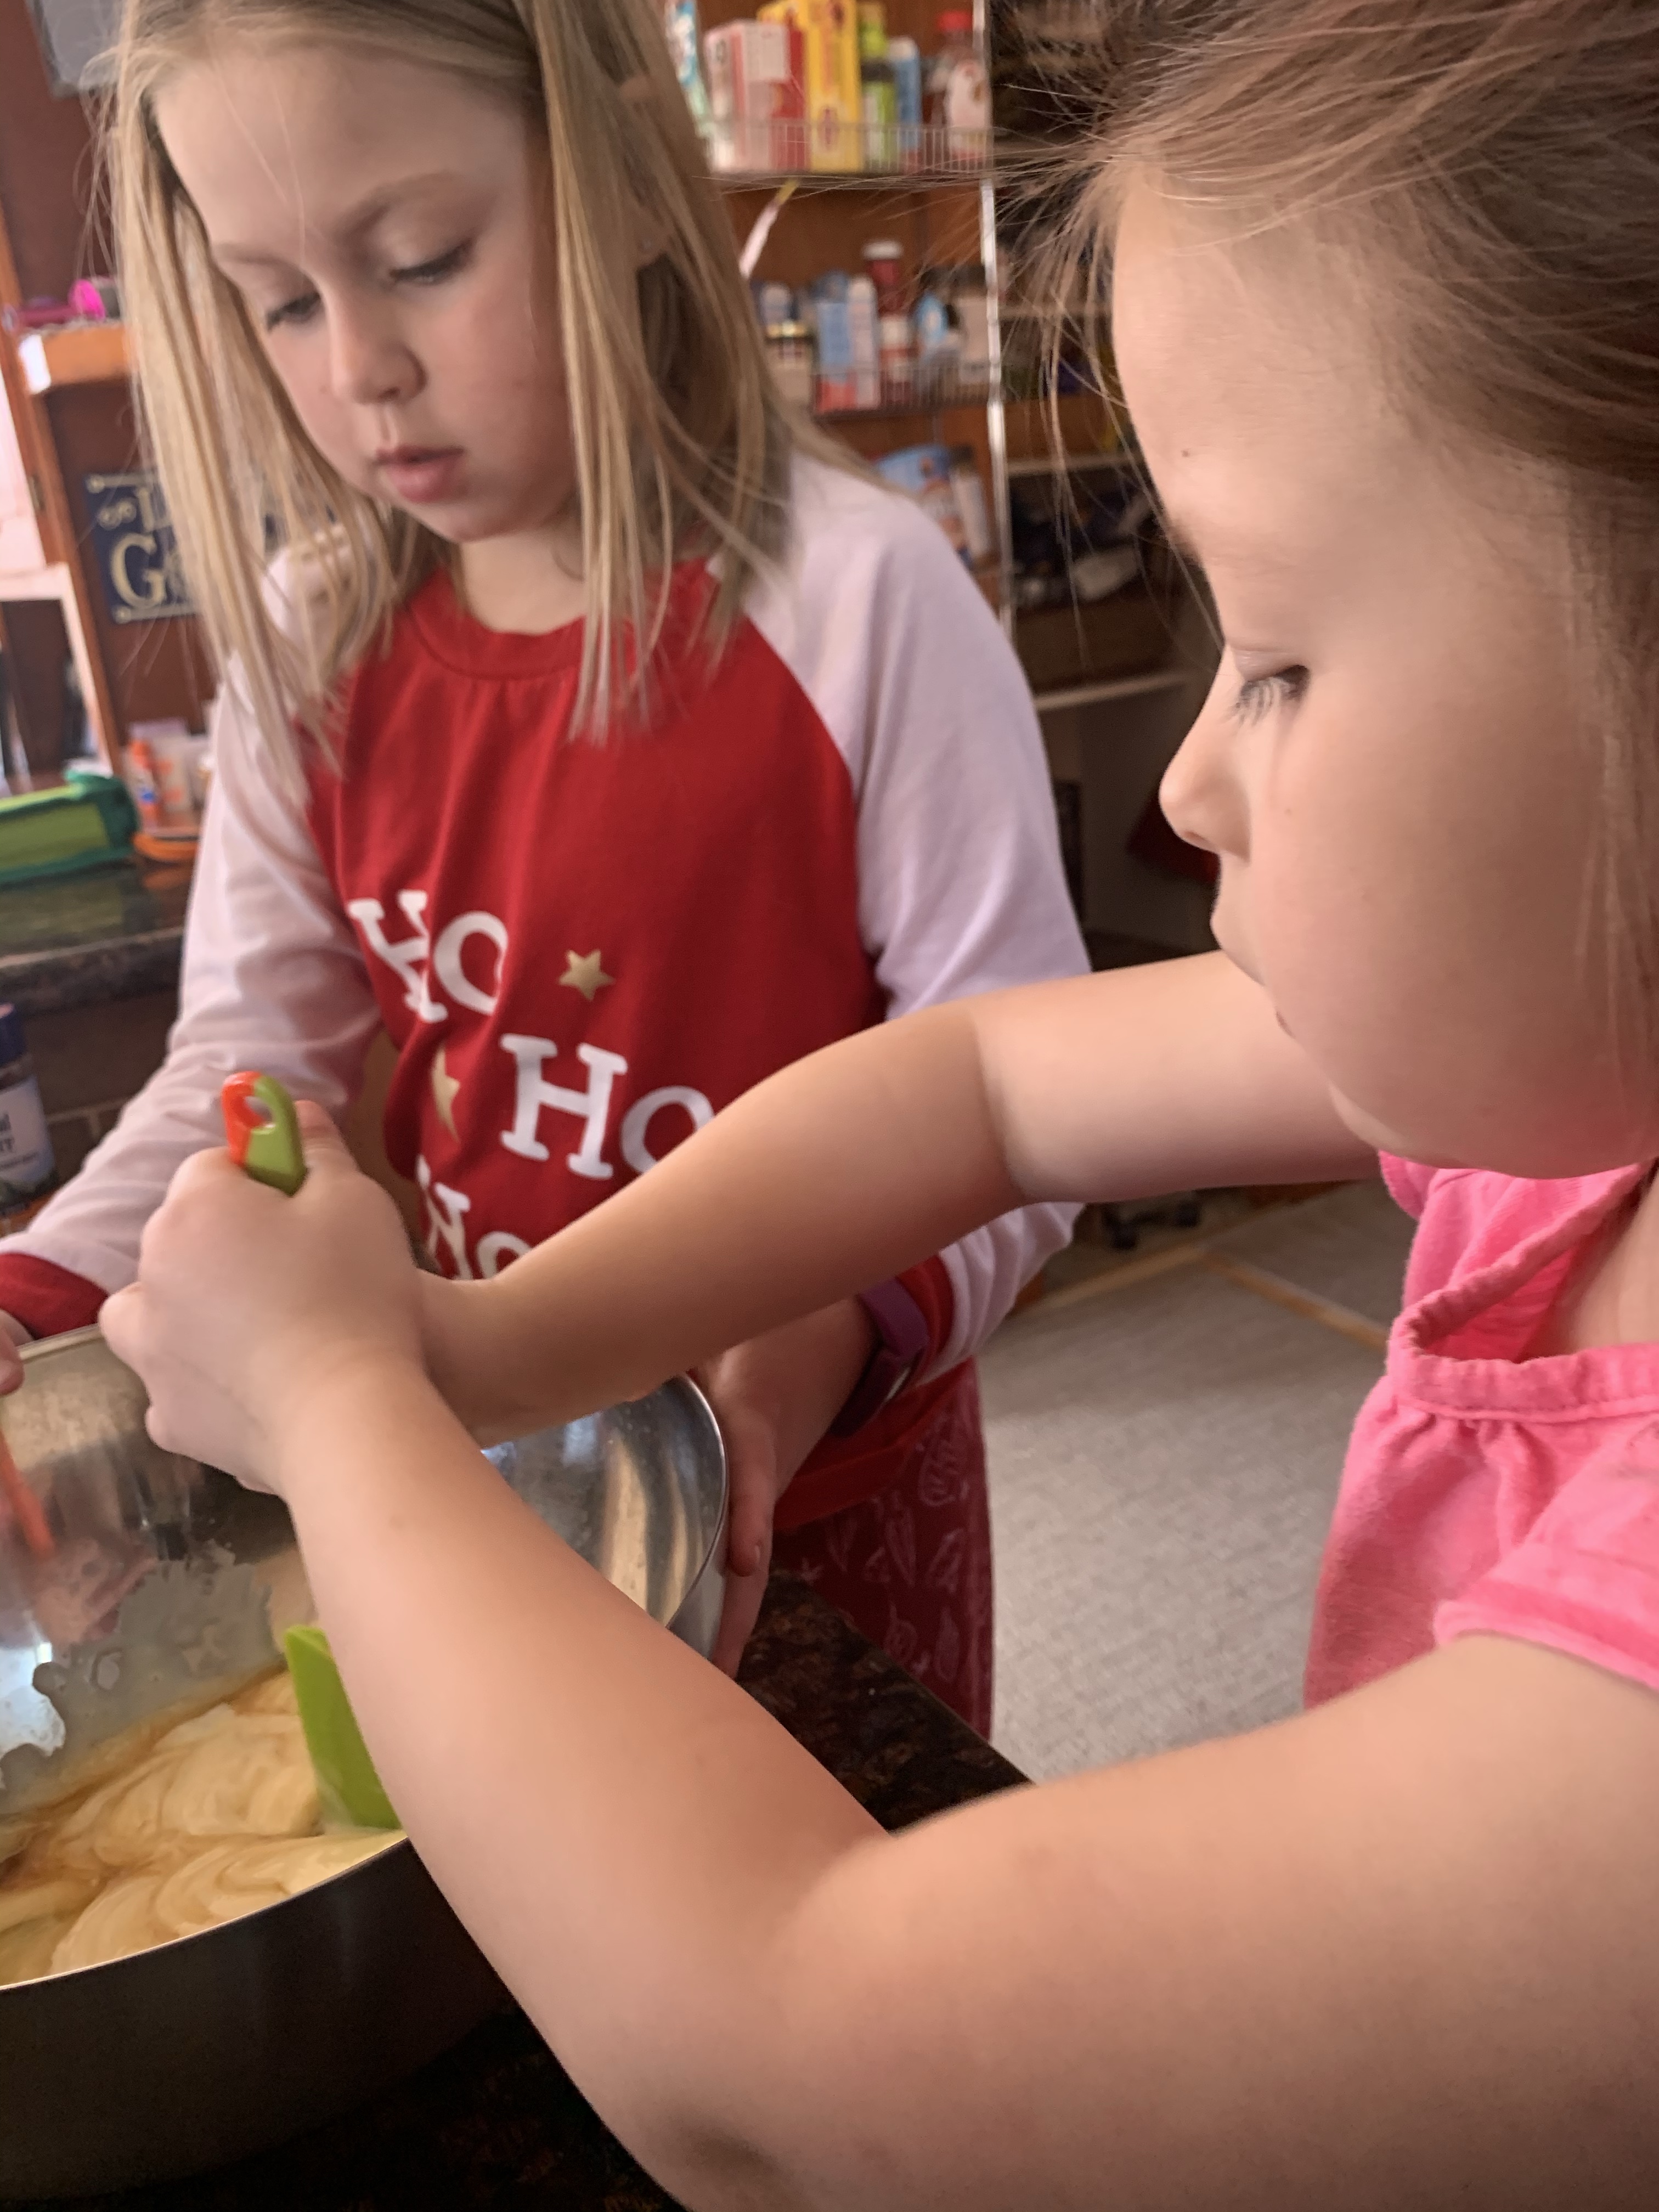
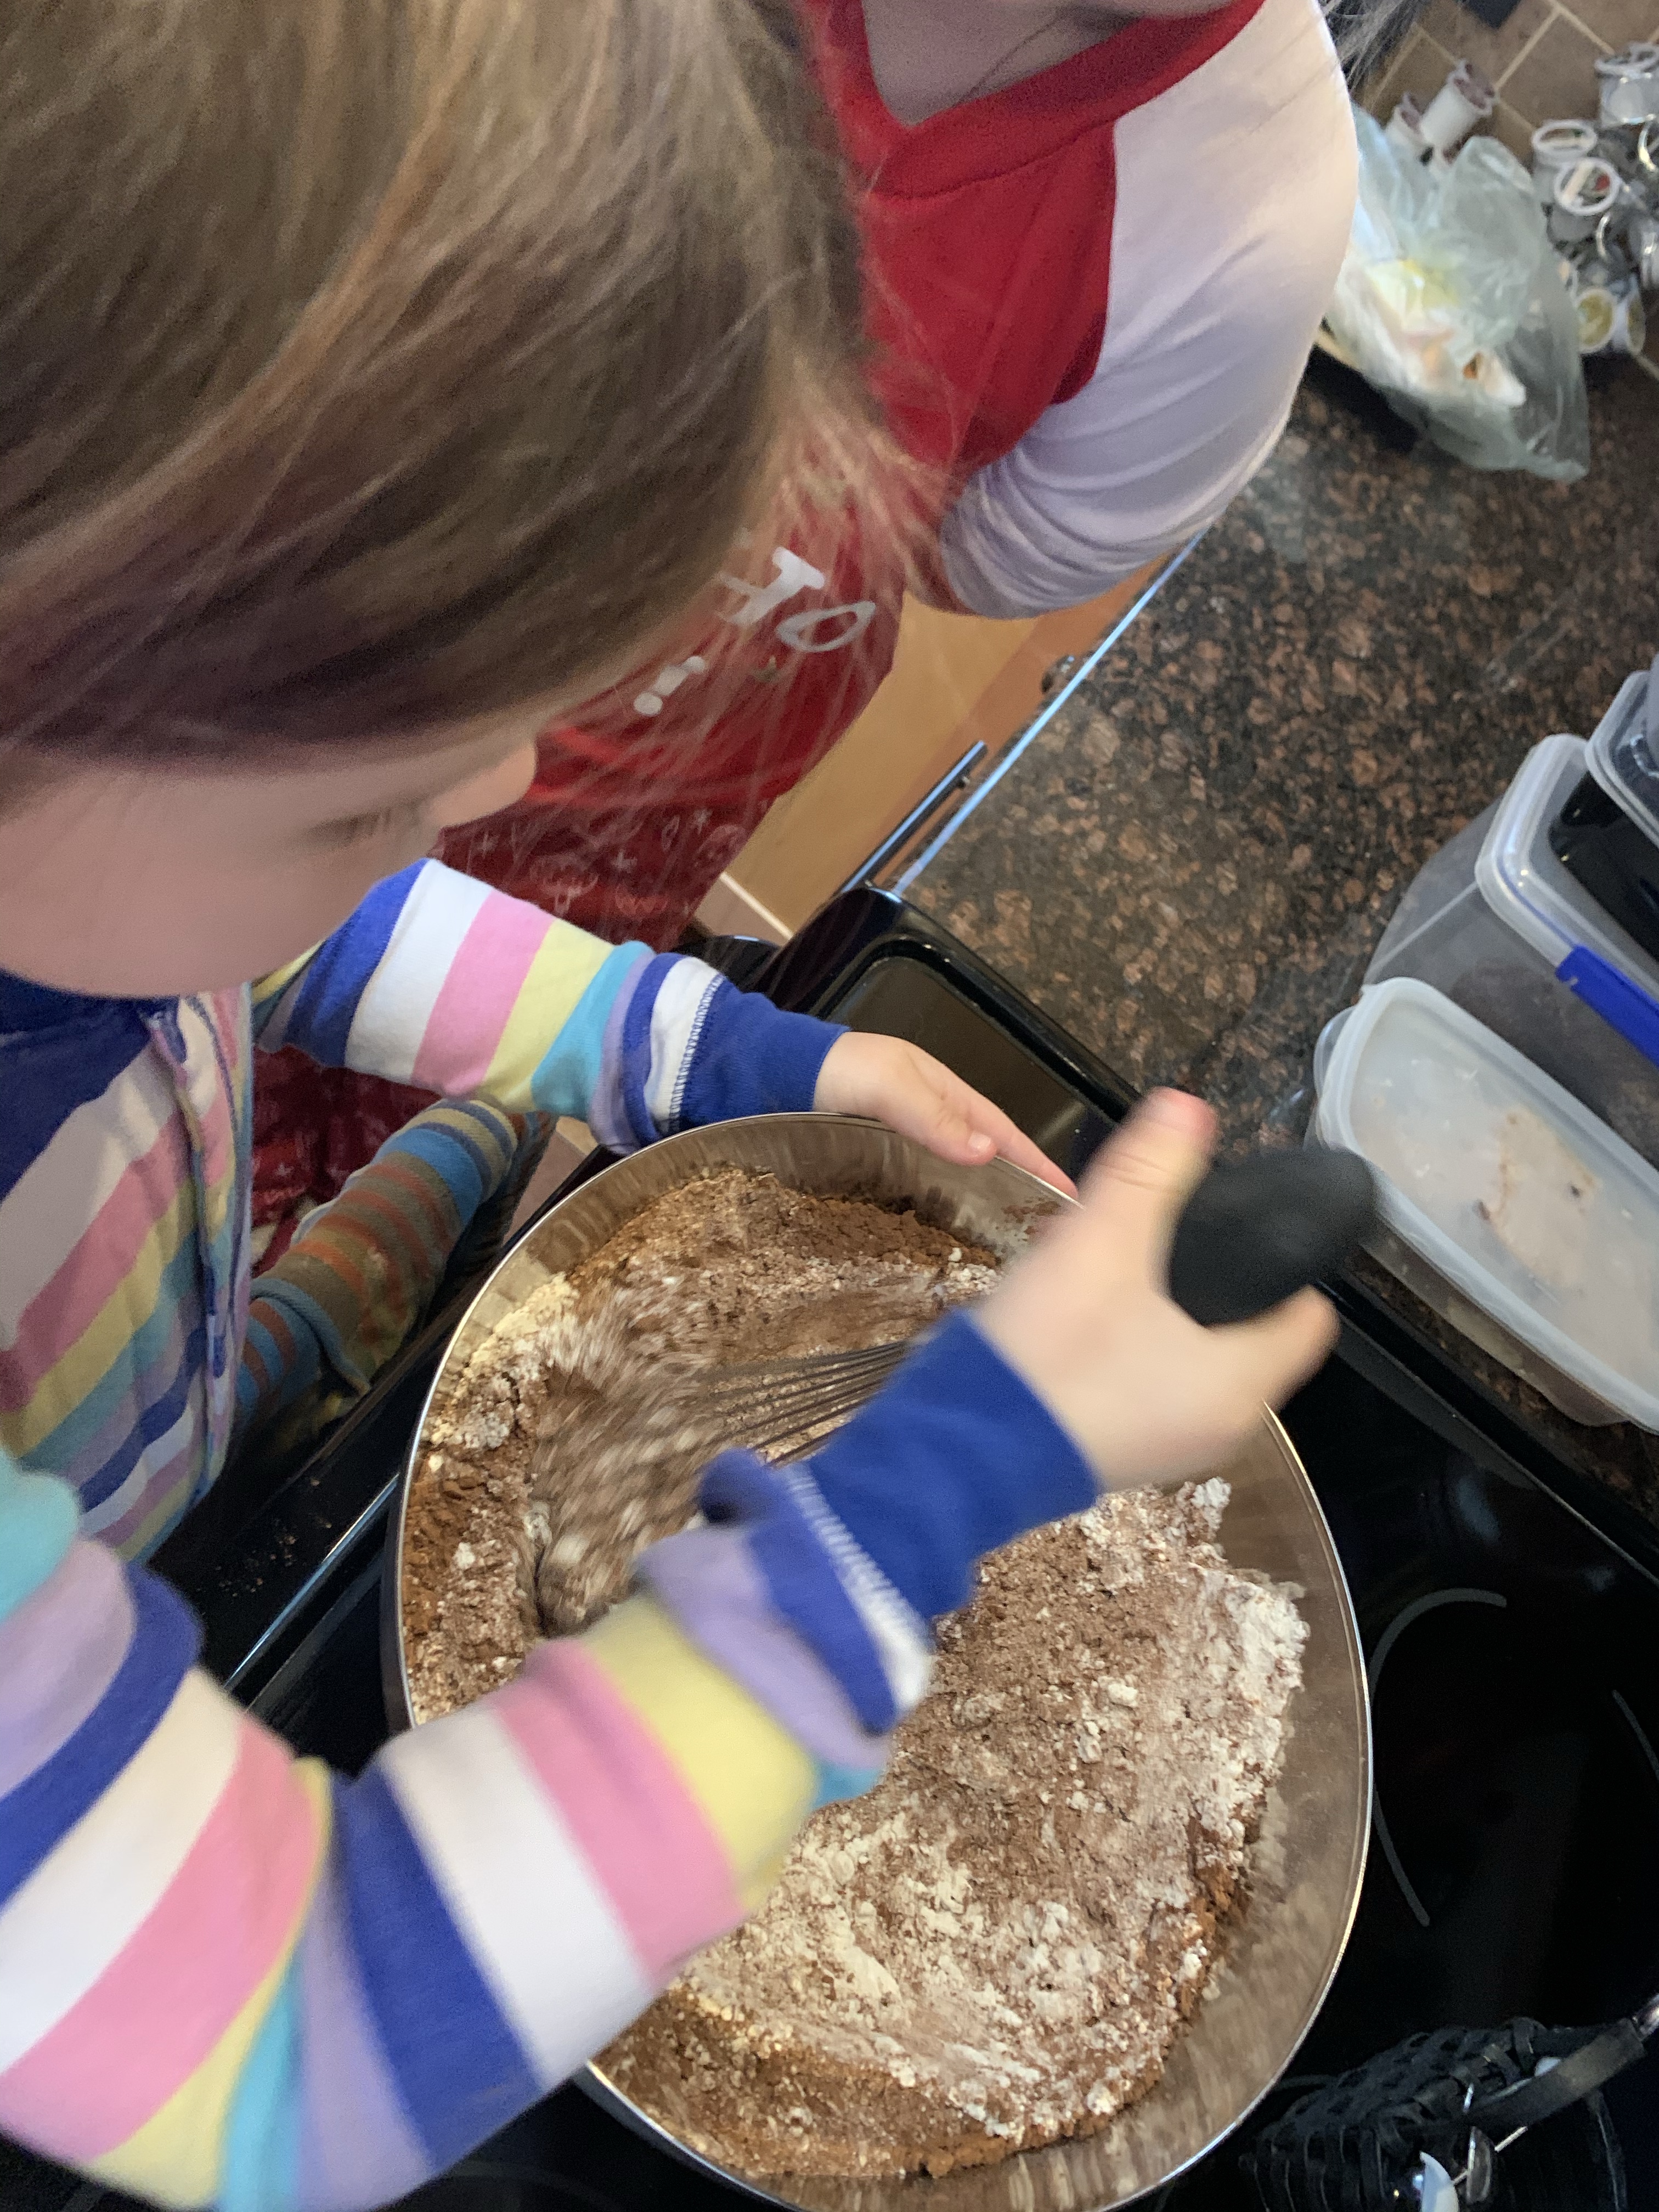
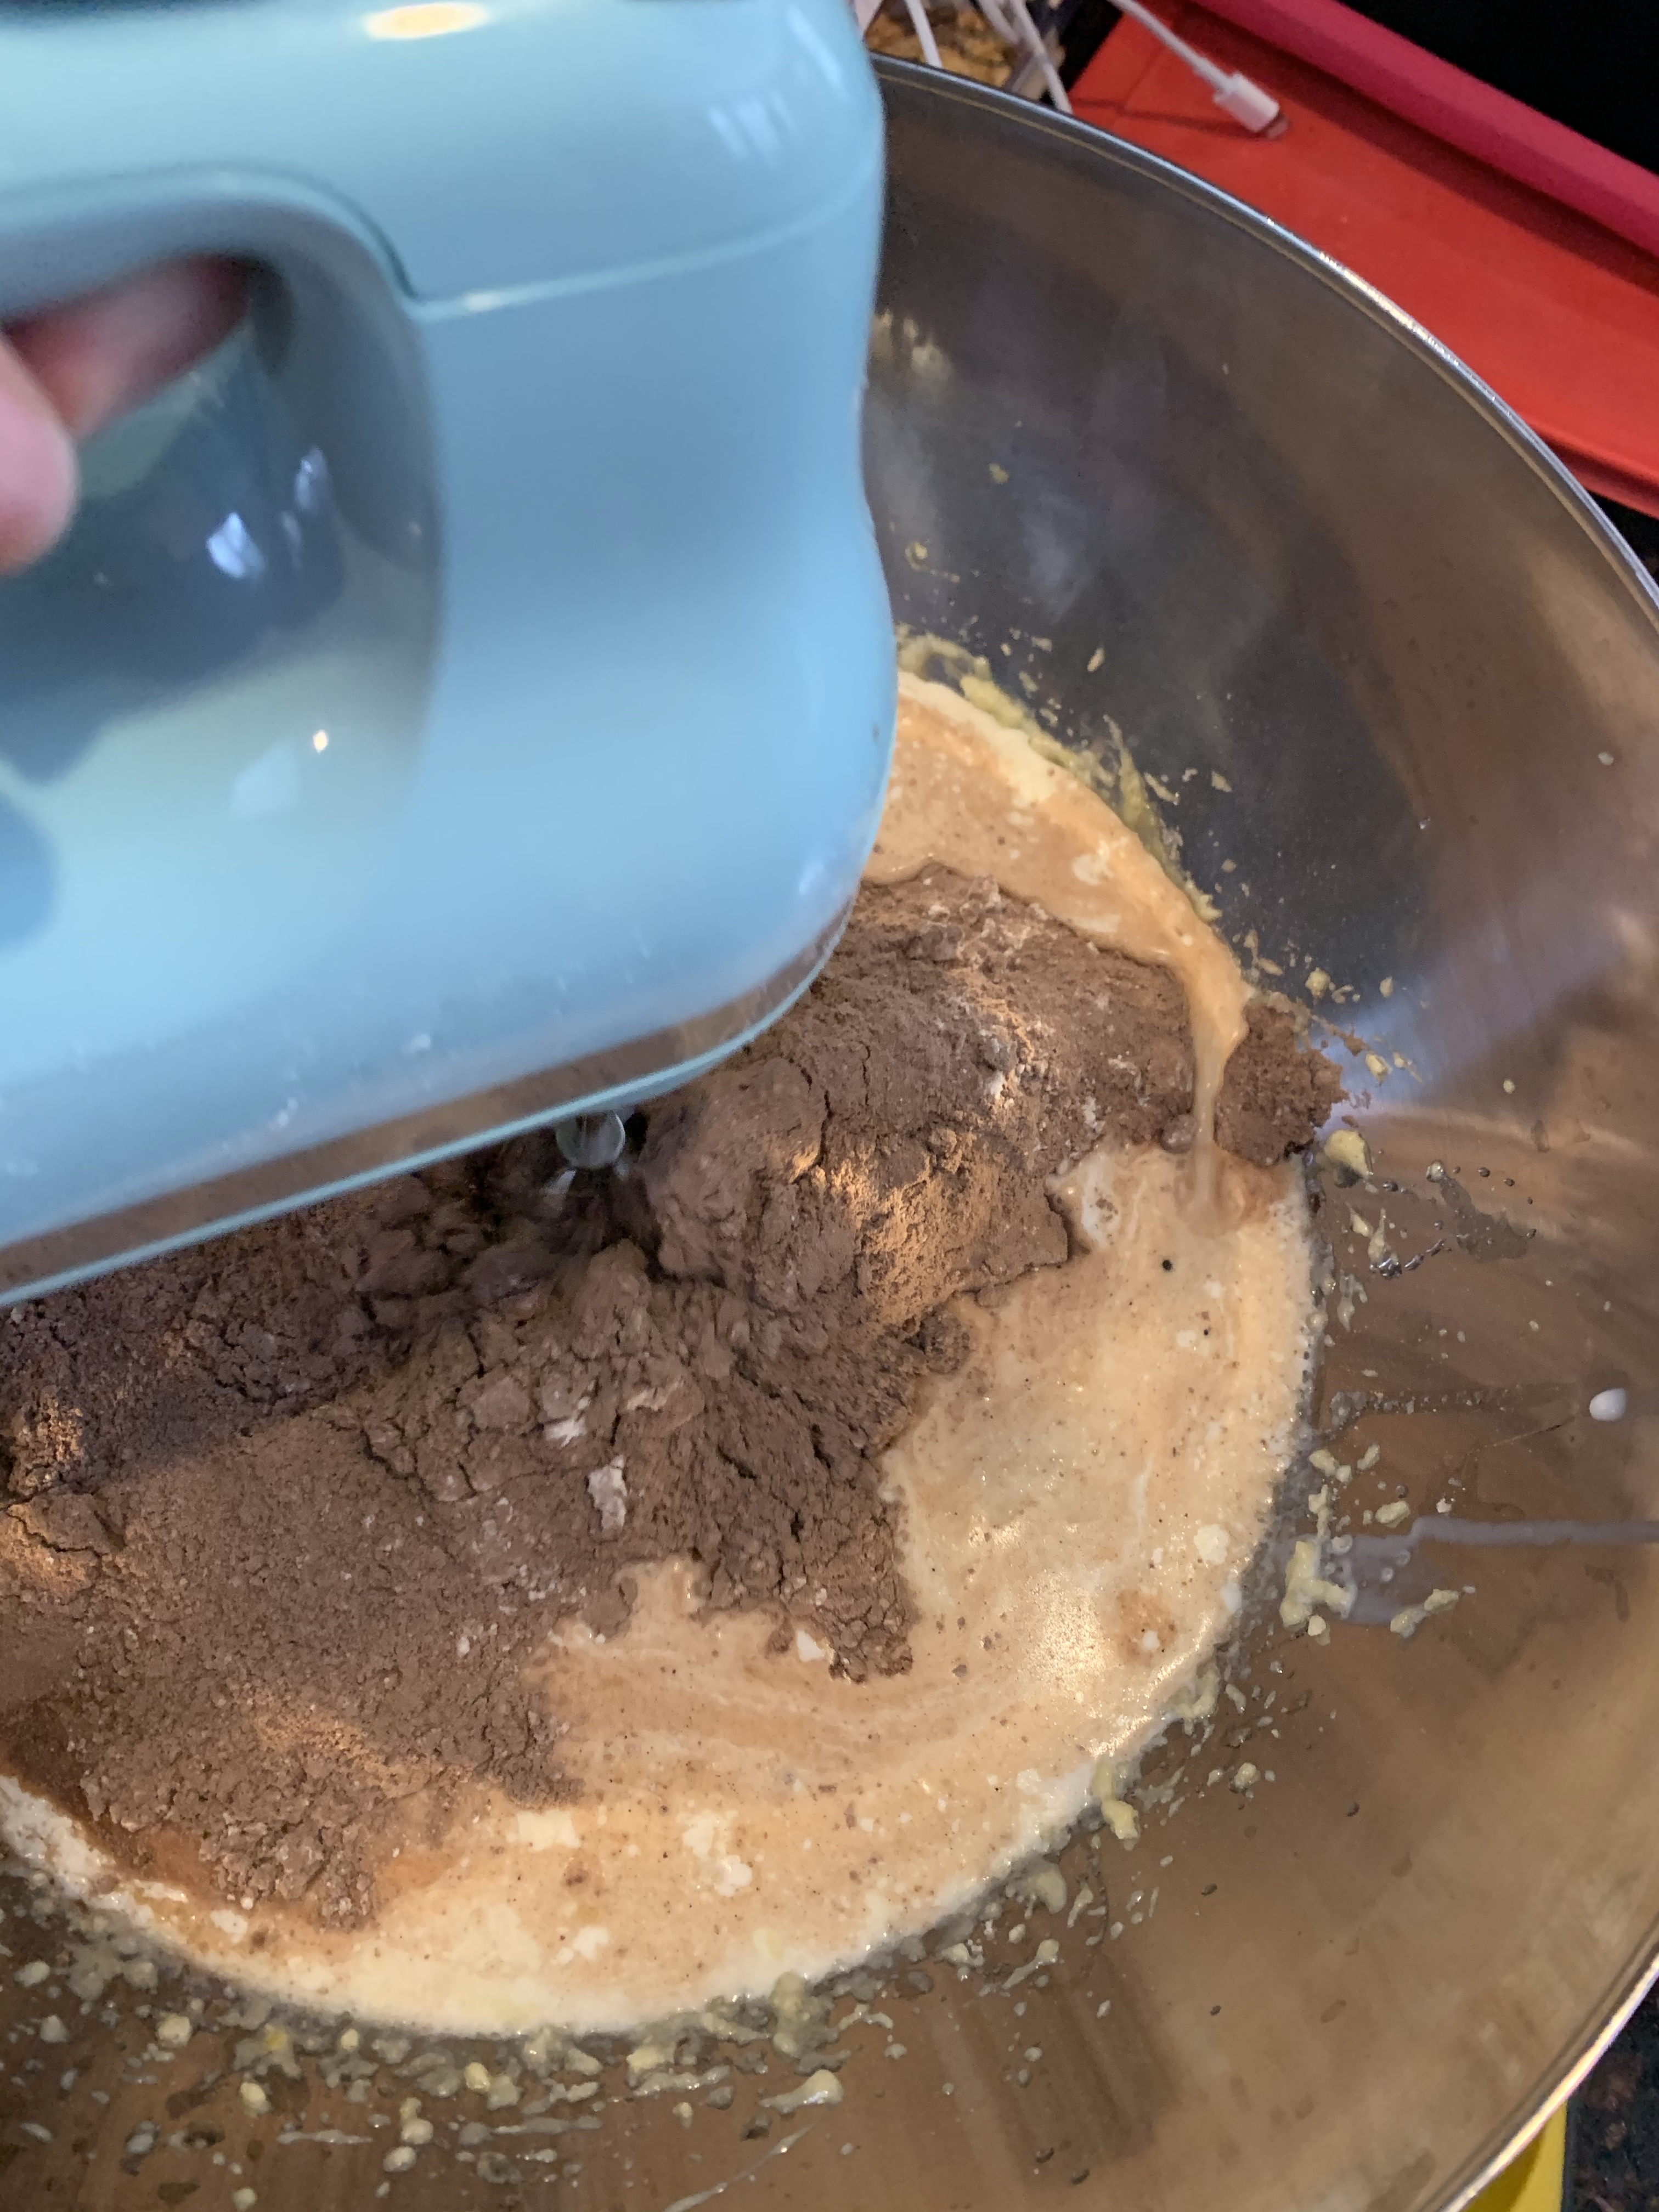
Before we set off on this particular baking journey there was some disagreement about whether it was a cookie day or a brownie day. Thankfully, we didn’t have to decide! We made brownie cookies! Yup, that’s right. In this amazing book there is a recipe for brownie cookies and it is WOW! Honestly, it is the best of both worlds. They are crispy around the edges like a cookie, but tender and gooey in the middle like a brownie. Oh, and they have ALL the big chocolate flavor of a brownie.
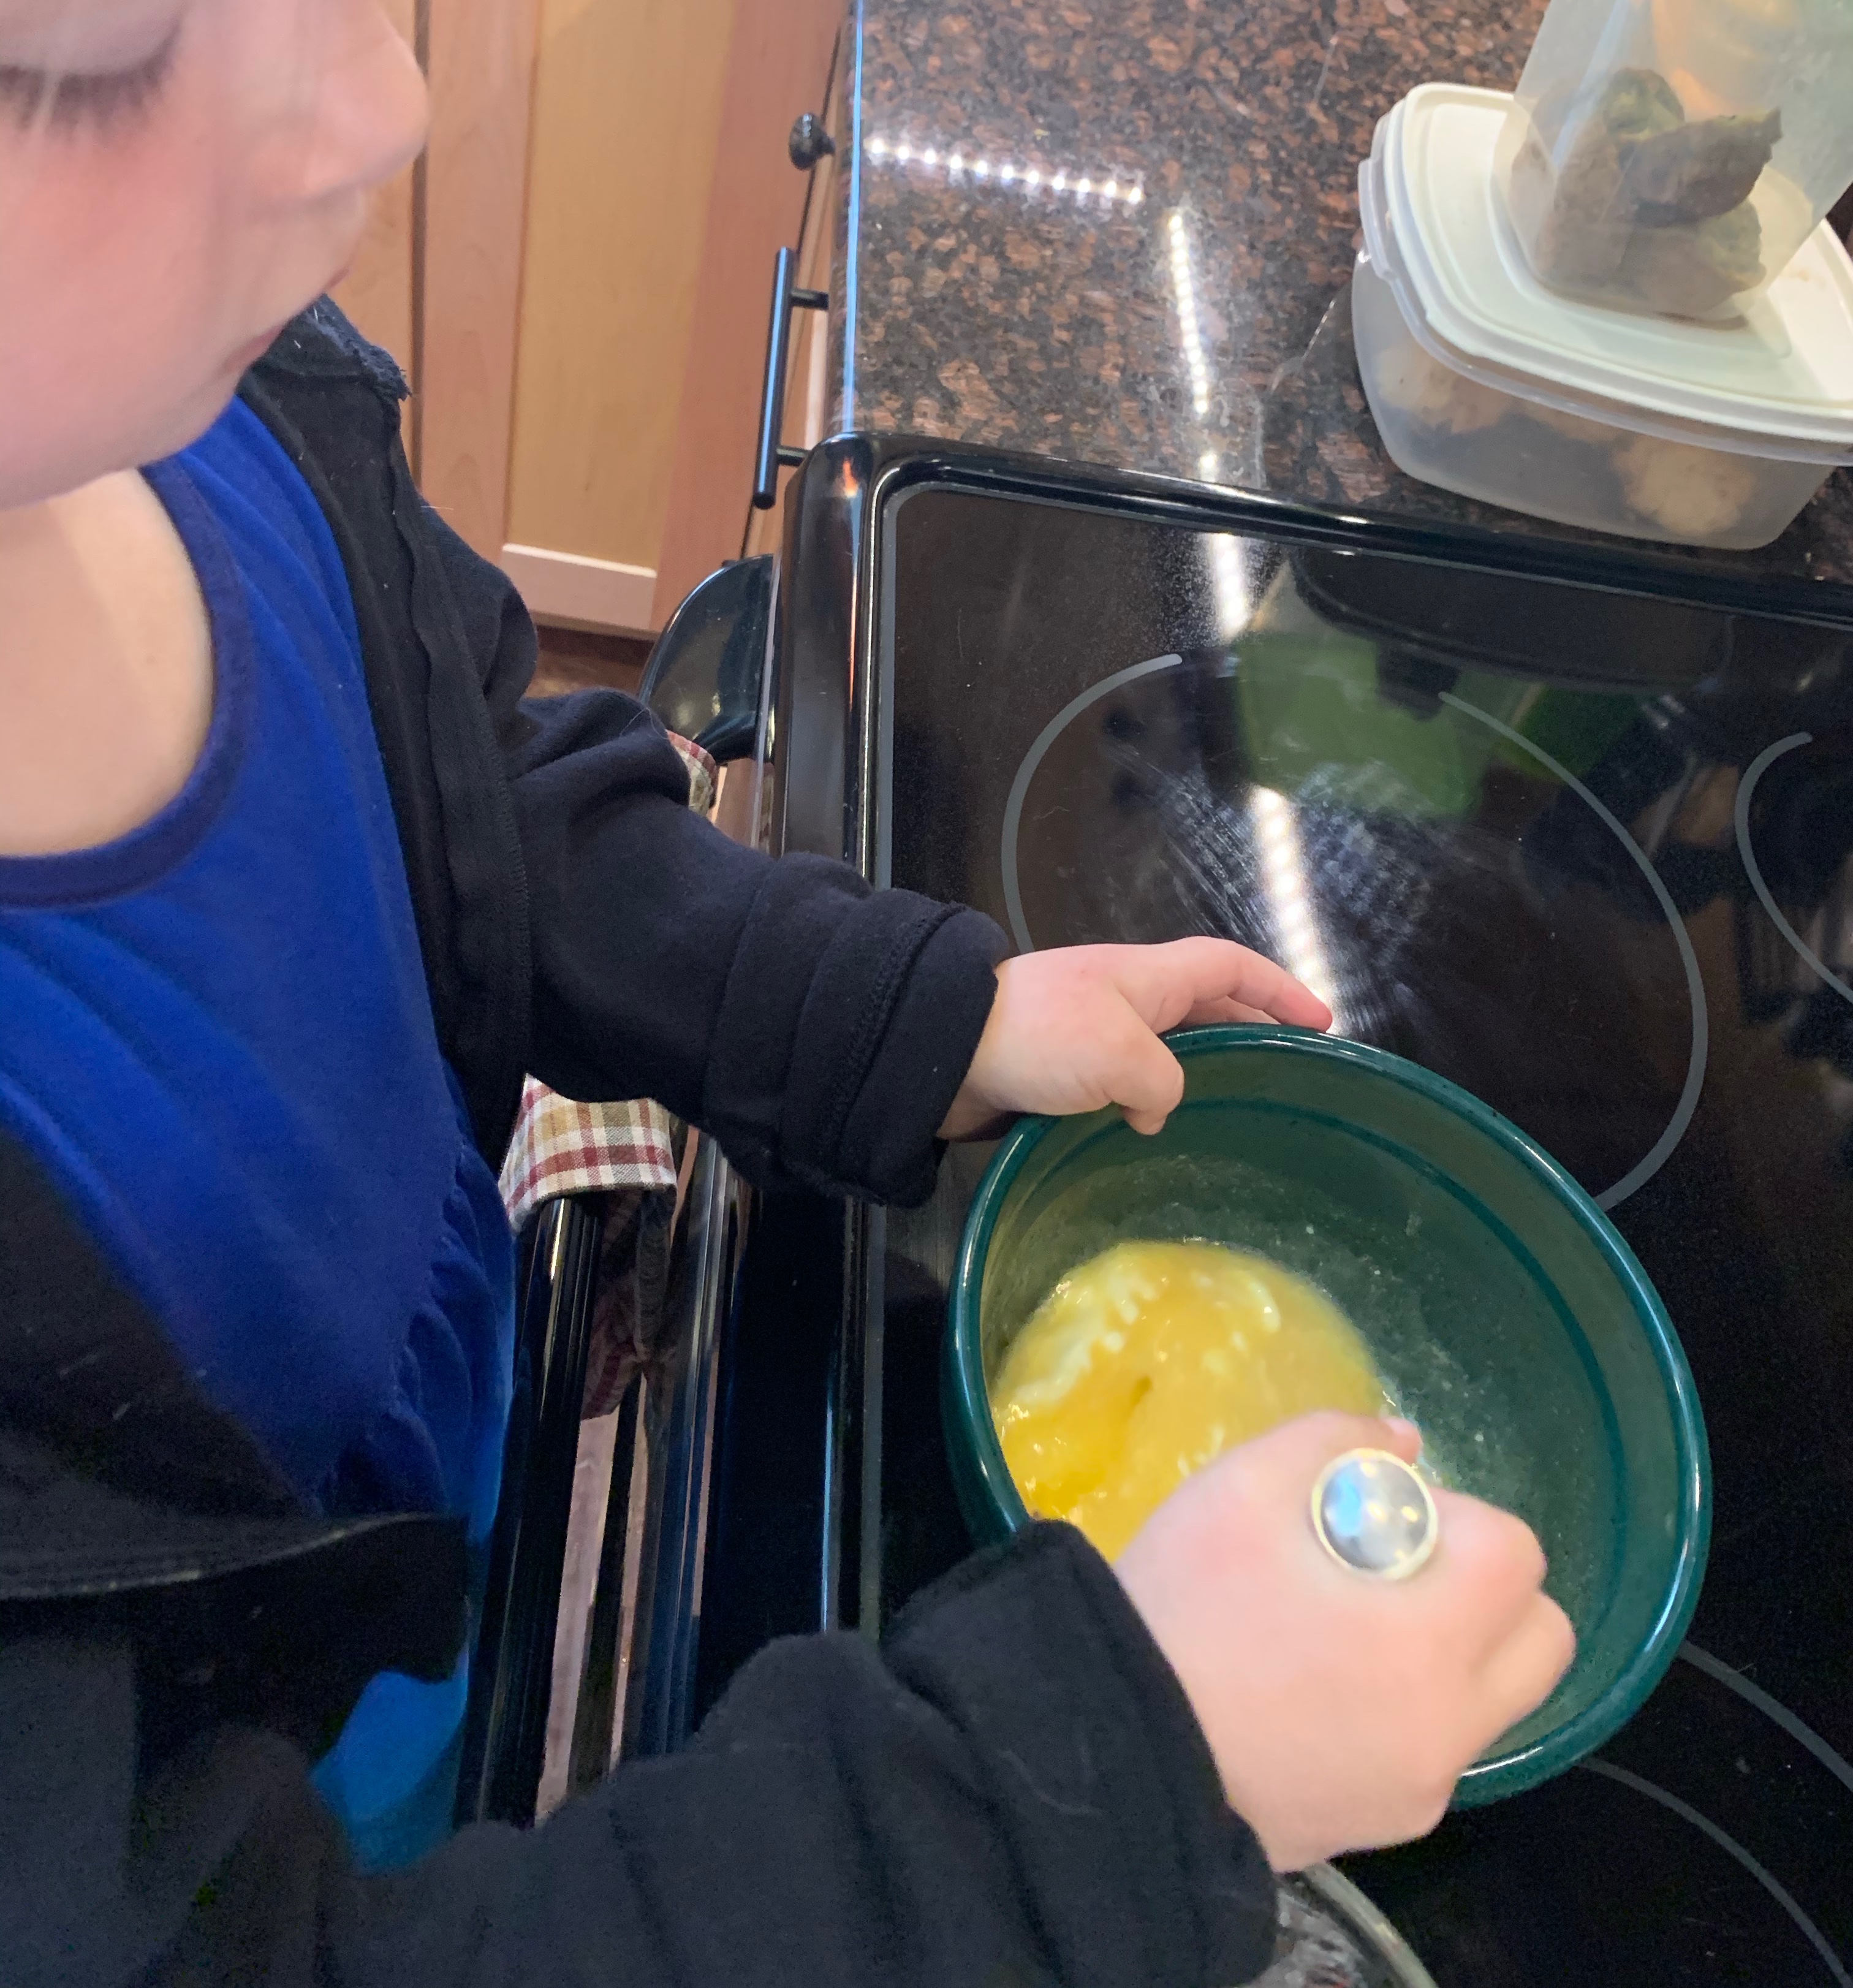
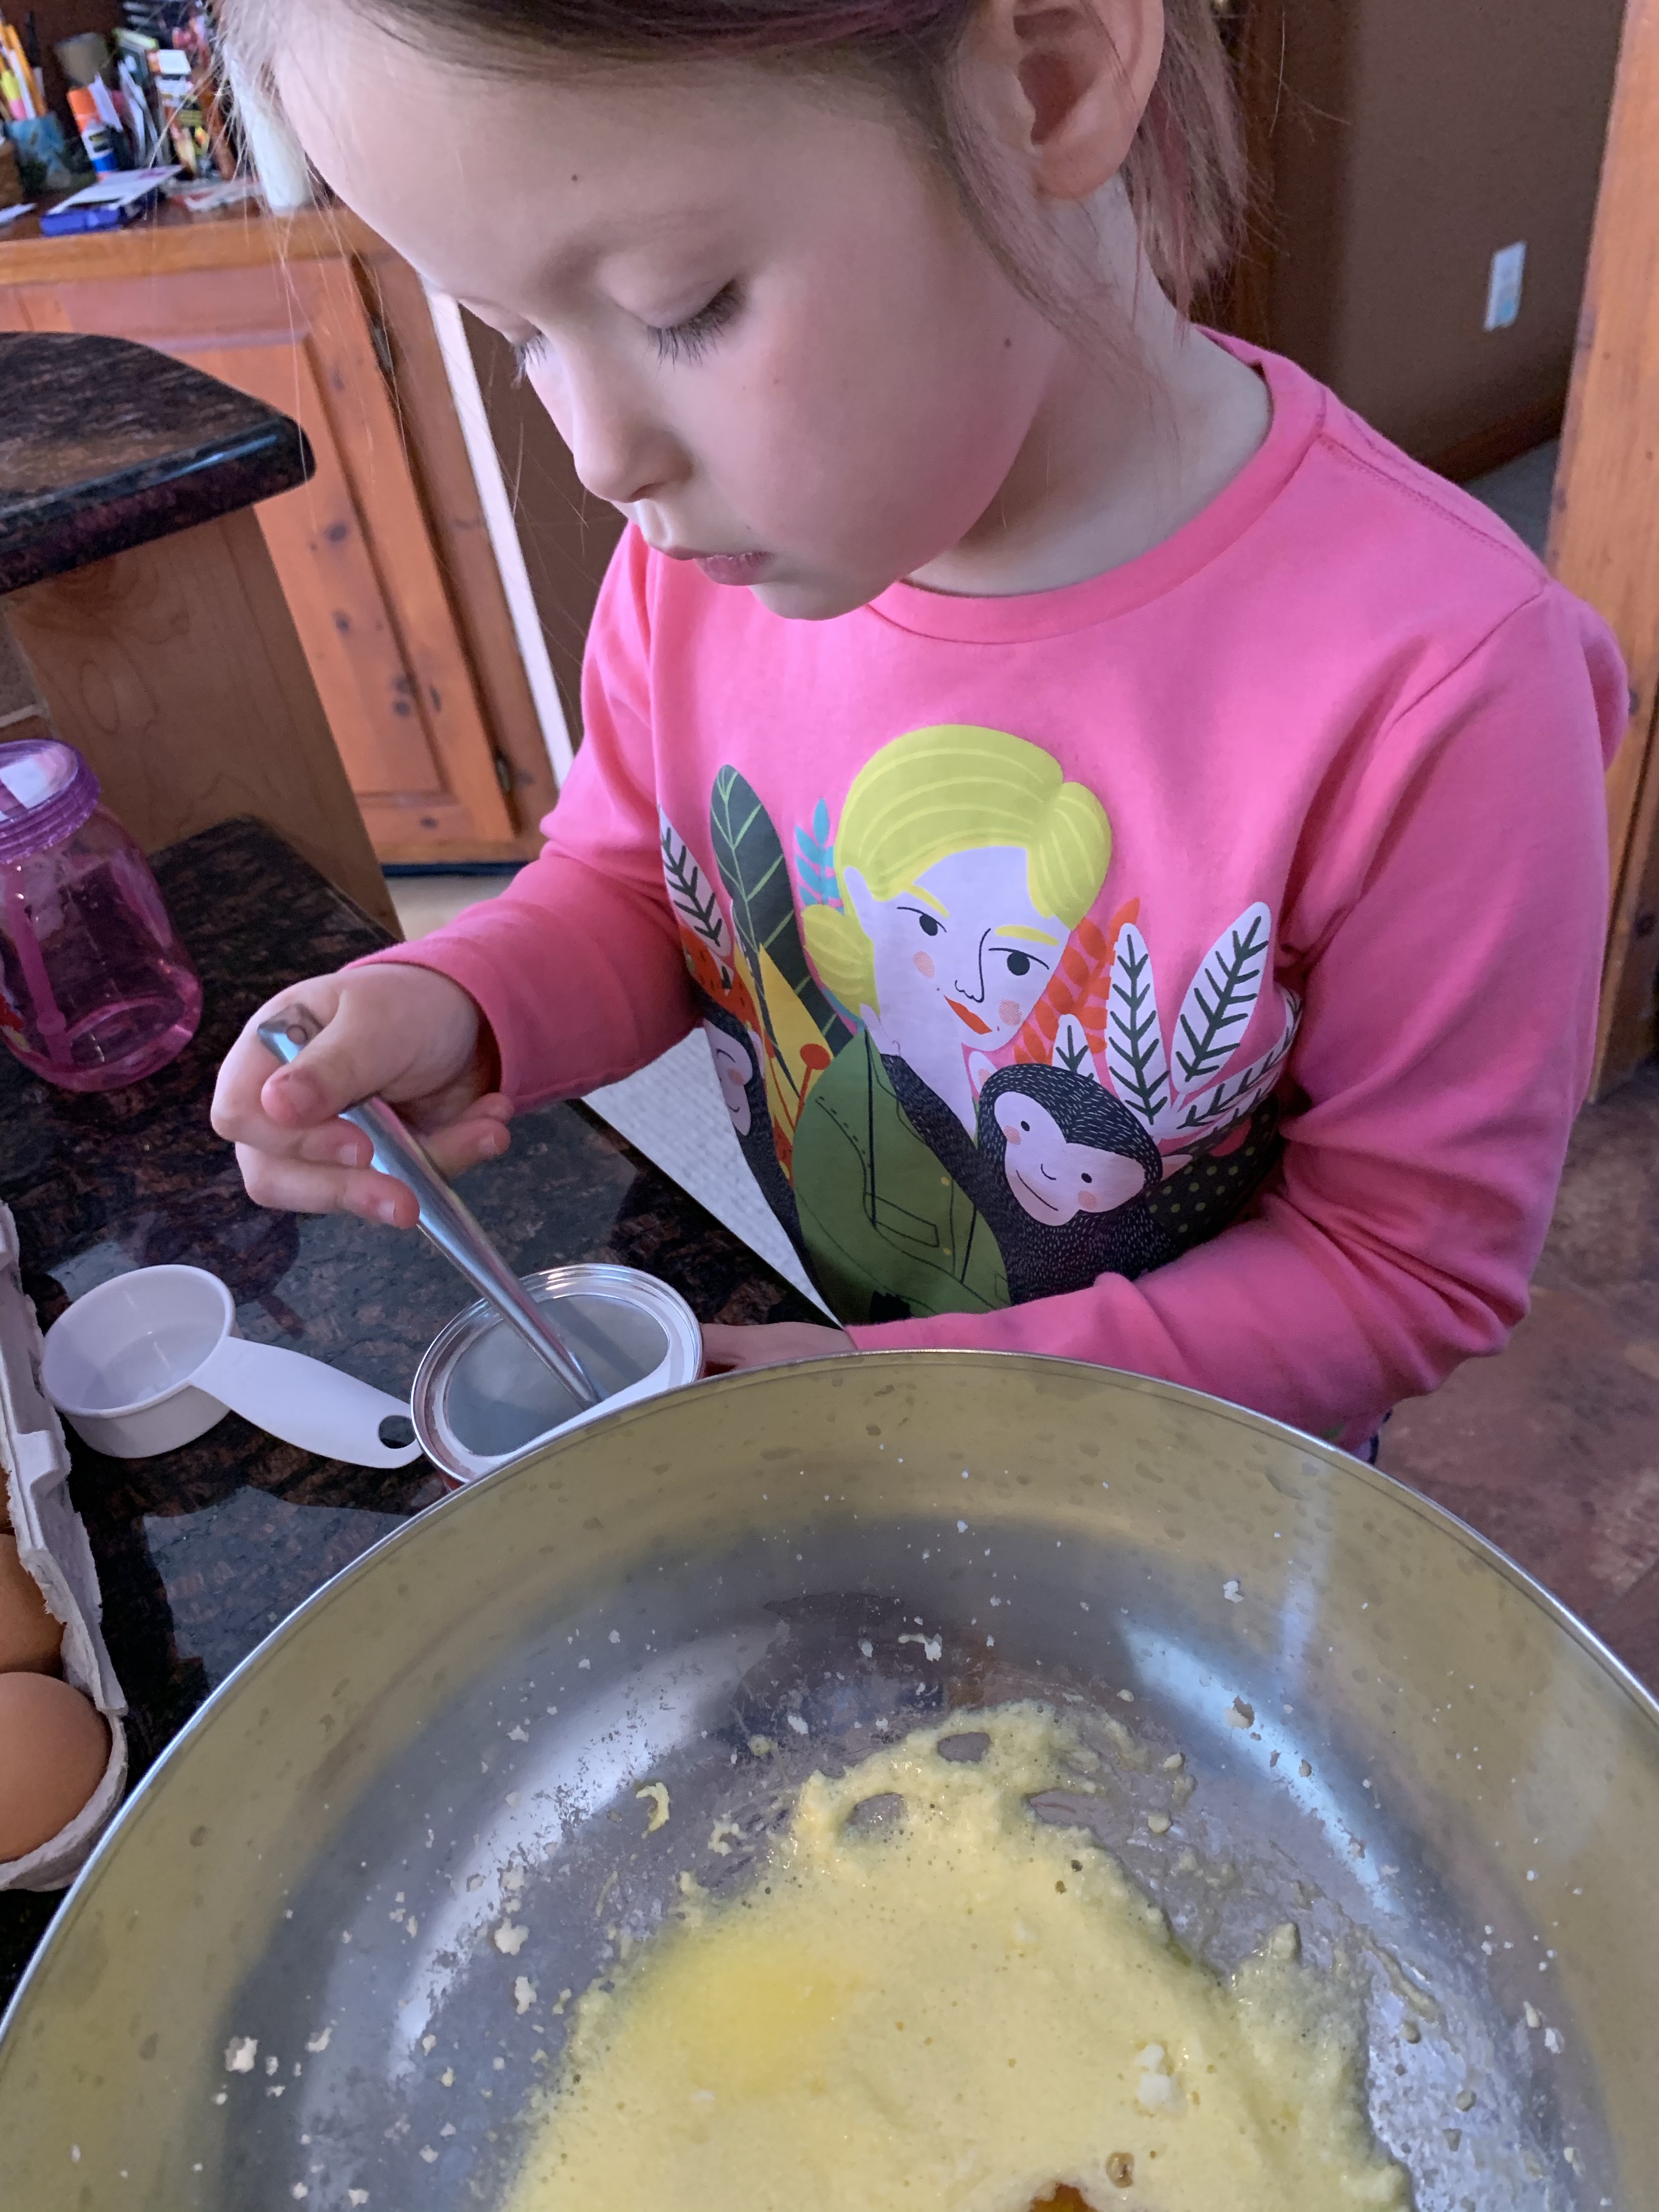
There are several steps in this recipe, but my two little bakers took the lead as usual. They are becoming so comfortable in the kitchen and at following recipes. Every time we bake they need me less and less, except for the eggs, they still won’t do the eggs! I even let them take charge of the part of the recipe that involved melting the butter and chocolate on the stove top. The big kid got it all measured and in the pan, the little kid stood very carefully over the pan and stirred and watched. I did poor it into the stand mixer myself, she thought just to irritate her, but safety first and it was a hot pan with hot liquid so it seemed prudent.
Sometimes it’s serious, sometimes it’s silly. Either way, we’re together, learning, and having fun!
I think the biggest thing when you’re in the kitchen with your kids is to know their ability as well as their comfort level…and to recognize that these two things don’t always match up. Also keep in mind that this is an ever changing process and one day will be totally different from the next. Just have fun, know it will never be the same, and roll with it. (See what I did there? ROLL with it…like rolling dough…I crack myself up!)
If you can believe it, they tasted even better then they looked…and yes, they’re ALL gone 😳
Let us know how your kitchen adventures are going! We always love to hear what others are up to and what is working and where you might be getting tripped up. Come visit us on Instagram @100daysofbakingwithkids and on Facebook at 100 days of baking with kids. We’re closing in on baking day 20 and are working on some fun things to do so stay tuned! Happy baking friends!
Easter is never really a huge deal in our house. Usually we gather with our family and have dinner, but it’s not something I put a ton of thought or time into. Since it’s still the season of COVID this year was (again) different. It was just our household, but we got to have one special edition, my 87 year old grandfather who has now been fully vaccinated! (Yes, I know how exciting it is. I wanted to throw a big parade, then I remembered that most people have not yet been vaccinated and said parade would be a terrible idea!)
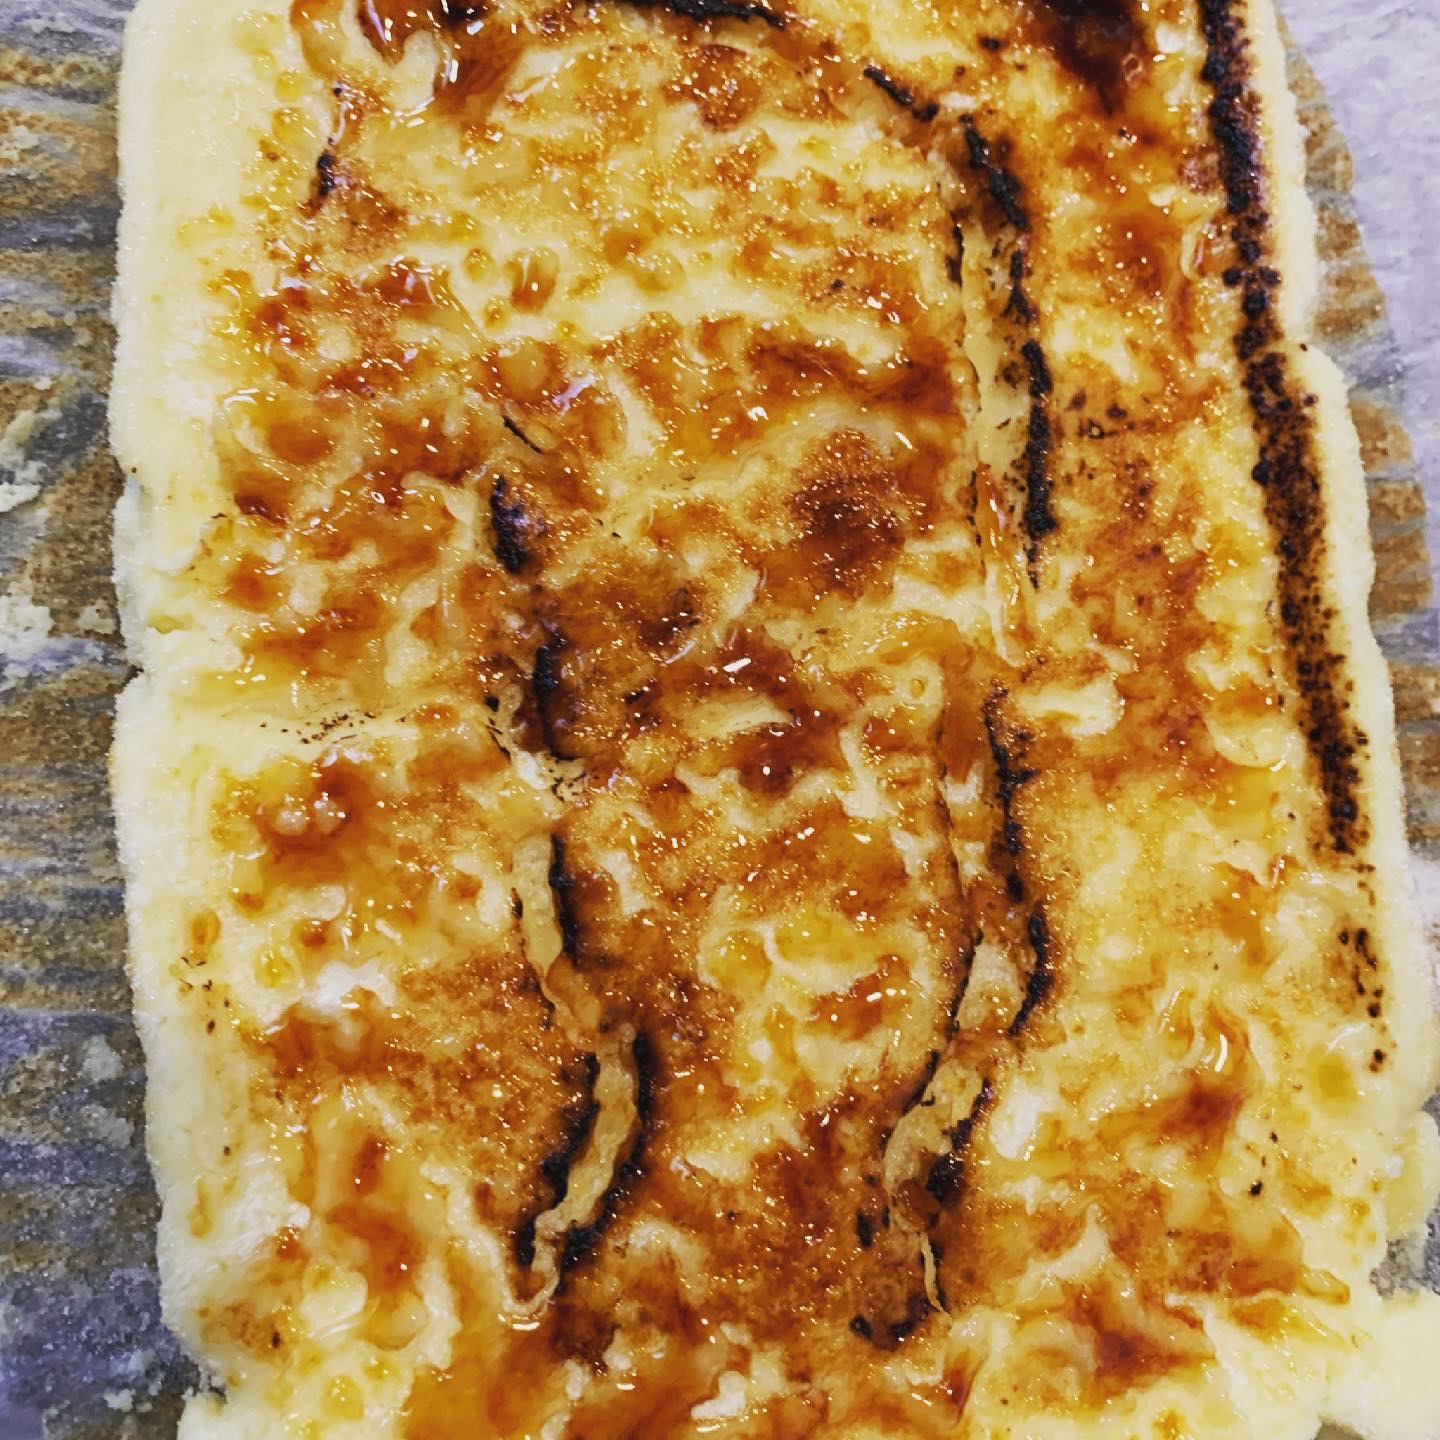
Since we were going to have this very special and honored guest the girls were pretty excited to make something EXTRA special for dessert. We thought for a long time, looked at a lot of recipes, and finally settled on 2. The first, a King Arthur Baking recipe for key lime pie. The second, from our wonderful cookie book by Sarah Kieffer (https://www.thevanillabeanblog.com/100-cookies just in case you’ve lost all the other time I’ve linked for you to buy it, here it is again. It’s SO worth it!) we chose Creme Brûlée Cheesecake Bars. Now, I must warn you. These are both SO yummy I’d encourage you to make them a view weeks apart or else you’re in for a major sugar high. You will not be able to resist!
There was a pretty epic Easter egg hunt. That bunny sure is tricky!
We made the pie first. The kids ground up the graham cracker and made the crust entirely on their own. I was actually not in the kitchen for most of the crust making, so if they messed up I wouldn’t even know. I don’t think they did, it tasted great. It was a bit tricky because we needed a certain amount of crumbs, but ever the problem solver the big kid decided they should just process an entire box of graham cracker, put that in a bowl, an measure from there. It seemed to work great for them!
Mixing the crust and measuring the lime juice. It was a kids in charge kind of activity and they LOVED it!
While the crust was cooling we worked on the filling. I zested the lime (it was really tough! Much tougher then zesting a lemon so be prepared) while the kids measured and mixed the rest of the ingredients. It was fairly straight forward. I, of course, was tasked with separating the eggs while the kids stood by commenting on how gross it looked and how they were SO happy they didn’t have to do it. Other then the zesting and the eggs this was really their show! I was so proud of how they tackled this new recipe with all the tools I’ve given them and got through it together.
For the creme brûlée bars the kids again made the crust, it was very similar to the pie crust, and they handled it like pros. After that they kind of lost interest. I can’t really blame them, they were SUPER excited to see their great grandfather, and I was super excited to listen to them all chat and laugh. Finishing them up on my own was SO worth it. The cheesecake was fairly easy to mix up. I followed the directions exactly and it came out silky smooth! We baked them, let them rest in the fridge overnight, and then, just before it was time for dessert we put the sugar on top and brûléed them! I didn’t let the kids play with the torch, in fact there was talk that perhaps I shouldn’t even be allowed to handle the torch (I have a history with fire, if you know you know), but ultimately I did get to at least have a turn at my first brûlée. It was really cool, and SUPER delicious. Next time I would brûlée the bars individually to avoid the cracking when cutting (which the always brilliant Sarah Kieffer mentions in her book, I was just so excited I forgot that part) so they look a little more pretty. I sure didn’t hurt the taste though! Wow! 5 out of 5 stars! Highly recommend!
What did everyone make for Easter this year? Did anyone else try any new to them recipes? How did they turn out? We’d love to hear about it! I’m calling this weekends kitchen adventures a success. They may not have been the most beautiful things we’ve ever made but they tasted great and the kids took the lead on most aspects of it.
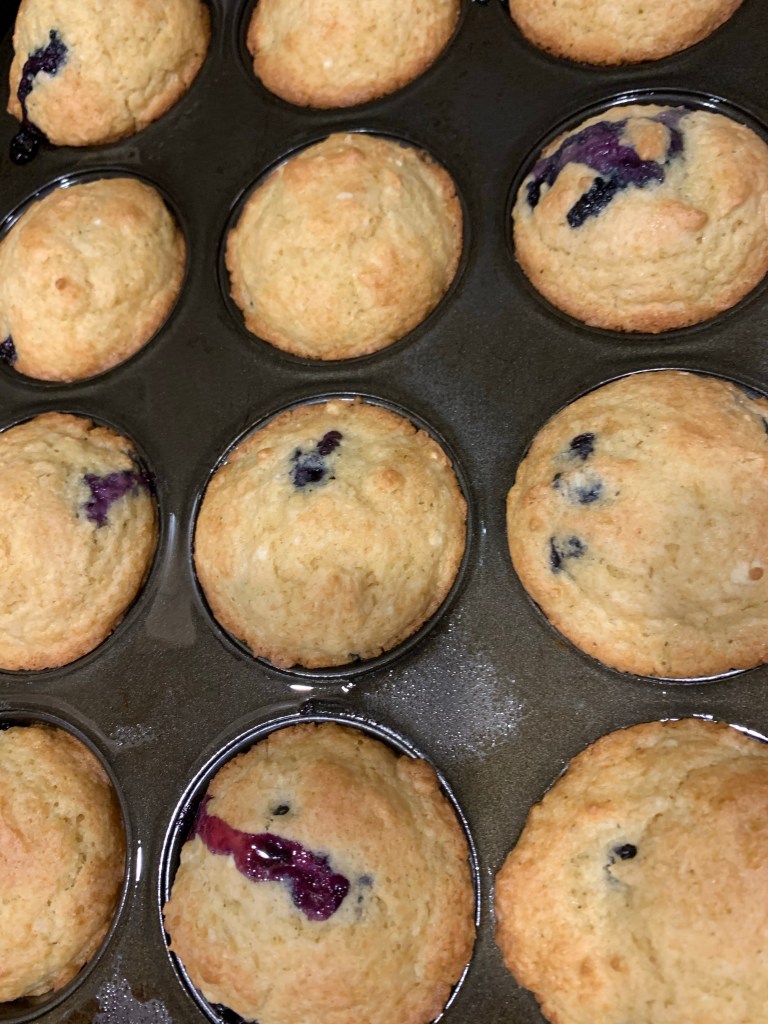
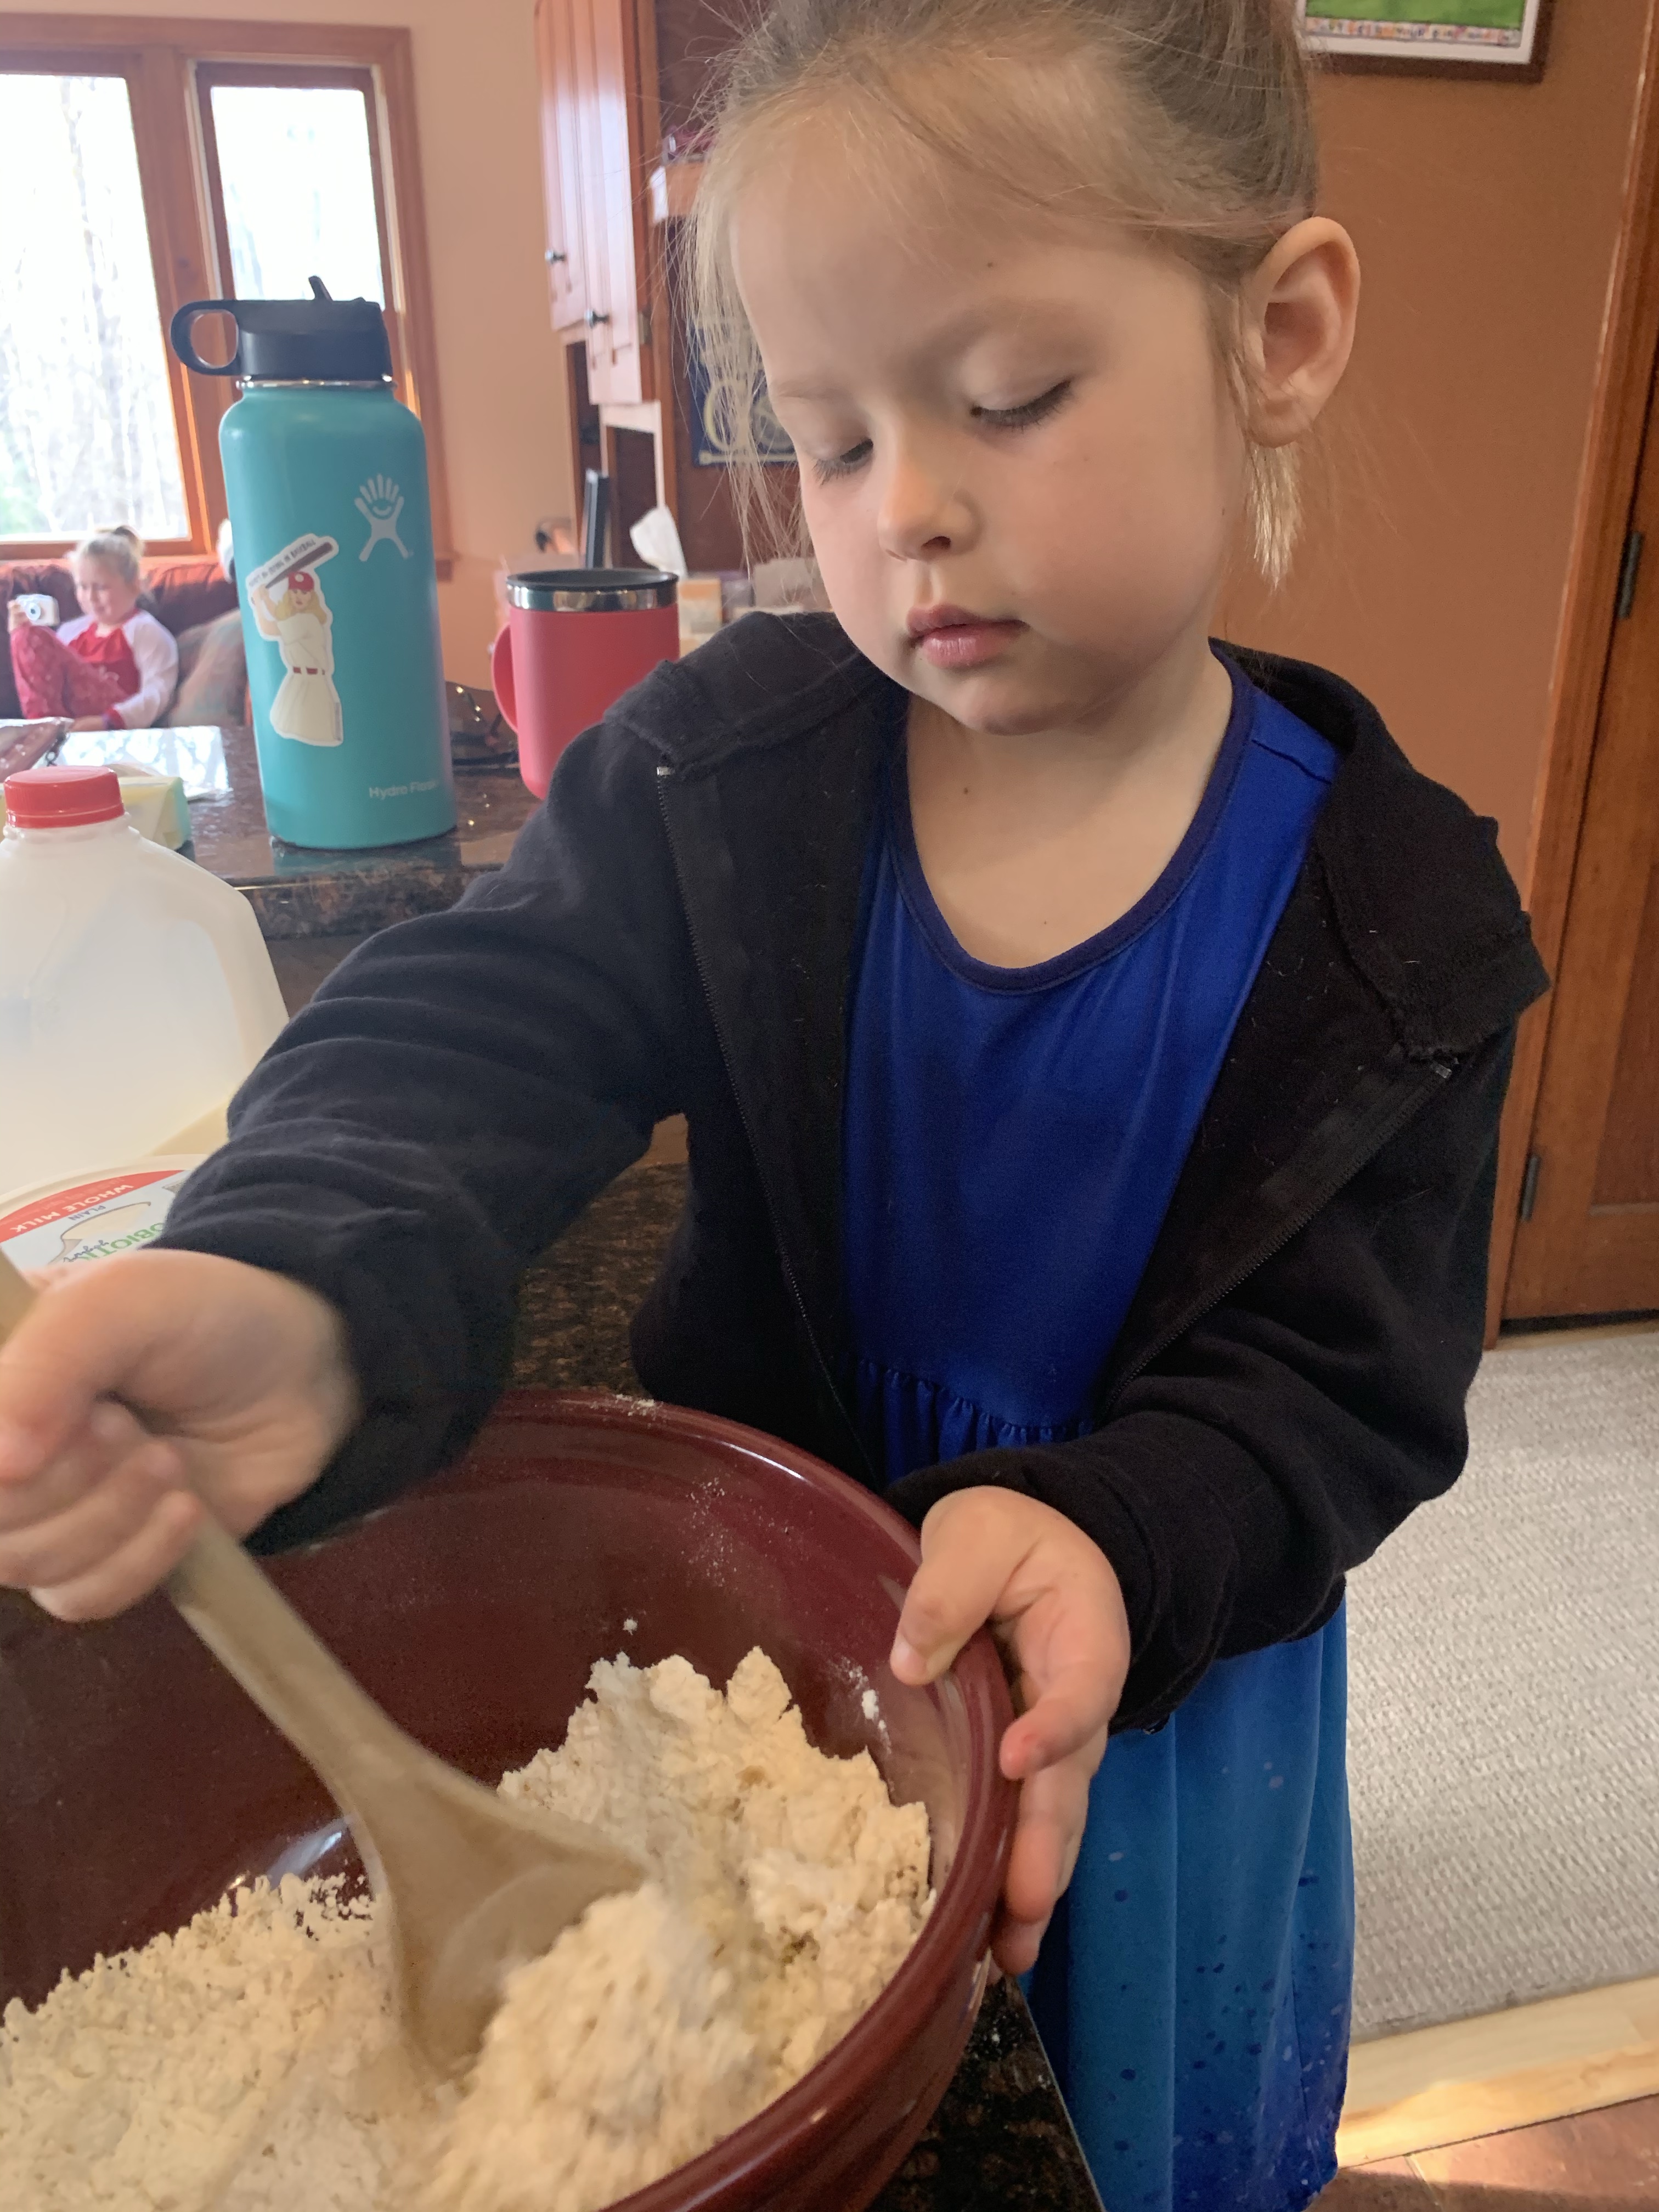
Who out there doesn’t love a good muffin? We love them, we make them a lot, and we try so many different recipes! Both the kids love anything with blueberries in it, but I’m currently super into lemons (I will WILL spring to stick around by using bright spring flavors if I have to) so we combined them and made blueberry lemon muffins!
This time the kids were eager to help. The big kids LOVES to zest lemons so she got right on that, and the little is all about the sifter, so she started with the dry ingredients. We made these on a beautiful day so in the interest of time (we wanted to get outside) while they were tackling their jobs I got started with the wet ingredients. Normally they do it all, normally they want me involved as little as possible, but this time they were happy for the help and we had a blast!
The late, great RBG forever! ❤️ Wish we could give her some of our treats!
The kids were neat and tidy, I however dropped an egg and got eggshell into the mix while cracking them. I seriously need to get the kids on bored with doing the eggs, I’m sure they’d be better at it then me! Making a mess when we bake is not a big deal for us, we just roll with it, no matter who the mess maker is. I actually think it’s a great for the kids to see me making mistakes and dropping things. It shows them that adults can’t do it all right, which is a FACT around here!
Anyway, these muffins were so yummy! They’re light and full of flavor. The whole blueberries burst when you bite into them and there’s just enough lemon to hold it’s own without being overpowering. I froze half (this is a fairly sizable recipe, for us it made a full 2 dozen muffins) and the other half have been enjoyed for breakfasts, snacks, and lunches! Anytime is muffin time if you ask us.
Just about to go into the oven! I like to keep my muffins slightly smaller then average. We end up with less waste that way as it’s easier to eat an entire muffin.
Stay tuned because we’re about to get really busy in the kitchen! We’re not big Easter people but we’re taking advantage of the day and using it as an excuse to make some fun new desserts!
They really came out beautifully. Hopefully we made Ina Garten proud!
Happy baking friends! Come on over and follow our adventures on Facebook at 100 days of baking with kids and on Instagram @100daysofbakingwithkids. We always love to see what our friends have been up to!
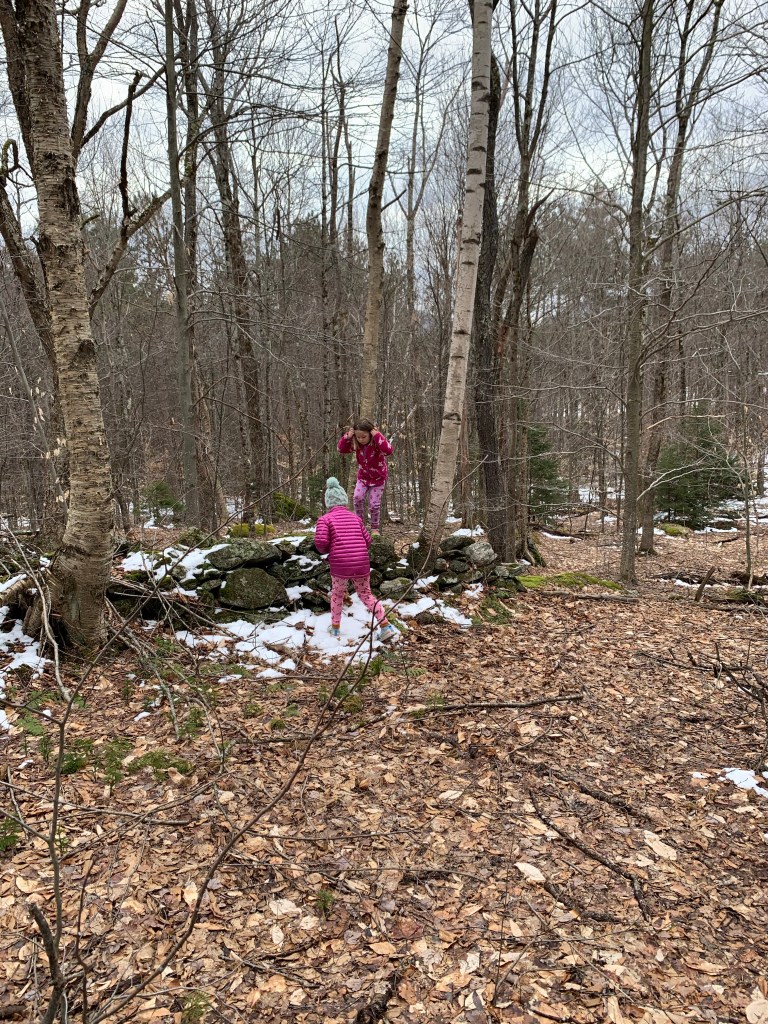
We’re still in the midst of 1st spring here in Vermont and loving the sunshine and all the outside time. The last couple of days we’ve been adventuring around the state exploring new places and doing all of our schooling outside. Today we’re home, doing home things like laundry (the kids found ALL the water yesterday) and getting ready for another day of adventure tomorrow.
Is it only Vermont kids enjoy swimming in mid March 🤷♀️ (yes that is ice in the water, no they did not care!)
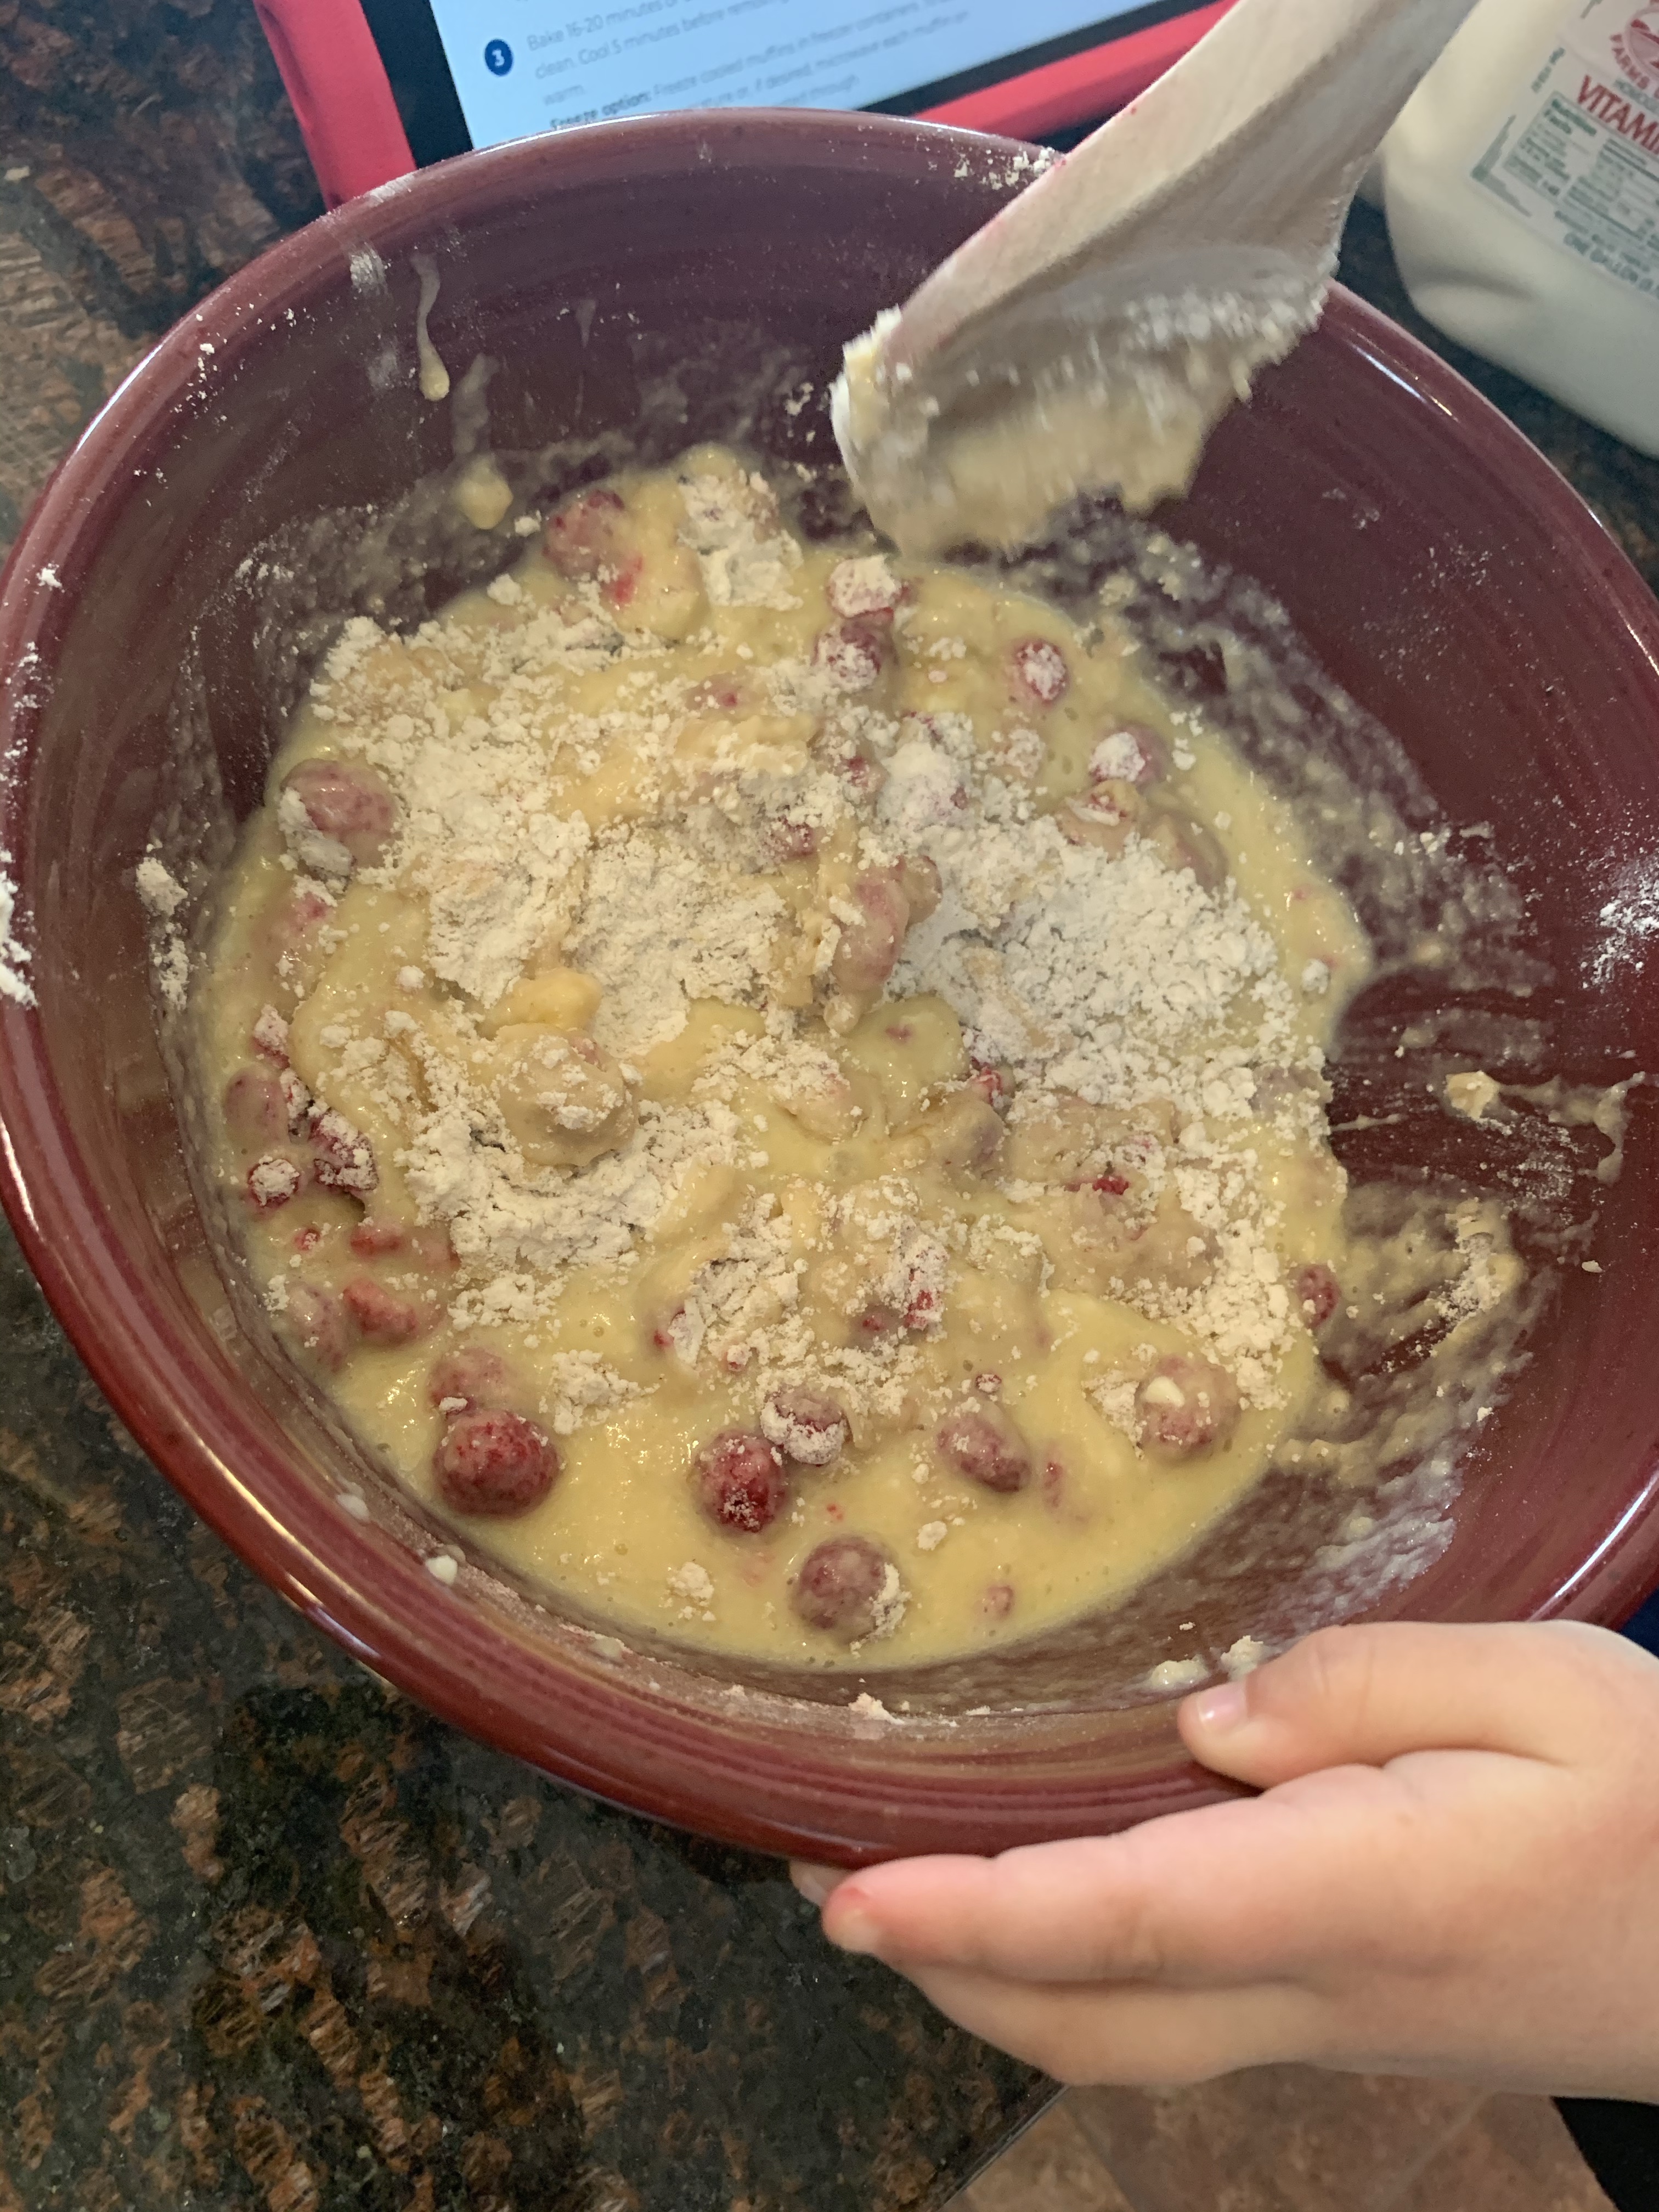
Since we’re going to be out and about all day tomorrow we need some more portable snacks! Muffins are a favorite around here as they travel well and are quick to make. Today we are adapting a favorite recipe for maple muffins by adding some freeze dried raspberries. Raspberry maple muffins anyone?
I only had one little helper today, but that’s ok! I never force the kids into the kitchen, that’s not fun for anyone. It’s always a choice for them to join me, and most of the time they do, but sometimes they have other plans and that’s ok!
I hope she will always be so excited to do things like this with me!
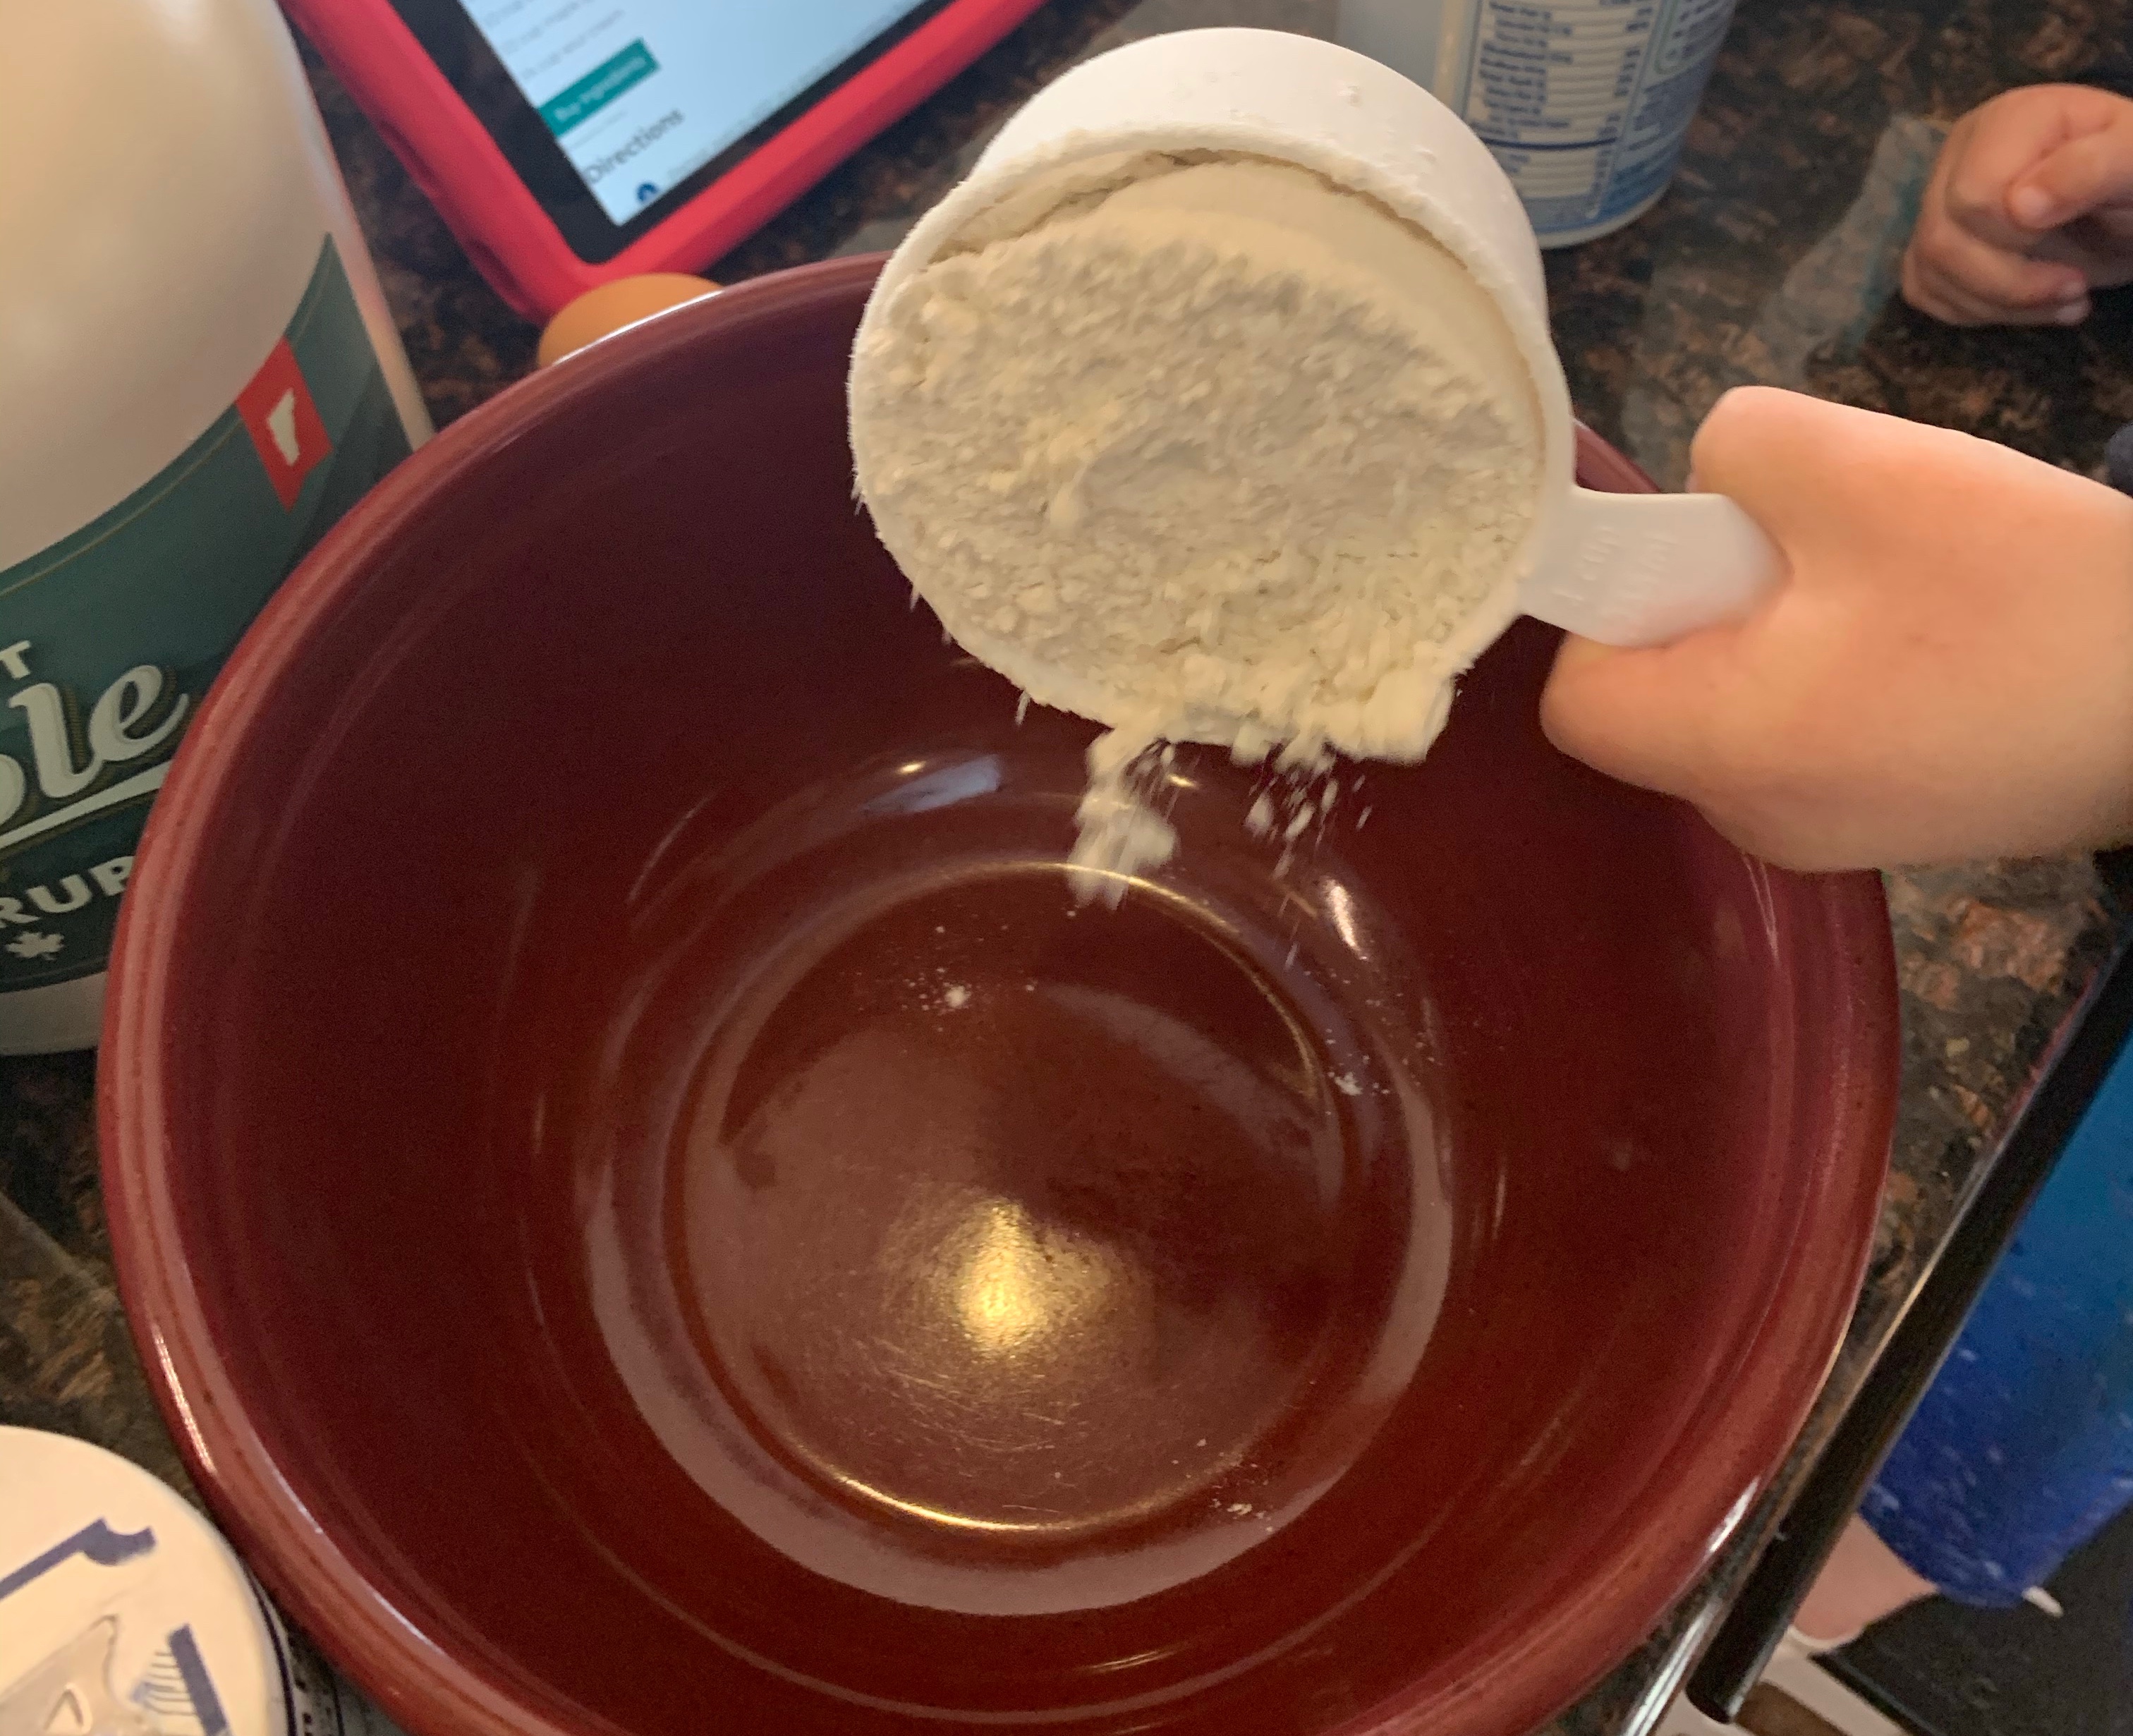
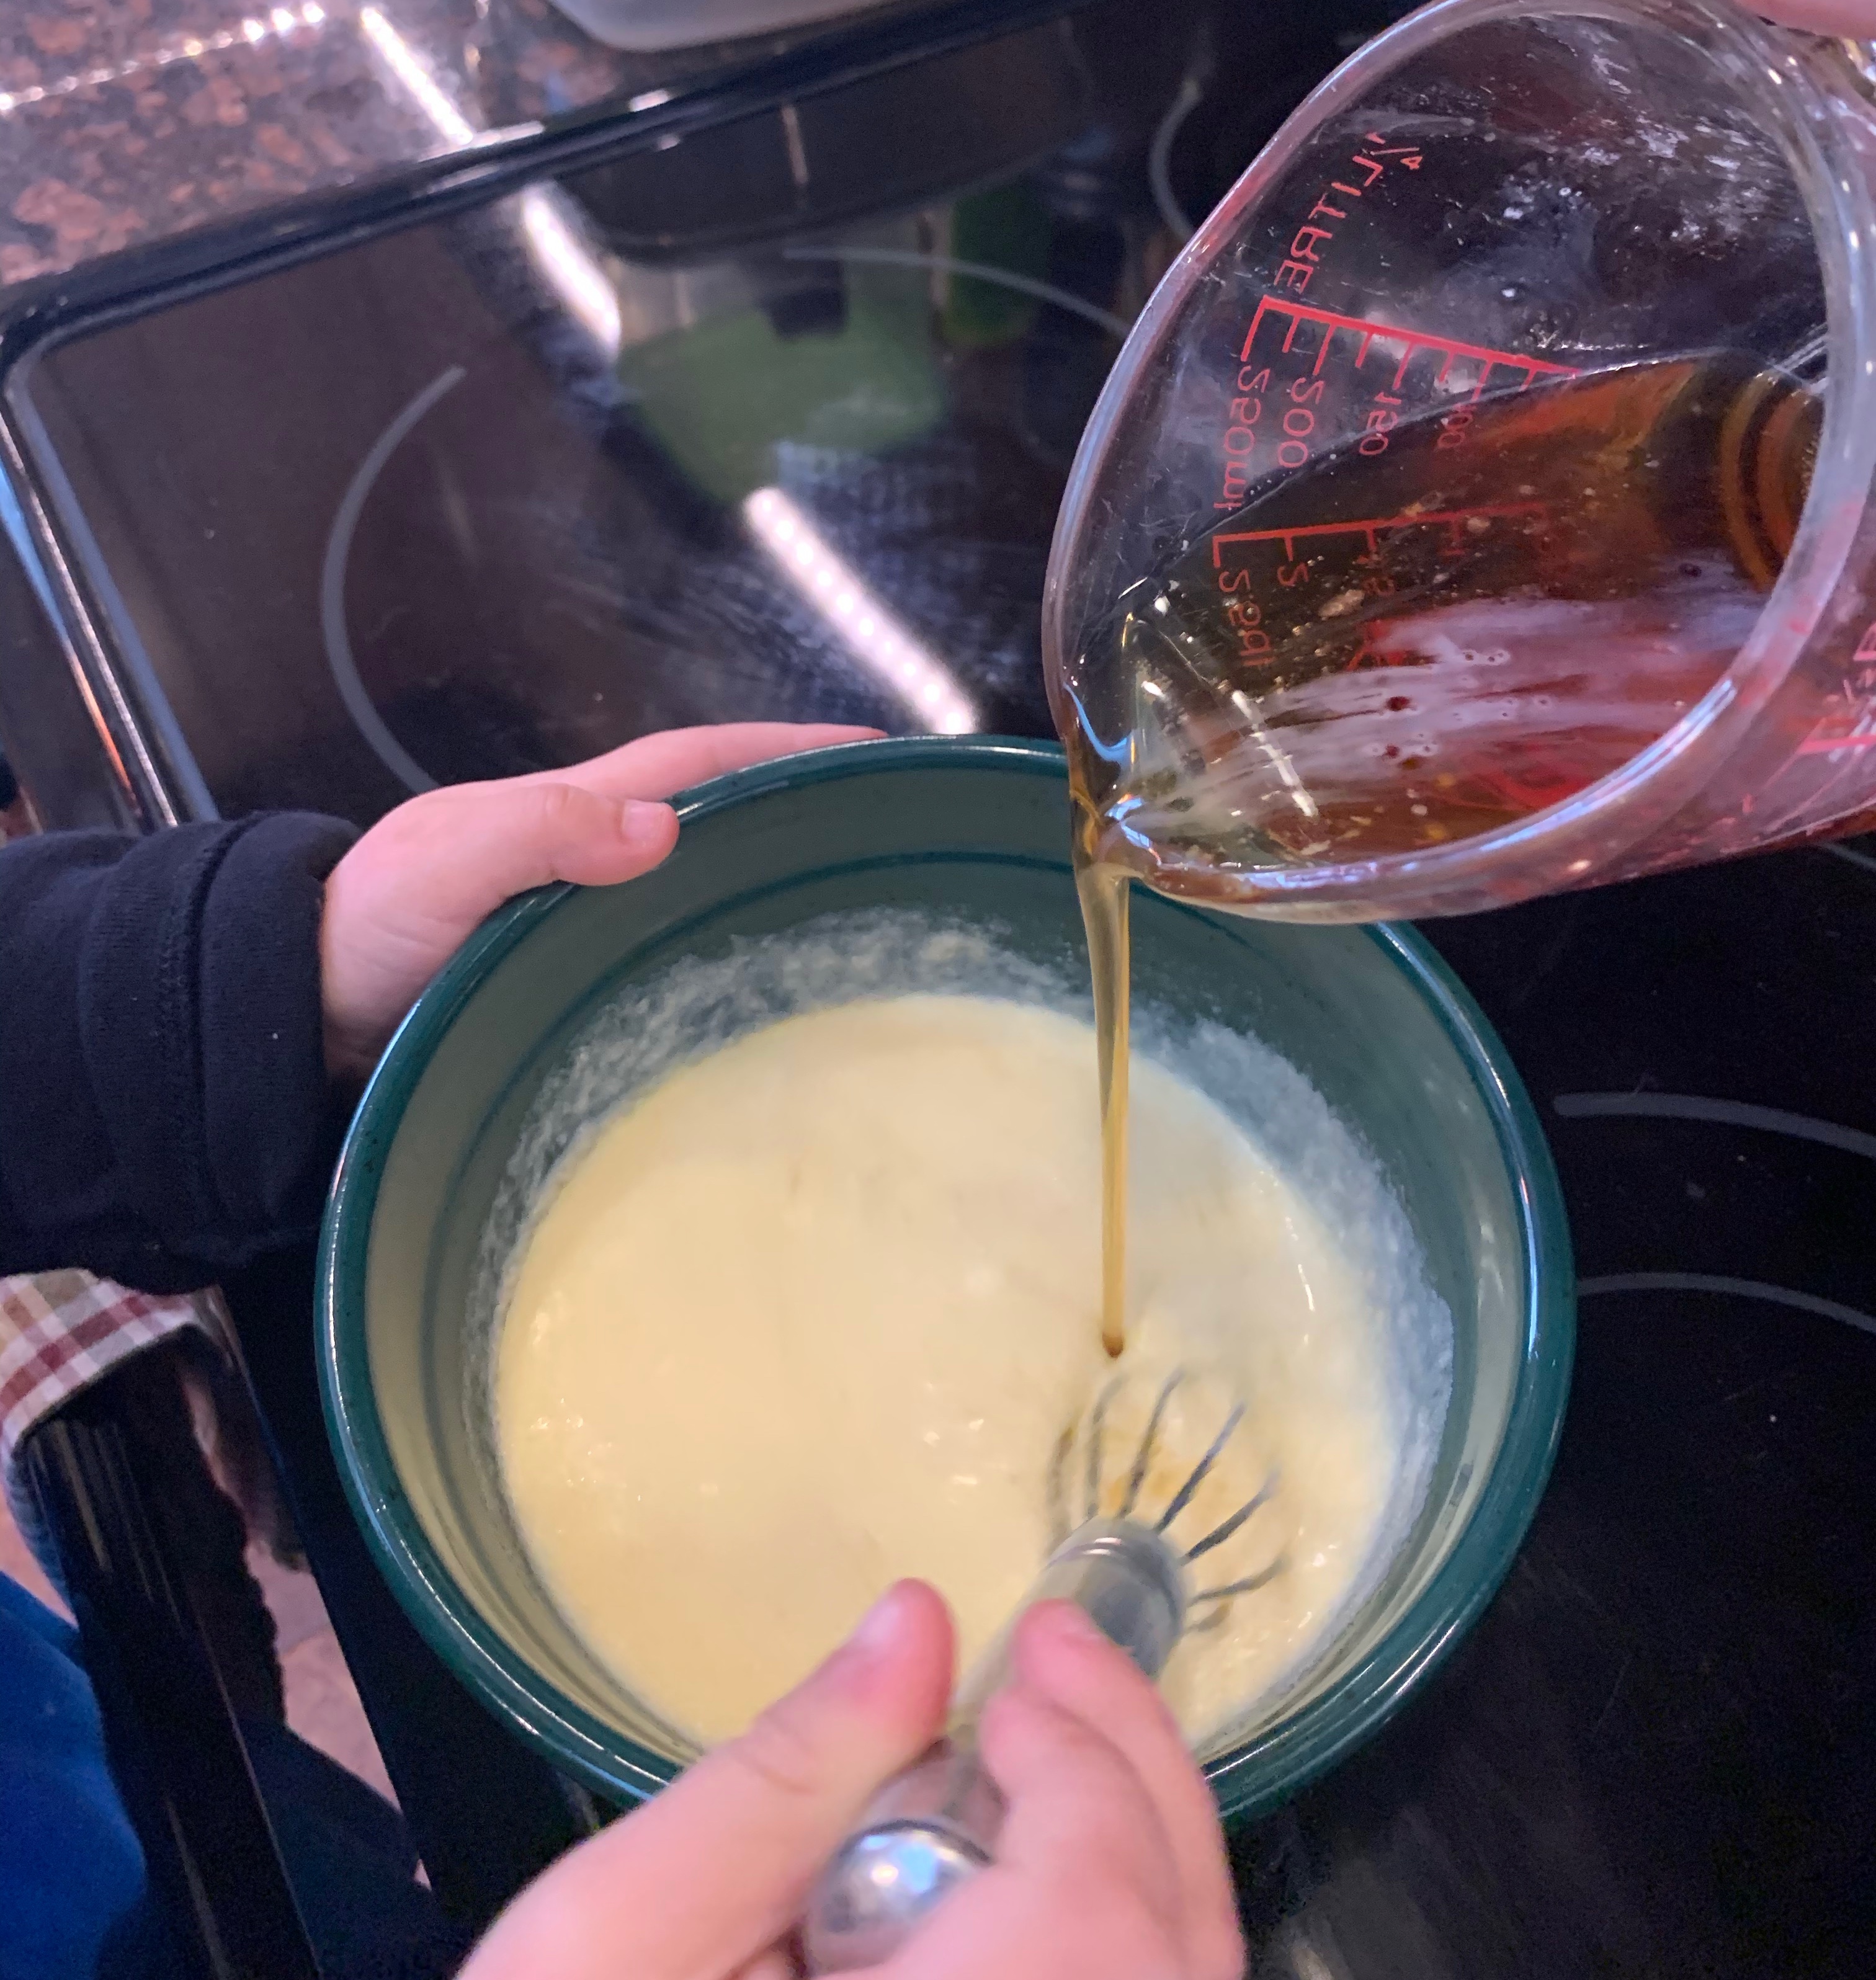
We started by getting out all of our ingredients. This is not a complicated recipe (I’ll share it with you all at the end) but it’s a great basic starter recipe that you can really make into your own and adapt to any mood! While I melted the butter the little measured and mixed all the dry ingredients. Today she was very tidy (not usually the case, but I’ll take it) and barely spilled anything! Maybe making them help clean up is working? She then started with the wet ingredients in a separate bowl and wisked those together. I poured the wet ingredients into the dry and she mixed it all up then helped scoop it into the muffin tins! This was her show! It was so fun to see her 5 year old self working so thoughtfully through this process.
Maple syrup + raspberries = YUM!
The muffins look great, slightly golden on top, and smell wonderful! We know from experience that they hold up well and I’m sure they’ll be delicious. We’ve used this recipe to add freeze dried fruit (like today), fresh fruit, nuts, dried fruit (cranberries, raisins, etc), and chocolate chips (because CHOCOLATE!). They adapt really well and you can fill them FULL of goodies! Depending on how much you put in (today we added one cup of freeze dried raspberries, in the past I’ve added up to 2 cups of add ins) this recipe will make between 18-24 muffins.
Let us know if you try them and what you think! How did you make them your own? Find us on Instagram @100daysofbakingwithkids and on Facebook at 100 days of baking with kids.
BASIC MAPLE MUFFINS
Preheat your oven to 400 and grease 2 muffin tins
In one bowl mix:
2 cups flour
1/2 cup brown sugar
2 teaspoons baking powder
1/2 teaspoon salt
In smaller bowl mix:
3/4 cup milk
1/2 cup of butter (melted)
1/2 cup maple syrup
1/4 cup plain yogurt (you can use sour cream, I just never have any)
1 egg
1/2 teaspoon vanilla
Pour the wet ingredients into the dry ingredients and add any mix ins you like. Mix together and scoop into prepared muffin tins. Bake for 16-20 minutes.
It’s been said that March comes in like a lion and goes out like a lamb, but here in Vermont March is just a mean bitch. Aside from sugar season (that’s maple sugar for those who don’t know) it has few redeeming qualities. One day you can run outside in a t-shirt, the next you need 50 layers just to take the trash out. She’s mean, she’s confusing, and the only way to get through is to grit your teeth and hope April comes soon. Today is one of those 50 layers of clothes days, and I’ve quit the cold. I’m all done for this year, I don’t want to deal with it, I quit. The kids are feeling this too, so on the t-shirt days we spend almost all day outside, then on the 50 layer days I don’t feel bad about hunkering down and being warm and snuggly all day. Today we found our warmth in the kitchen.
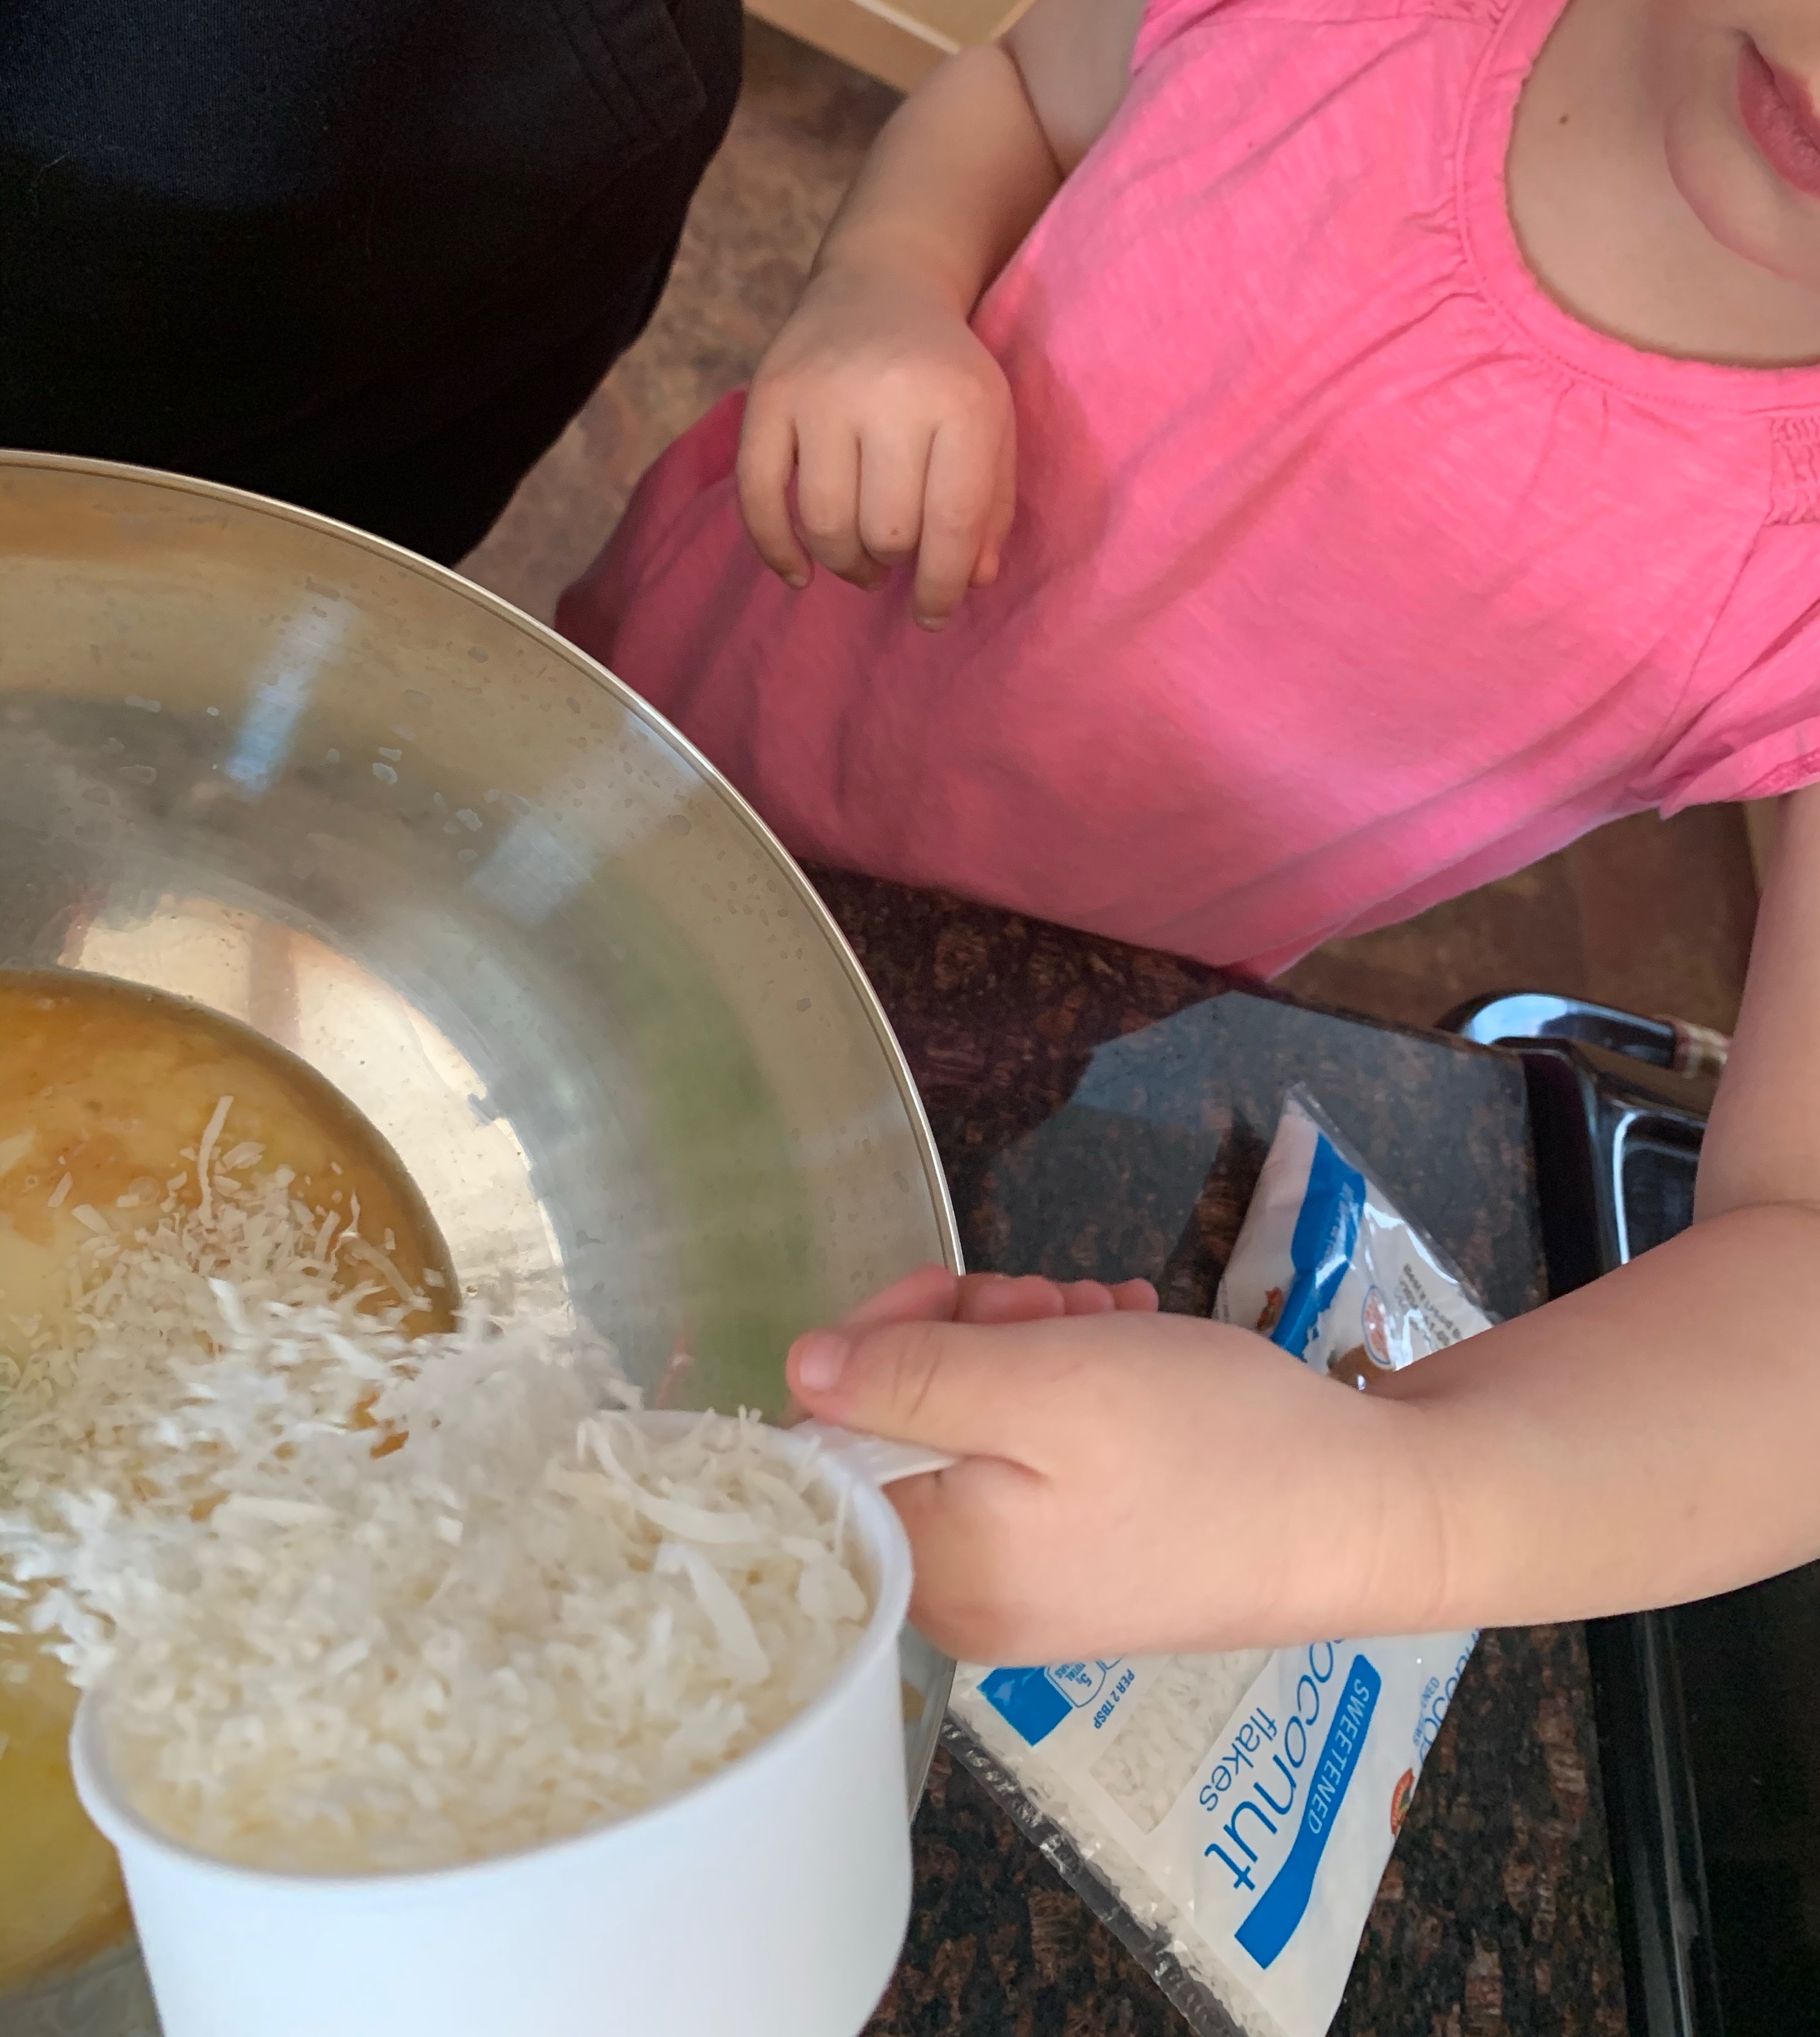
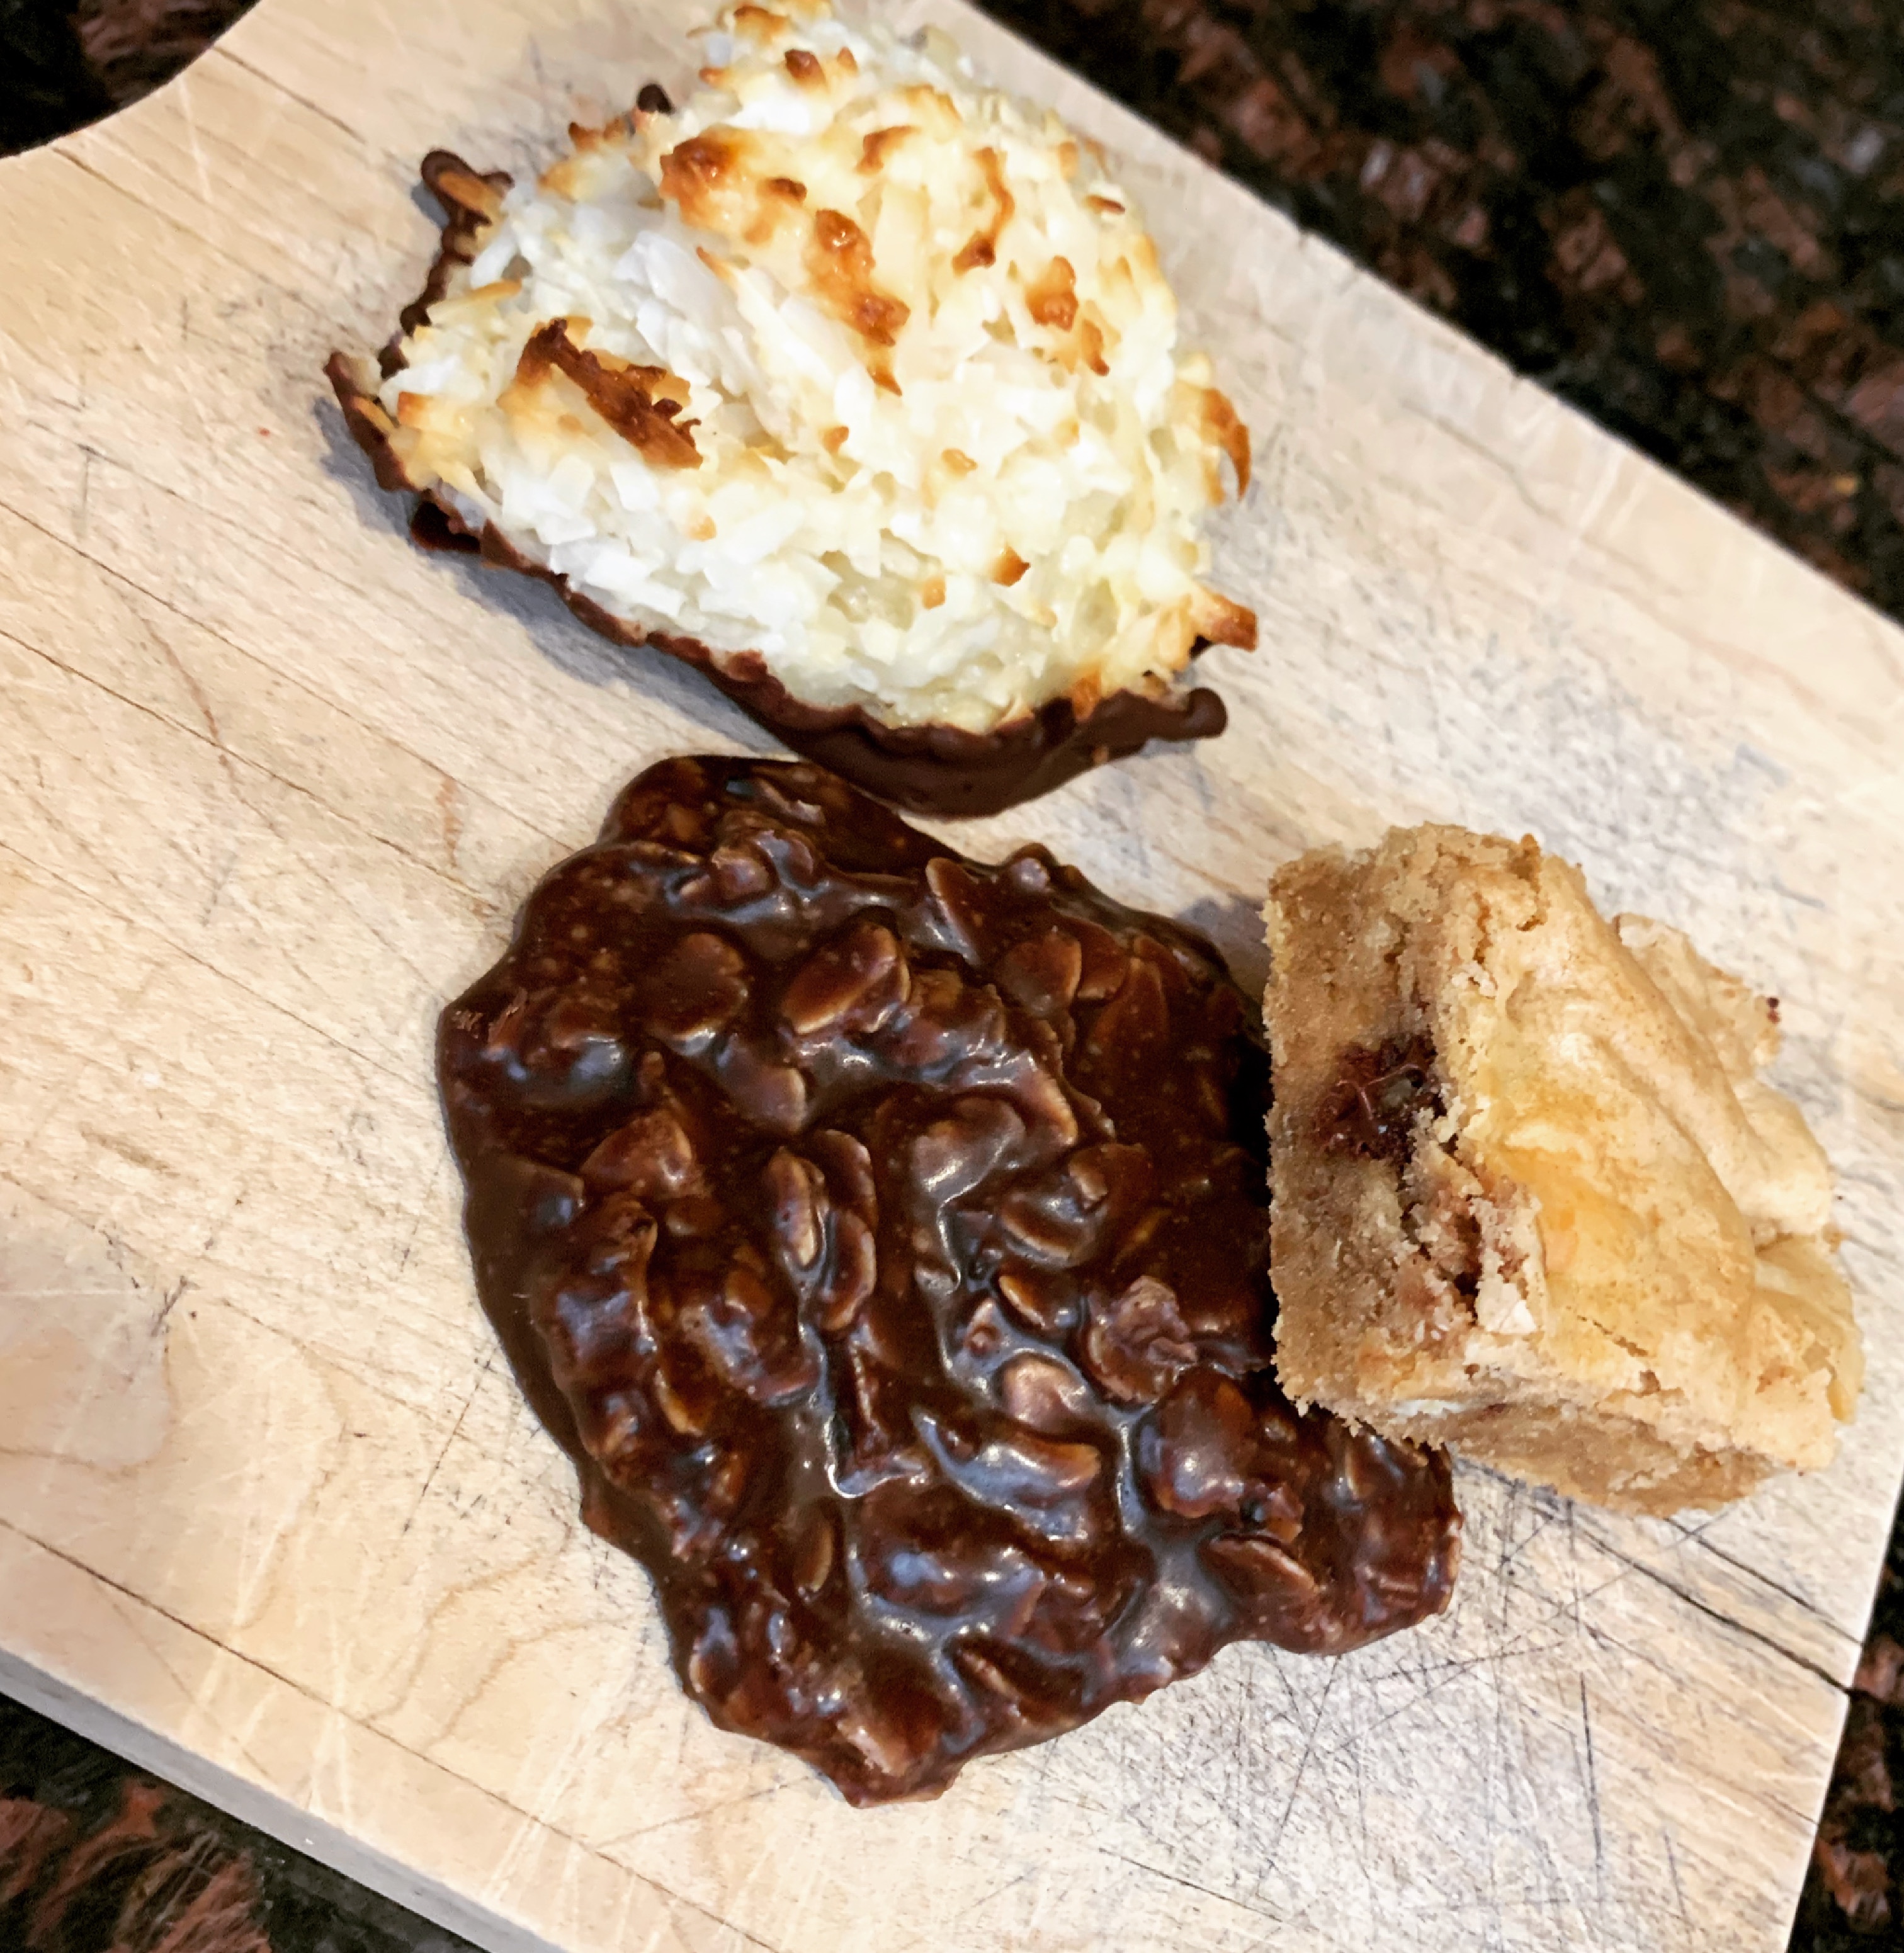
Tomorrow is supposed to be a much nicer day (nothing like a 40 degree temperature swing to keep you guessing) and we’re planning to help my dad chop some trees. We thought we should have some treats to keep our energy up. As usual, we couldn’t come to a consensus on exactly what to make, but since we had the day we didn’t need to! One kid chose coconut macaroons, one kid chose no bake cookies, and I chose blondies!
We started with the macaroons since they needed to bake then cool before we could dip them in chocolate. We went to King Arthur Baking (obviously, I’d hope you could guess that’s where we’d be heading by now) and found a recipe. https://www.kingarthurbaking.com/recipes/our-bakerys-coconut-macaroons-recipe These are no joke! After I opened up the can of sweetened condensed milk the kids were off. They didn’t need my help with this recipe (aside from separating the eggs, maybe some day they’ll do that on their own) the measurements and directions are simple enough to follow. They scooped them onto the cookie sheets and I put them in the oven! After they were cool I set up the big kid with a double boiler, she measured out the chocolate chips, and watched it until it was melted. Together they dipped the cookies and I think they turned out beautifully!
Sisters who bake together…oh I don’t know, there’s got to be some saying there. (And yes I know, STILL Christmas pajamas)
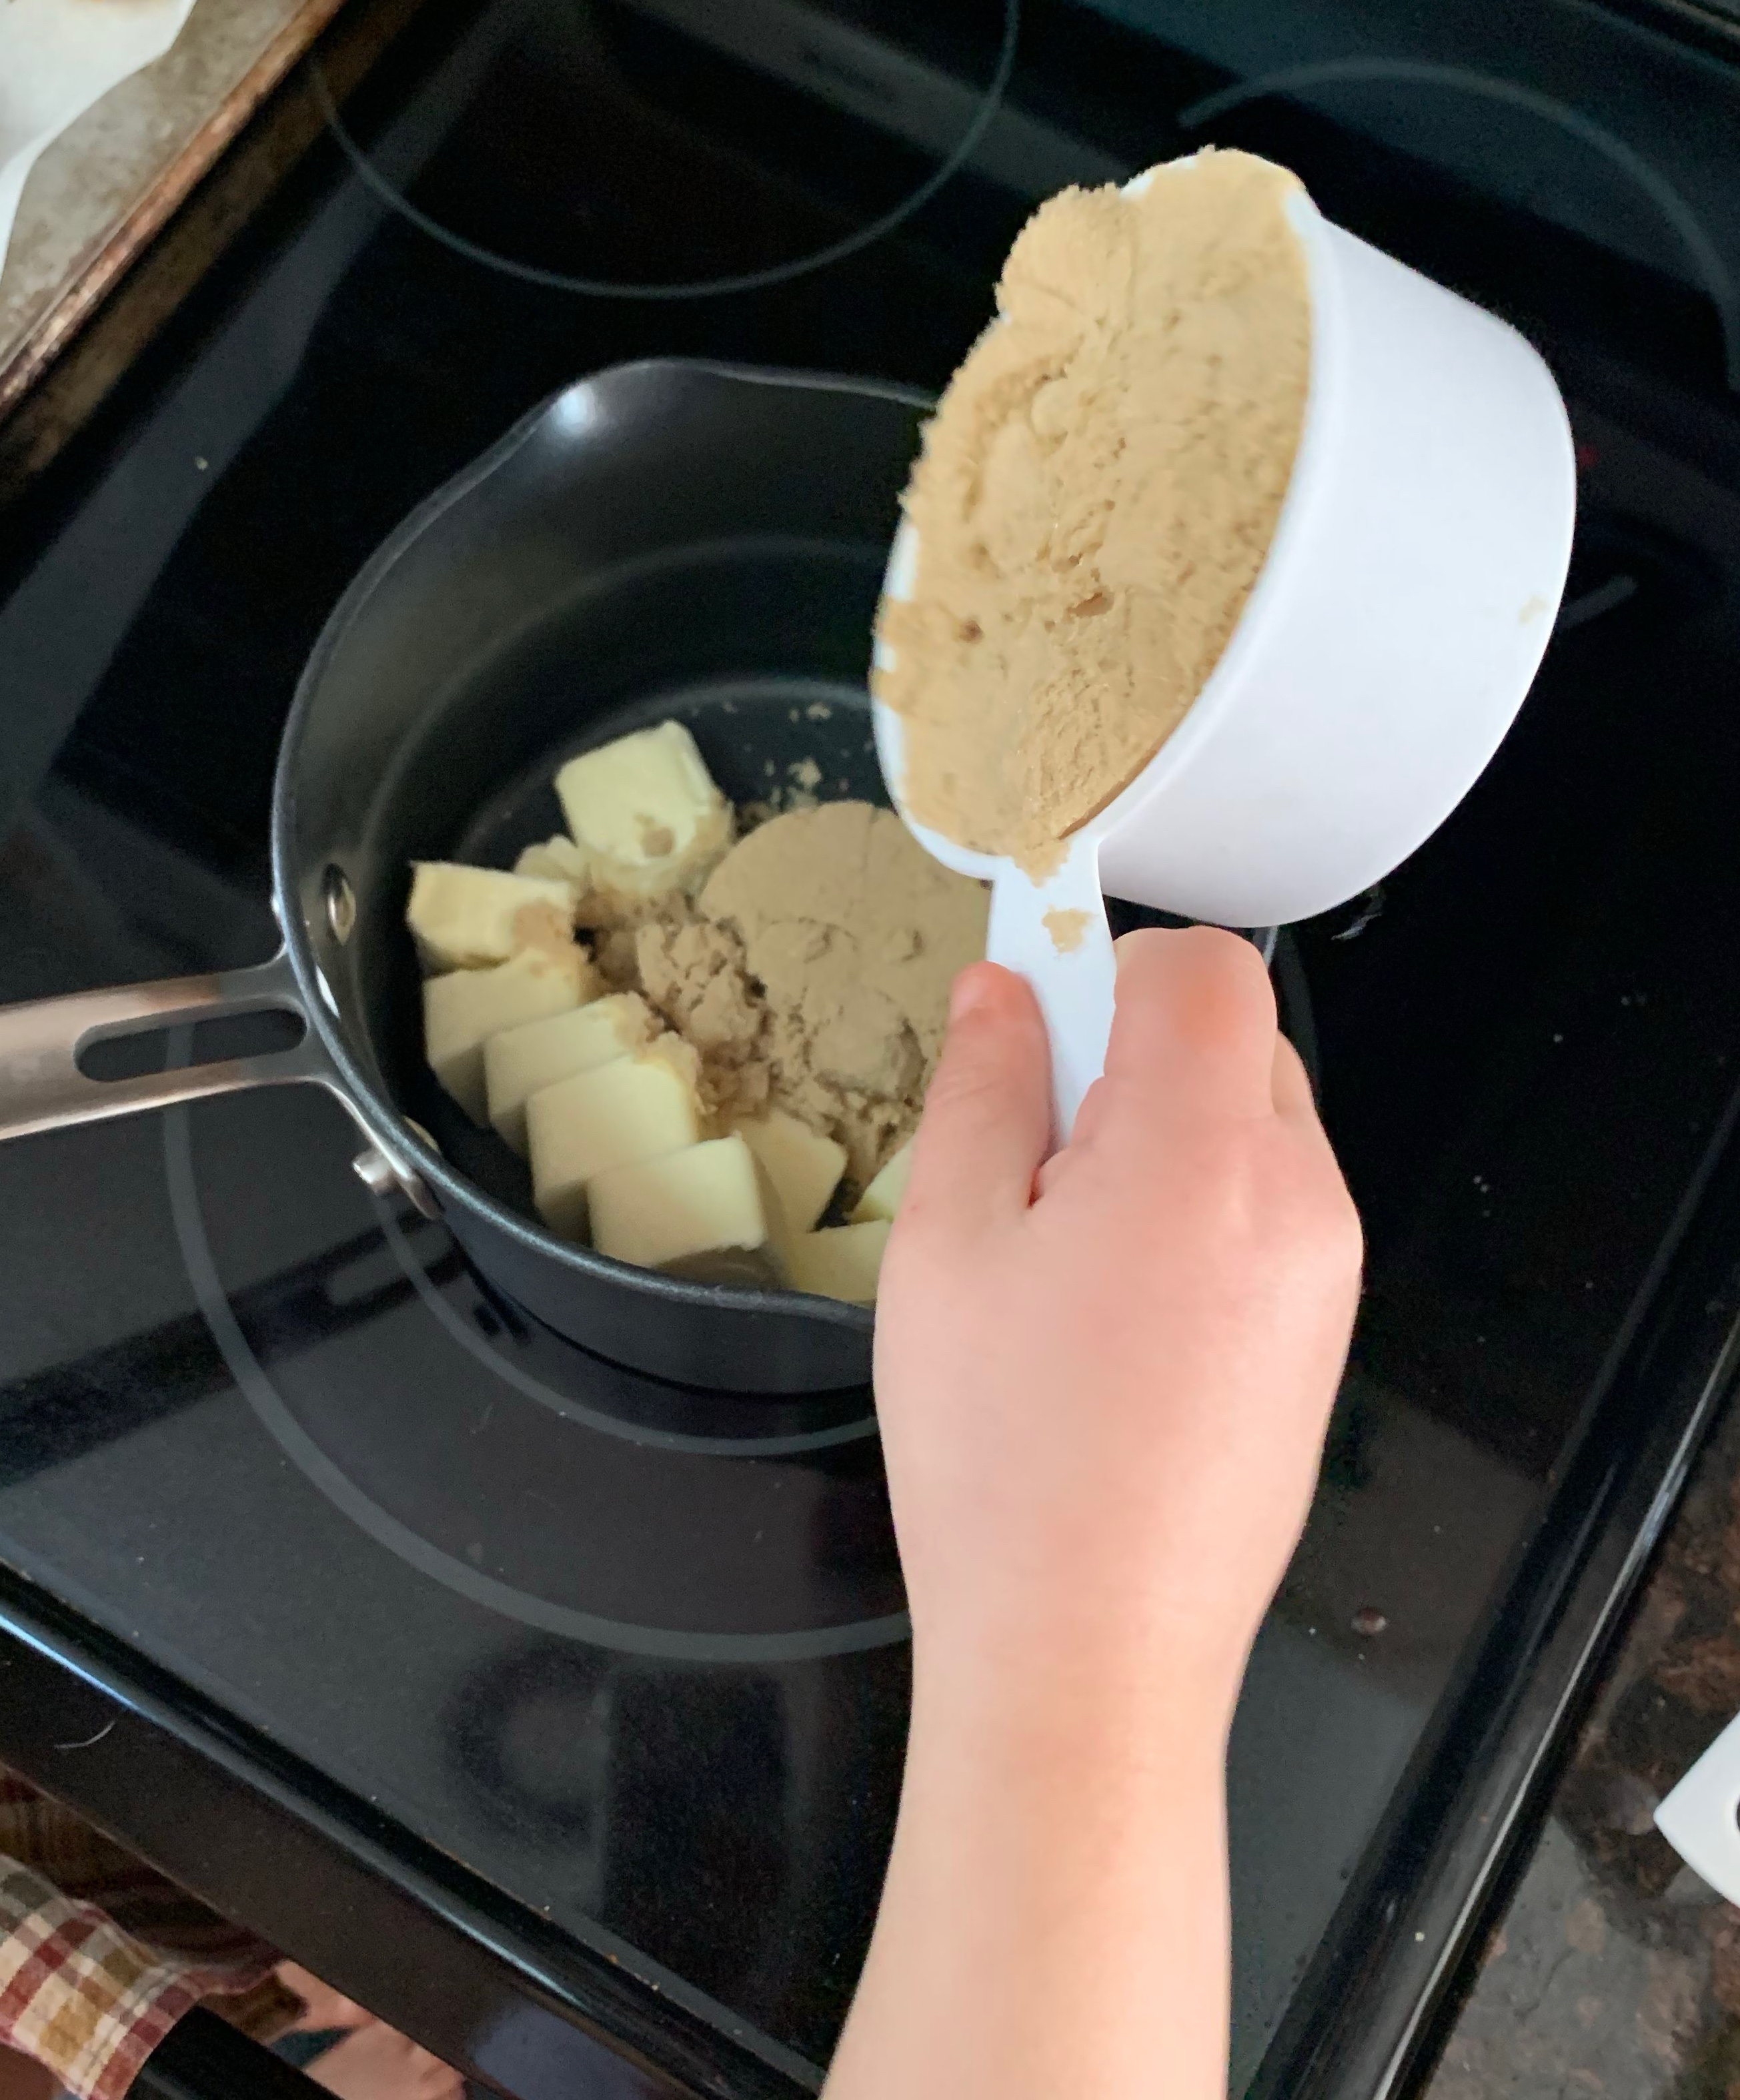
Once those were done we started on the no bake cookies. Since these are made on the stove top and the 5 year old wanted to be in charge I kept a little bit closer eye on things. We measured everything out before, including the peanut butter and the oats, and just set those aside. She kept and eye on the stuff in the pot and stirred it when necessary. She’s had a fair amount of practice at the stove and has been getting more comfortable there recently. If your young baker in inexperienced working on the stove top have them pull up a stool next to you and watch and you talk them through what’s happening. Be sure to focus on safety, such as where it is safe to touch and where it is not. Talk about what happens when you get a burn, and how to handle it when the inevitable happens. Let them build their confidence slowly and before you know it they’ll be confidently working!
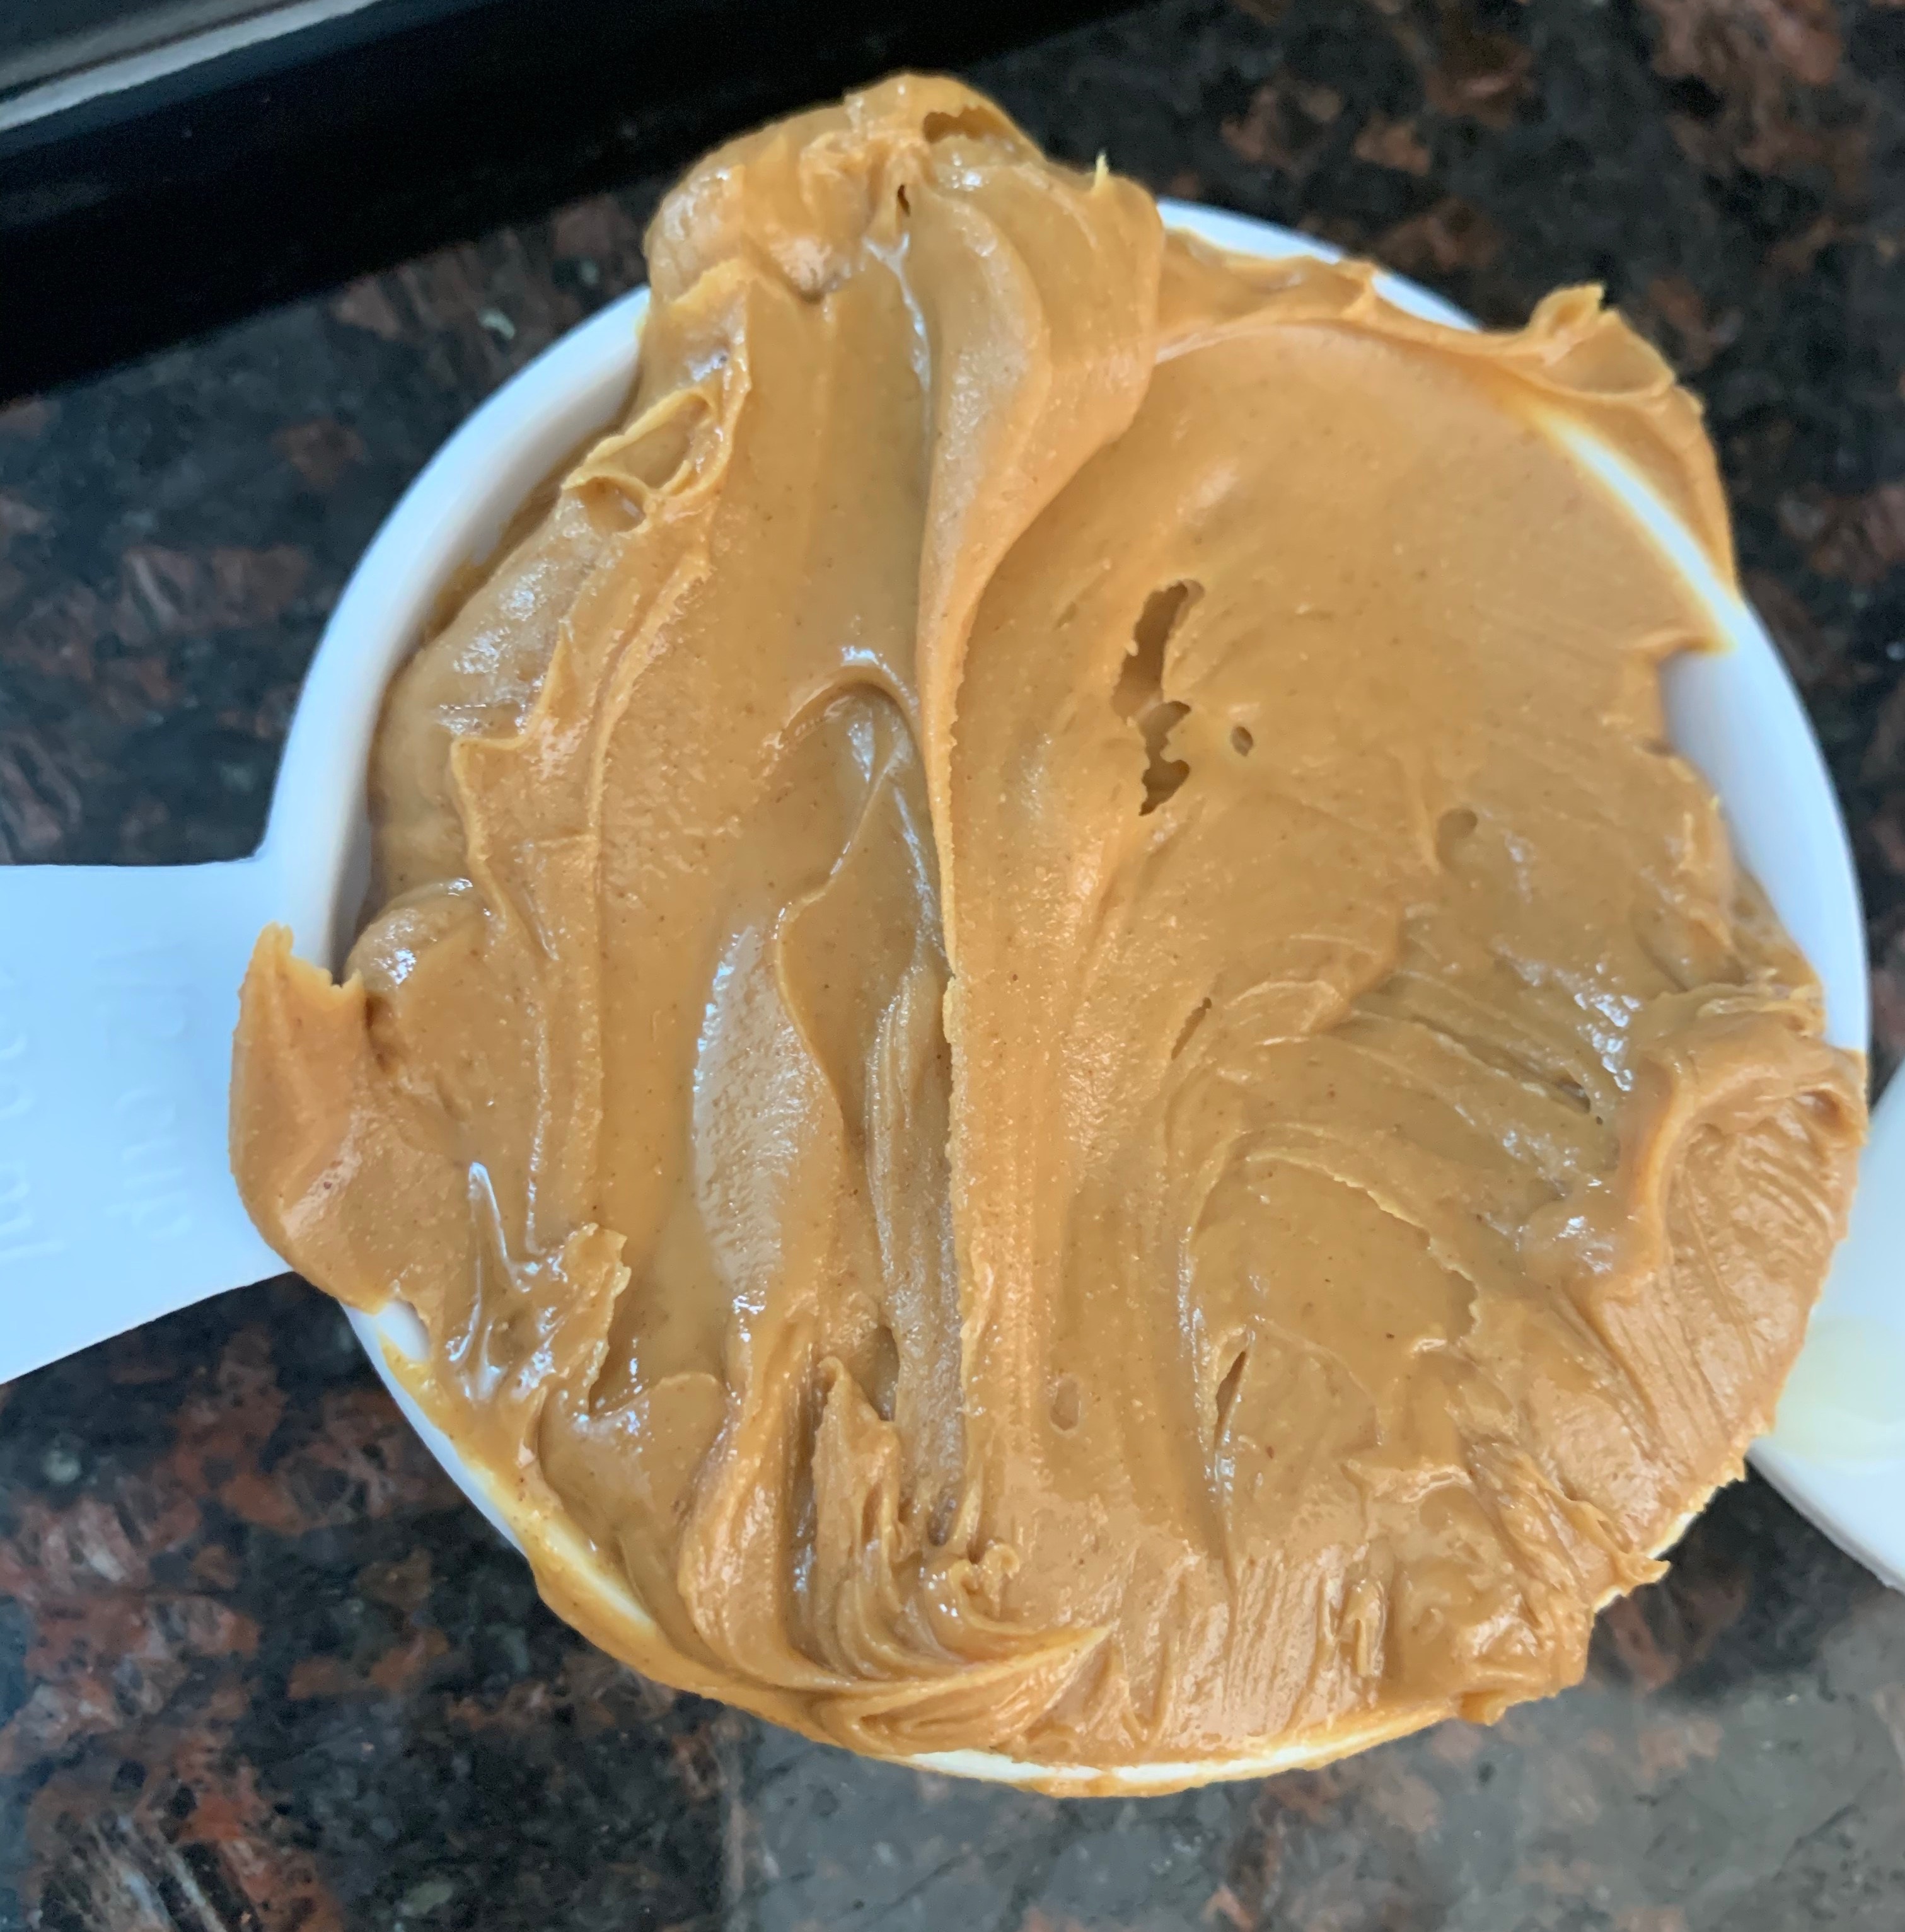
Does anyone else see that peanut butter and want to lick it clean? No?!? Just me?? Where are my peanut butter lovers? (I’ll include my recipe for these below)
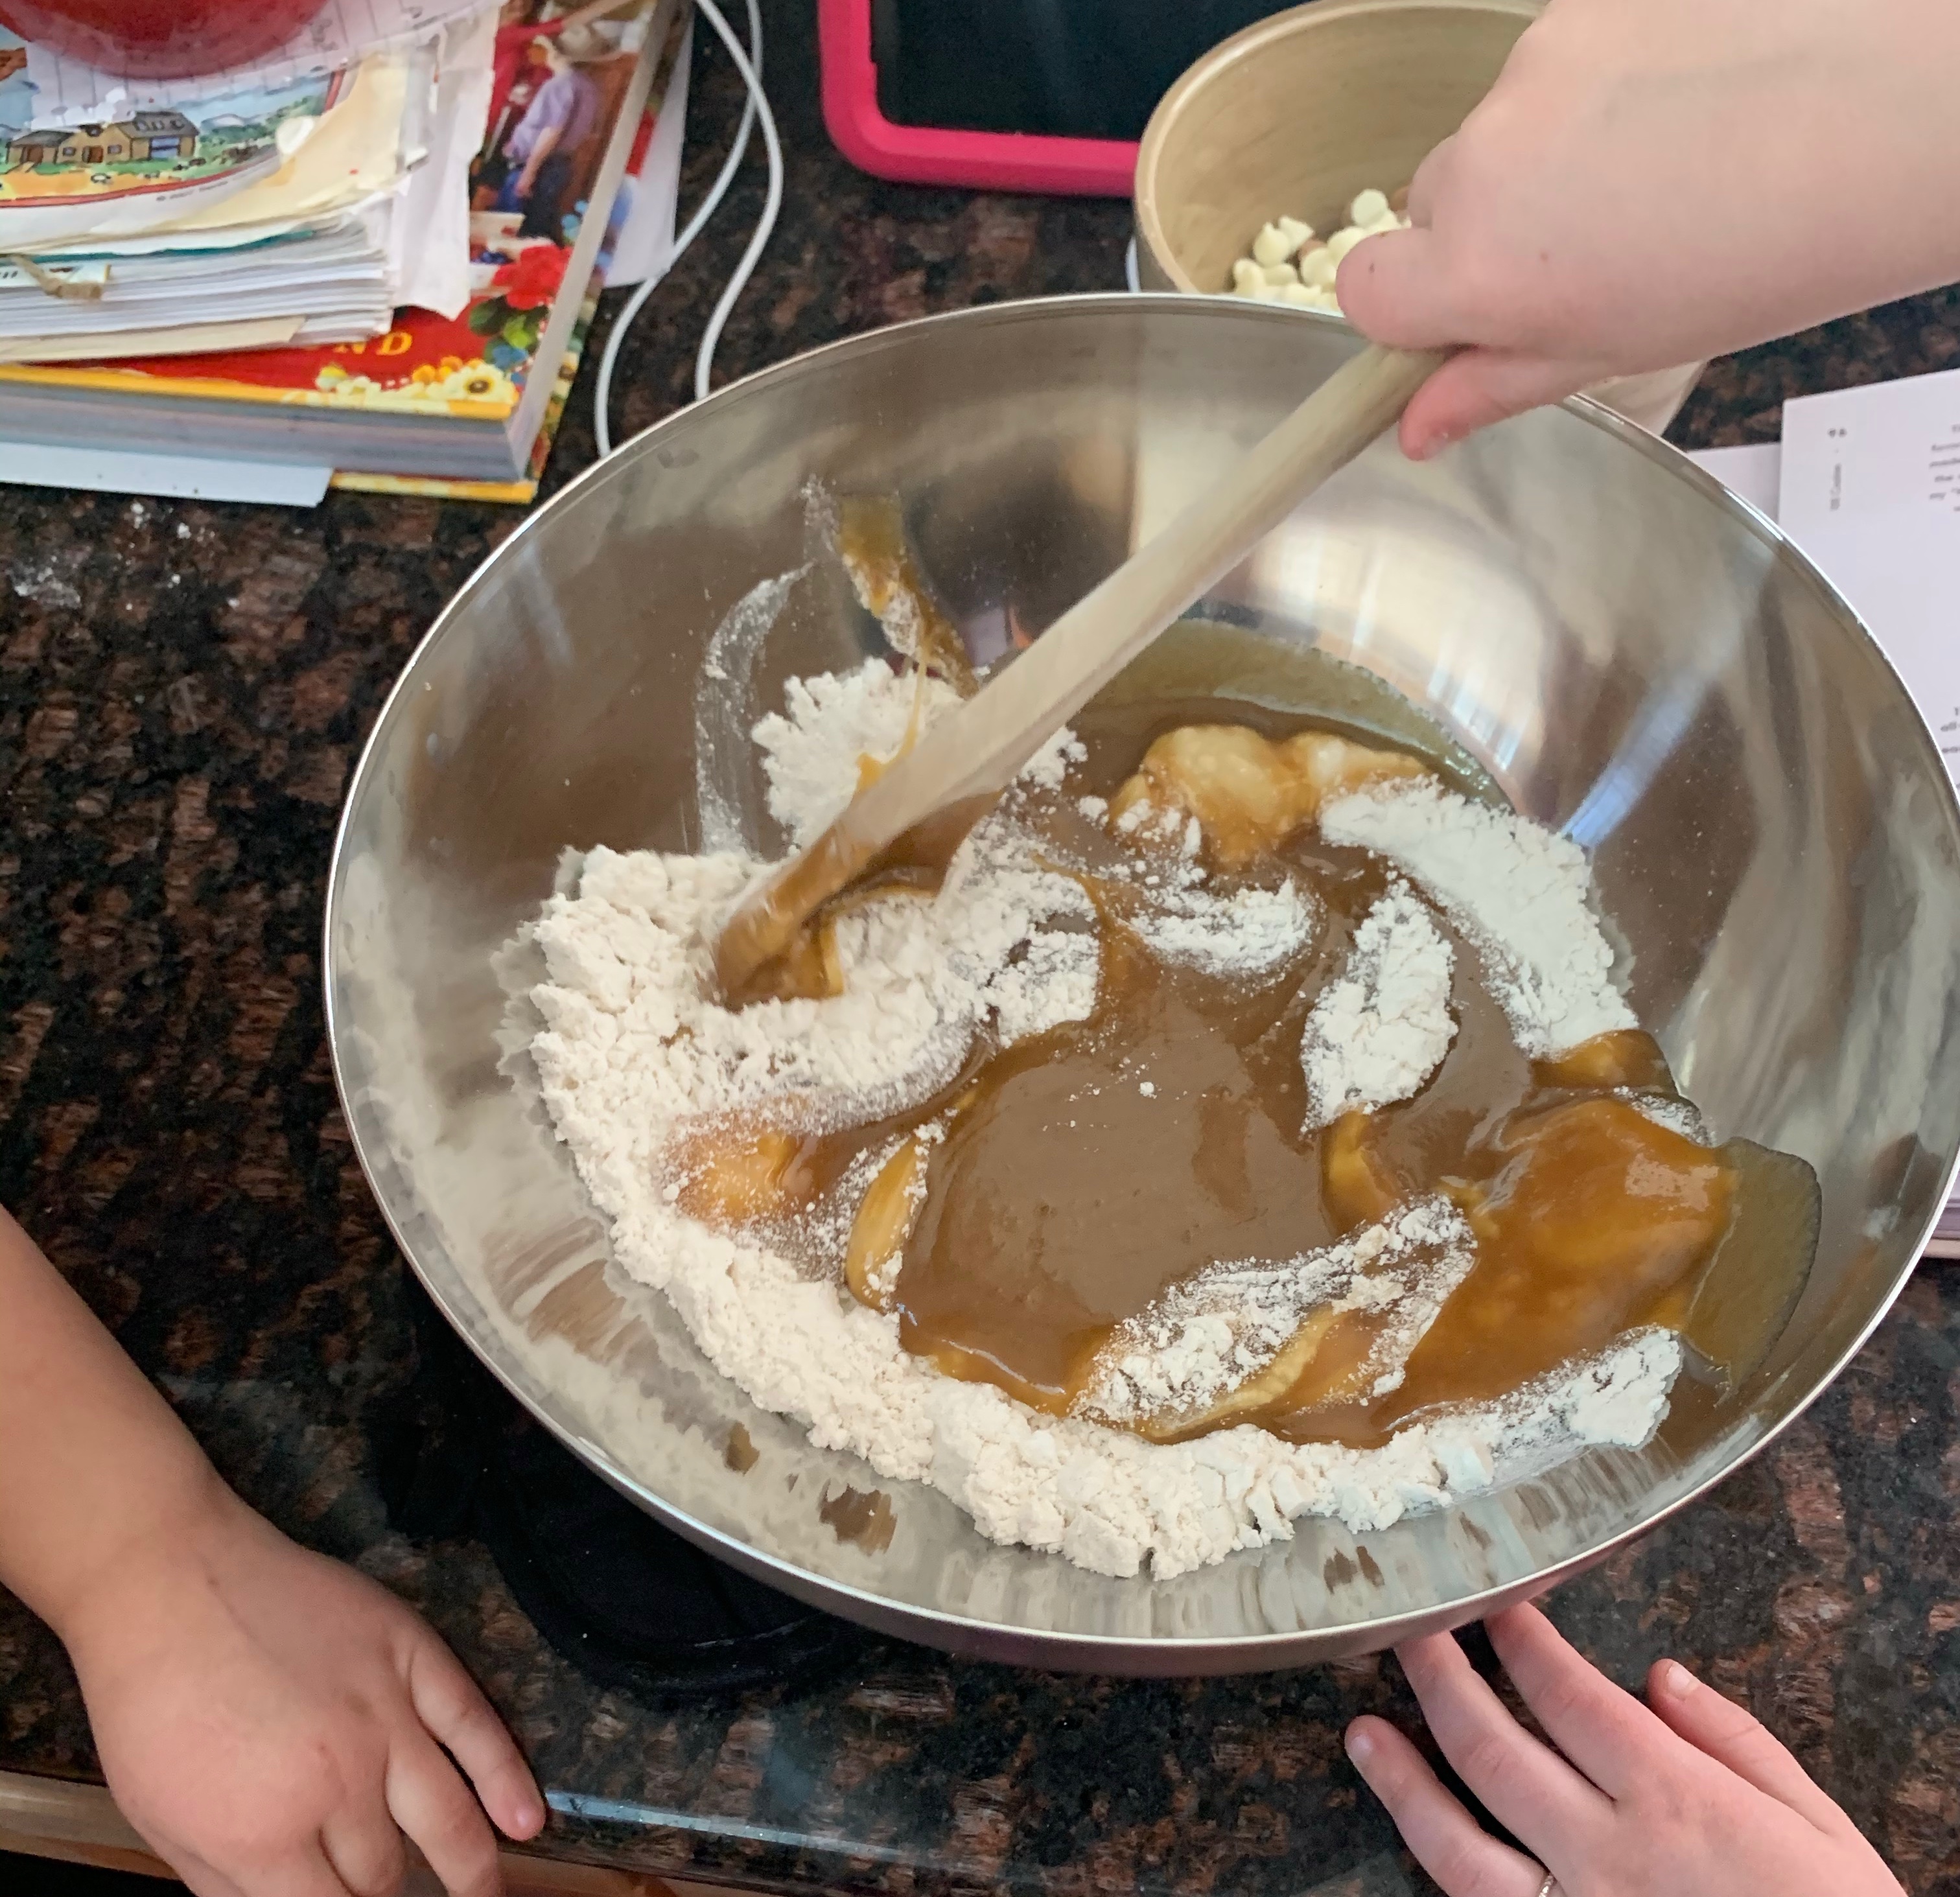
The last thing we took on were the blondies! We got into the cookie book that started it all and found the recipe for blondies. We followed the recipe exactly until it came to the add ins. At the kids request we added chocolate chips, salted caramel chips (thanks to our road trip to King Arthur Baking a few weeks ago), and white chocolate chips. OH MY GOSH! They are incredible! They’re gooey, chewy, and also light at the same time. I have a hunch that topped with some salted caramel ice cream these would be one of the best desserts ever! You can find the recipe in Sarah Kieffer’s 100 cookies book (https://www.thevanillabeanblog.com/100-cookies please don’t tell me if you haven’t already bought it, just do it now so we can still be friends!). Funny enough you can also find a recipe for a salted caramel no churn ice cream in that very same book. I’m just here to make dessert dreams come true! You can thank me later.
Mixing, measuring, and being creative in the kitchen is old hat for these two, but if it’s not for your kids then there’s no time like the present! Get in there and see what you can make. You’ll be amazed!
I’m super impressed with the finished product of all of the treats we made today. I’m more impressed with how focused and how long my kids worked together in the kitchen. It is so fun to see them really take charge and invest in the outcome of their baking. It’s taken a lot of bakes, and a lot of work, but it’s well worth it to see them succeed at something that can be difficult even for adults!
Is this the perfect dessert trio?
As promised, here is my recipe for no bake cookies:
INGREDIENTS
1/2 cup (1 stick) salted butter
2 cups sugar
1/2 cup of milk
1/4 cup unsweetened baking cocoa (my favorite is King Arthur Baking Triple Cocoa Powder)
1 teaspoon vanilla
1/2 cup CREAMY peanut butter (I’ve tried the natural stuff and while you CAN use it if you want the really tradition no bake cookie texture go with Skippy or Jiff or something similar)
3 cups rolled oats
DIRECTIONS
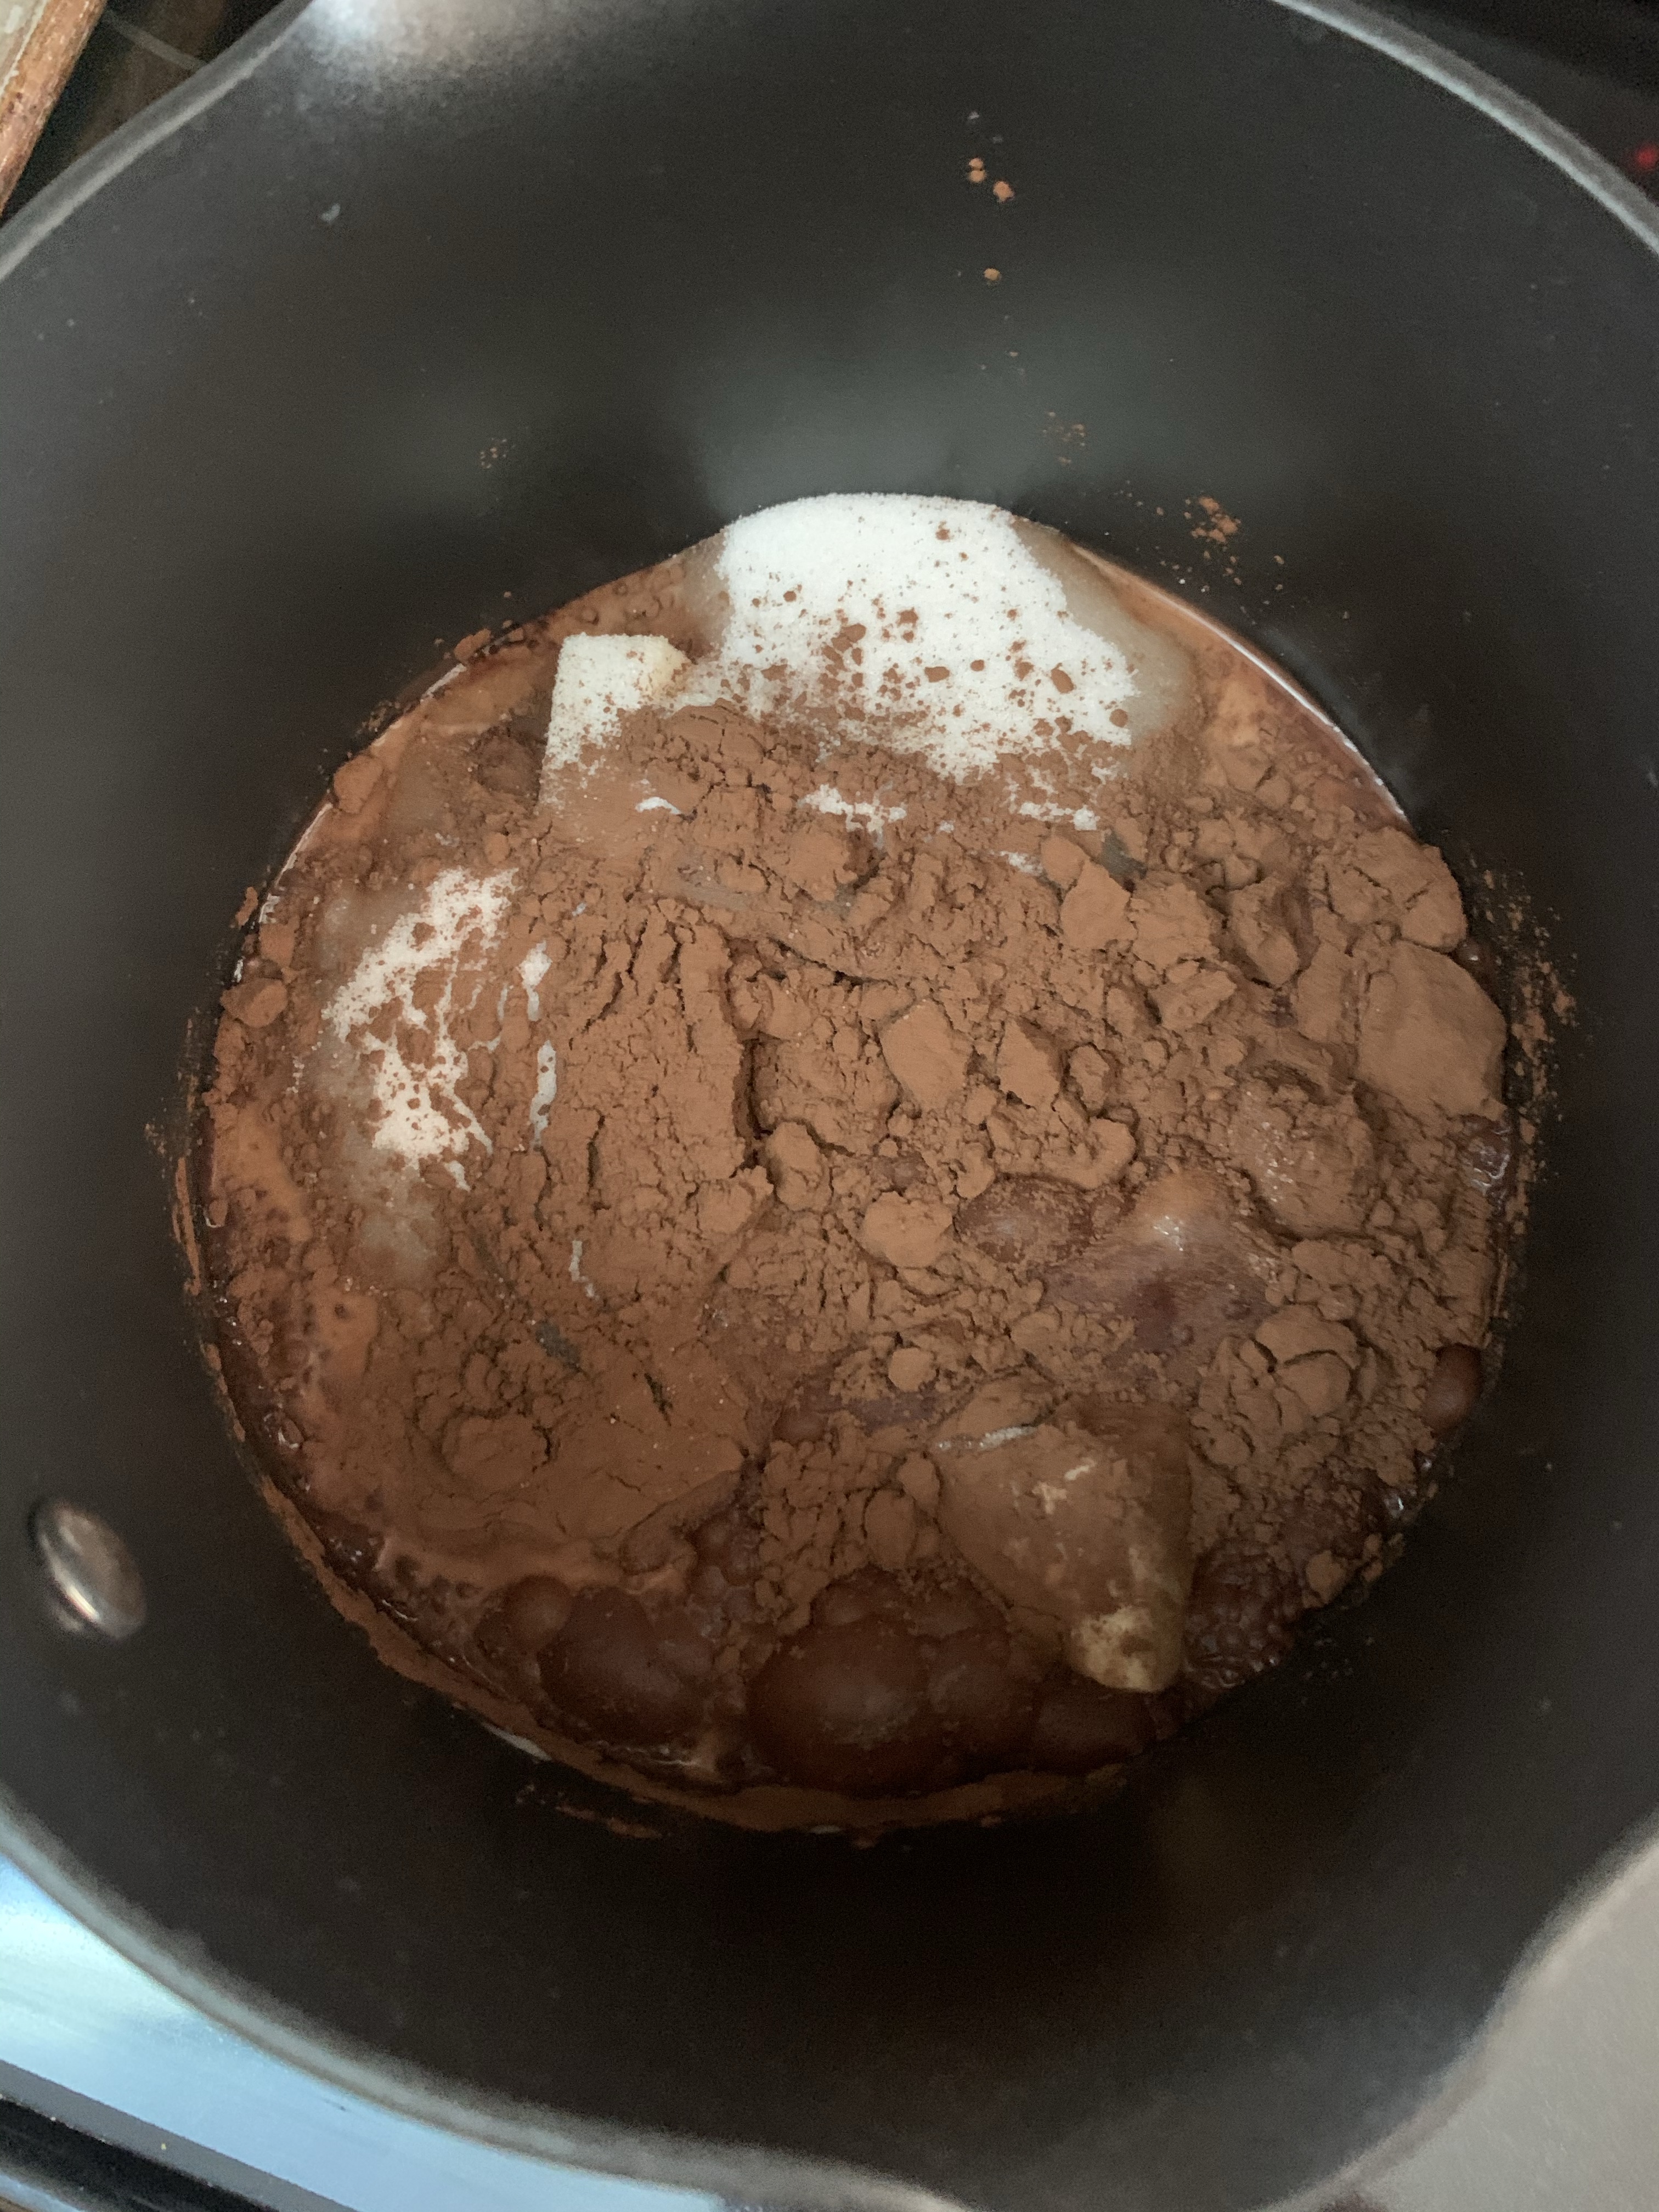
Put butter, sugar, milk, and cocoa in a saucepan. Heat over medium heat until boiling, boil for approx 2 min, stirring occasionally so as not to let the sugar burn. Remove from heat, stir in the vanilla, then the peanut butter until smooth. Then add the oats, mix until coated completely, scoop out onto parchment paper and let harden!
Send us a picture and let us know how they turned out! You can find us on Instagram @100daysofbakingwithkids and on Facebook at 100 days of baking with kids. Come see all the fun we’re having!
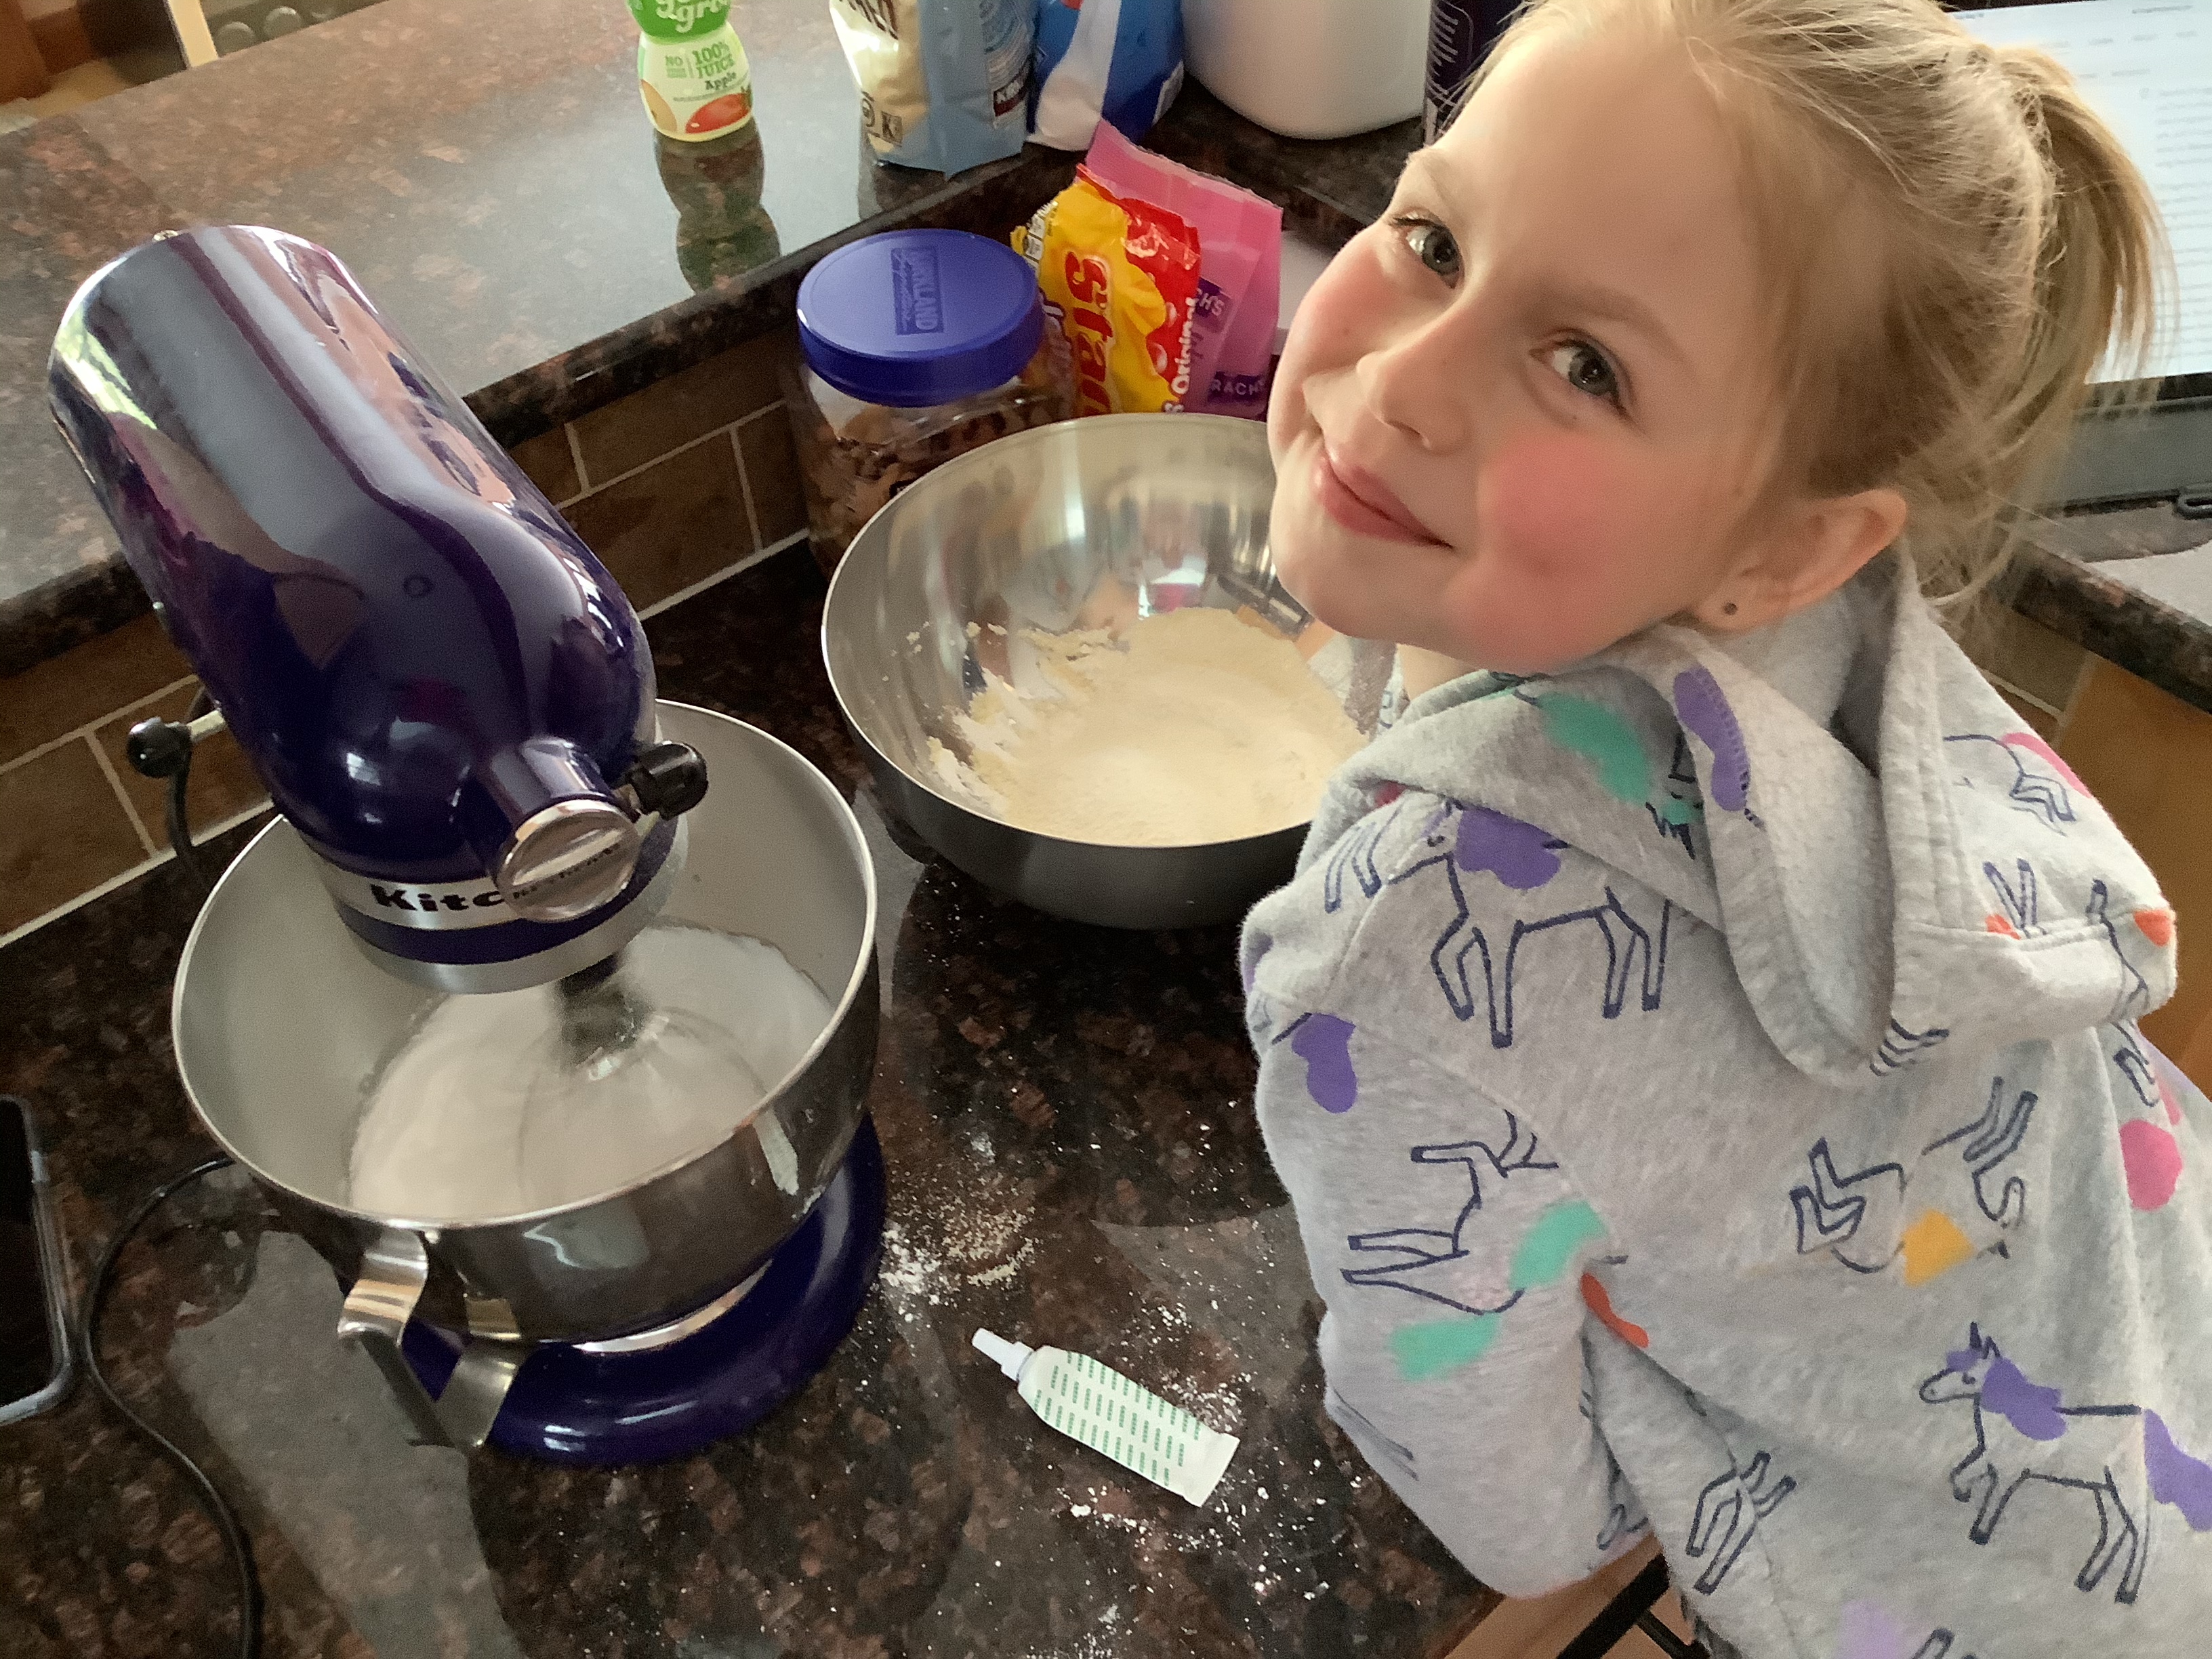
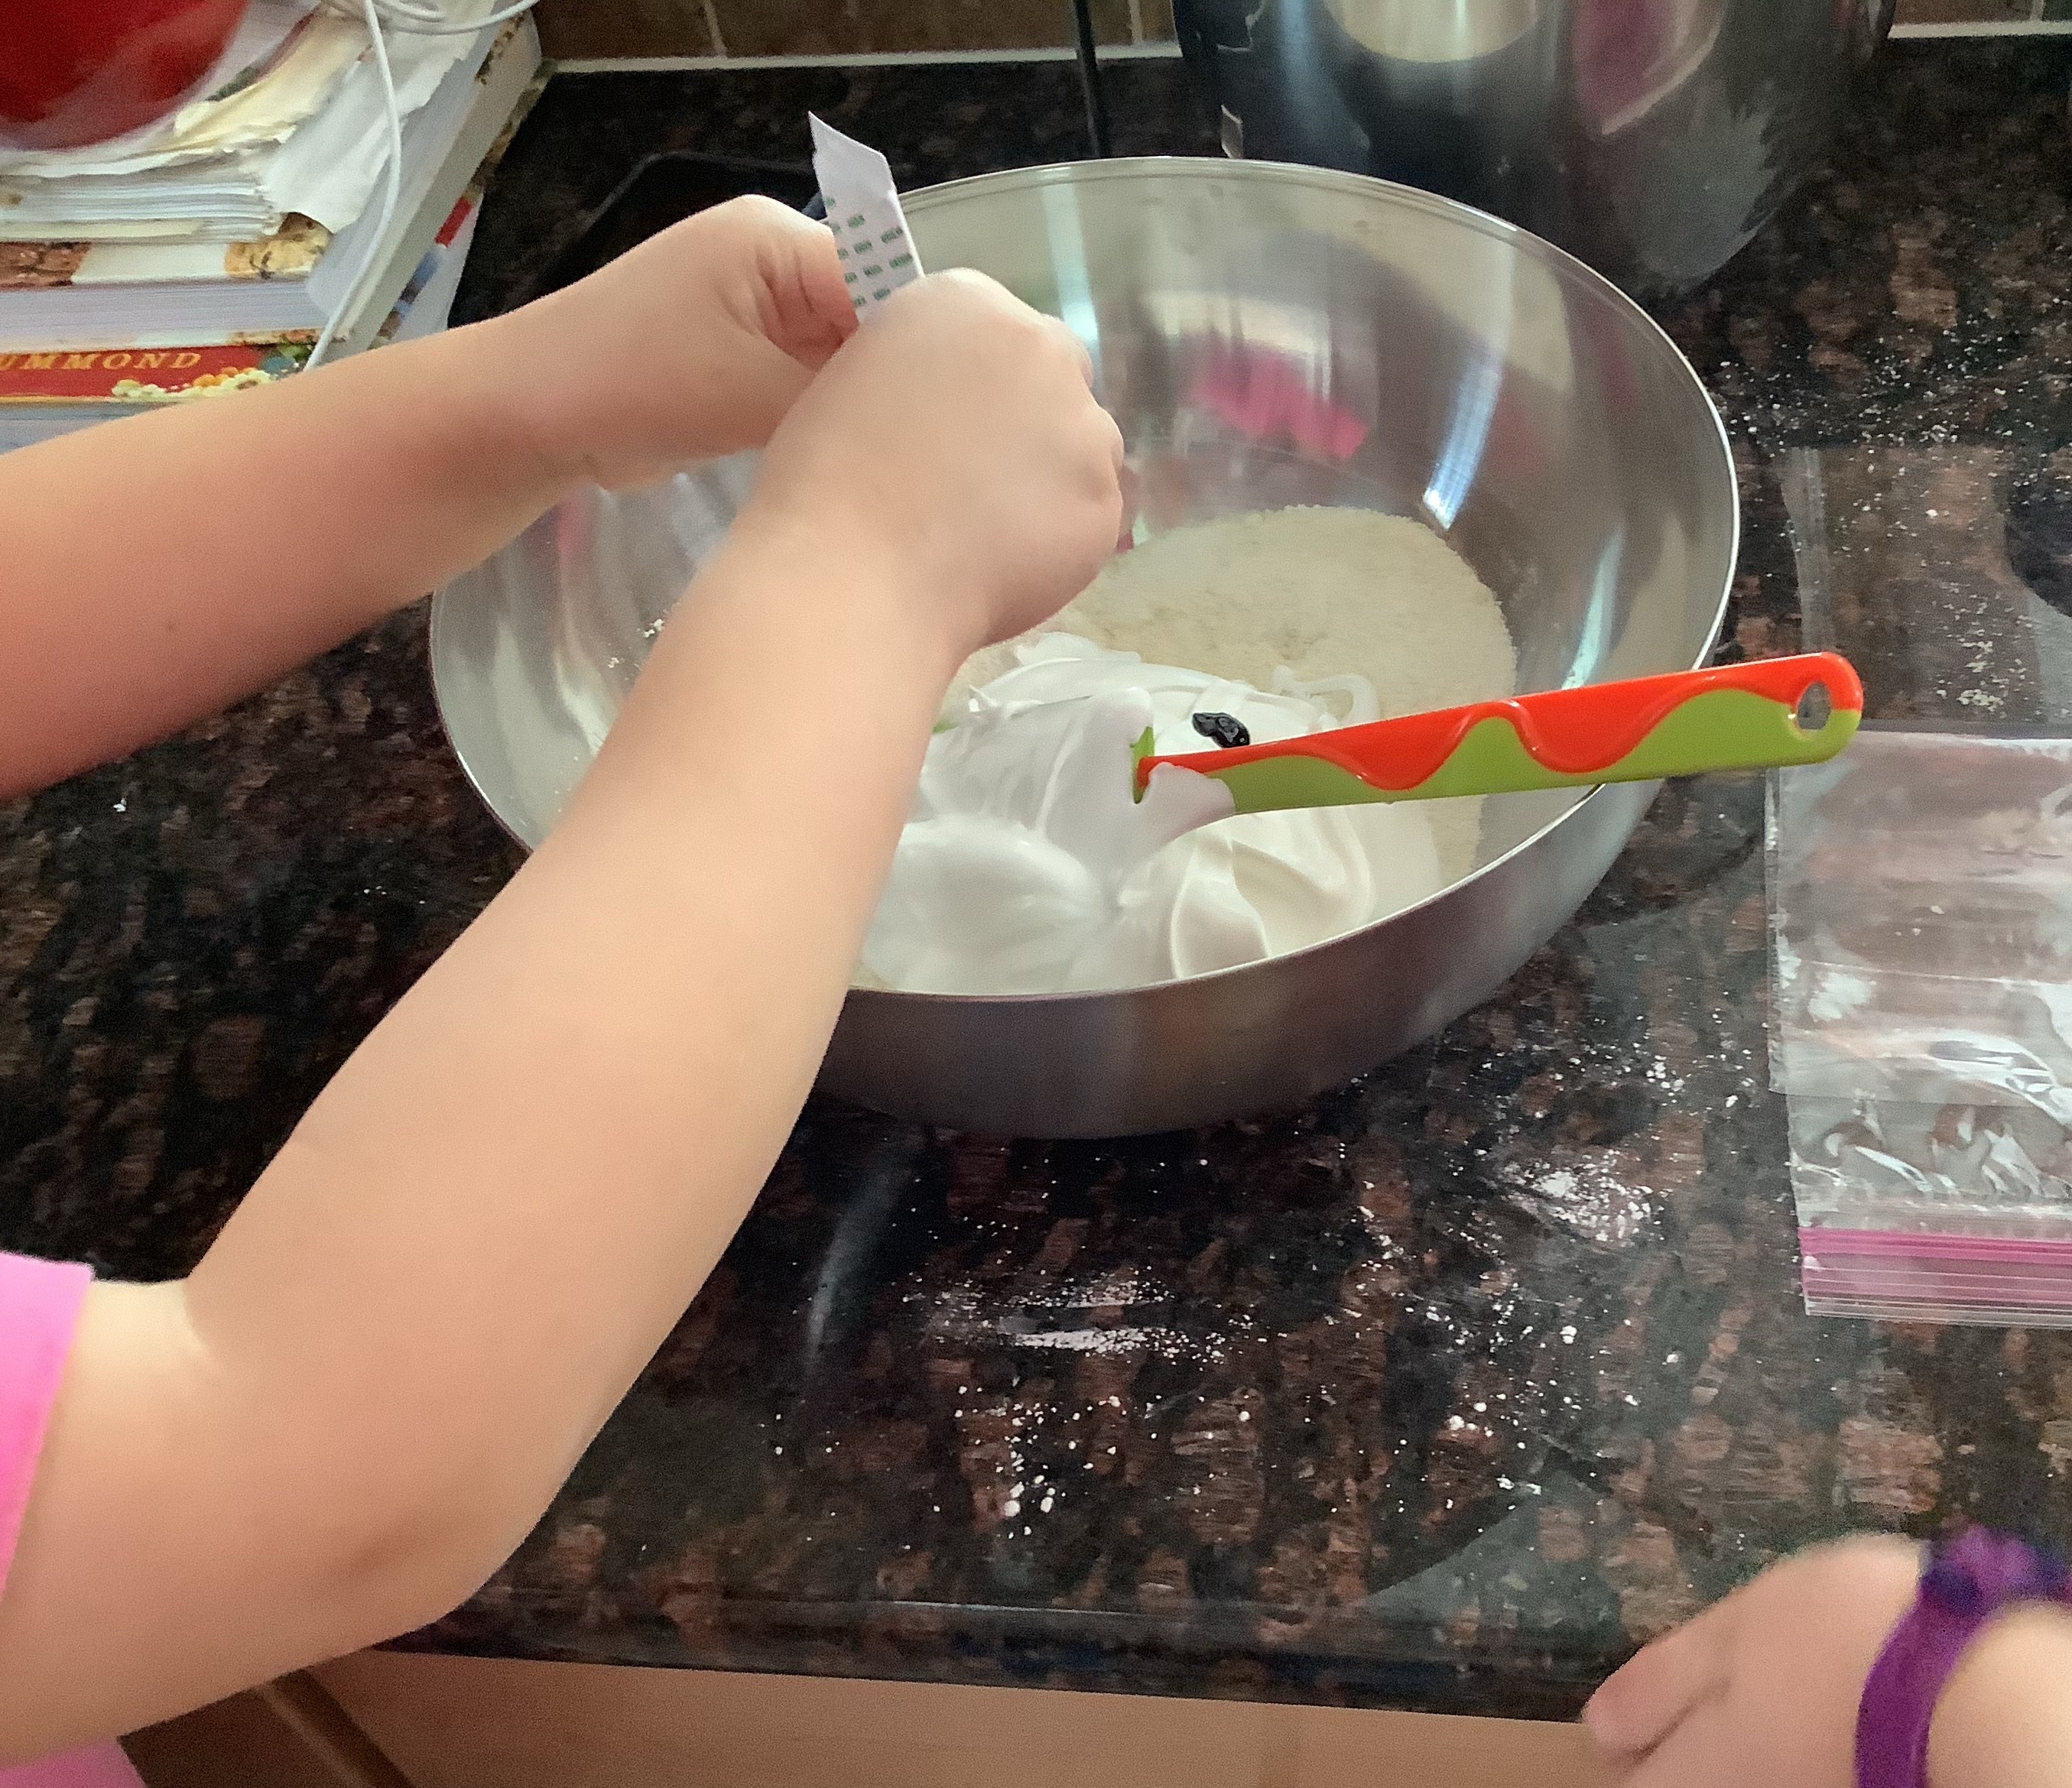
I had a plan. I thought it was a good plan, a fun plan, and a not overly ambitious plan. They had a different plan, and as usual, they won. I thought we could make some yummy green velvet cupcakes for St. Patrick’s Day. Nothing too difficult, a fun easy recipe, but always a pleaser. The kids thought we needed to make French macrons…what?!
Of course they talked me into it, I’m not immune to their adorable faces. Their argument was valid; that we hadn’t made macrons for a while and they’re “super yummy”! What we all seemed to forget was just how much work and how temperamental these little cookies are!
See, adorable! How am I supposed to argue with that?
If you’ve never attempted to make macrons before I can’t say that I blame you. It wasn’t on my radar until we started ordering these AMAZING cakes from a local baker who also happens to be the macron queen. (She doesn’t call herself that, but I do. I’ve literally never had anything as delicious as her macrons, she’s brilliant.) If you’re ever lucky enough to be on Church Street in Burlington, Vt you can find her macrons at a sweet little kiosk on the corner of College St. and Church St., called Leunigs Petite Bijou. You can also give her a follow on instagram @matryoshkasbakery and you can find her goodies at her families restaurant, Good Times Cafe in Hinesburg, Vt. You will be amazed at what she comes up with!
When the world shut down a year ago we decided it was time for us to try and tackle a recipe we’d been waiting to try. We all LOVE macrons, and in order to support our habit it was learn to make them or live in a box. We had to try a couple recipes before we found one that was both simple enough for our novice selves, but also made good enough cookies. You’ll never guess where we found said recipe…oh wait, you probably can…King Arthur Baking coming through for us again! https://www.kingarthurbaking.com/recipes/simple-macarons-recipe Now, they have a few different recipes on their site and I’d encourage you to try which ever feels best to you. This is the one we use and so far, as we muddle through learning how to perfect these little devils, this is what works for us.
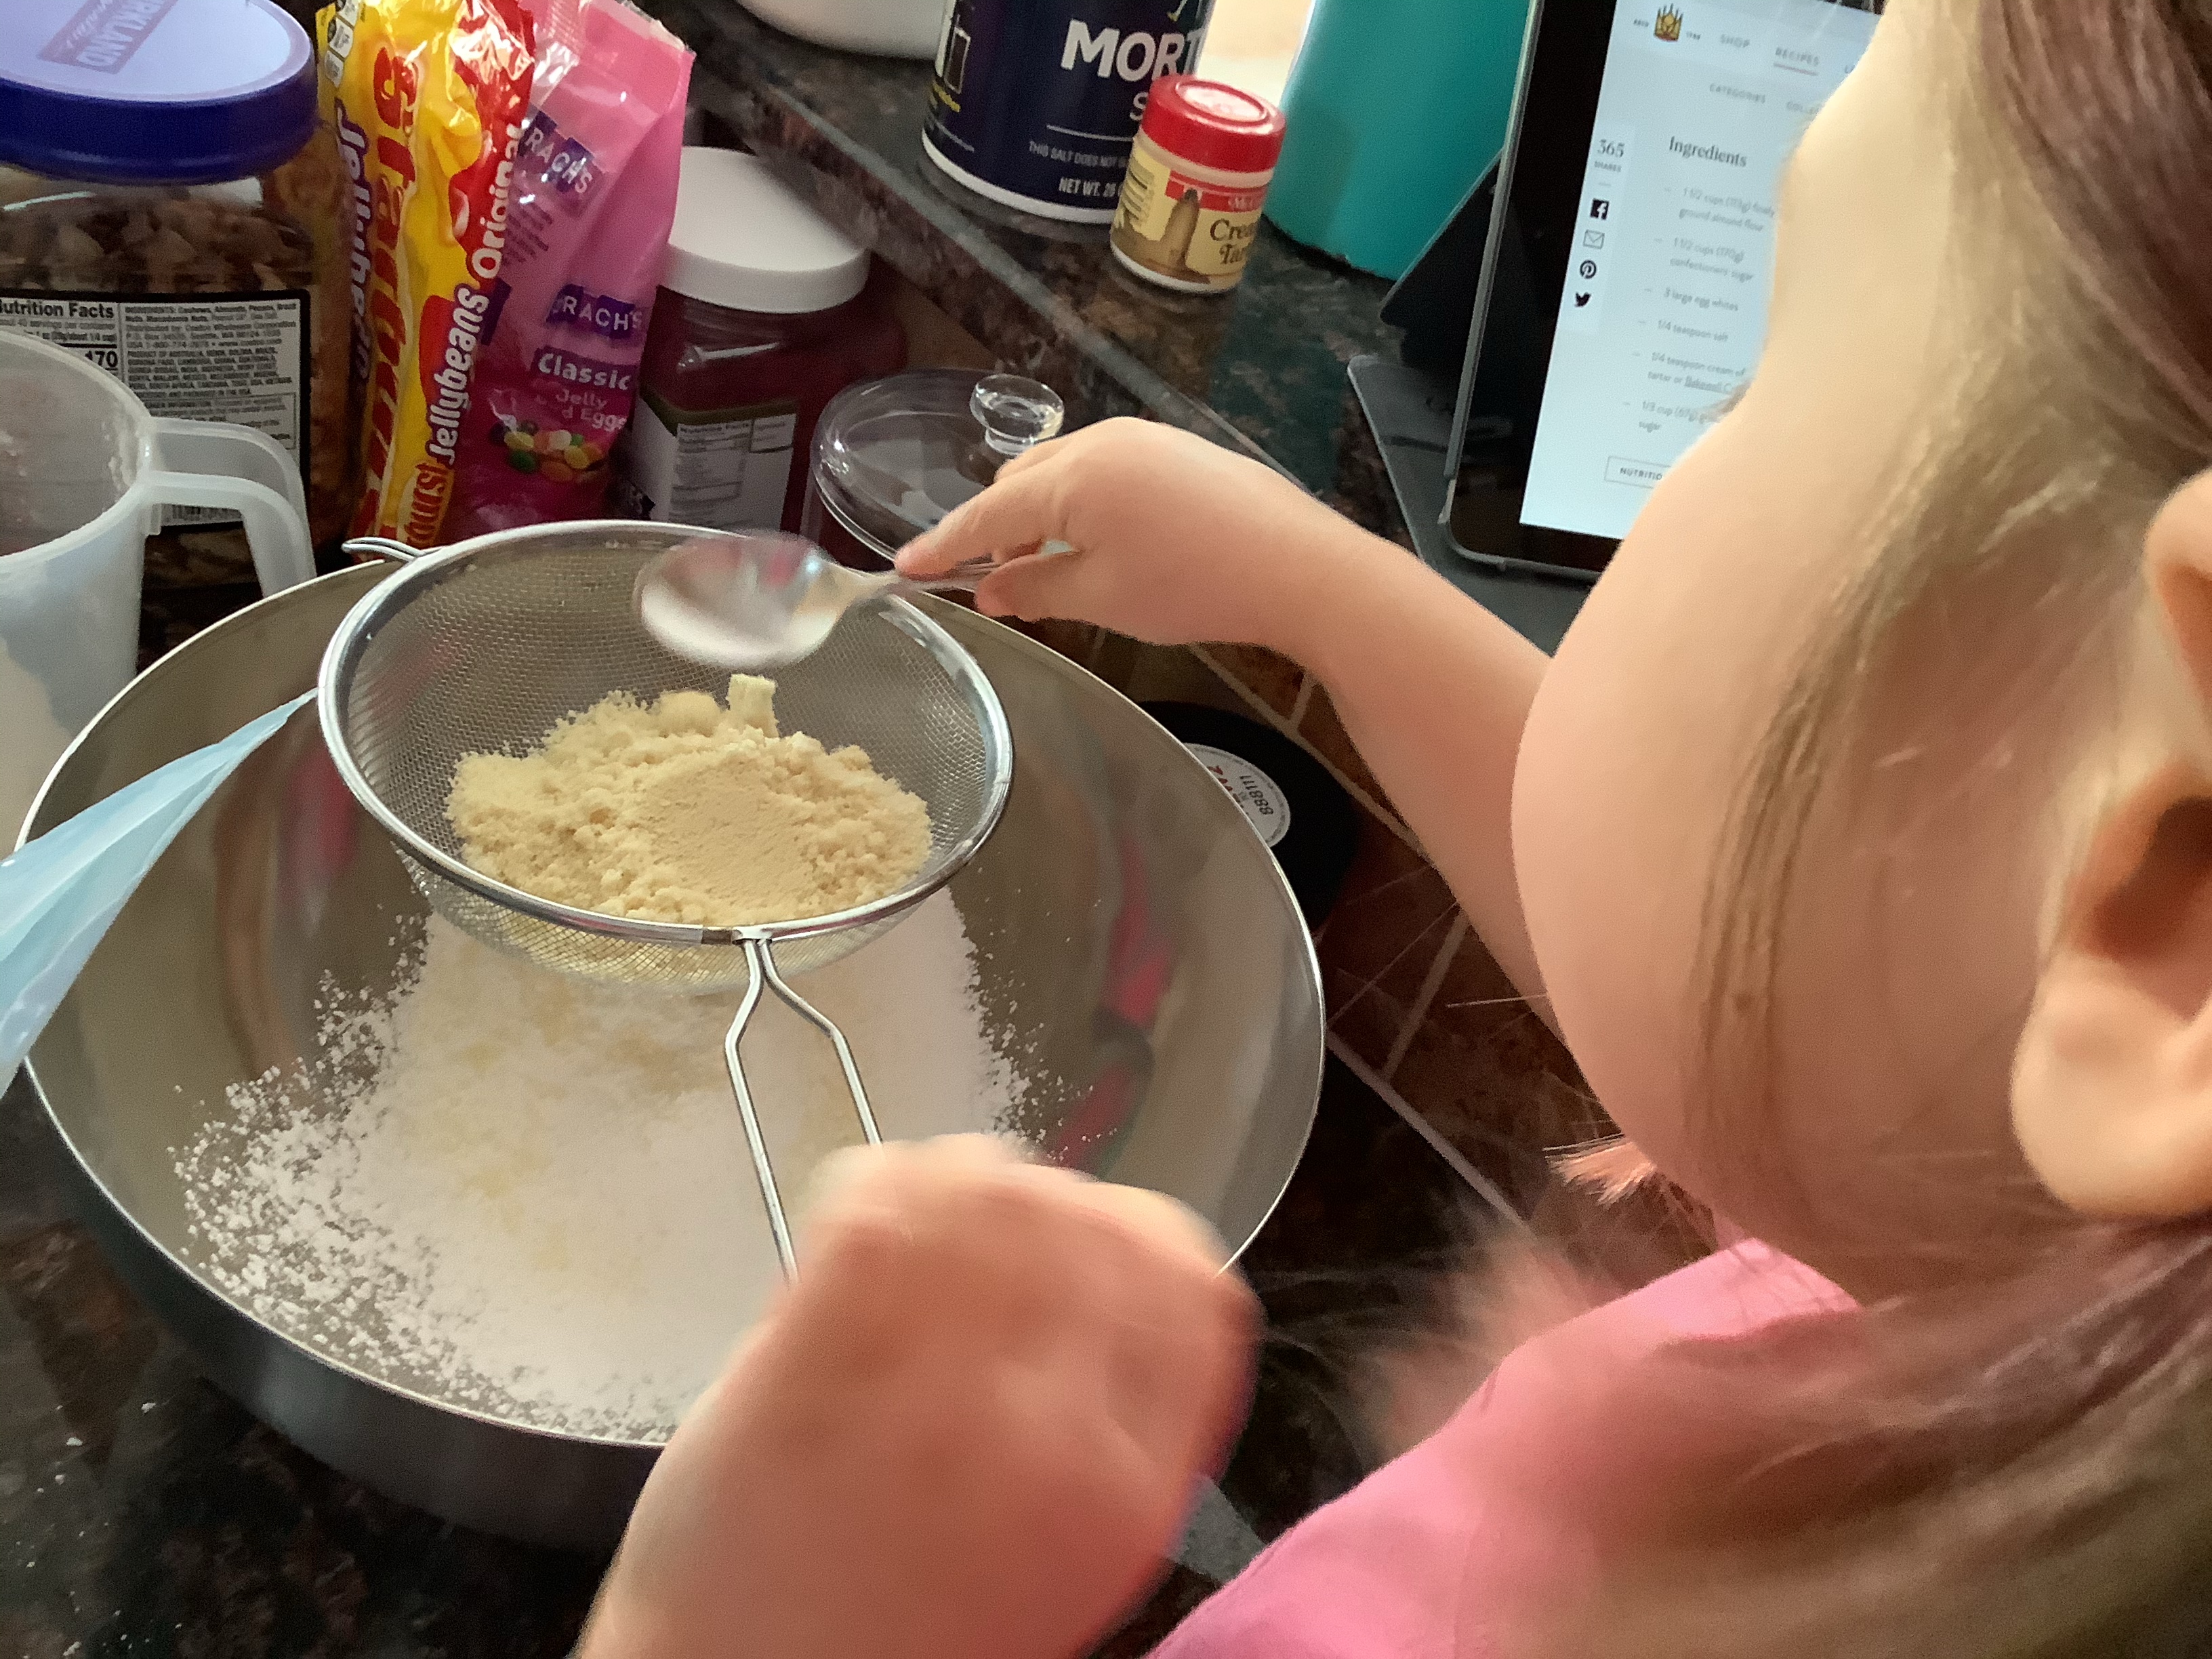
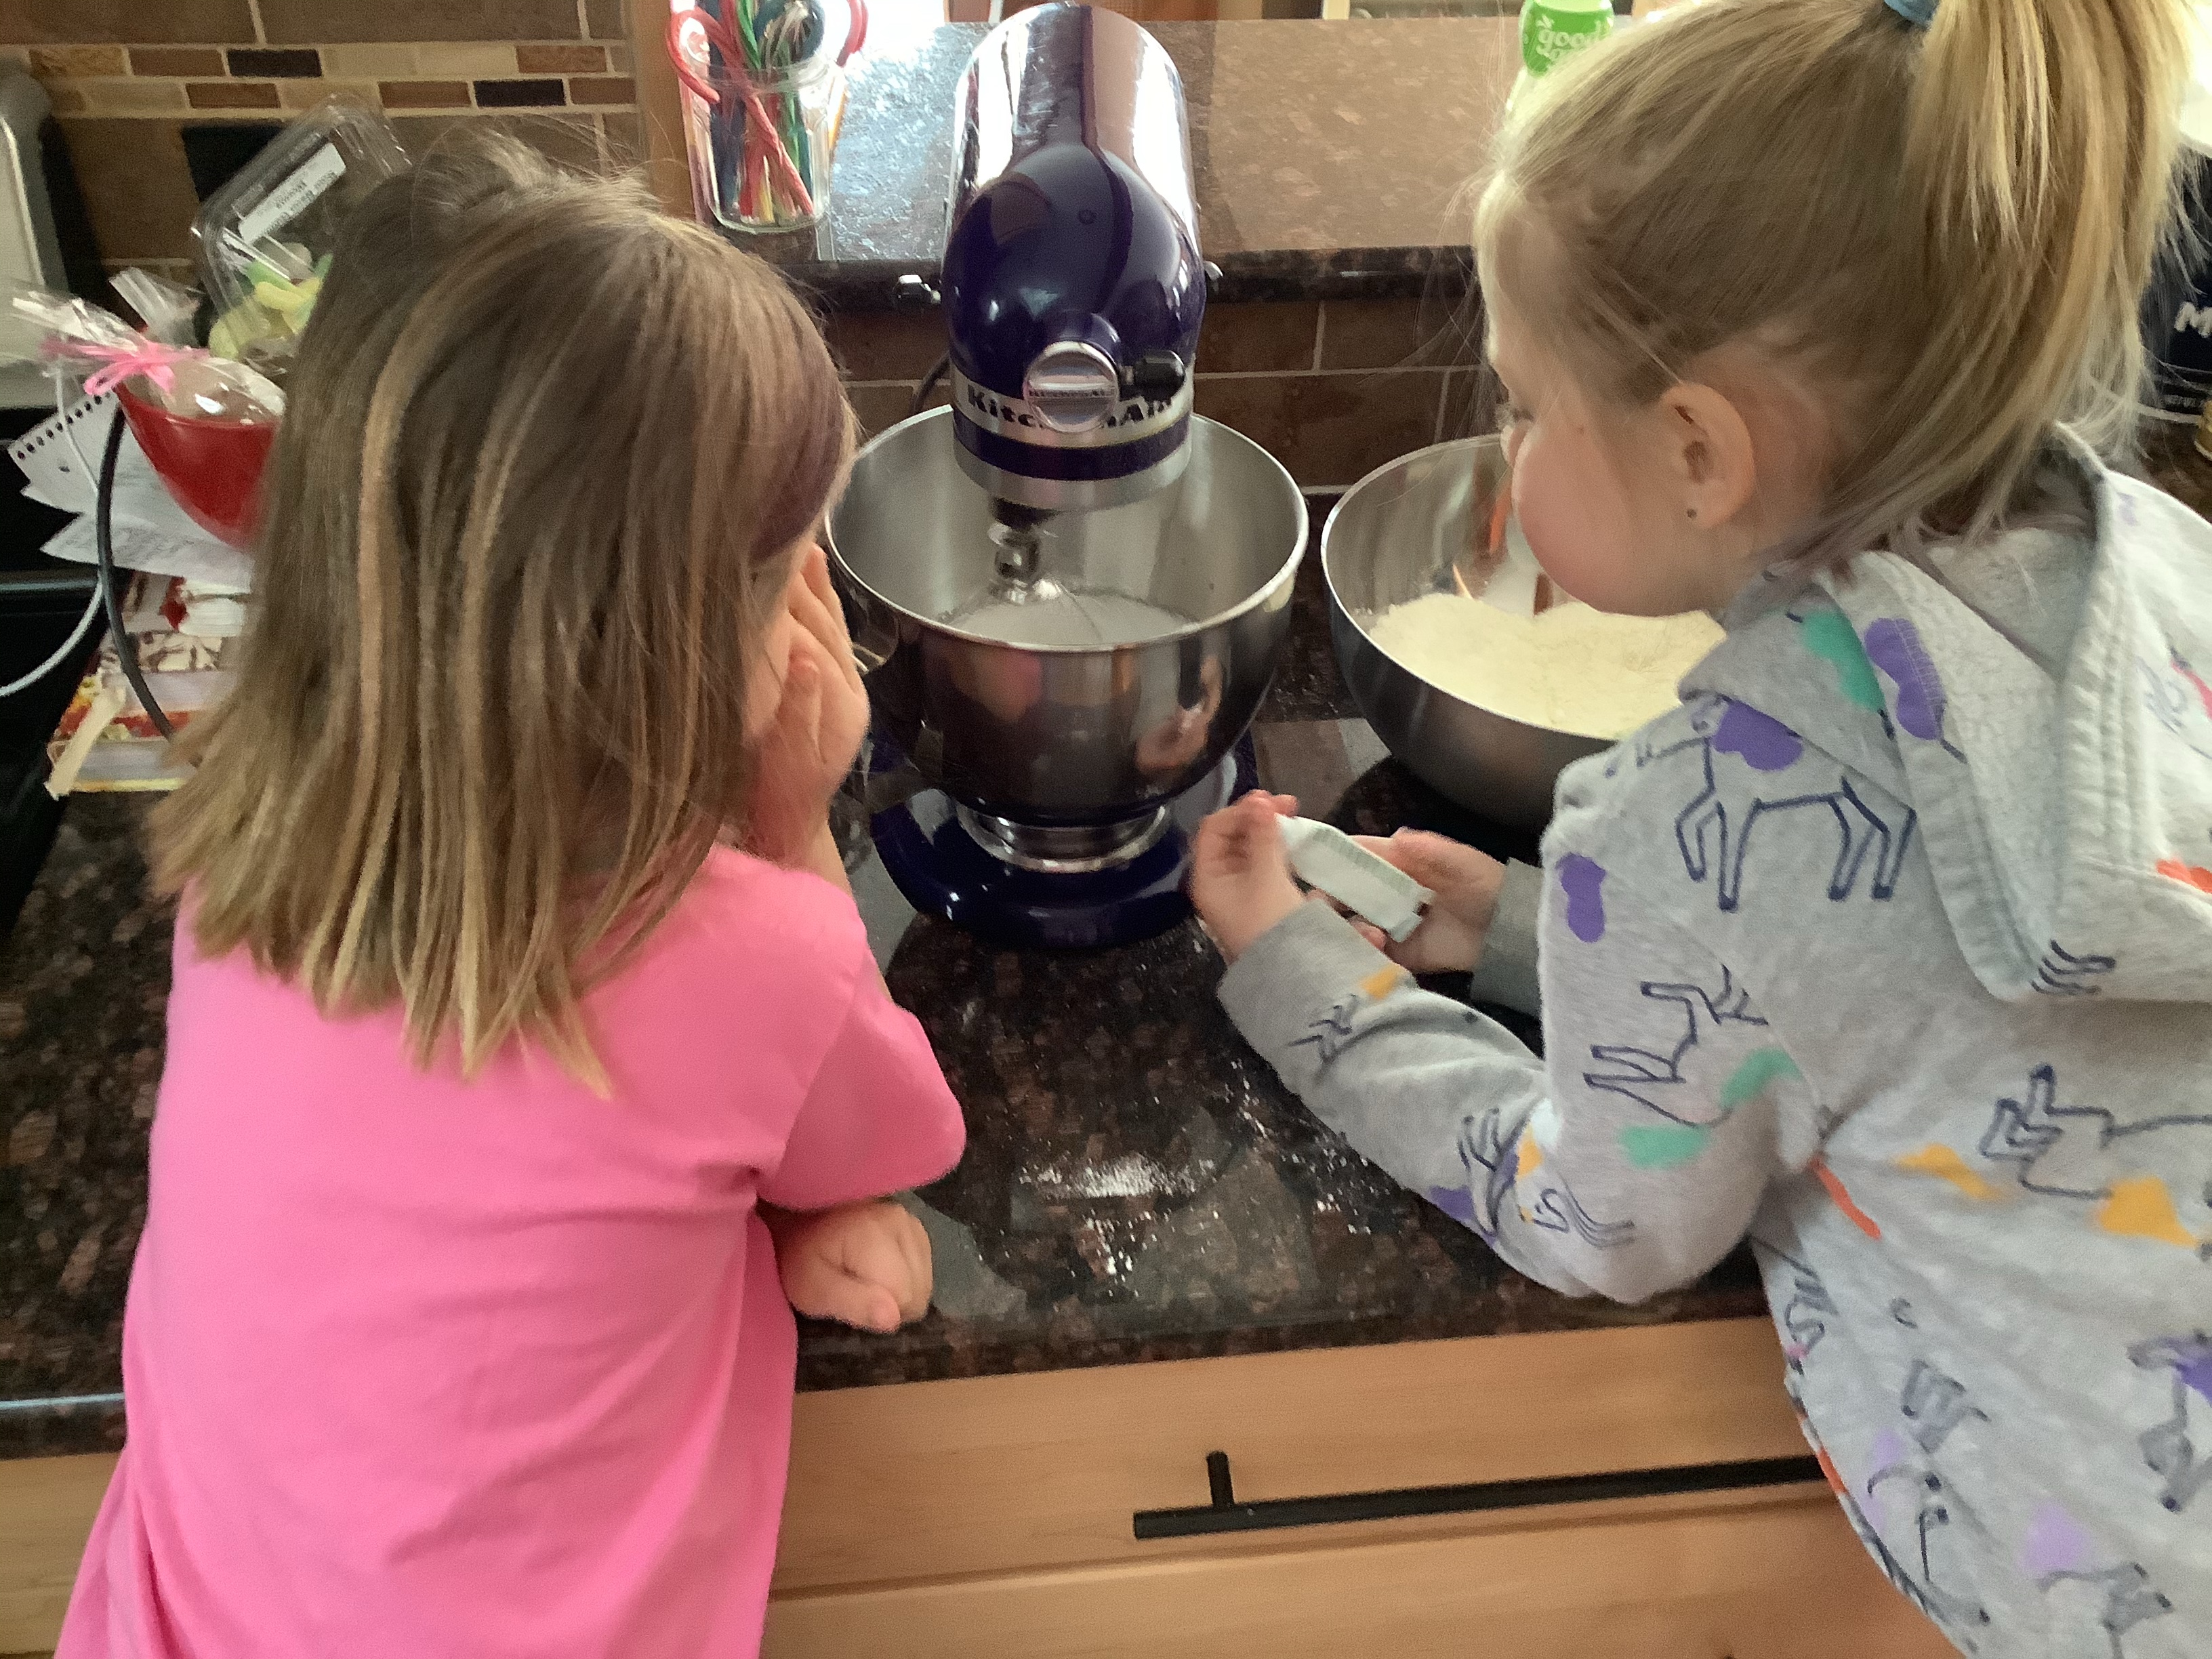
From our pre-baking set up to them piped on the cookie sheet. Macrons are serious business!
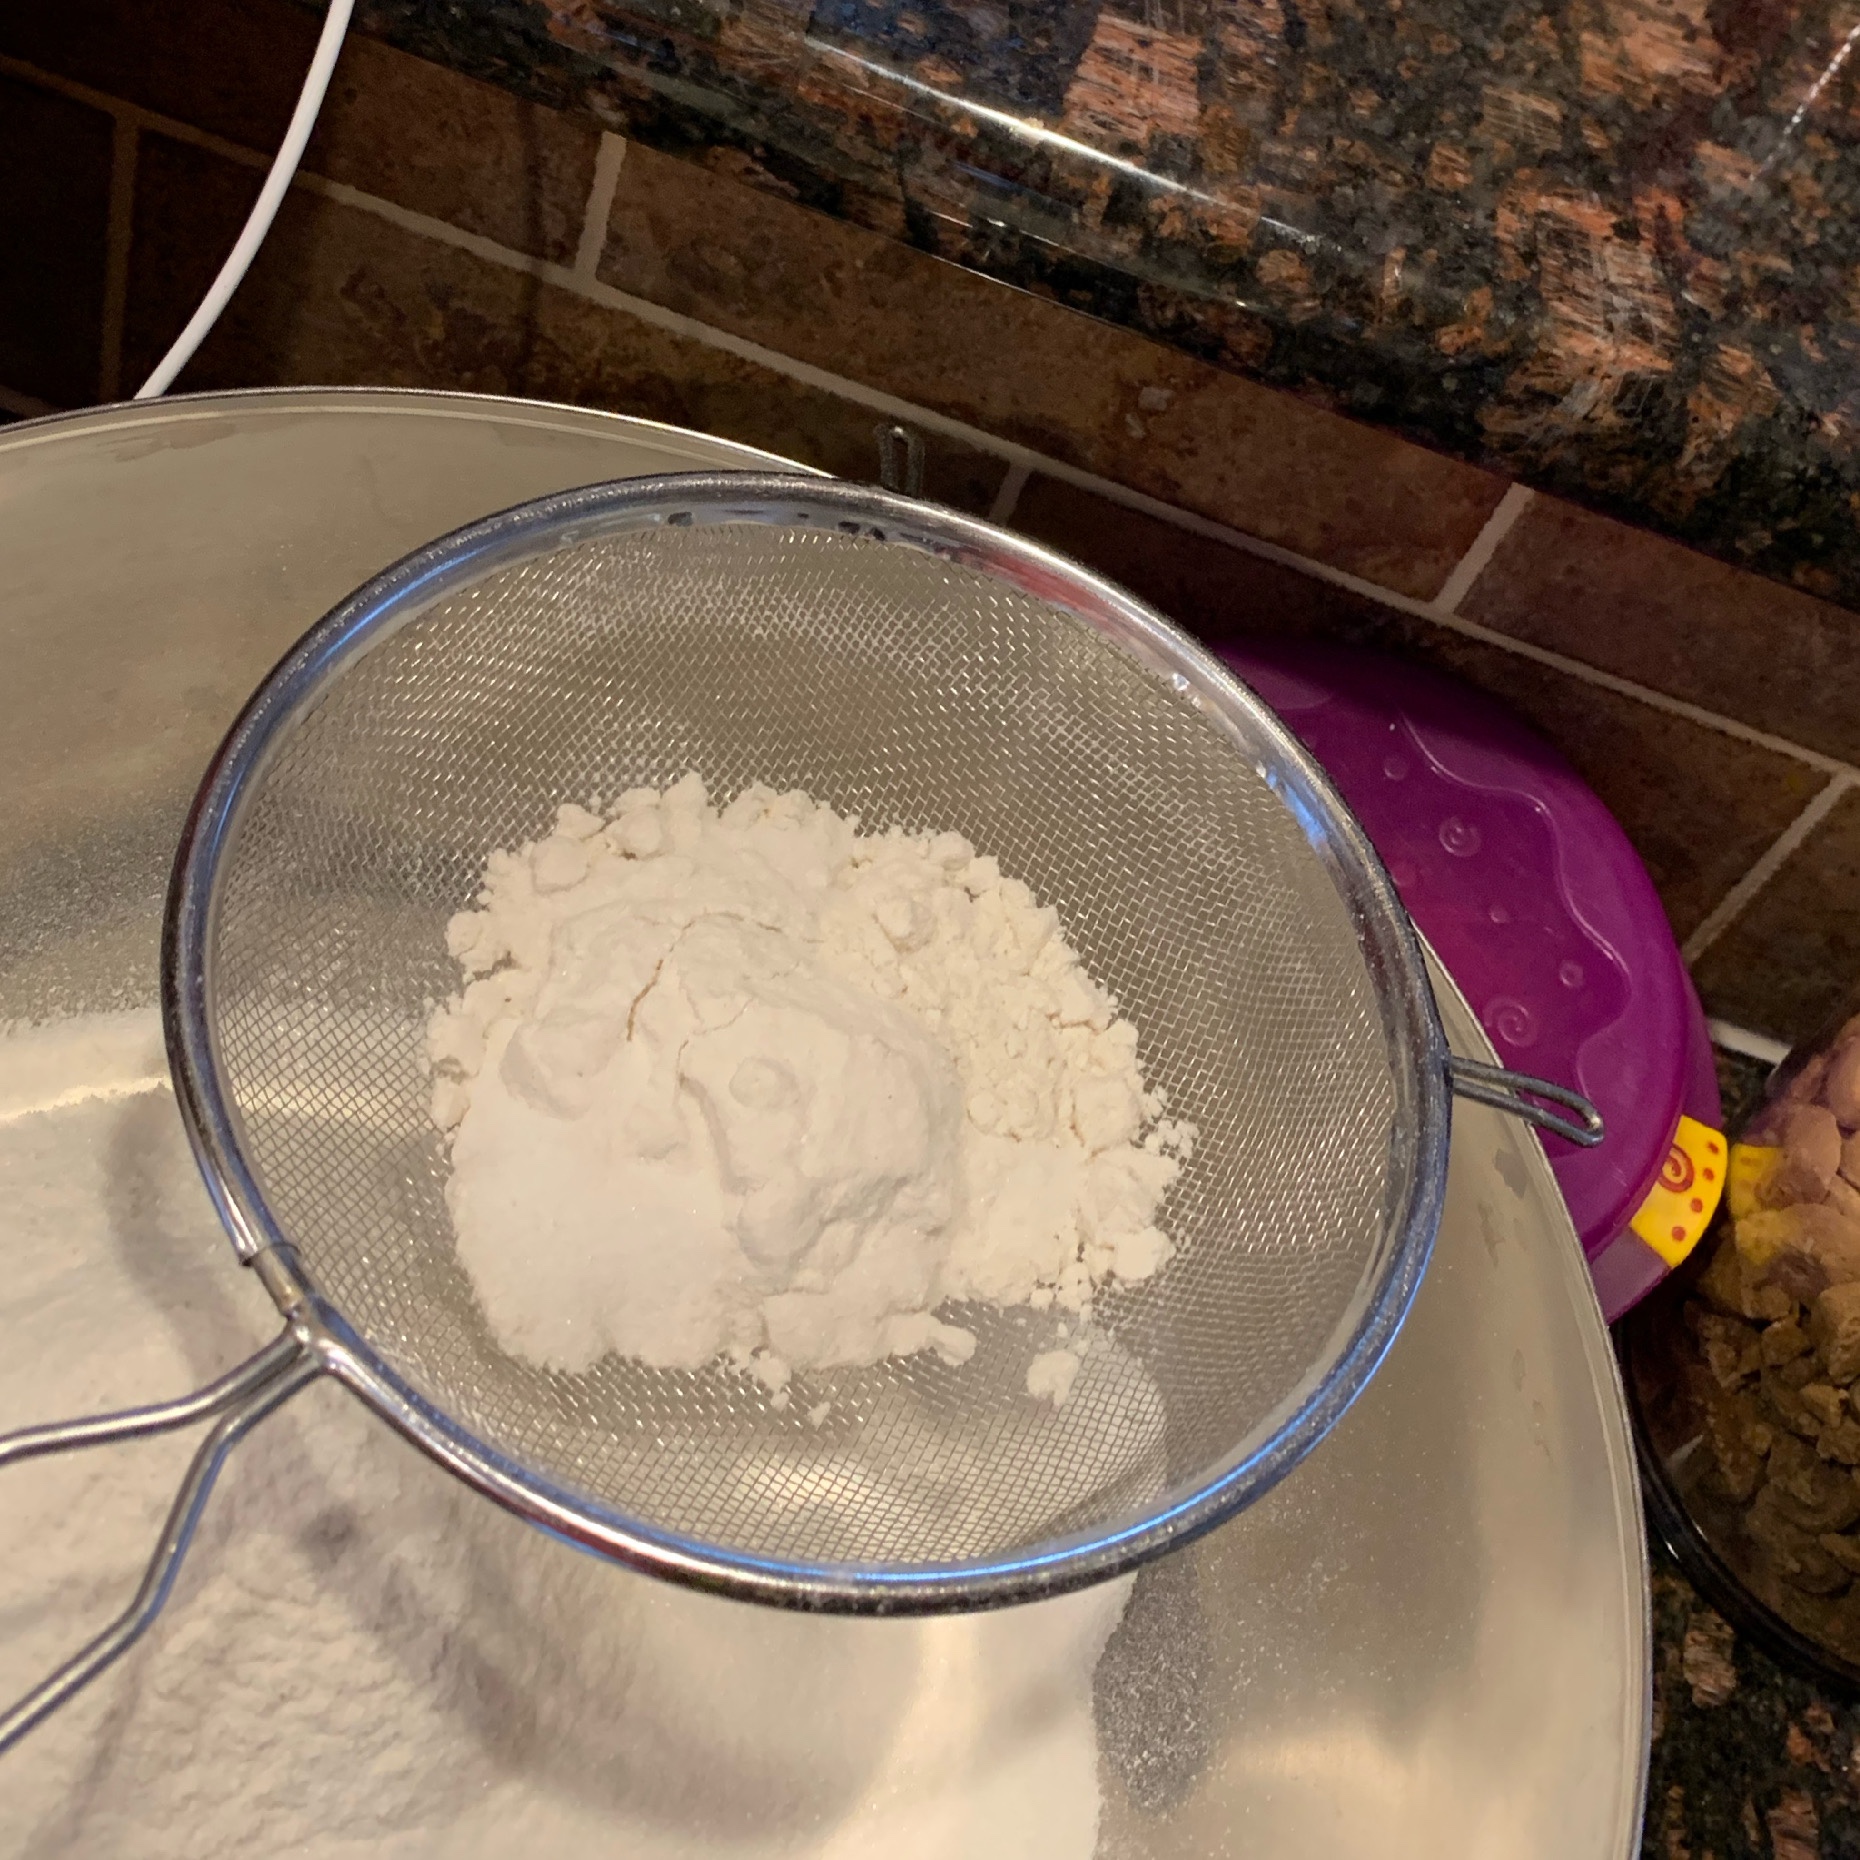
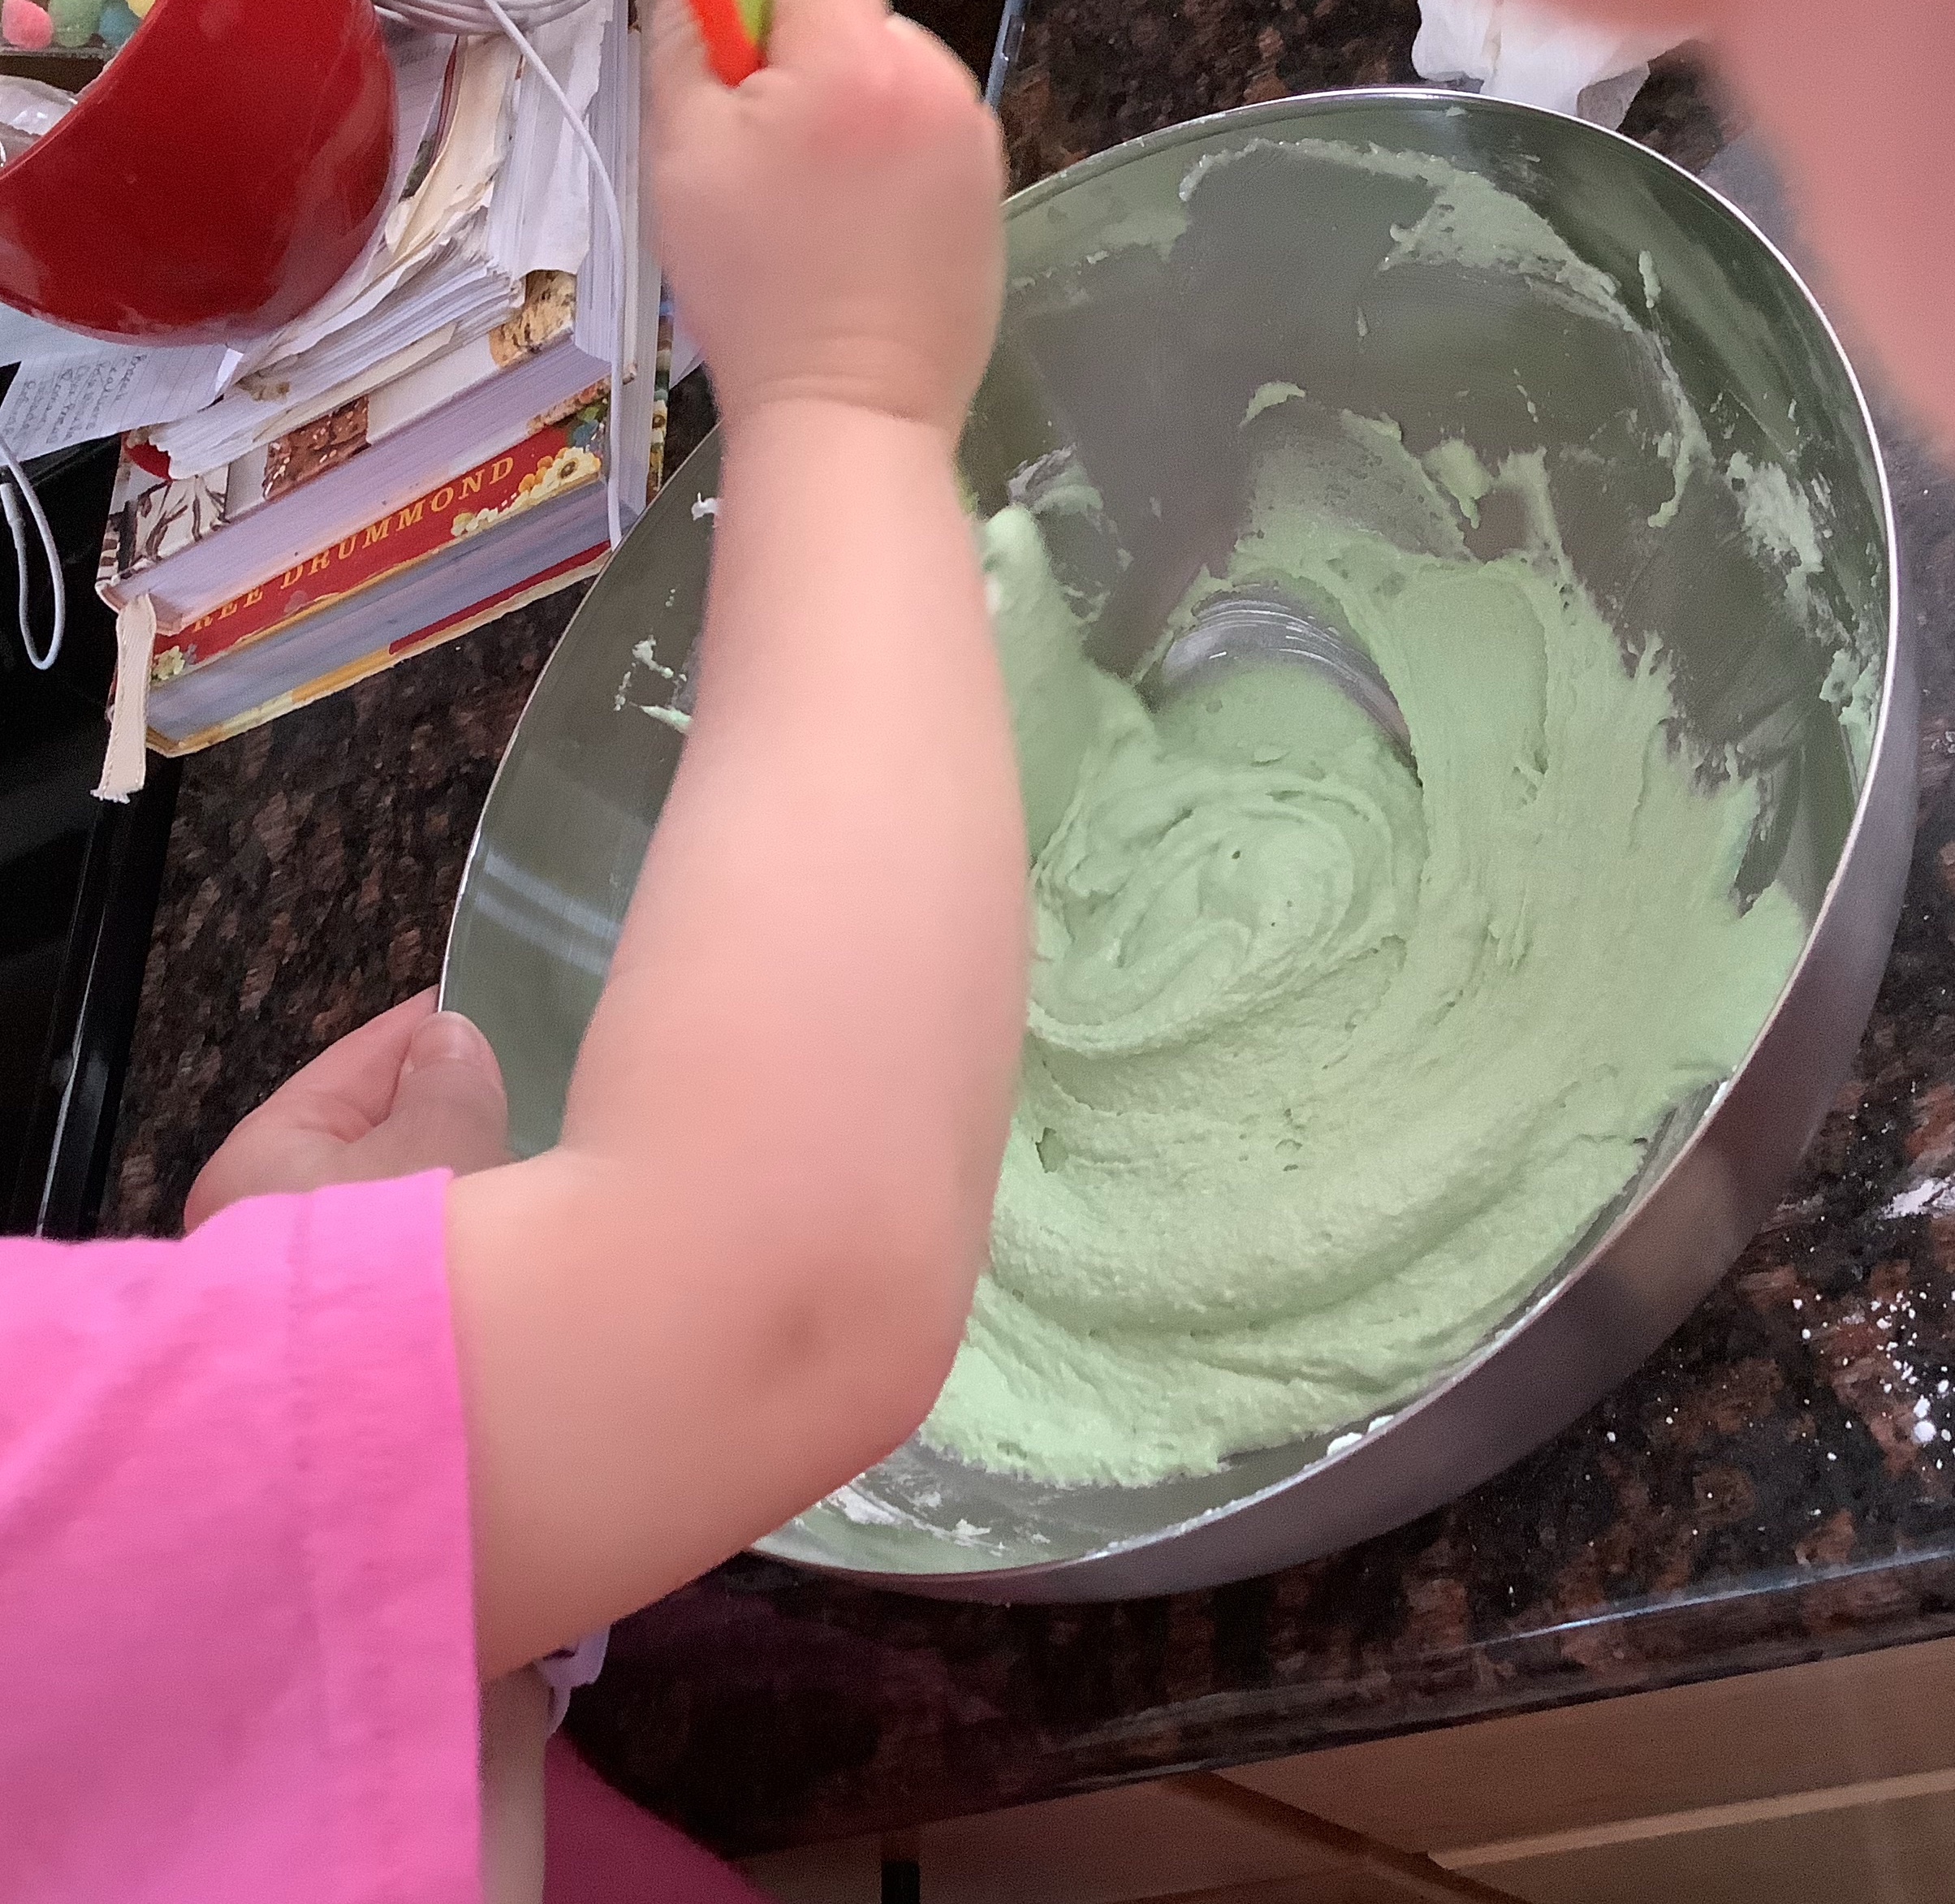
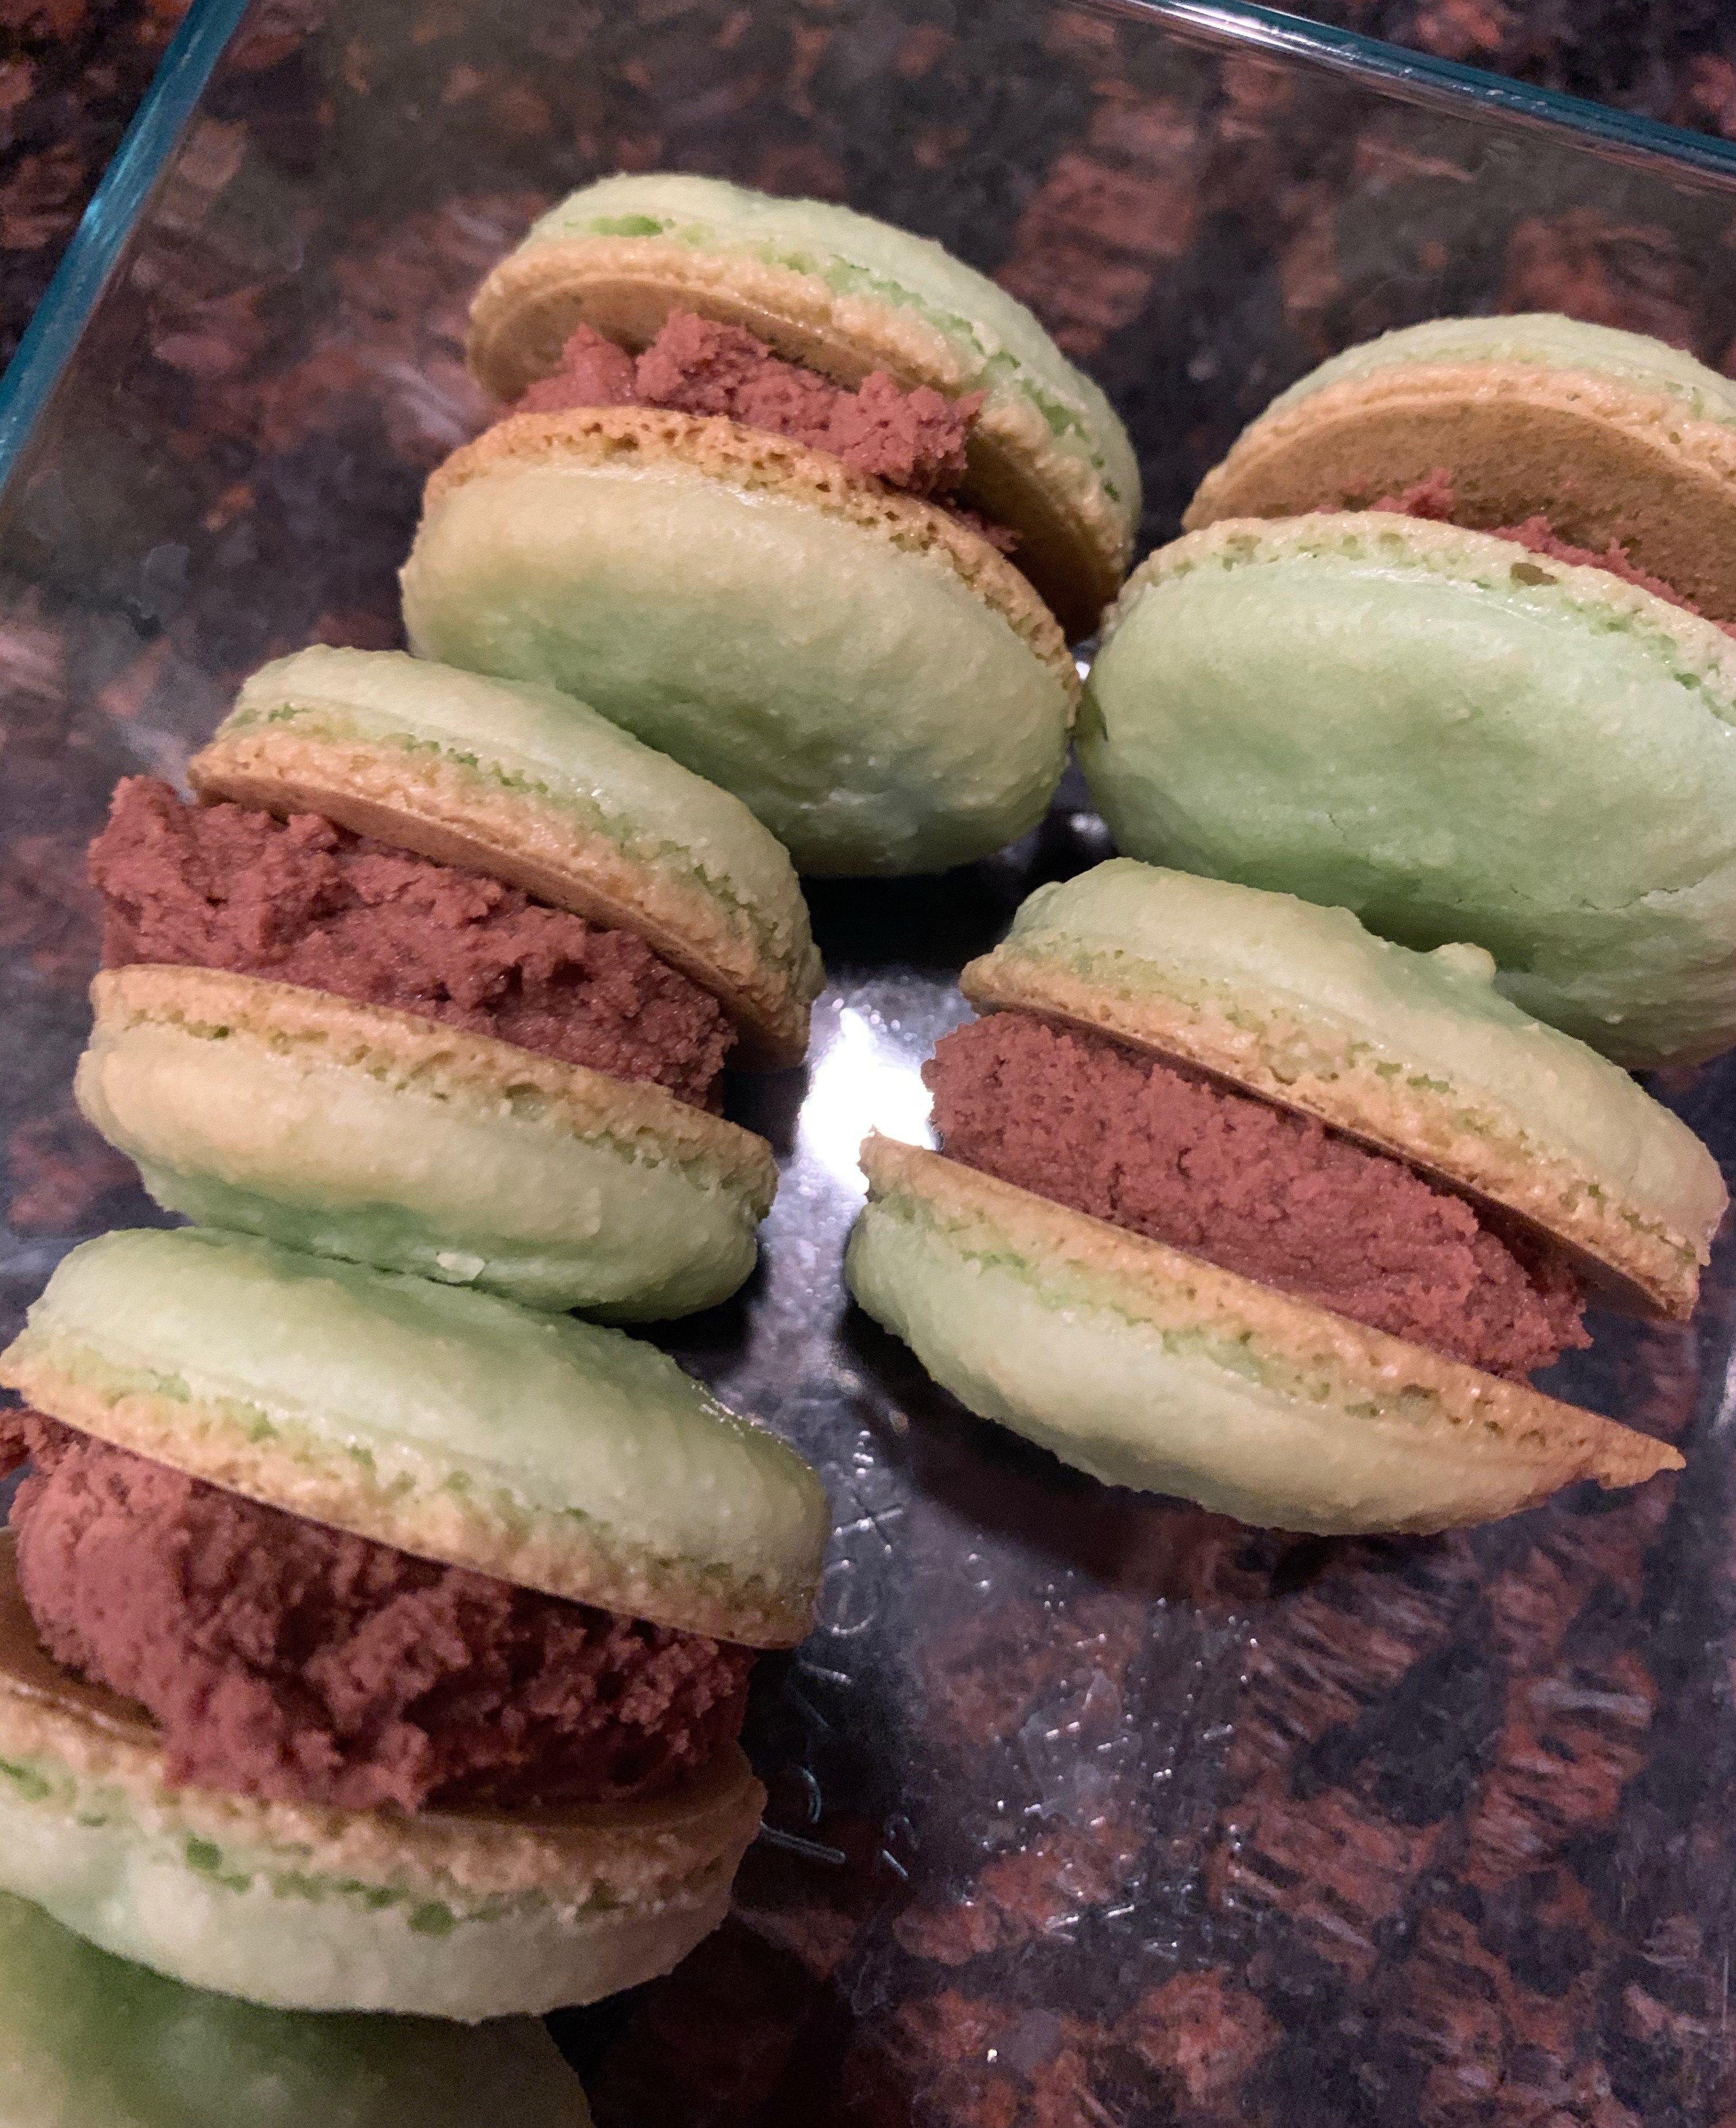
Now, back to our adventures in macron making. These are tricky little cookies right from the start. Separating eggs is one of my least favorite things, and you know the kids wanted NOTHING to do with that task! You have to watch the eggs closely while you whip them because if they’re not at just the right consistency then they’re not going to come out as well (ours were a little softer then they should’ve been this time I think). Also important: SIFT THE ALMOND FLOUR AND POWDERED SUGAR! (And then make sure the kids don’t dump in the clumps they sifted out…like mine did today, oops, oh well. Lesson learned from our less then perfect end product.) The other part of macron making that I find tricky is folding in the meringue to the flour/sugar mixture. It takes a LONG time to get the batter to the right consistency, but it is SUPER important to get it there. This time we weren’t as patient as we should’ve been, which leads to clumpy macrons that lack the shining top.
Not perfect, but they’re still better then the last batch so we’re making progress. We’ll keep trying and some day we’ll conquer these cookies!
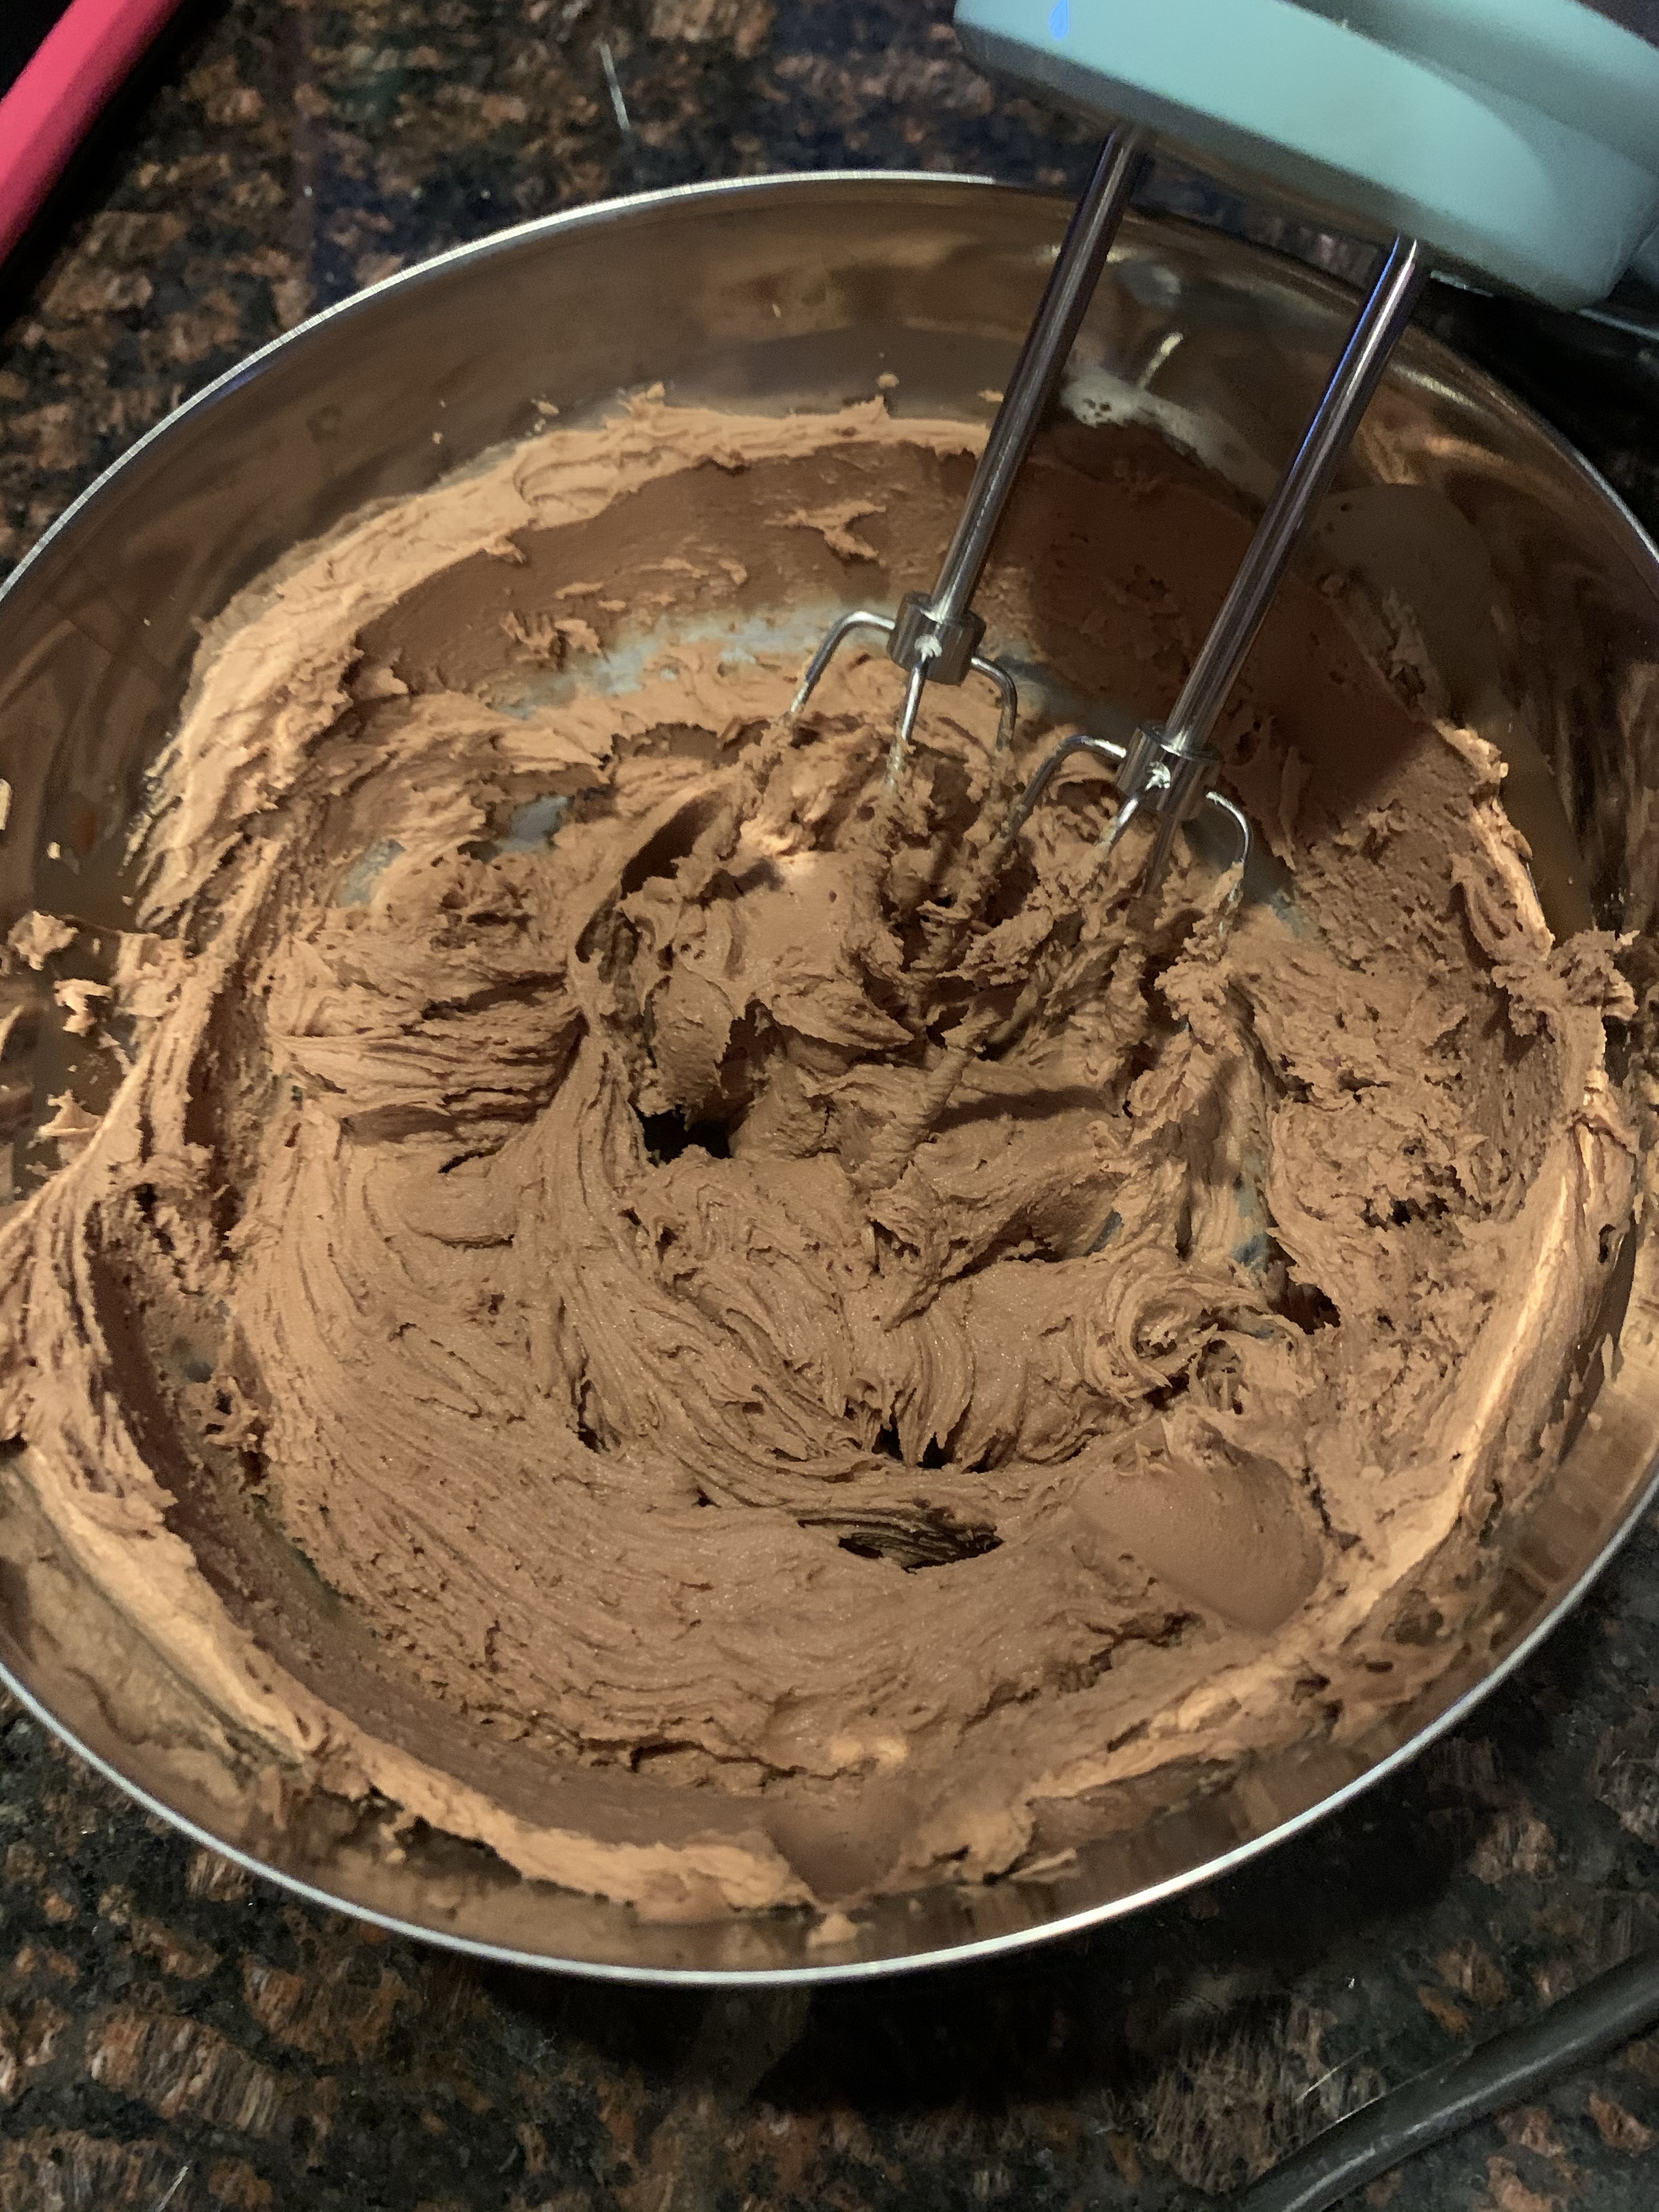
So, they didn’t turn out perfect, but to be fair, we haven’t made a perfect batch yet. Let me reiterate; these are tricky! They are also fun, and a great way to help kids understand that things don’t have to turn out perfectly. Sometimes good enough (to eat) is ok! We will for sure be feasting on these for our St. Patrick’s Day dessert and I think they will taste better then they look! (We filled them with a milk chocolate mint whipped ganache, so good!)
Come on over and follow us on Instagram @100daysofbakingwithkids and on Facebook at 100 days of baking with kids. Tell us if you’ve ever tried to make macrons and how they turned out. Happy baking friends!
Day 10!!! Can you believe it? We’ve made it to day 10! In celebration of day 10 we decided to bake cookies, 2 different types. (Ok, I can’t lie to you, we were just going to bake 1 kind of cookie but the kids wanted to make one and I wanted to make another and neither of us would yield so we made both!)
It’s always more fun to bake with a sidekick! Beware this grin though, it could mean a myriad of things…some good, some less than good 😳
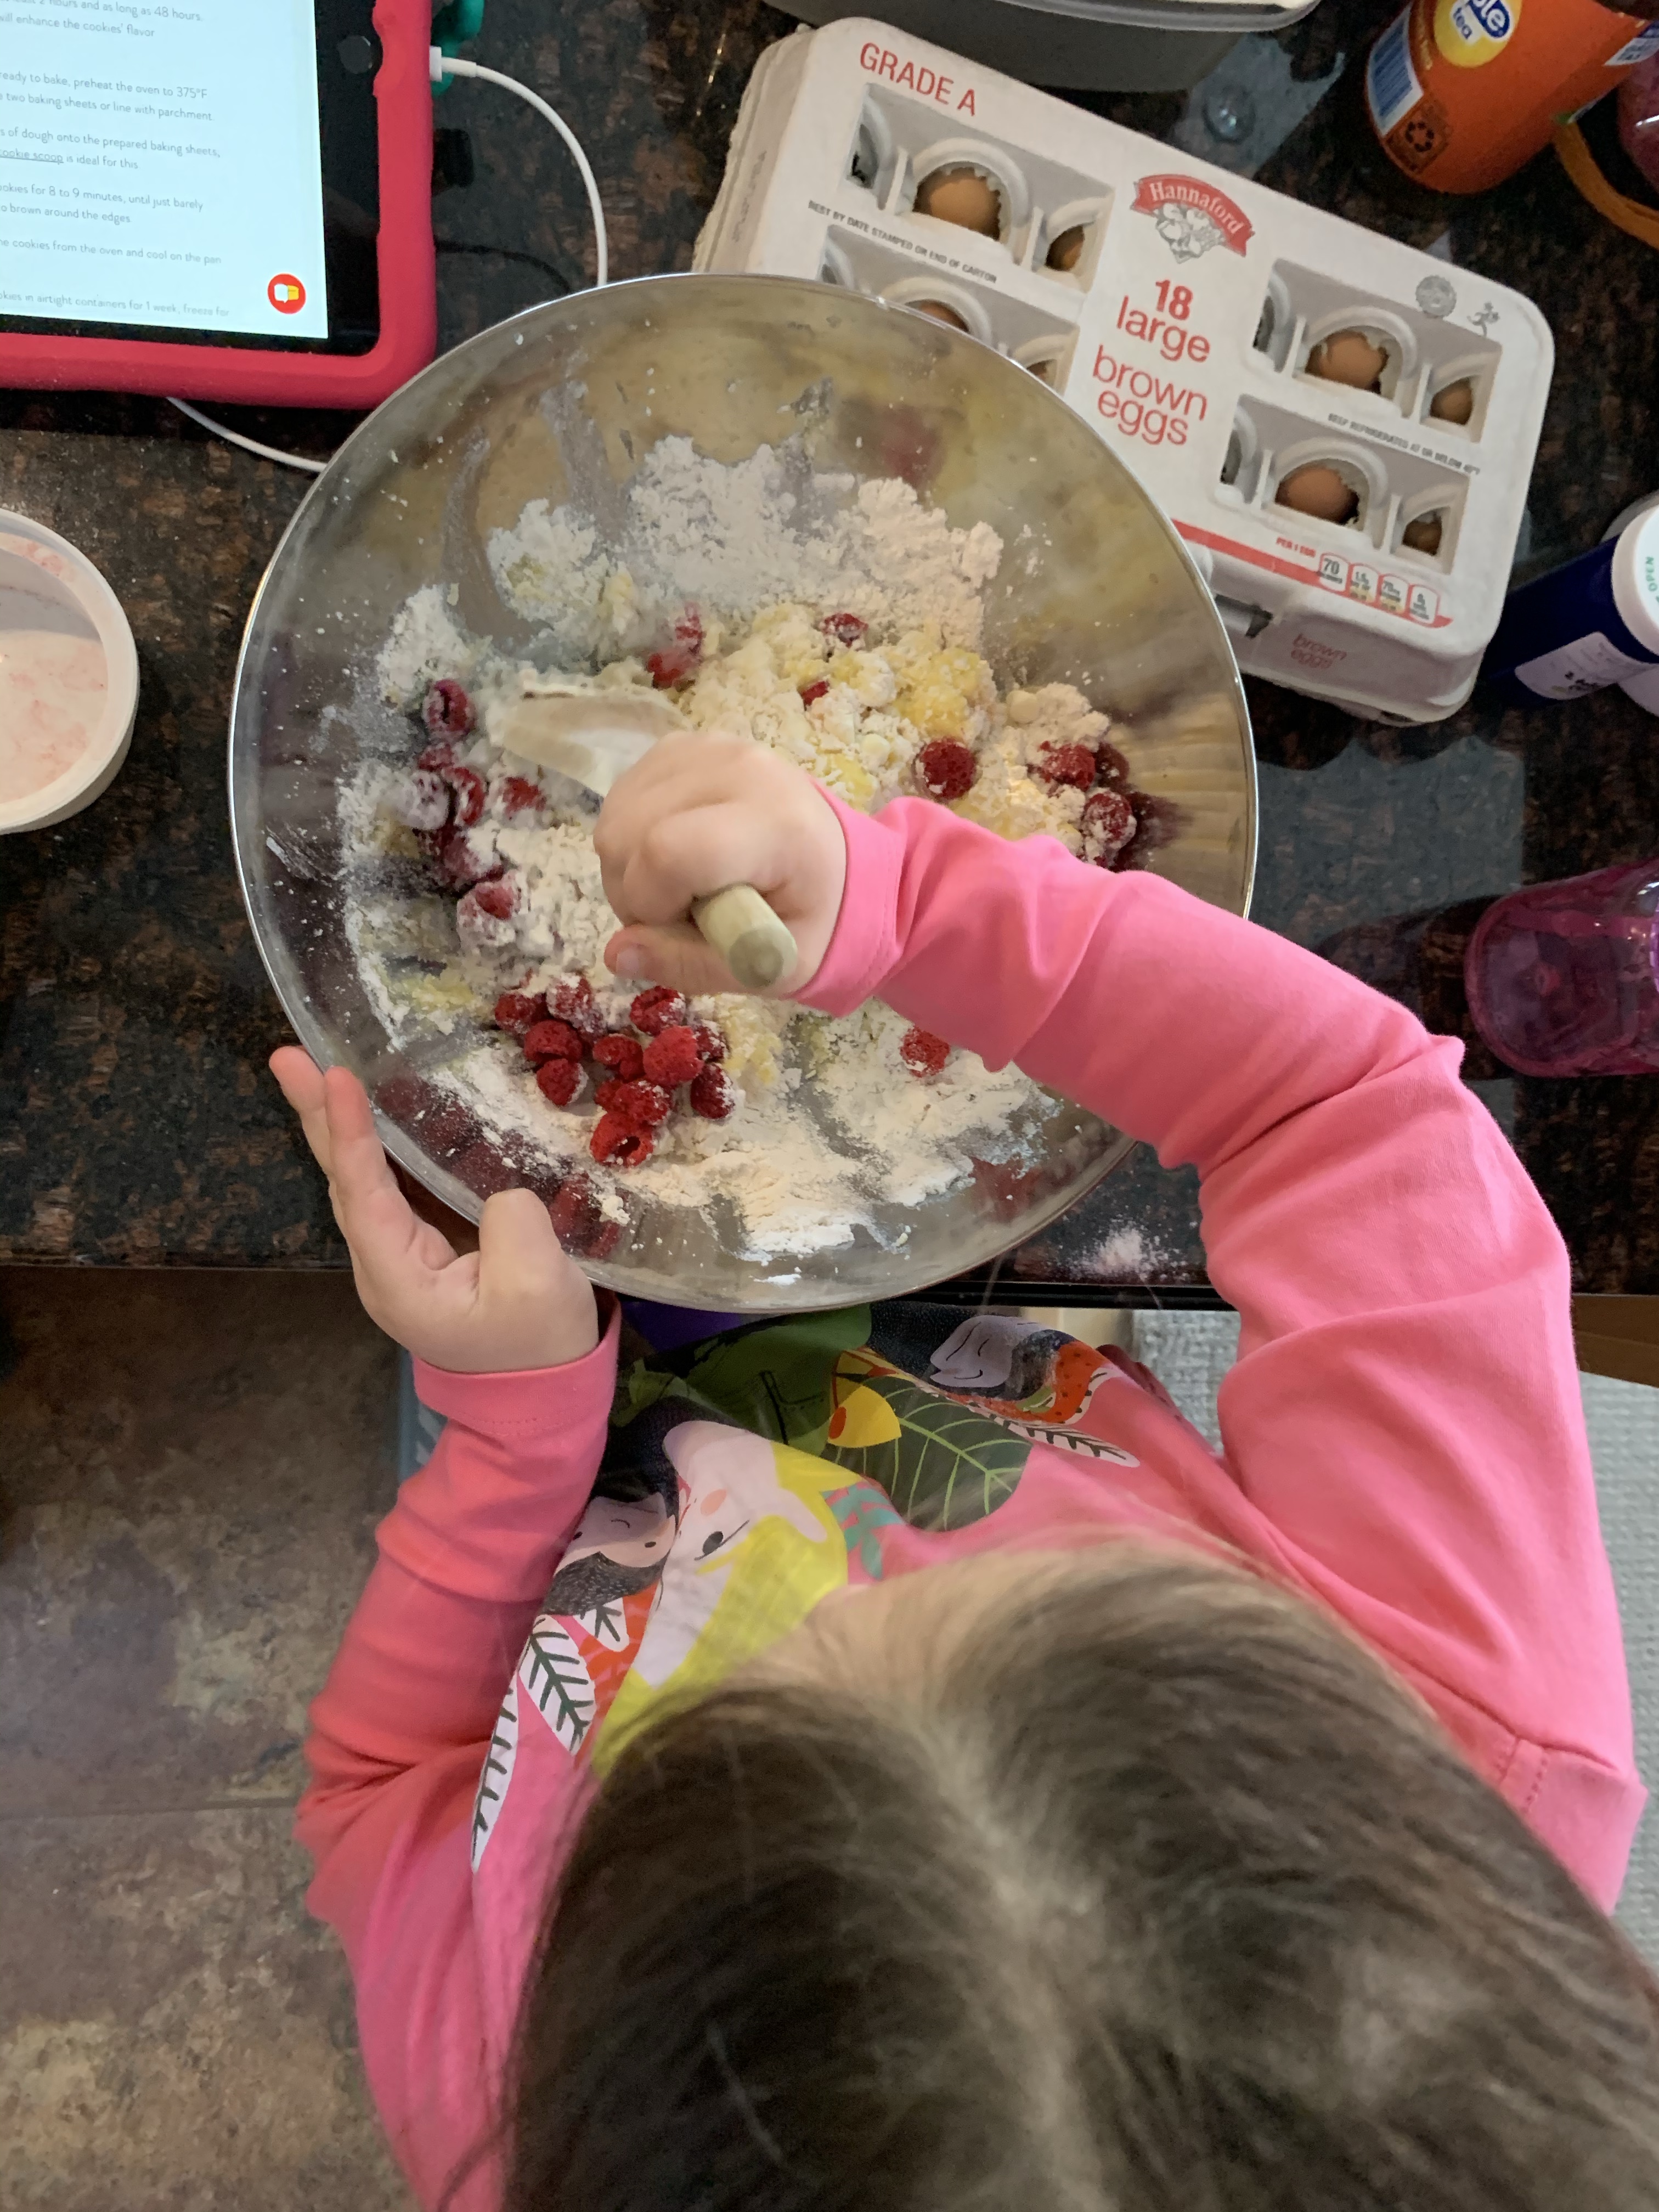
When we started this journey we bought some freeze dried fruit. Per usual I didn’t make a list and just ordered a bunch from amazon and we ended up with some that the recipes we had our eyes on didn’t require. Freeze dried raspberries have been sitting on the counter just begging to be used for something. The girls finally came up with it! We altered a King Arthur Baking recipe for Vanilla White Chocolate Drops. Instead of using 2 cups of white chocolate chips we used one and used a cup of our freeze dried raspberries! They were similar in making to a traditional chocolate chip cookie, but now we have to chill the dough for at least 2 hours! We’re very excited to see what these will turn out like. Here’s the link to the original recipe: https://www.kingarthurbaking.com/recipes/vanilla-white-chocolate-drops-recipe. I suspect that these little beauties would be great with cranberries in the fall, maybe some toasted walnuts. The possibilities are endless!
Those are the cookies the kids wanted to make. The big kid abandoned ship for a book (not super unusual) but the little helped every step of the way. She even helped crack an egg today! This resulted in egg shell getting into the batter, but that’s ok. Helpful hint; if you get egg shell into the batter use a bigger piece of shell to get it out. Egg shell is attracted to egg shell and it comes out pretty easy, much easier then digging around with your fingers…yes I know from experience.
She’s getting SO confident in the kitchen. The more you do it, the more you’ll all feel more comfortable, and the more fun it will be!
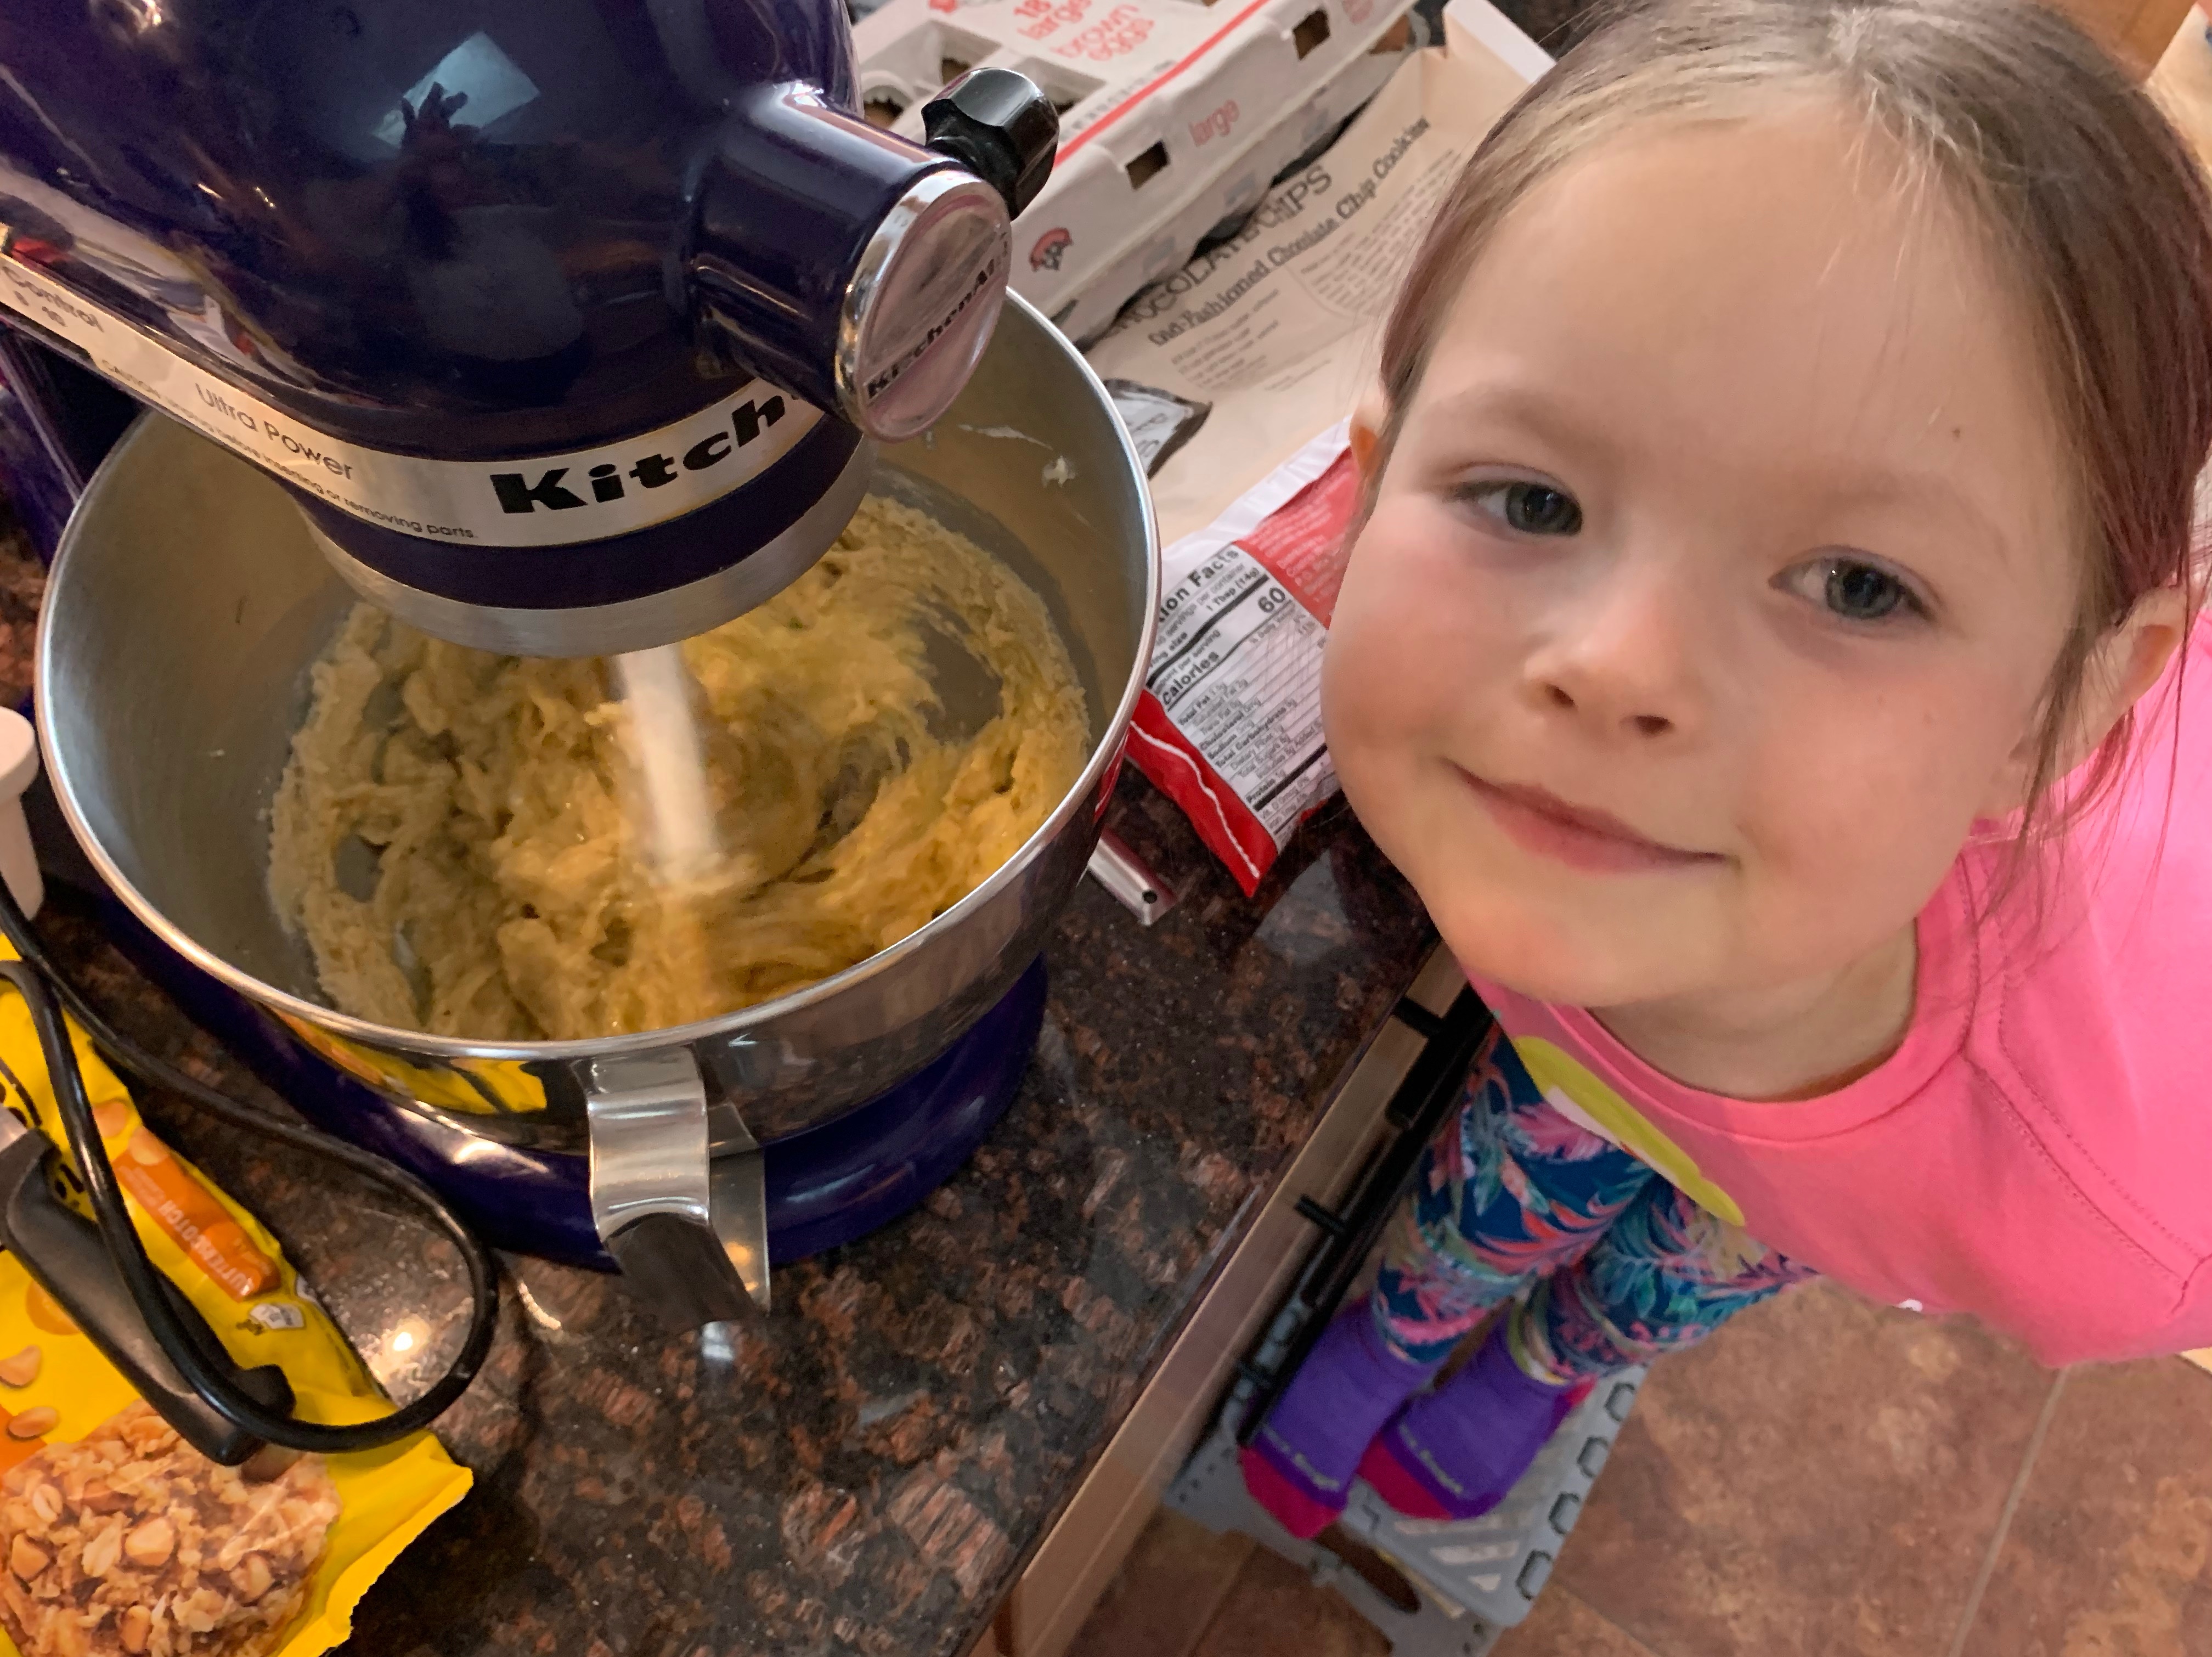
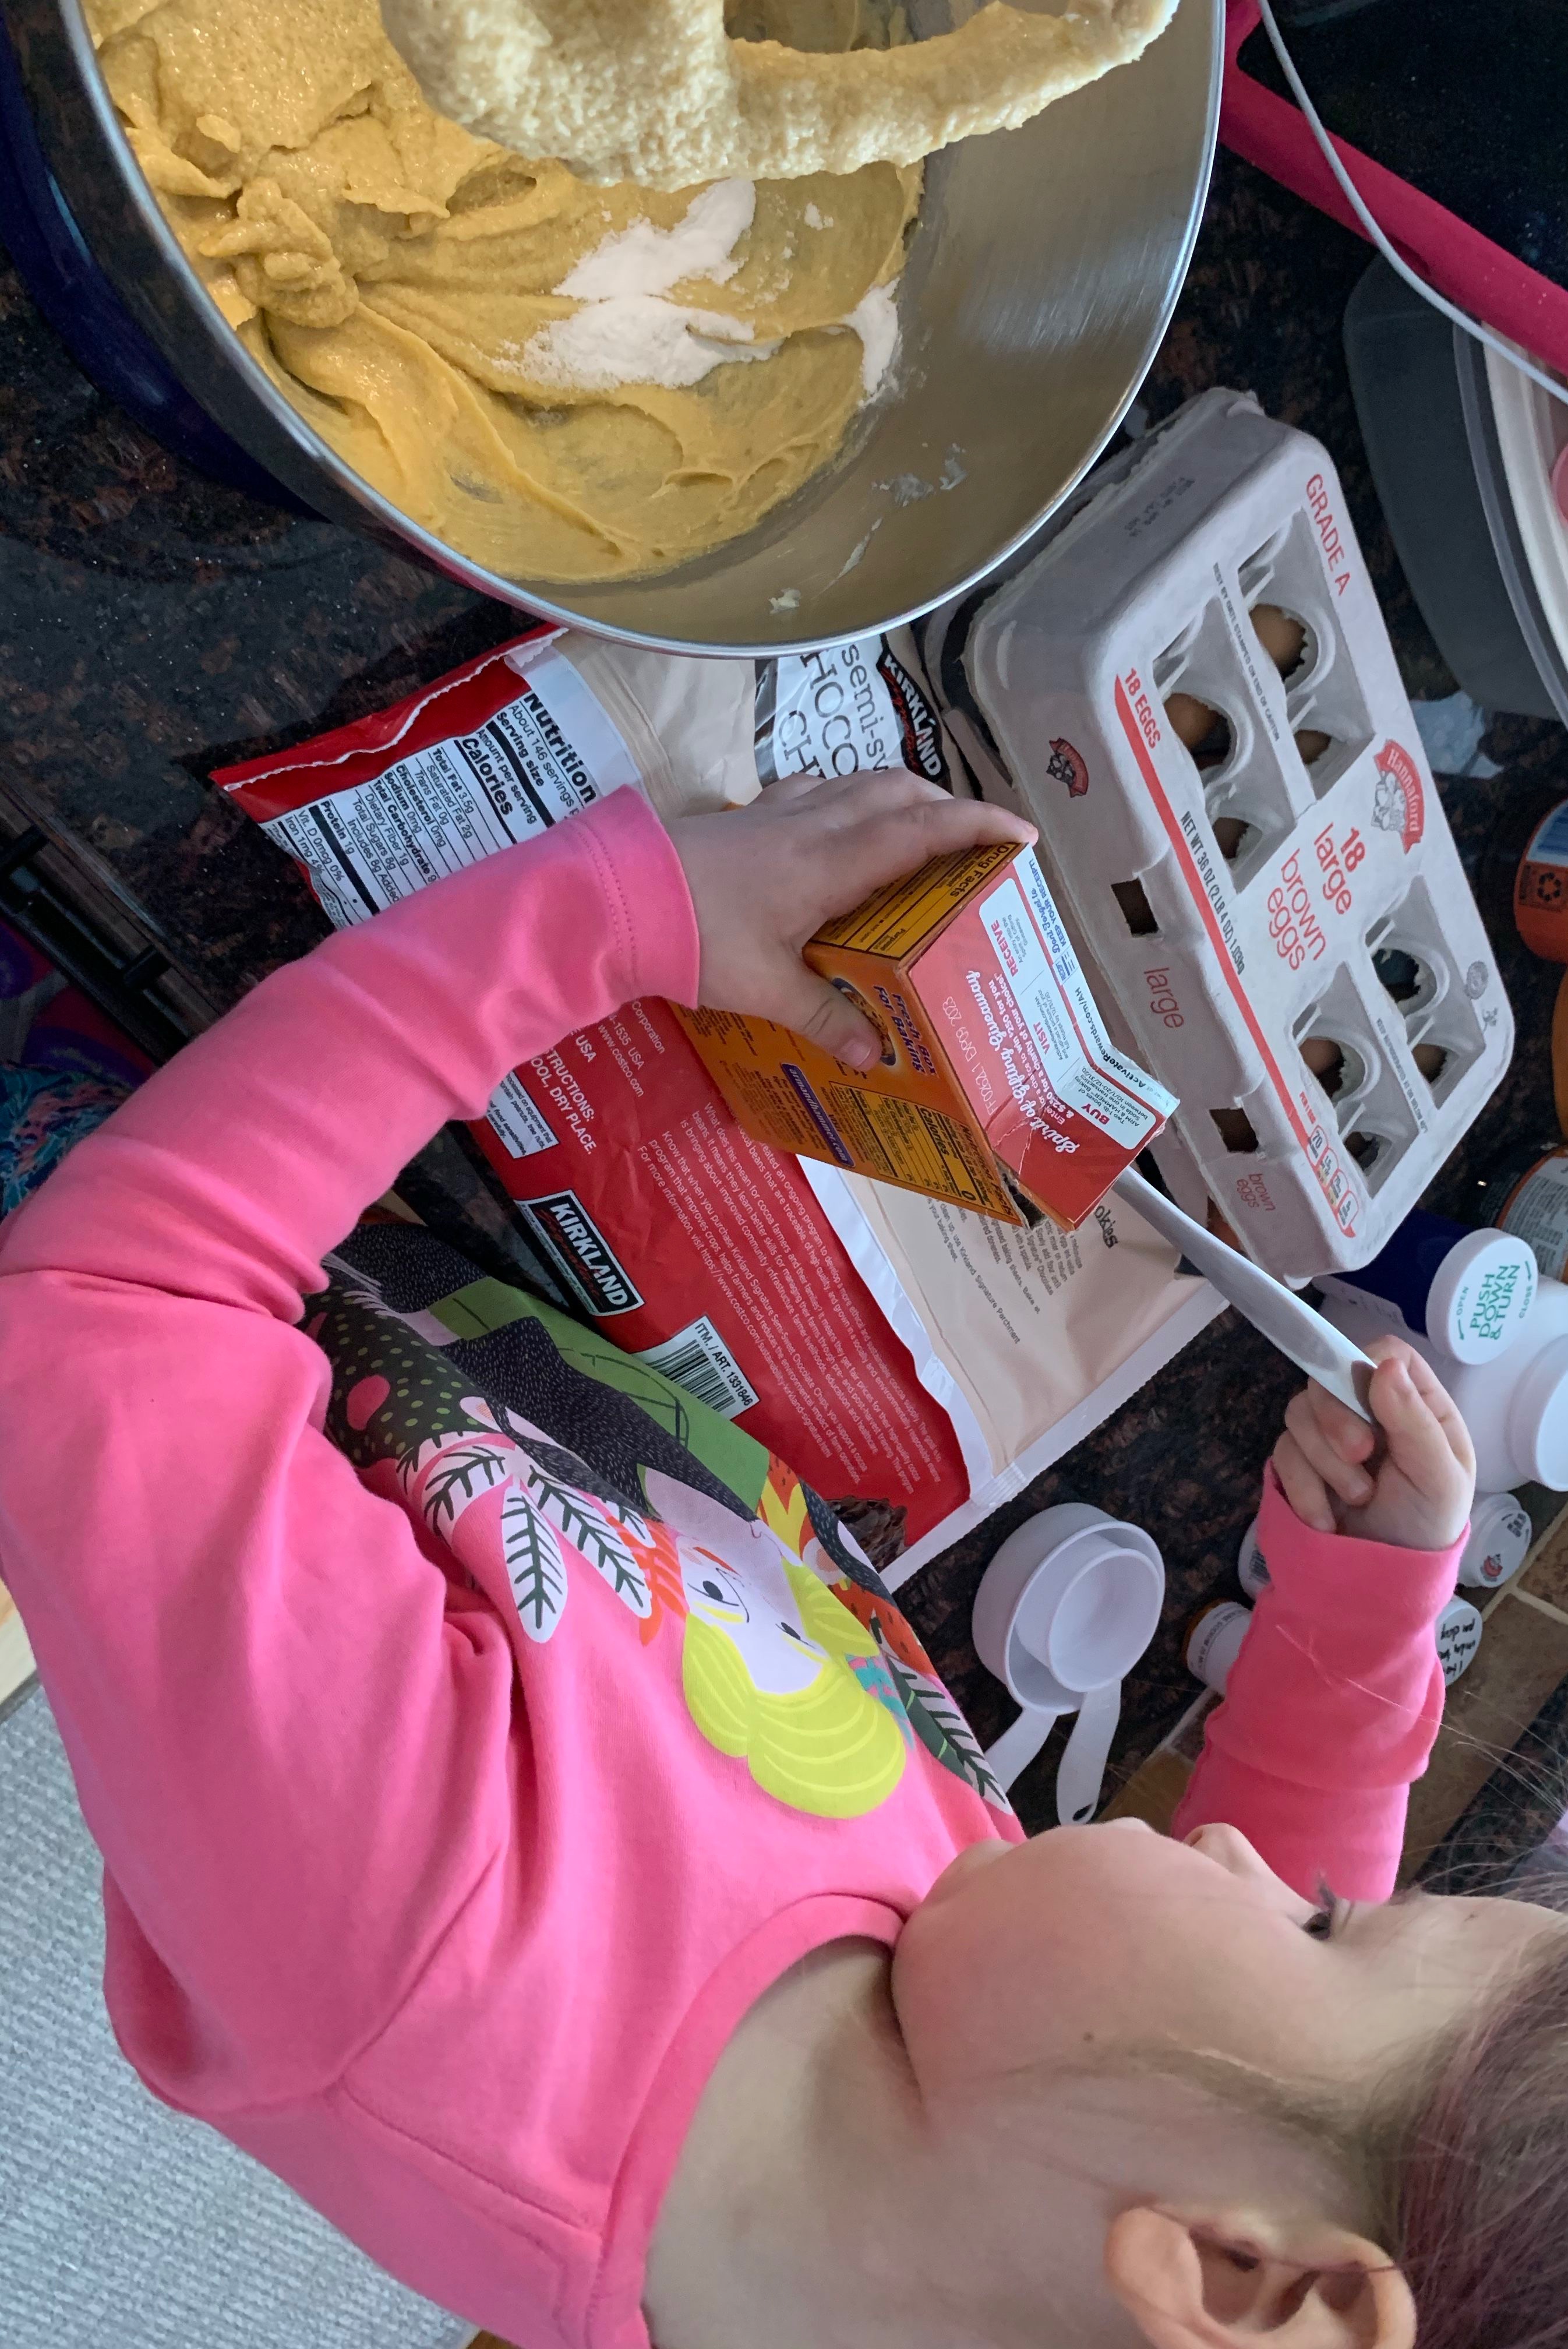
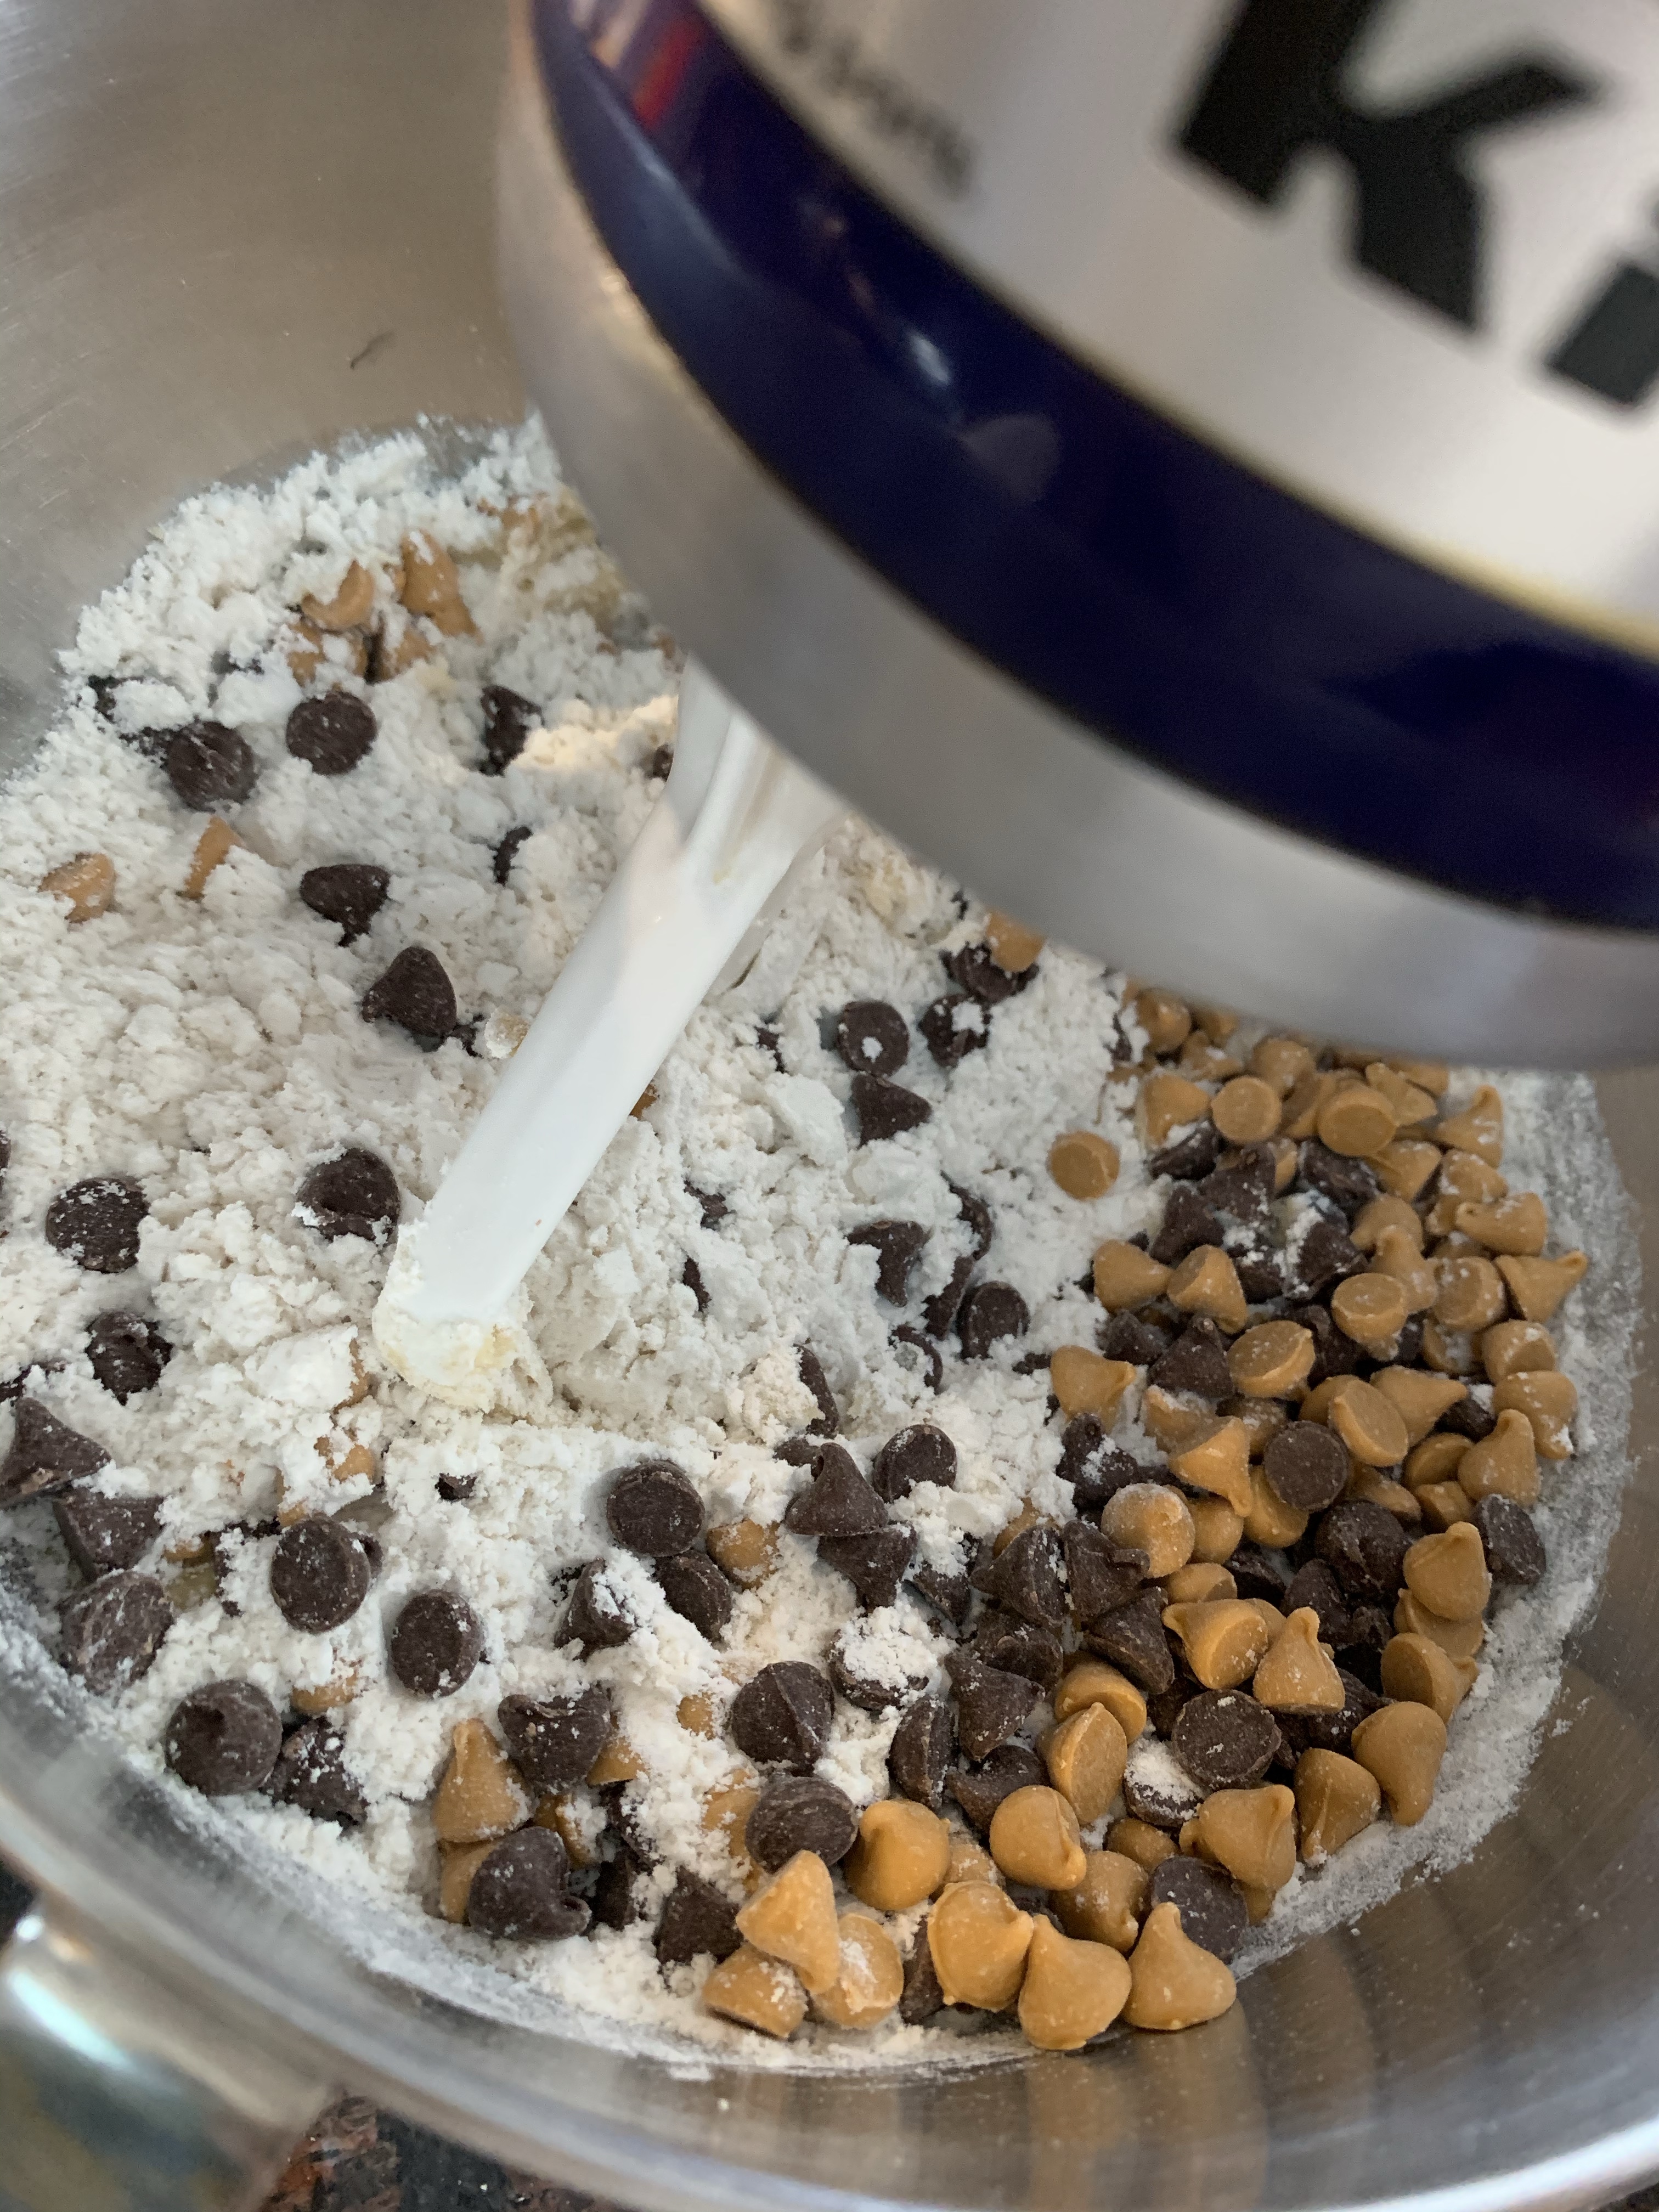
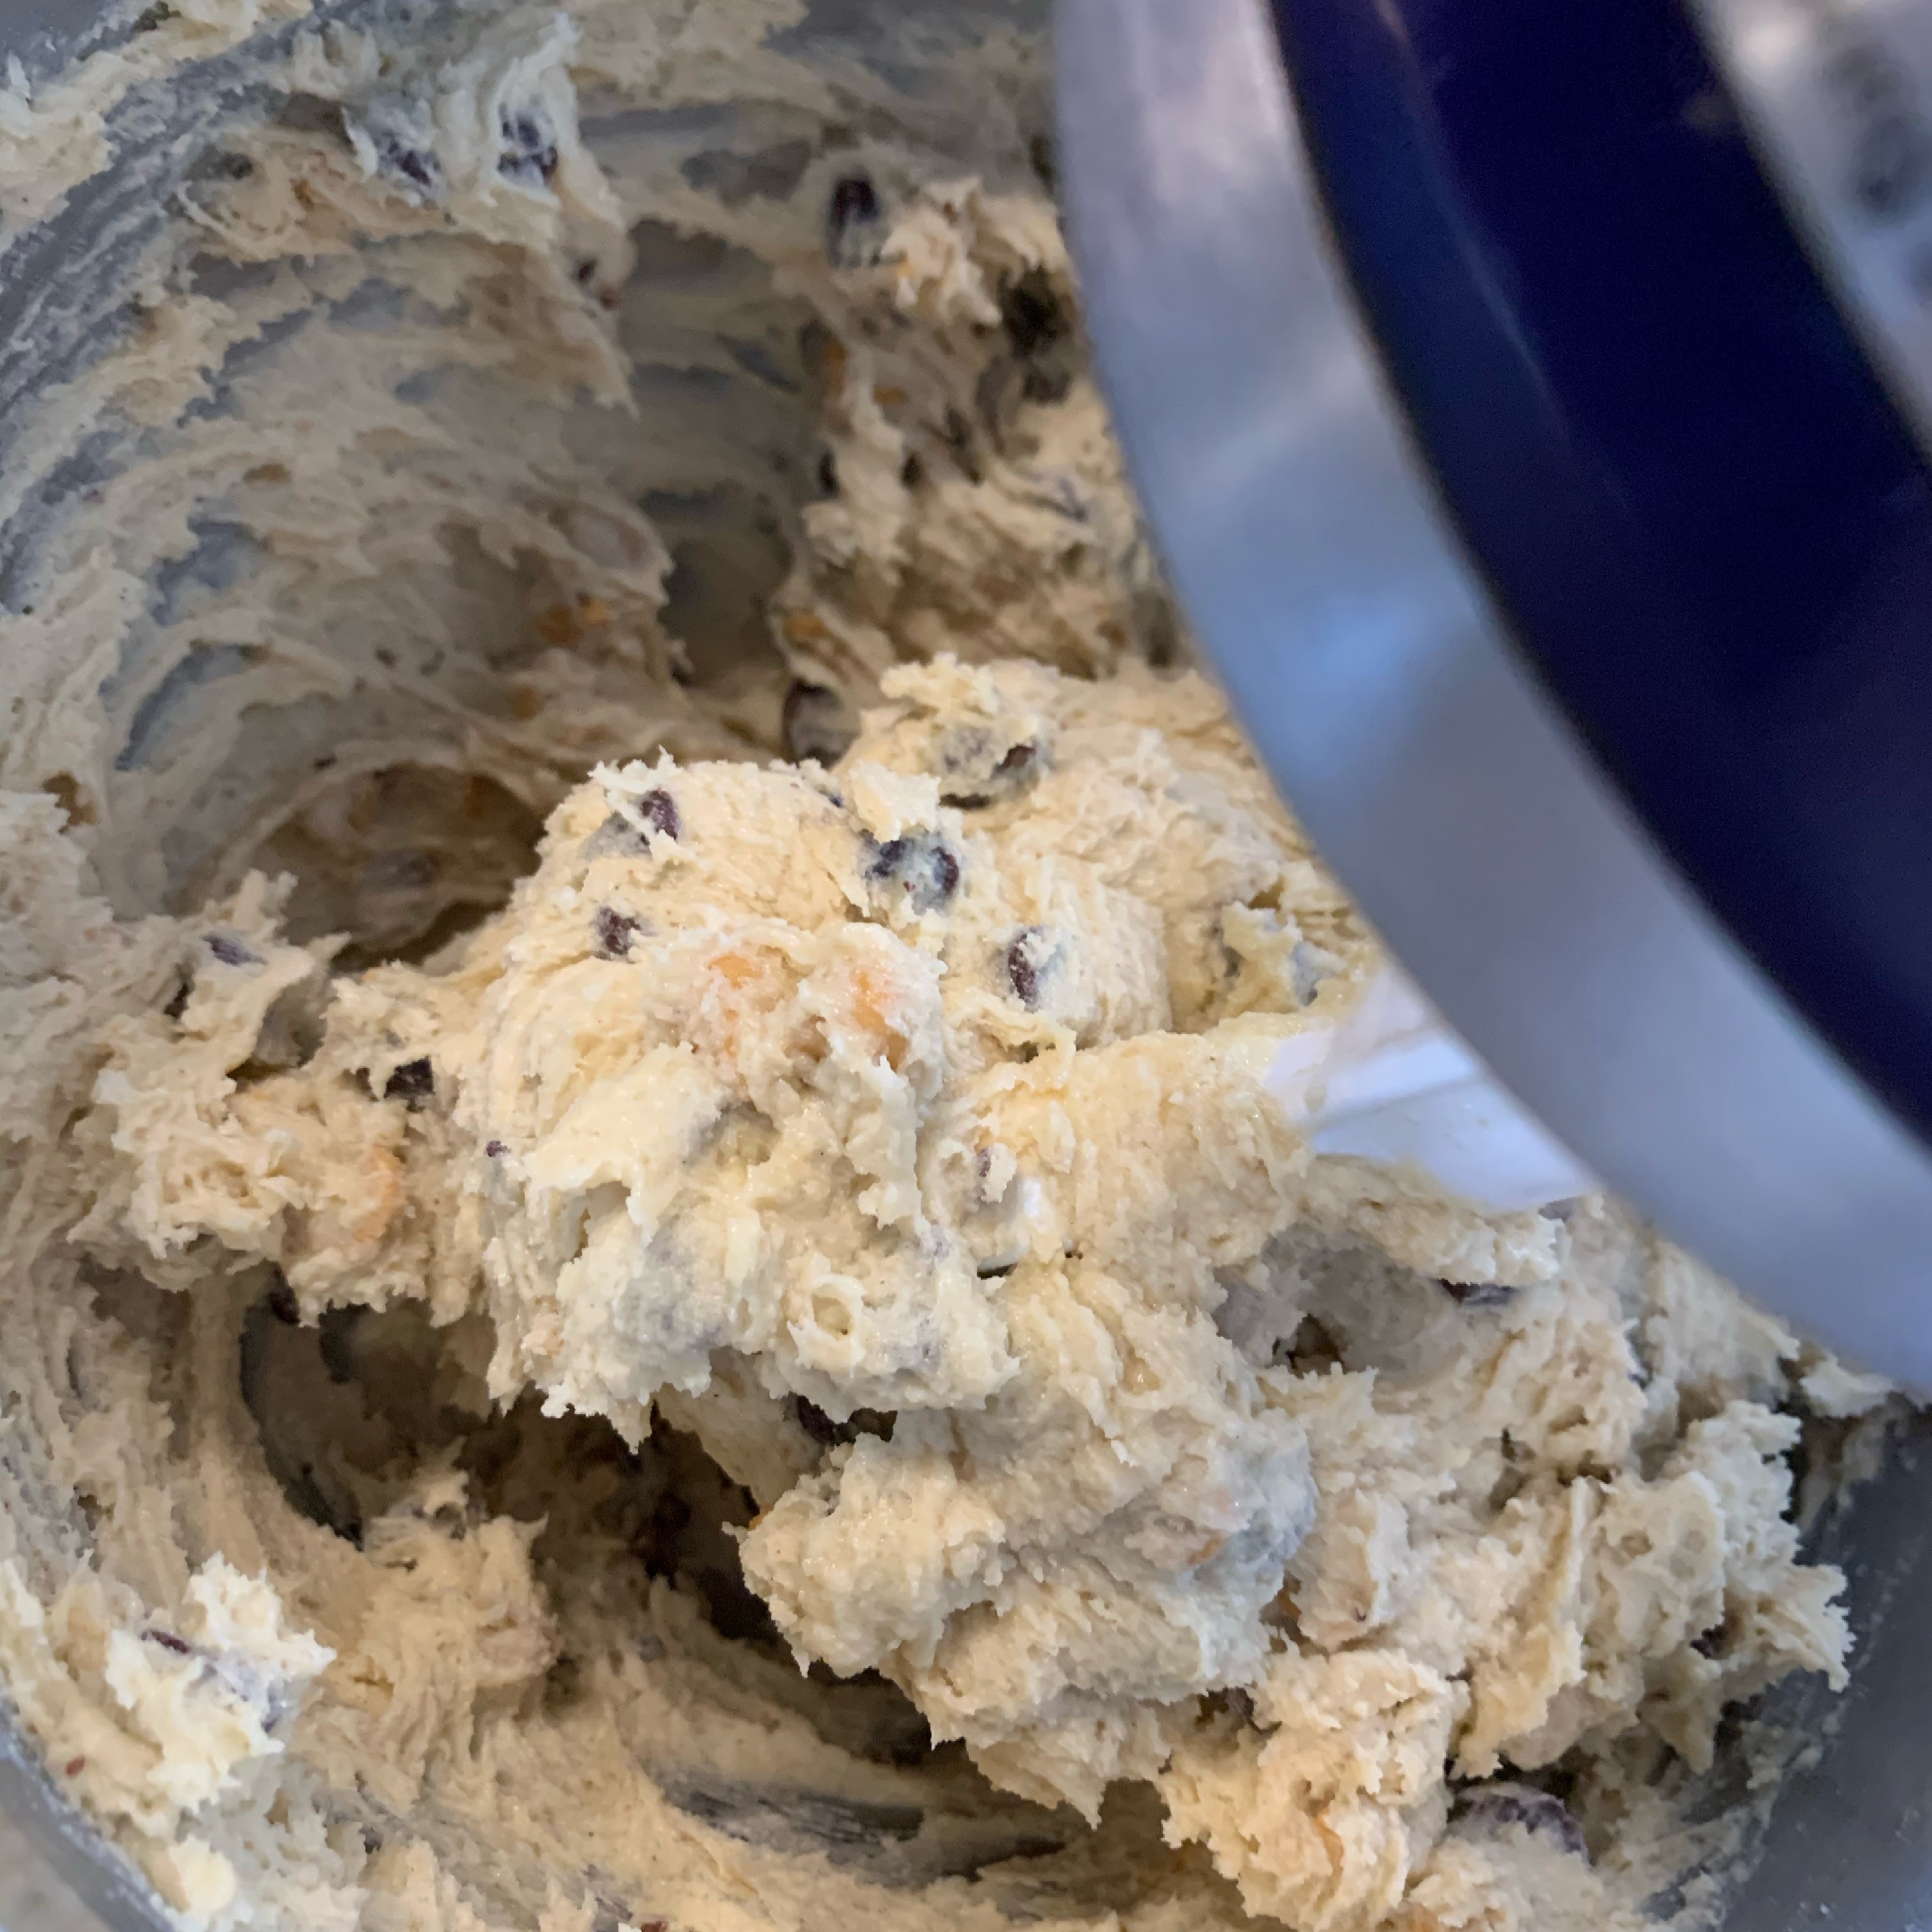
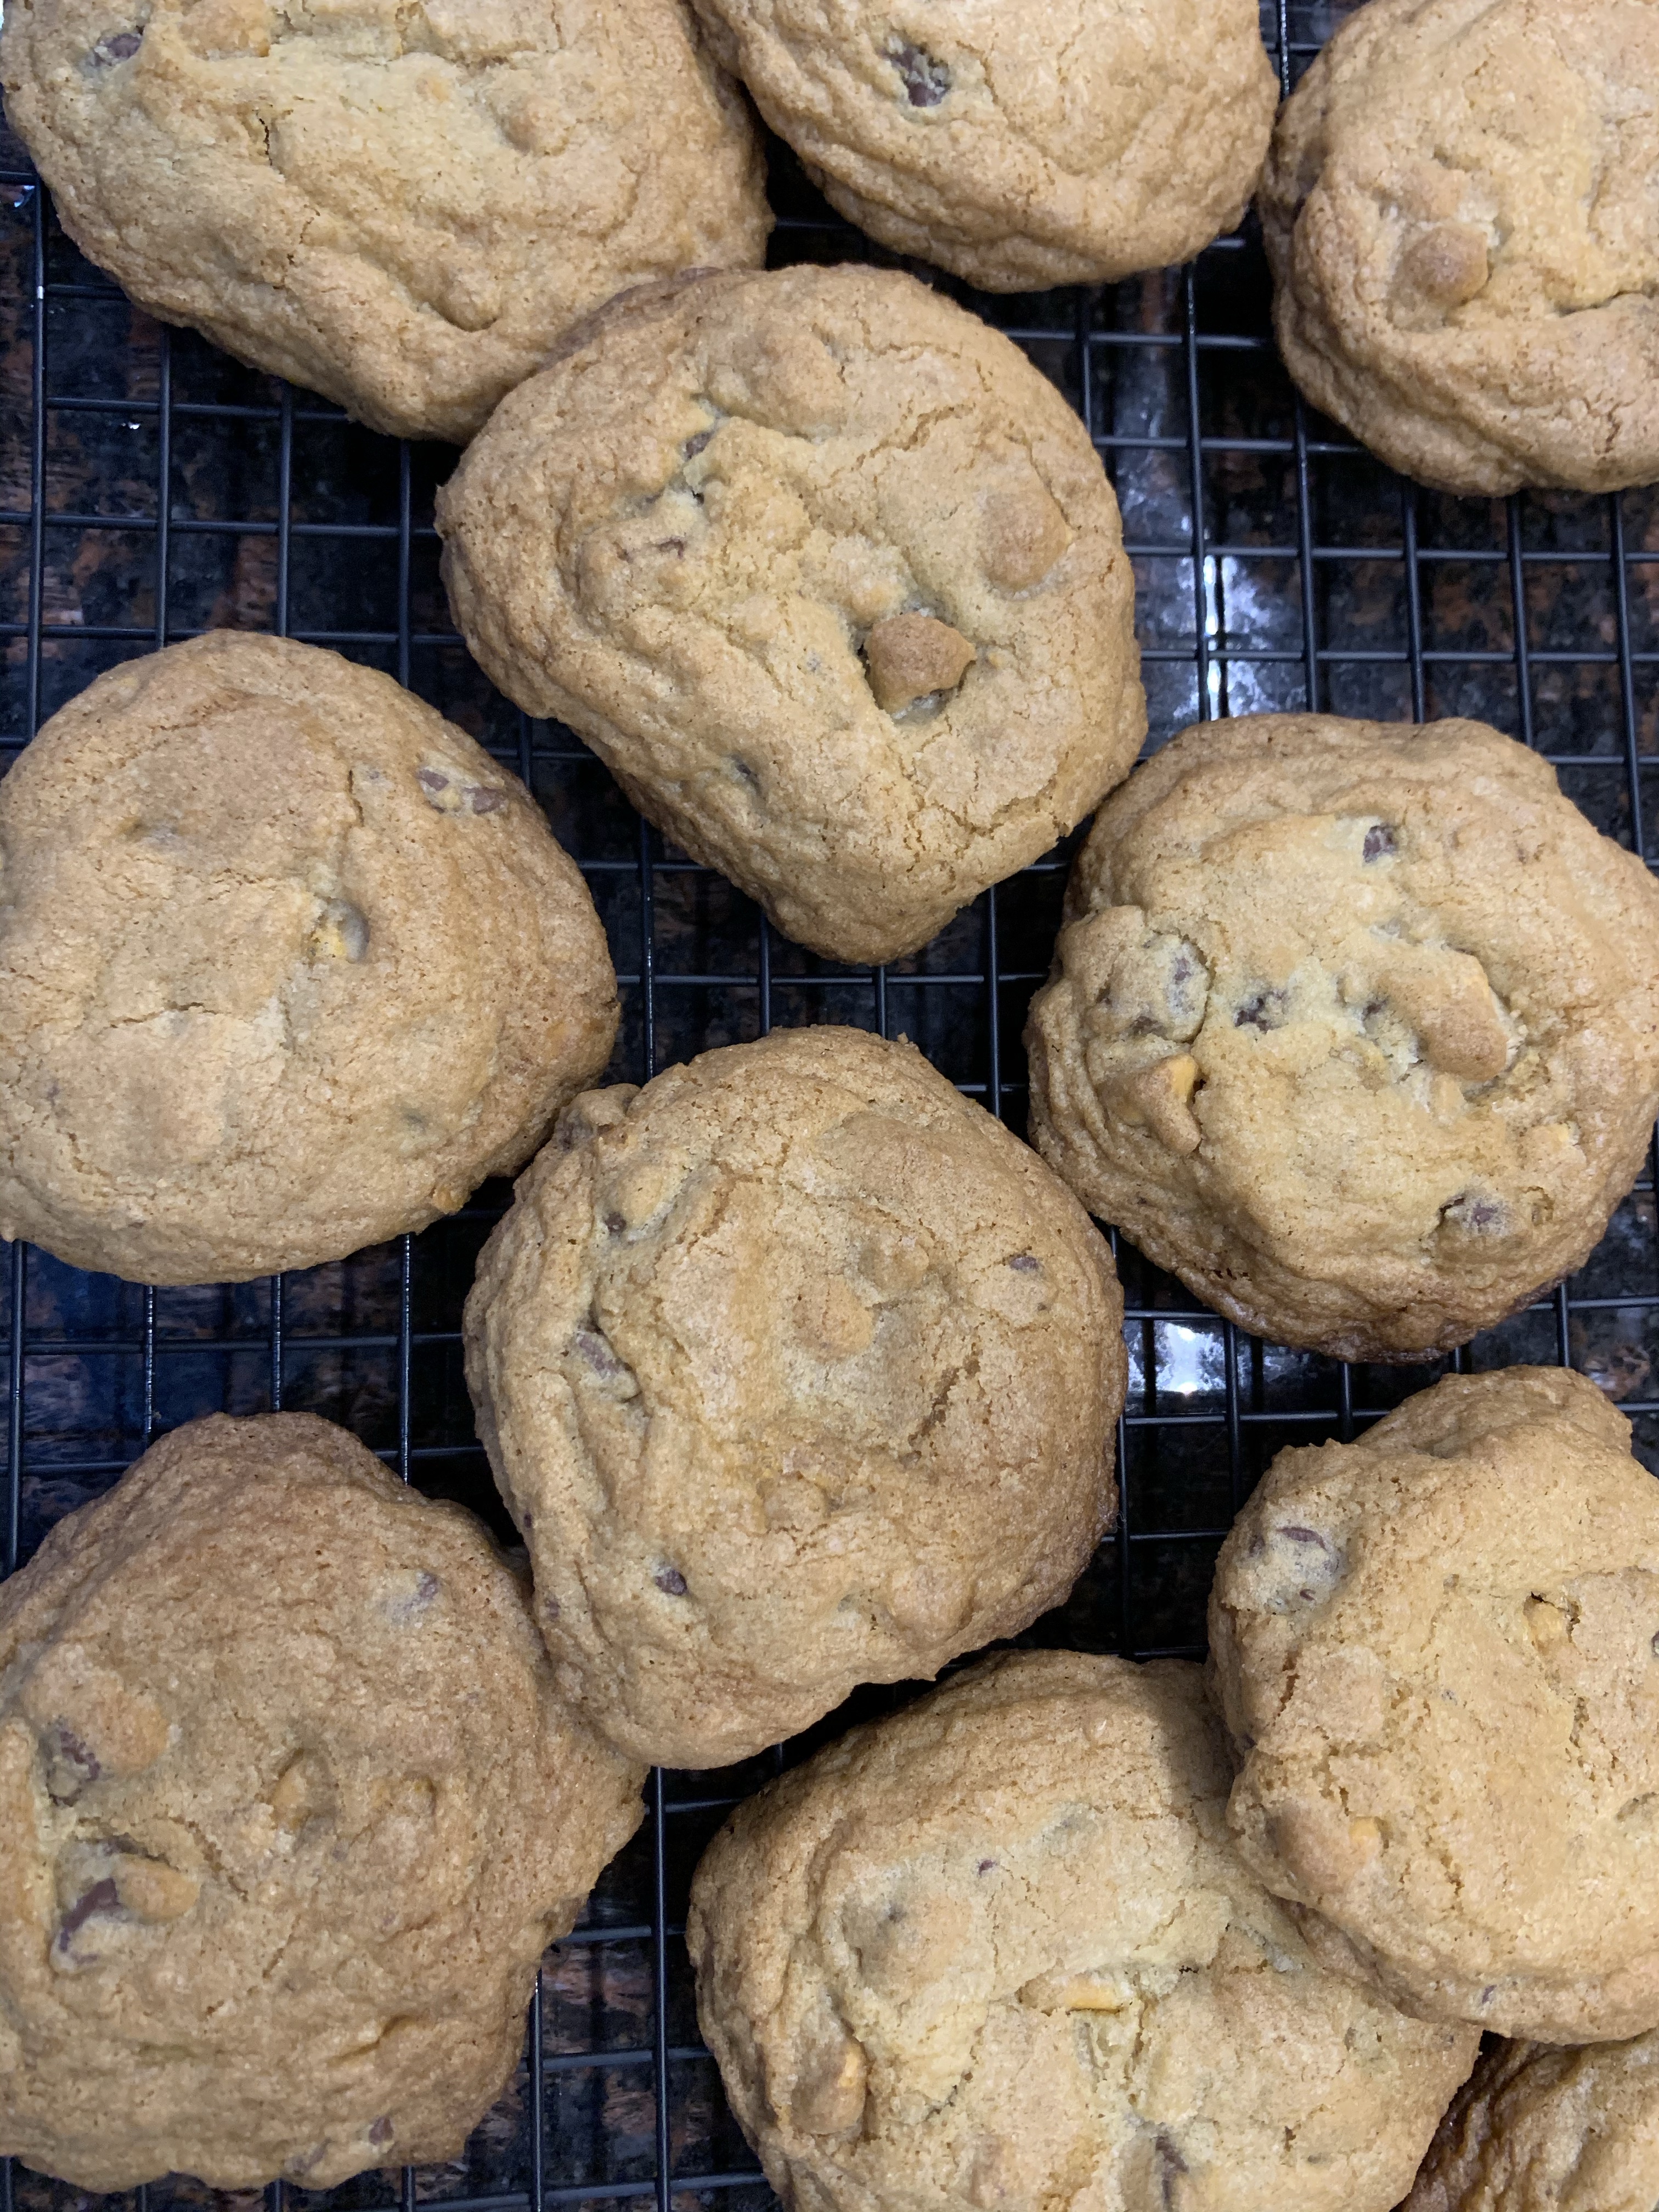
The second batch we made was my choice. There’s this wonderful little cookie shop up here in Vermont (there are several, but this one is special for a lot of reasons) and they sell frozen cookie dough for you to bake at home. Yes, they ship, yes you can have the link: https://www.vermontcookielove.com/ Their cookies are AMAZING, and my favorite is Mothers Love. It’s chocolate and butterscotch chip and HEAVENLY! The only trouble is I no longer eat gluten and they don’t make them without, so I’ve been missing them! I decided to fix it and try my hand at making my own. (Who knows how they’ll compare, they’re currently in the oven and smell great so I’m hopeful)
We took our favorite chocolate chip cookie recipe (which is on the back of the Kirkland brand chocolate chips if you can believe it!) and instead of all chocolate chips we did half chocolate and half butterscotch. Again, this was not a difficult or complicated recipe, which is why we were able to do 2 recipes today. The 5 year old worked as hard on these as she did on her choice, but was put off of egg cracking given the serious drama of the previously made batch. (I’m kidding, kind of…she refused to crack the eggs but it was because it was “way too yucky” on her hands. The drama is real with this kid!)
Yes, she’s a ham. She also happens to be very serious about her baking!
These were a couple of fun and easy recipes that we were familiar with and made into our own. I always think it’s great fun to experiment in the kitchen, especially with the kids. They think WAY outside the box and have some up with some great ideas (these raspberry white chocolate cookies I’m betting with go on that list) as well as some less appetizing ideas (brownies with pickles baked on top, taco cookies…I could go on, but I don’t want to make anyone vomit). Let us know if you head into the kitchen and what you might experiment with!
We’ve tried dozens of chocolate chip cookie recipes, this is out favorite. The cookies bake really well, slightly fluffy, but not cake like. The flavor is AMAZING. Let us know if you give it a try!
As always, you can find out the taste test results on our Instagram @100daysofbakingwithkids and on Facebook at 100 days of baking with kids. Hope to hear what you’re up to!
Growing up we used to spend most of the summer in this tiny little town in Maine. There wasn’t much to do there except play in the ocean, boat around to tiny uninhabited islands, and watch the seals play. Basically, it’s heaven on earth. The entire town is pretty special, but if you ask me (and you’re here aren’t you?) the best part of this amazing place is a side of the road diner with the BEST WHOOPIE PIES EVER! I know, bold claim, but stick with me, I can back it up.
If you’re not familiar with whoopie pies, first off, I’m sorry. Second, get ready for the best dessert you’ll ever taste. Whoopie Pies are a Maine delicacy. They’re basically chocolate sandwich cookies filled with the most mind altering creamy frosting you can imagine. Now this isn’t just any old chocolate cookie, these are cakey, but also cookie like, the perfect crossover. There are some in the world who would fill their Whoopie Pies with regular old buttercream. While there is a time and place for buttercream, those people are wrong! Whoopie Pies are meant to be filled with a marshmallow, creamy, buttery, perfectly sweet bit of heaven. I consider myself a bit of a Whoopie Pie aficionado (how cool would it be if I had a job where I got to try all the Whoopie Pies and rate them? Seriously, I’ve dreamt of that.) and have tried SO MANY different types. Some flatter more cookie like cookies, some cakier that you had to eat with a fork, some with buttercream filling, some with marshmallow filling, but the best Whoopie Pie I have ever had the privilege to enjoy was from Moody’s Diner in Waldoboro Maine. I challenge you to find a better one. (If you do you better send it to me ASAP, I won’t believe it until I eat it!) Now, I’m pleased to let you know that instead of making the trip to the mid-coast of Maine you can order these lovely and have them delivered directly to your door! Unfortunately with all the current USPS delays they have had to suspend shipping them, but I’m optimistic that one day they will again! Keep an eye on their site to see if you can have the privilege of eating one of these soon! https://moodysdiner.com/online-stores/diner-online-store
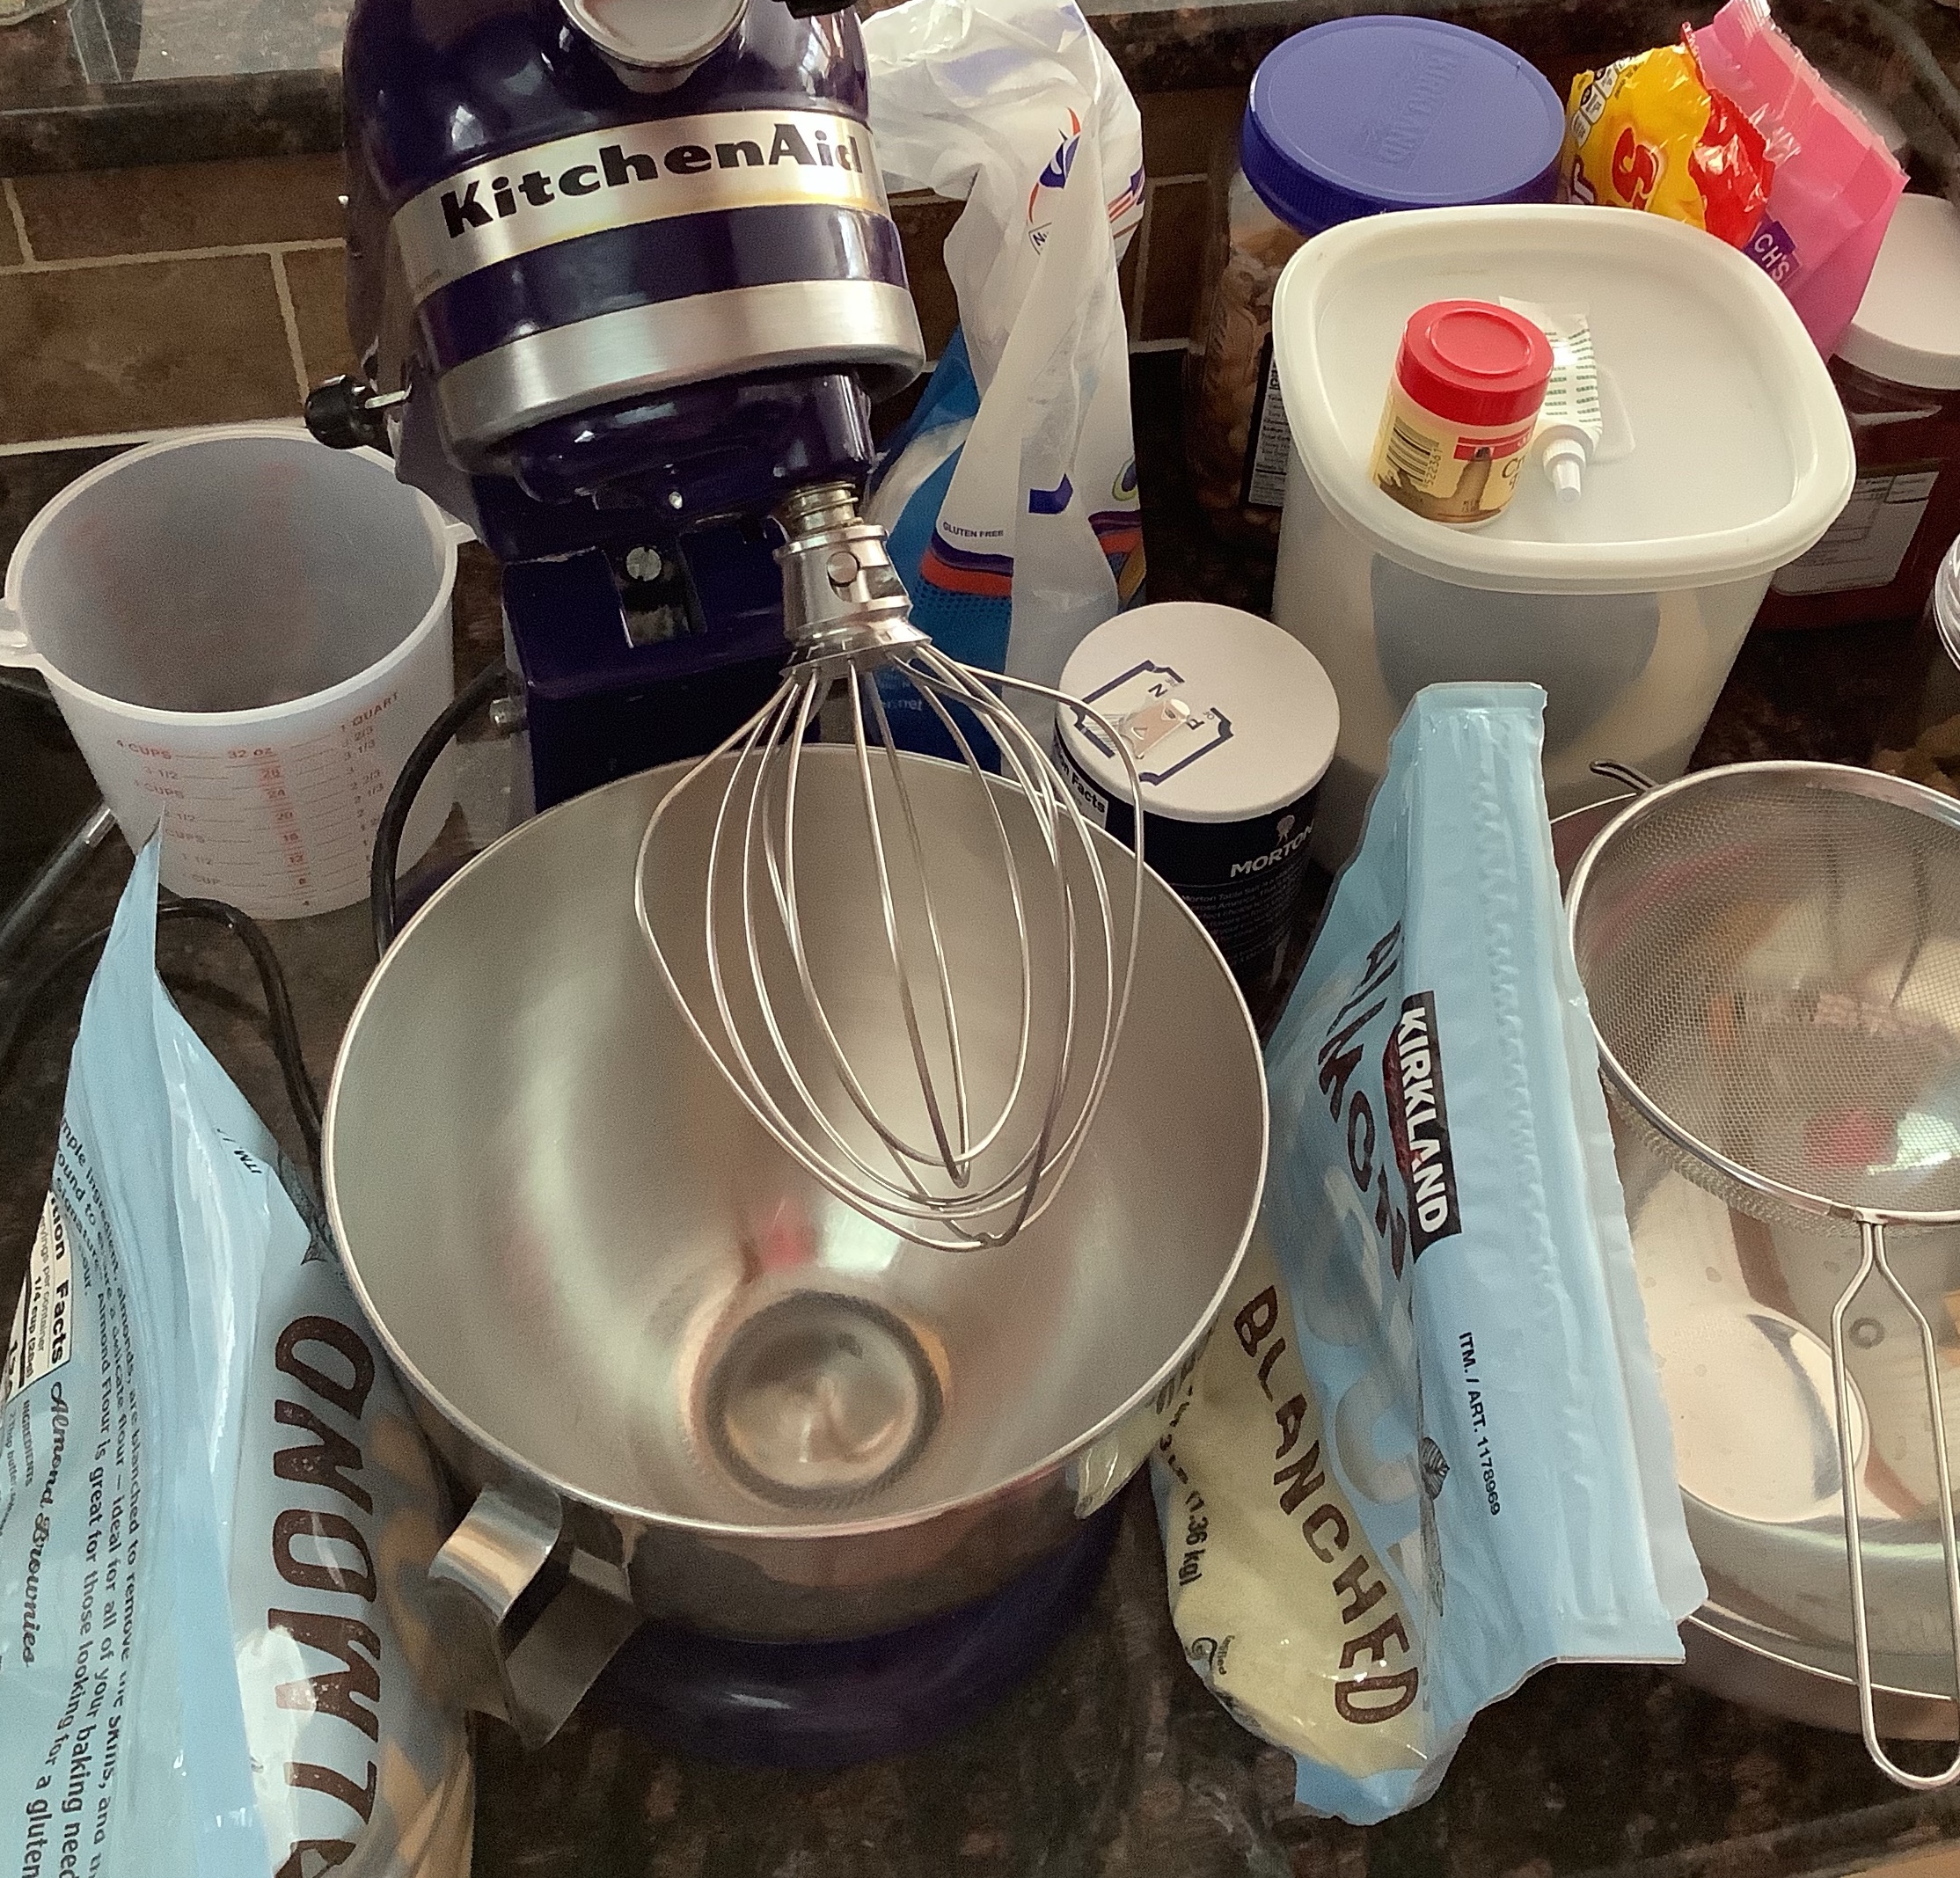
So much stuff for this recipe I couldn’t fit it into one picture!
In the meantime, let me come to the rescue! Moody’s is the best, there’s no way to duplicate what they do there, I’m certain there’s some magic involved, but you can make your own, and you can use their recipe!!!! I know, try to contain your excitement. https://www.foodnetwork.com/recipes/whoopie-pies-recipe1-1953121 Now, this recipe is amazing, it’s never come out exactly as they taste at the diner, but it’s pretty darn close and it’ll sure do for a fun day of baking (seriously, this recipe is a commitment so set aside some serious time, we usually set aside a few hours). We’ve tried the recipe exactly as is and have found a few things helpful. First, instead of making large Whoopie Pies we make minis. We use a 1/8 cup scoop and bake for 10 minutes and they are a much more manageable size for eating. The large size, which is what you would get it you walked into the diner, is BIG. It’s difficult to finish in one sitting as it’s basically a meal size dessert. The smaller size makes a TON of cookies, and I find that they bake best doing one sheet at a time, so the baking really ends up taking almost an hour…sometimes more. When we make the smaller pies we usually do 1 1/2 times for the filling recipe. We go a little filling heavy around here, so depending on the filling to cookie ratio you’re looking for you may not need to make extra. We also use butter instead of shortening. Not for any reason other then I rarely have shortening in the house and always have butter. Basically I’m lazy and don’t want to make extra trips to the store.
Adding ingredients, scraping the bowl, and mixing!
This is one of our favorite recipes of all time. We love to make this, and because it makes so many mini Whoopie Pies we love to share this. We have made these over the years to share with my husbands baseball players and a few of them may be addicted at this point. Today we were inspired to make some for a couple of birthdays we wanted to celebrate this week, but can’t because Covid ruins everything, so we will drop off at the doorstep of some lucky people.
Making the filling. The best part is licking the measuring cup we used for the fluff!
The kids know this recipe really well and though I wouldn’t call it simple, they are able to take the lead. This is such a large recipe that it doesn’t work well in our stand mixer, so we use a hand mixer and the worlds largest mixing bowl. Since we were using the hand mixer and the mixing bowl is so large I held the bowl while they took turns mixing. It was just too much for them to try on their own and I didn’t want them to get frustrated and be done.
When it comes to the filling they did it all. They even added the milk until it was the right consistency, which is tricky because it’s not an exact measurement, you just have to add a little and eyeball it. They did a great job, and then they filled them! Well, they filled some of them. They lost interest after the first dozen or so and called me in.
A girl, a book, and a left over piece of Whoopie Pie. The perks of baking!
We are so excited to share this recipe with you and to share with friends and family these awesome treats! Let us know if you make them and how they turn out. Oh, and don’t forget to send me some Whoopie Pies if you order some!
It’s cold again, like super cold. Vermont can really mess with your head, especially in March. One day it’s sunny and in the 40’s, the next there’s a wind chill several degrees below zero. Clearly there’s nothing I can do to change the weather (but I dream of having that power) so I find it best to embrace the chaos and do things that suit me in the moment.
Yes, we’re STILL rocking the Christmas PJ’s here. Yes, she is almost ALWAYS in PJ’s. No, I don’t care.
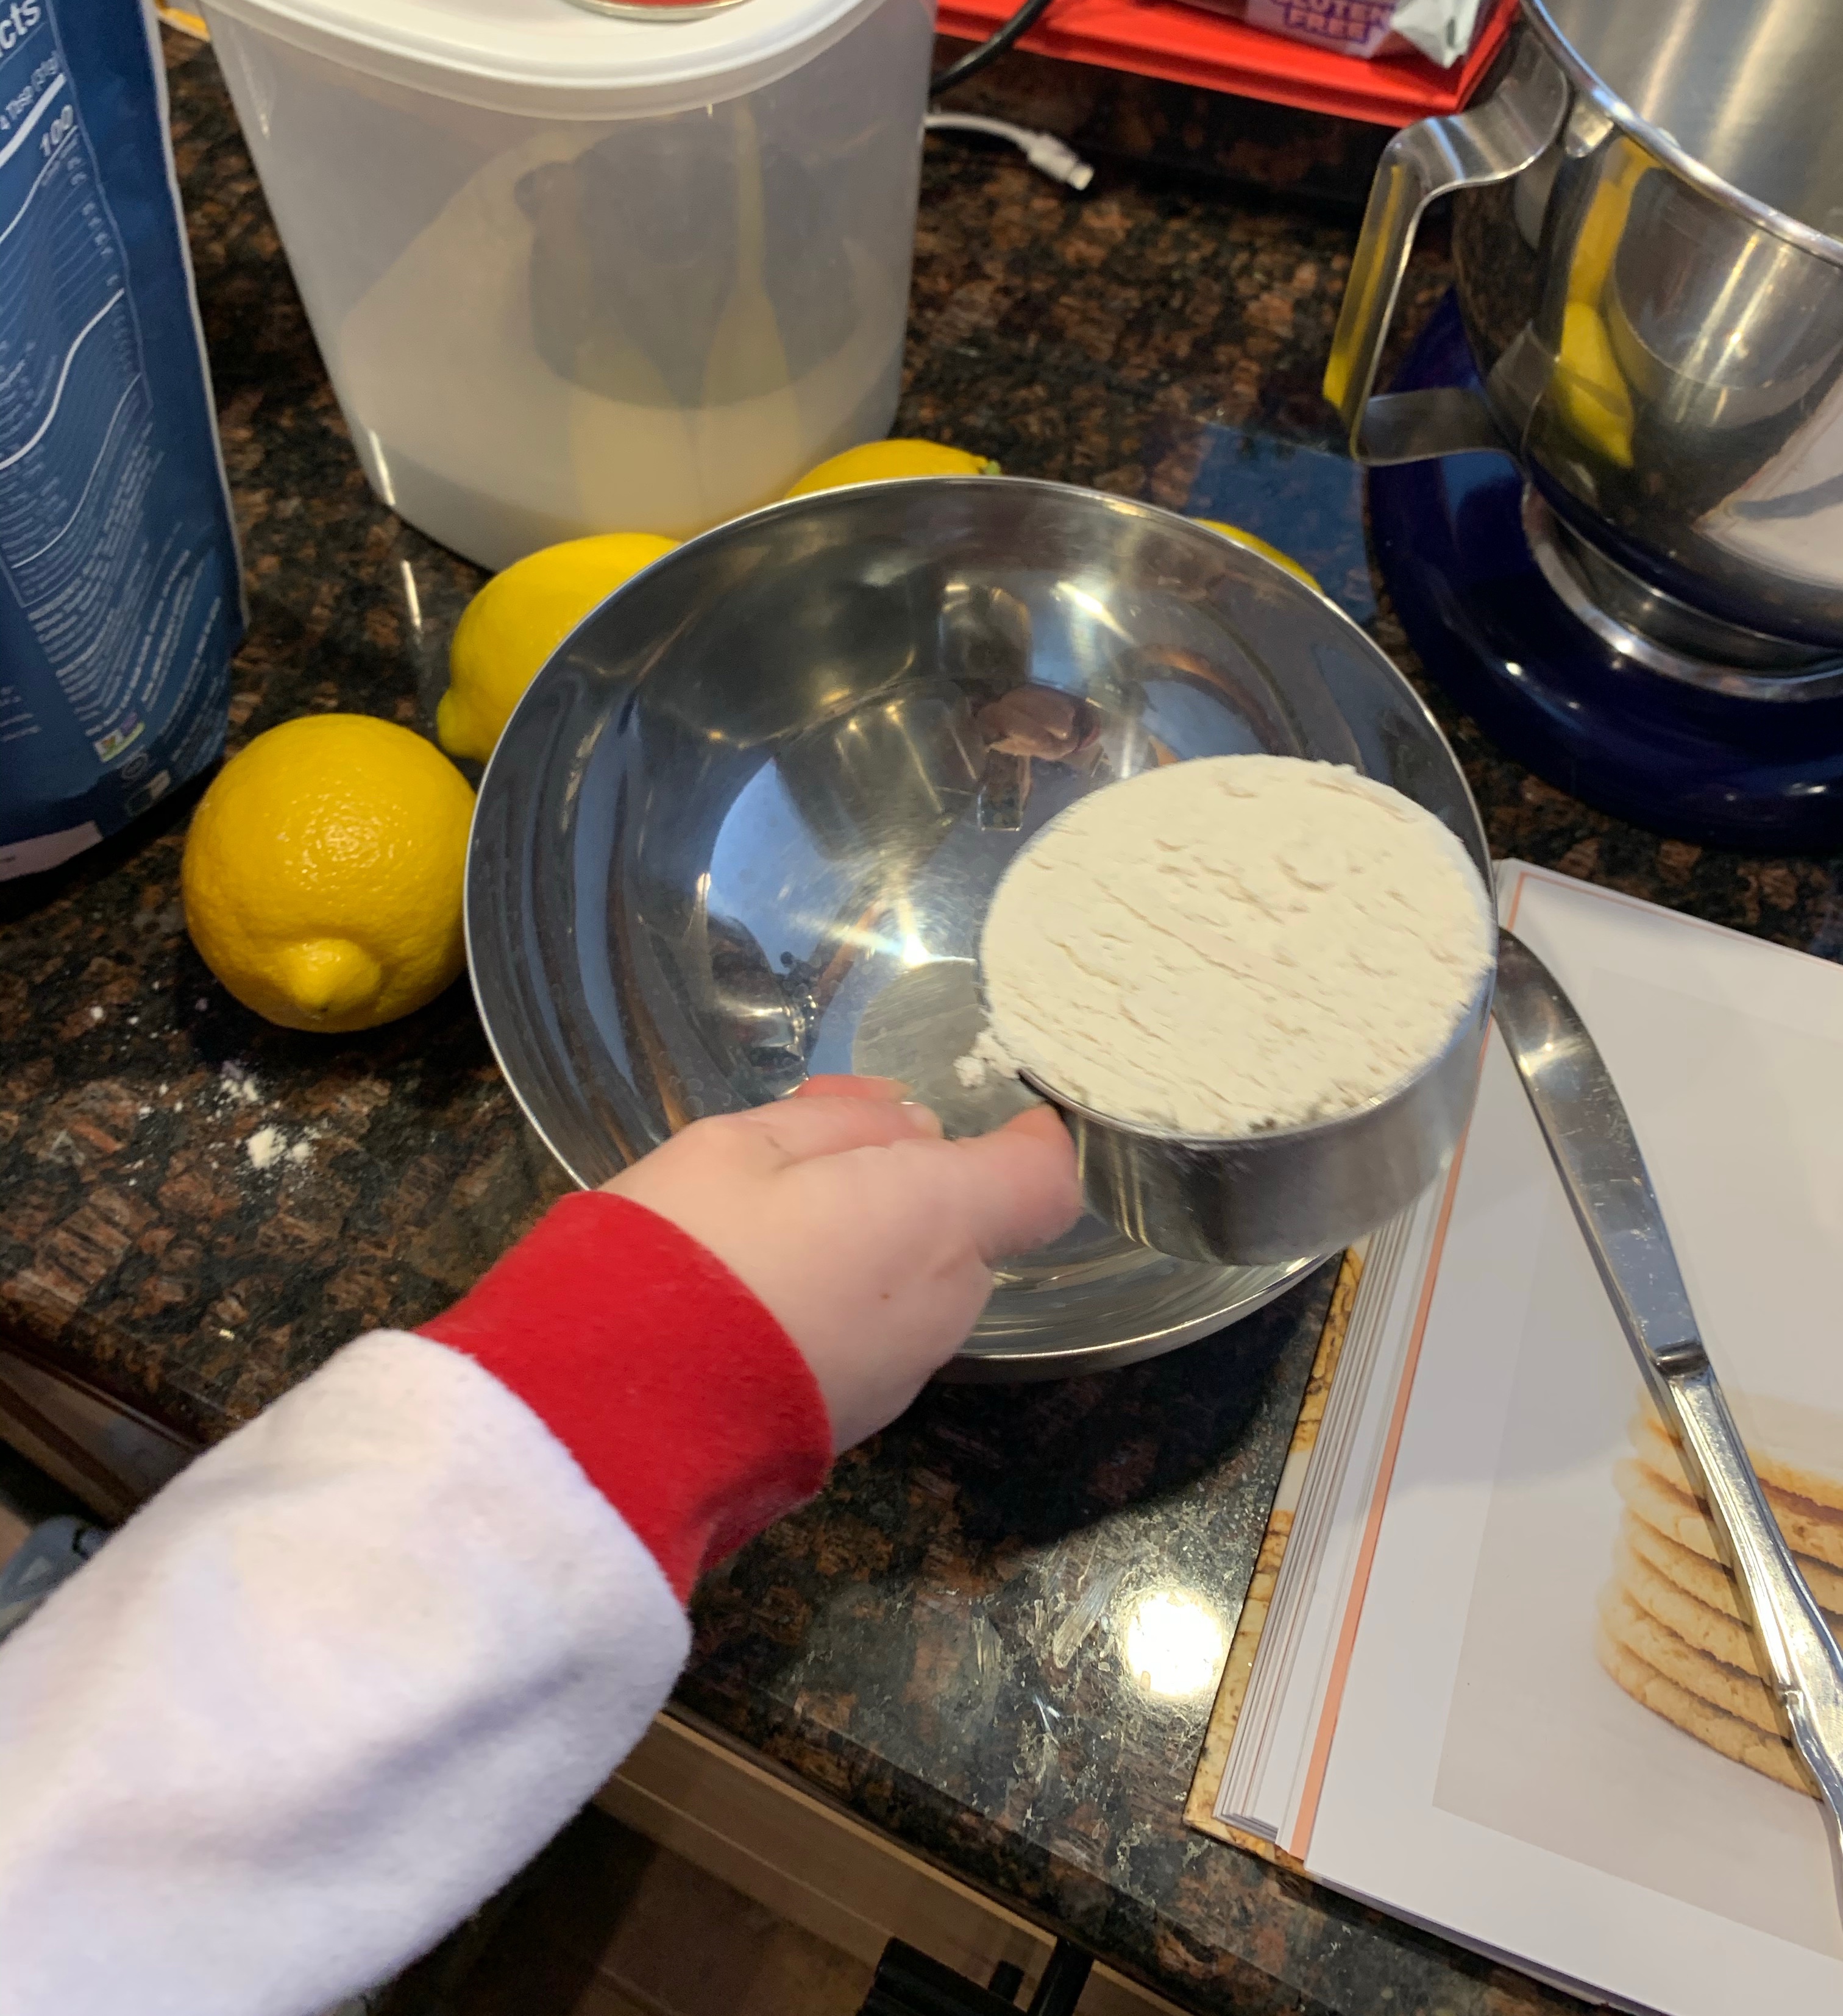
I was wanting to get the kids outside but there was all this whining about it being cold, the wind, and getting dressed. It wasn’t a battle I was willing to fight, and honestly, I didn’t want to go in the cold. Most of the time it doesn’t bother me, I’m a Vermonter after all, but some days it’s just unappealing. We had a big bag of lemons sitting on our counter so we decided to use that old saying “make lemonade out of lemons” but we didn’t make lemonade and the lemons were the super cold wind chill…so maybe not so much with the saying, but anyway, it’s citrus season and we made lemon cookies!
We got into our new 100 Cookies book, https://www.thevanillabeanblog.com/100-cookies (I will continue to link this until everyone I know owns a copy, it’s that awesome) and found the recipe we wanted. We had to alter it slightly because I didn’t have any lemon extract, we used fresh squeezed lemon juice instead using 2 tablespoons since it’s not as strong as extract.
Both the kids took turns zesting the lemons and juicing them. Then they wanted to taste the juice. The result: hilarious faces for you all!
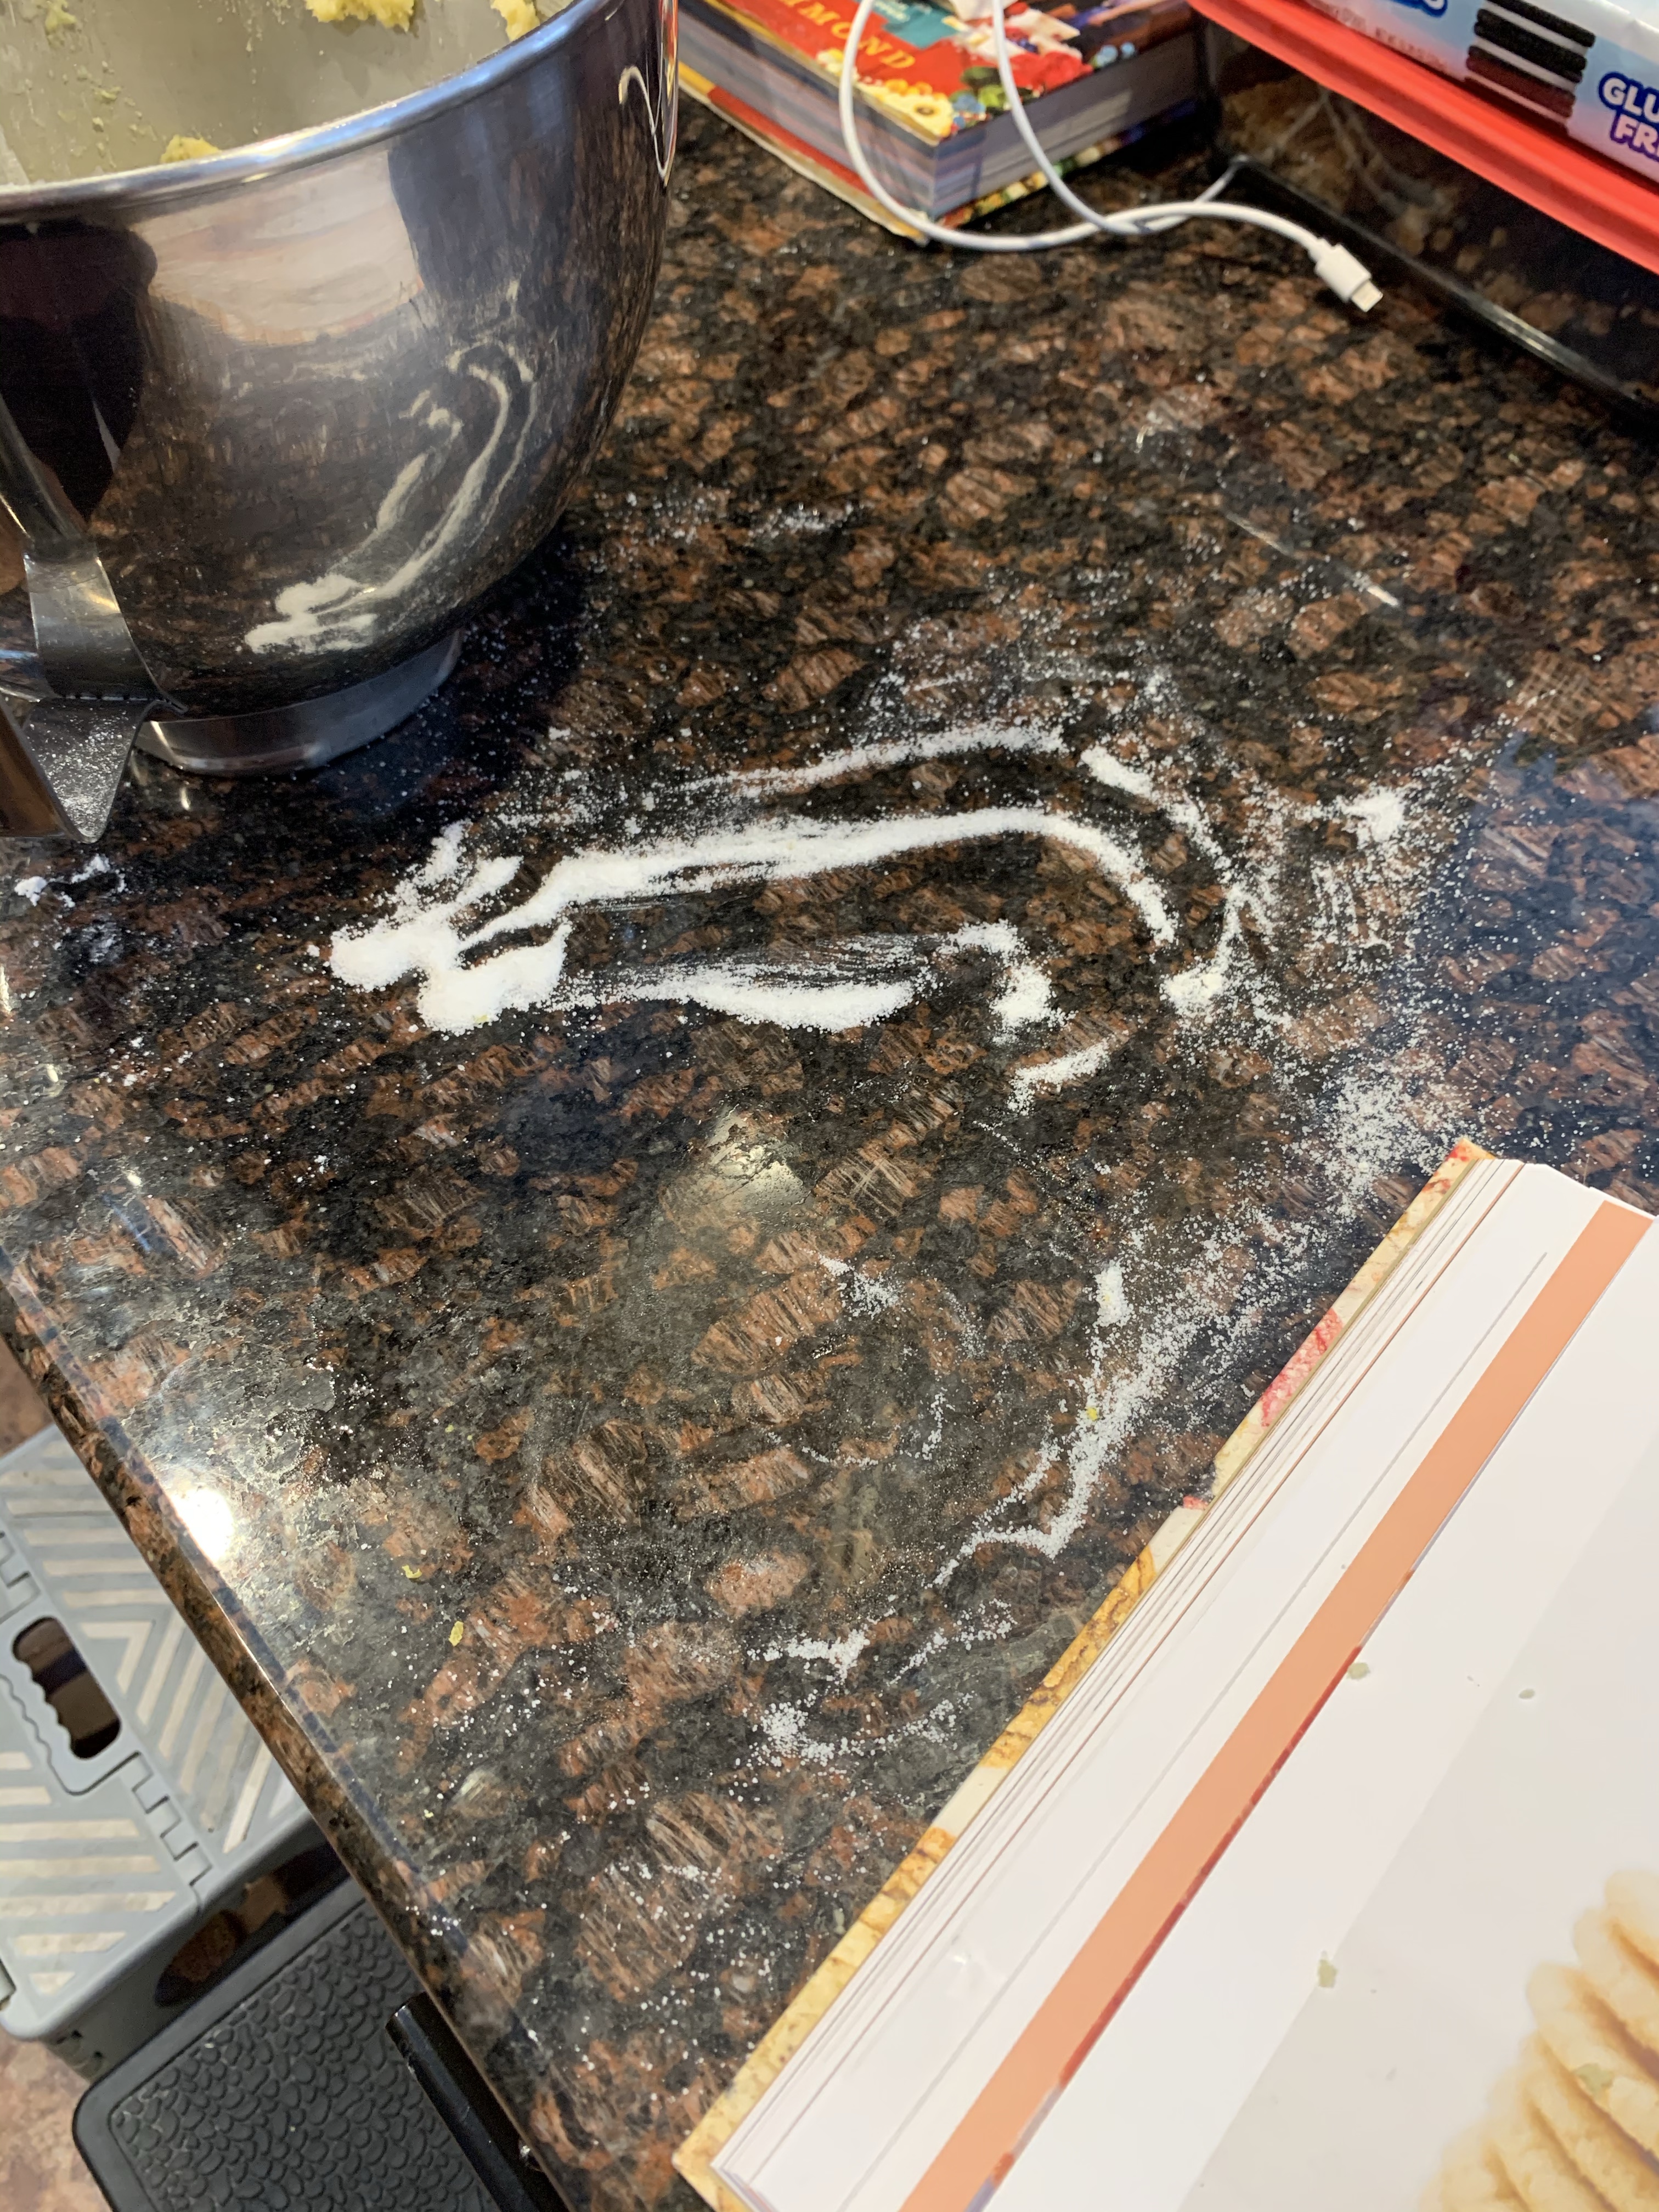
After being inside all day the kids were pretty wound up. They’re not really inside kids, they spend a lot of time outside running around, so when they’re cooped up things can go south fast. We were all laughing and chatting about the recipe, adding what we needed to the mixer, zesting lemons, when a skirmish broke out. Sugar went flying! I could have yelled (and I thought about it), I could have sent them out of the kitchen and finished on my own (they had it coming, I mean for real, fighting over sugar?), but instead I started to laugh. They looked at me like I was crazy, and they started to laugh. The alternative was 3 grumpy people, and a bit of spilled sugar was not something to ruin the afternoon over. Everything was sticky, including out feet (seriously, so much sugar in so many places), but we pressed on and had a blast. It was so worth cleaning up the spilled sugar mess to see their faces laughing and enjoying each other after an argument. See, that’s the thing about baking with kids. You never know what you’re going to get, you can’t prepare for it all, you just have to roll with it and make the best of whatever happens.
No use in crying over spilt sugar. They attempted to clean it up which resulted in even more of a sticky sugar mess, but I appreciated the effort.
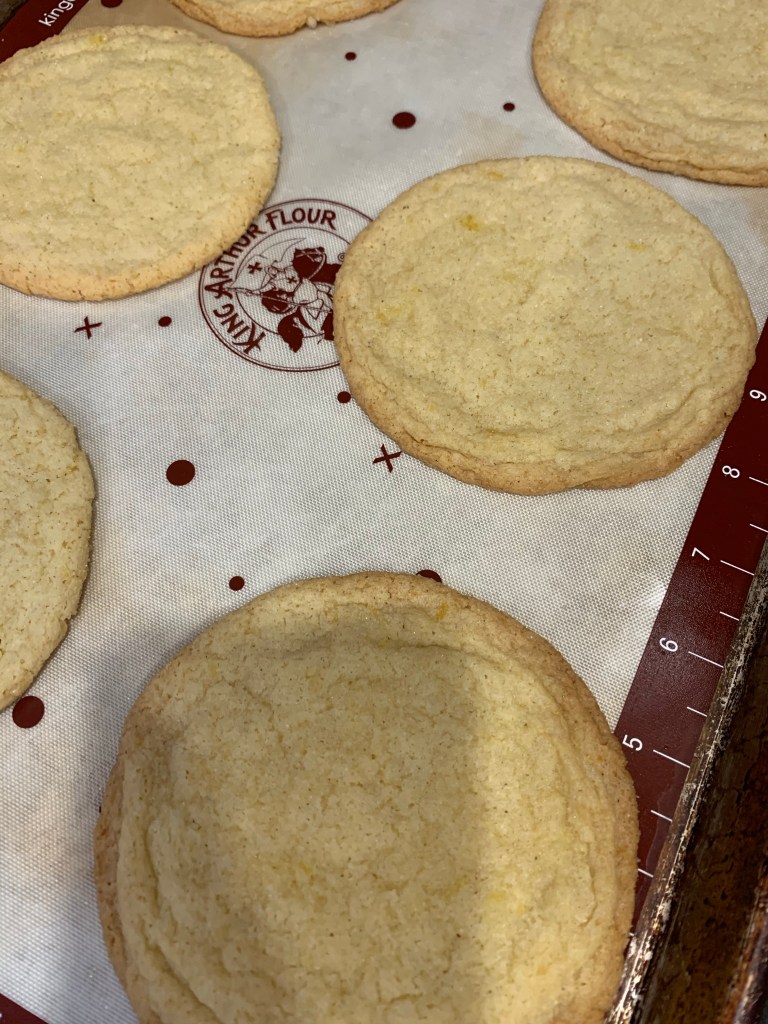
The cookies came out so yummy! Just the right crunch, but also slightly chewy on the inside. The lemon flavor was subtle, but obviously there at the same time. (I’m sure if we had used extract it would’ve packed a stronger lemon flavor, I actually like how they turned out here.) The cookies are rolled in sugar and lemon zest before you bake them which leads to this amazing crispy candied lemon peel flavor when you bite into them. Once again, we’ve found another keeper! (I have a feeling all of them in this book are, it could be a problem)
Fresh from the oven!
Now, off to the kitchen with you all, and find a kid to take with you. No matter the mess you won’t regret all those memories you make! We’d love to know what you’re up to so let us know! You can also keep up with us on Instagram @100daysofbakingwithkids or on Facebook at 100 days of baking with kids. Happy baking!